The main instrument of modeling - clay. But children usually begin to comprehend the art with clay - more accessible and user-friendly for beginners material. No wonder psychologists say about "intelligence at their fingertips": useful for children to be creative in designing or requiring activation of fine motor skills, not only to stimulate the development of speech. This forms the intellectual potential in general, and even helps to calm down, to throw out the energy, feel the joy of involvement in the work. However, modeling is useful not only for children, for parents is also a good way to escape.
Tools and materials
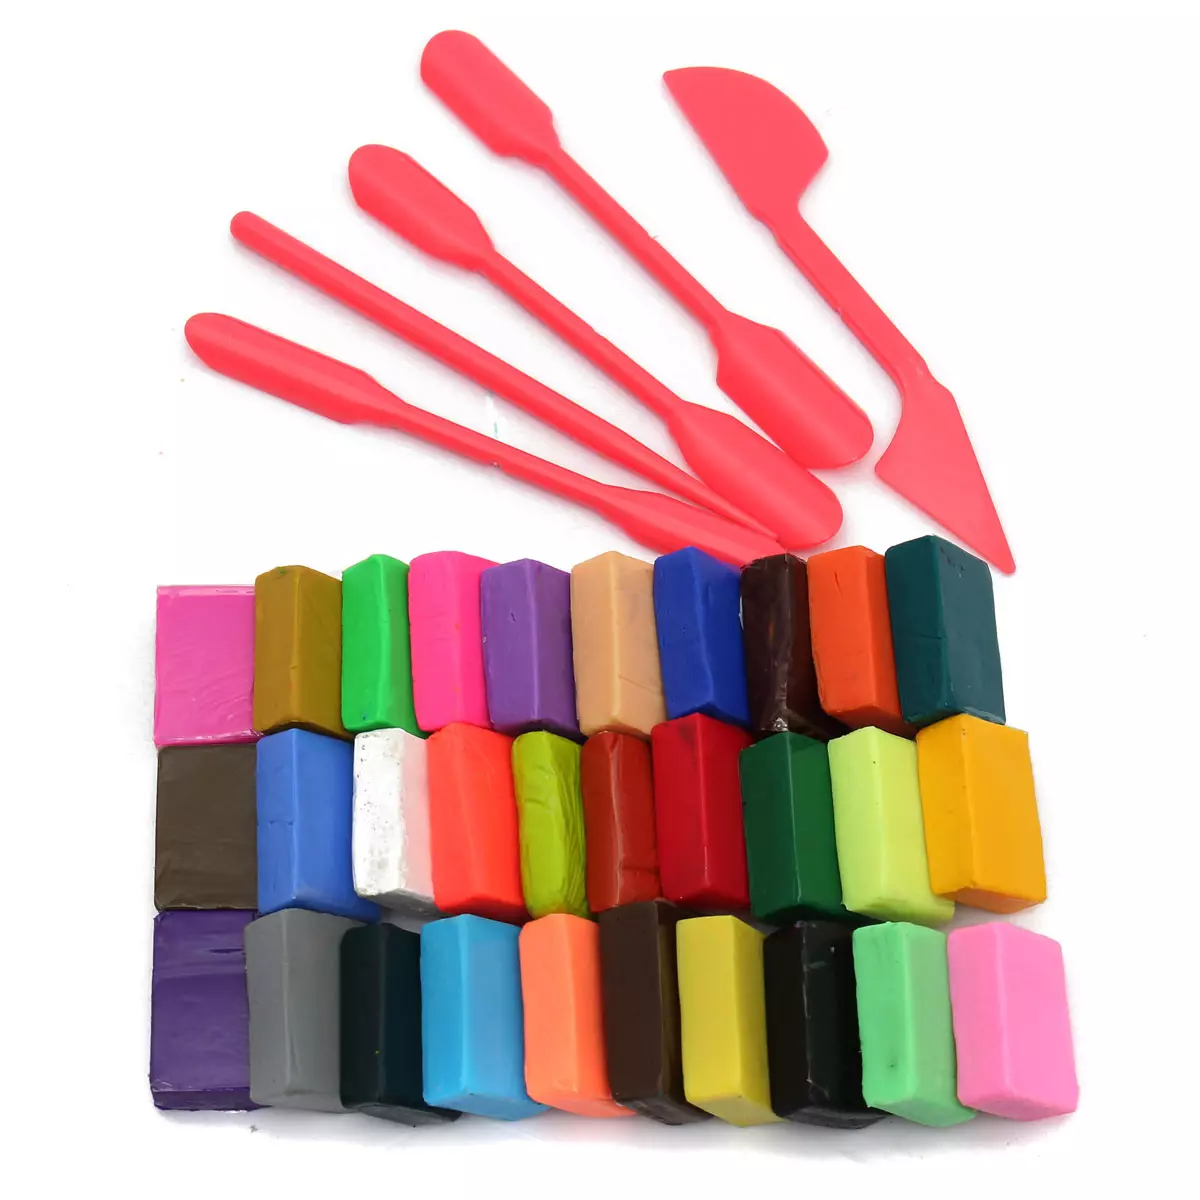
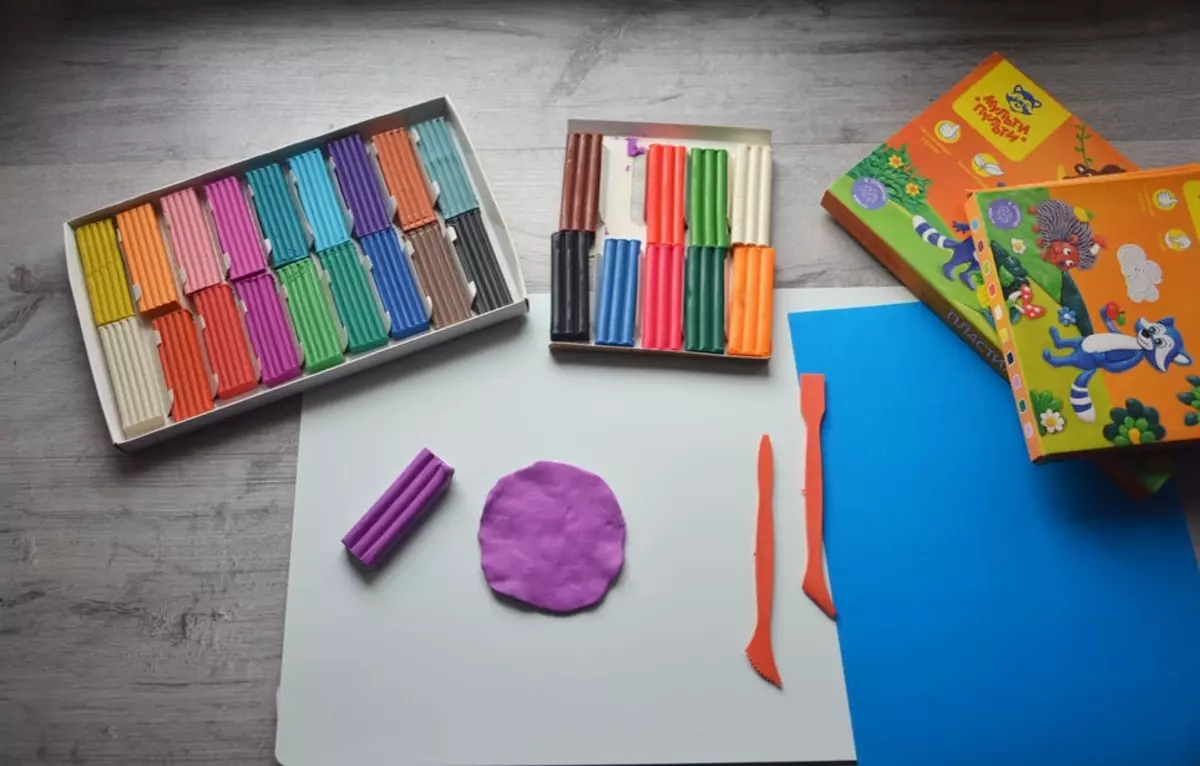
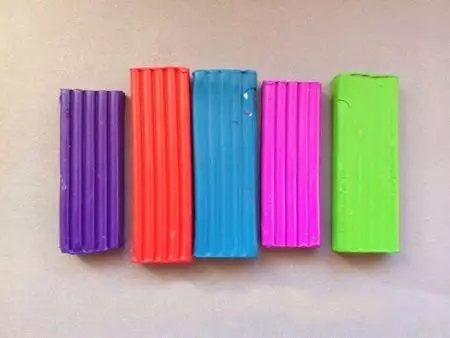
To date, molded from clay is the most accessible, although the "competitors" on its heels. It's about polymer clay or denser kinds of dough for sculpting. Yet the classic types of clay - the best start for your child. Today, the diversity is impressive: from the standard 8, 12, 18 colors to large sets of shades with variations. Sell plasticine with glitter, which is not suitable for all, but it is very popular with the children.
What else is needed for modeling.
- Mat or board. This is to ensure that the work surface is not damaged - plastic mats and boards are cheap, used many times, and still teach children to create a working field and be more accurate.
- Cloth for wiping the workplace and hands. Also, the issue of hygiene and cleanliness. The earlier a child is accustomed to the fact that it is responsible for cleanliness when working with artistic material, the faster it will become a habit. It can be flannel cloths or wet wipes.
- Stacks. They need to cut the clay, as well as to give the surfaces a certain characteristic shape. For example, the stack will be the details of the wavy or, on the contrary, perfectly smooth. He can put on a stucco material of different kinds of dents. Stacks for sculpting from clay made of plastic, they are lightweight and safe. Prick them as possible (if you really try), but cut yourself - no.
- Plastic scissors. Help cut clay. Not the most necessary thing, but can a priori be included.
- Molds for stamping. They operate on the principle of molds for cookies. More interested in the smallest.
Everything else is optional. Sometimes for decoration works using beads, buttons, beads, sequins and other decorations that can drill plasticine crafts.
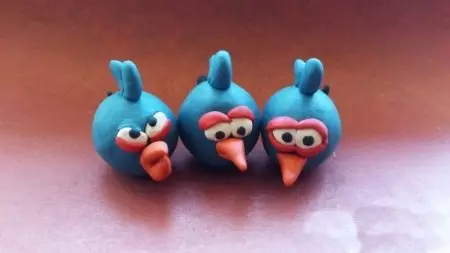
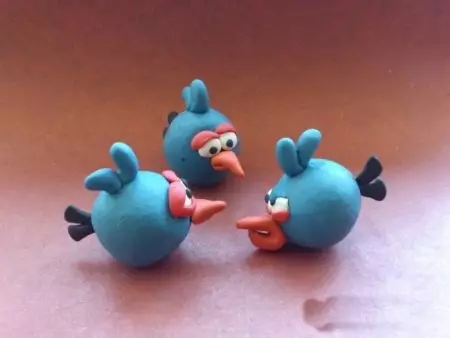
Modeling Bluebirds
The easiest option for kids - sculpt one of the heroes of Ingres Bordz, blue flycatcher. More specifically, the blue birds there are 3: Jay, Jim and Jake. This fun-loving characters consistently point guards opponents.
For work, you will need: blue plasticine (can be blue), a molding board.
The process is stepdown.
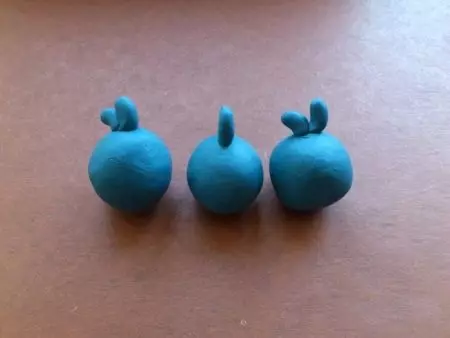
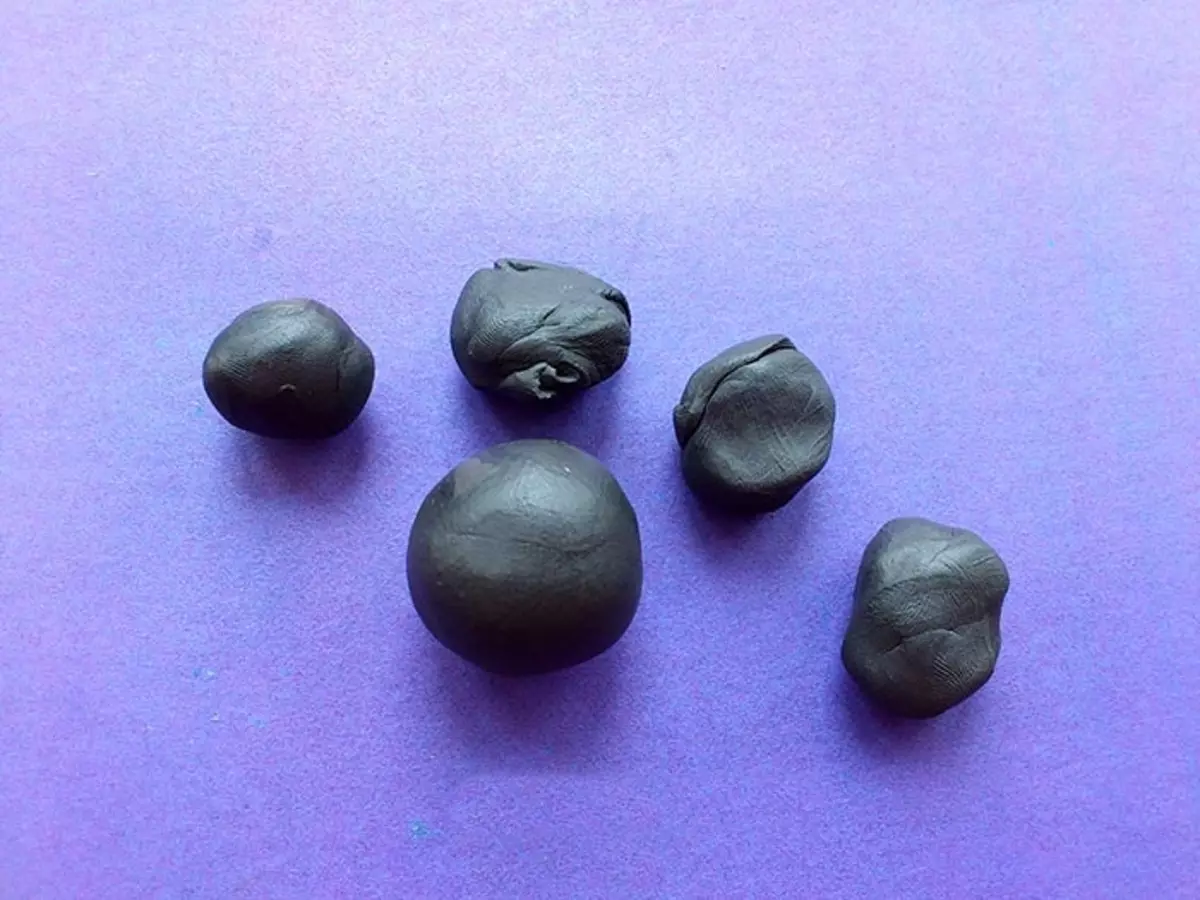
- A piece of blue plasticine needs to be broken in their hands, and then divide on 3 portions. Start 3 balls-calf. If you can find a piece of wool or pyryshko for Khokholkov, it will be great. If not, you can also make them.
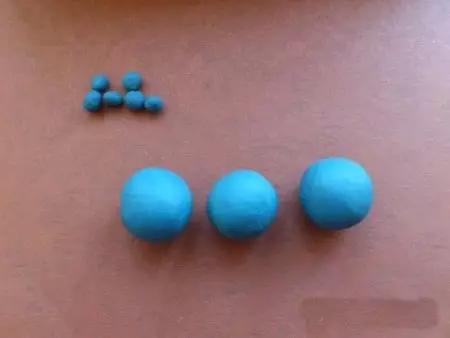
- Each blue birds in the Khokholka are 2 pynes. They must be combined together (as if in the ridge) and attach the Khokholki on the top.
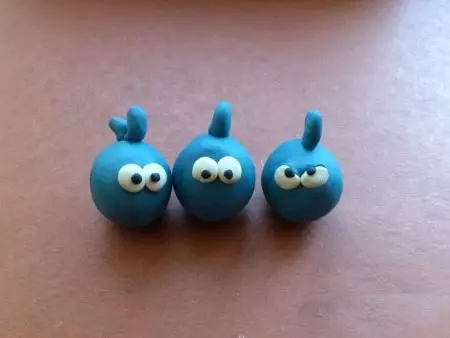
- Now it's time to make evil eyes, it is evil, because this is Engri Berdz. Pupils from black plasticine can be shifted in different places of white flat eyeballs and see what the effect will turn out.
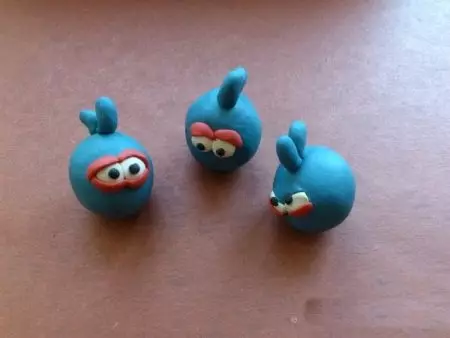
- After that, the eye eyelids should be cut out of orange plasticies, for this, strips are formed. Eyelids make and bottom, and upper.
- It is time to attach a sharp beak to the central part of the muzzle. But not very long, otherwise the recognition of the image will not be so apparent.
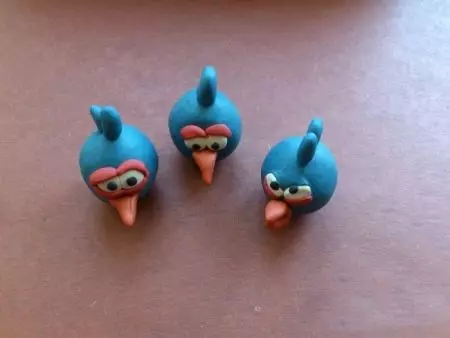
- The modeling scheme is completed by the formation of the tail, which consists of two black stripes-feathers.
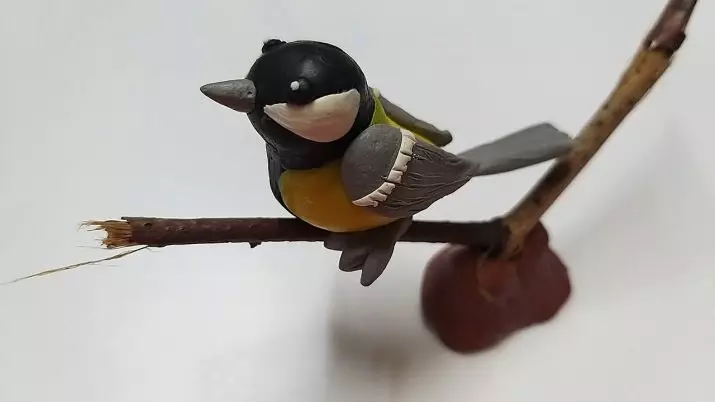
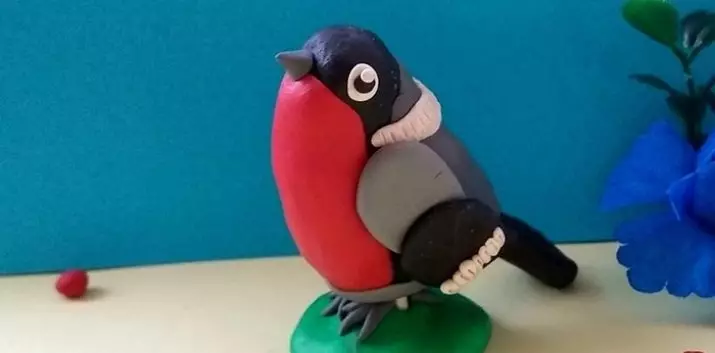
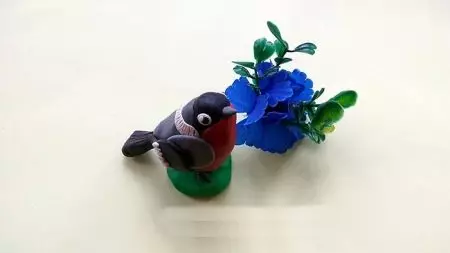
How to make bullfding?
Snegirek is one of the most beautiful, adorable killets. Among the winter birds, try to find it more beautiful, and then even a stucco bullfinner will delight your eyes.
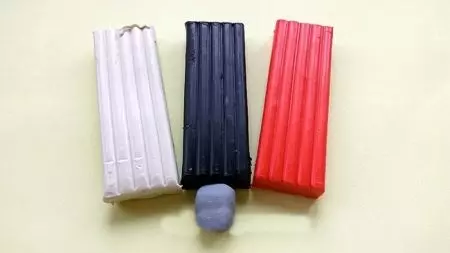
It will take for work: black, gray, white and red plasticine, plastic stack, blade, match.
How to cut the bullfding in stages.
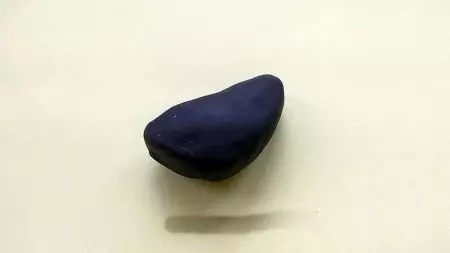
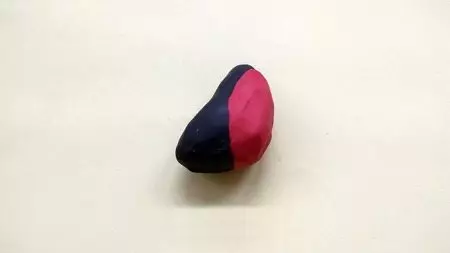
- The central part is torso - should be black. Then the details are gradually glued to it: the tail, the wings, small splashes of gray and white.
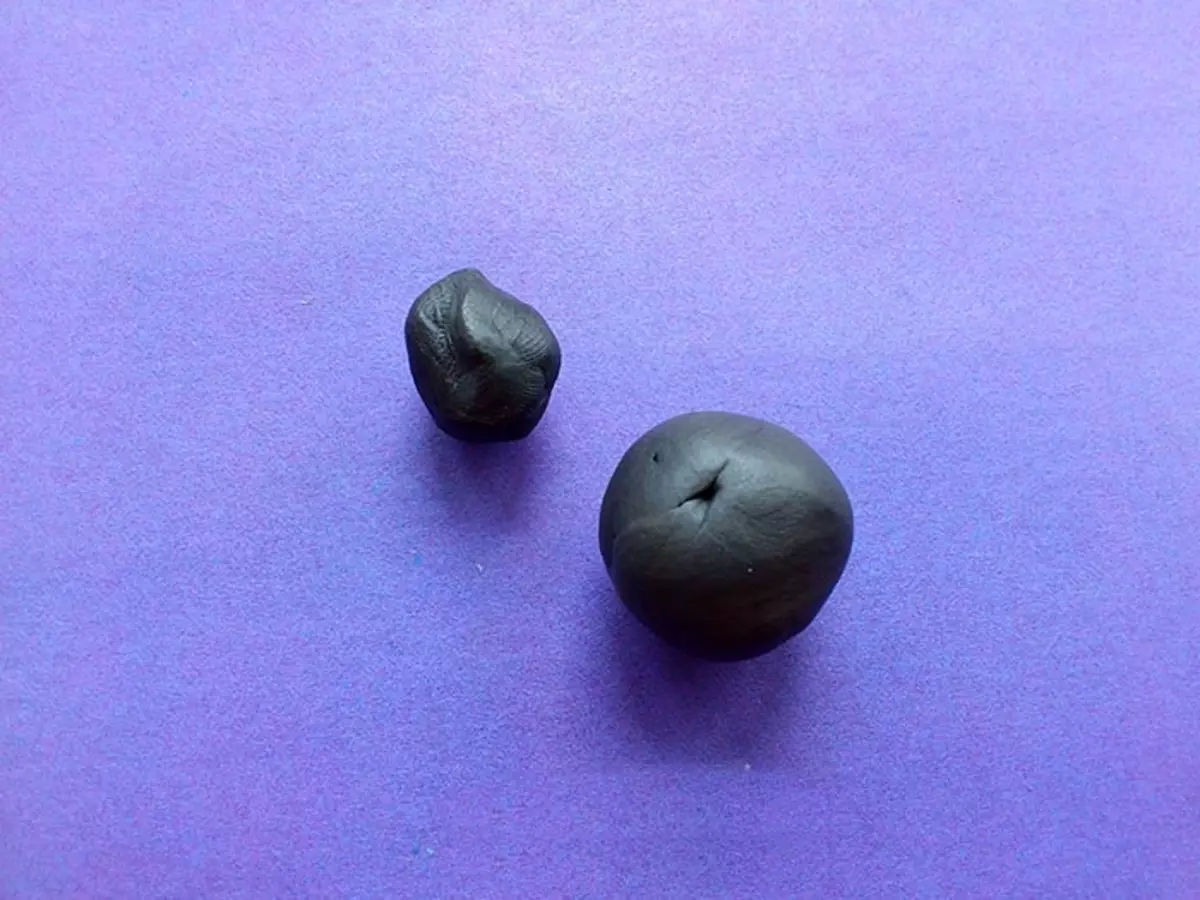
- In the hands of the black plasticine should be thickened, forming a full body. It should be large, because bullfinches, disappeared in the cold, looks always deceptively chubby. It is necessary to roll plasticine in whom, smooth your fingers, while pulling the material in two places opposite to each other - it is necessary to designate the head and neck.
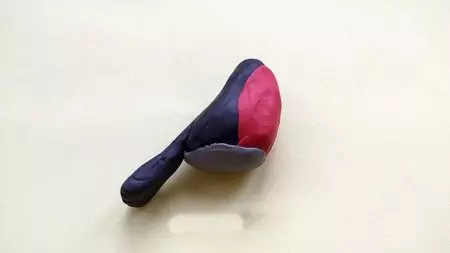
- Now it's time to work with another color. It is impossible to move to this until you wipe your hands with a wet cloth. A piece of red plasticine should be turned into a flat layer. And this cake is attached to the infant breast. Similarly, you need to go with gray, only gray pellet will go down.
- Thin black triangular tail must be pulled out. The top tip of the tail, narrower, you need to stick from behind with the subsequent smoothing of the butt places.
- Next switch to the wings - they must be proportionate to the body of the bird. Subneumed gray and black pellets - this is what will need. Black details are glued on gray, small white pynes stick on the black area of the wings. Each pyrshko is attached to the sharp side of the stack. The wing will, of course, two, they must be symmetrical.

- On the back it glues another gray pepling. All the details of the bulk smoothed so that his figure is perfectly smooth. White strip of plumage is attached to the back, almost at the head.
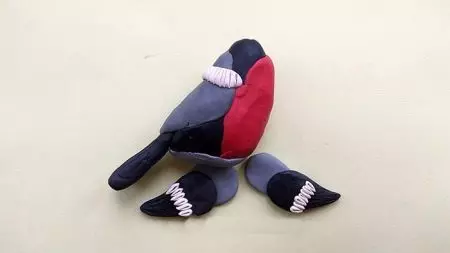
- Bills are attached on the sides, attached along the entire length so that they become streamlined. On the muffin sticks fine key, eyes.
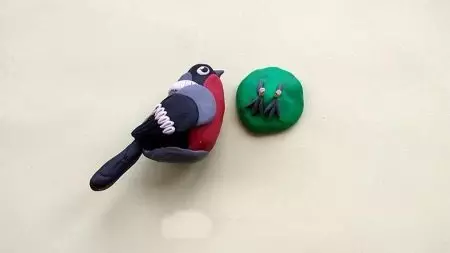
- Next, you need to make a green tubercle with black legs, of which half the matches stick out - they will be the "legs" of bulk. The plasticine stand with matches is needed that the figure of the bullfight gains stability.
- The abdomen is attached to the matches, pressed.
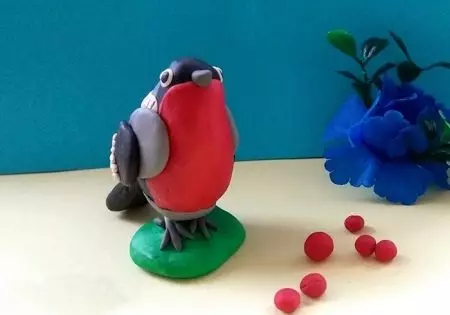
Plasticine statuette is ready!
Other options
To dilute the bird kingdom, you can cut a curious Soroka, a bright parrot and handsome peacock.Magpie
For her modeling, you will need: white and black plasticine, a droplet of gray plasticine, stack, rug.
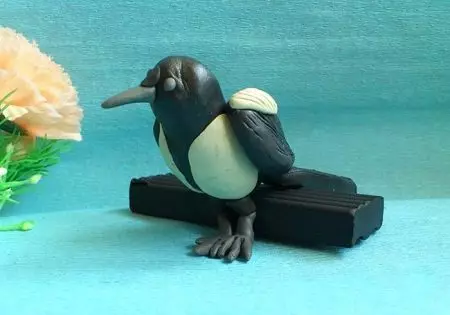
Algorithm actions.
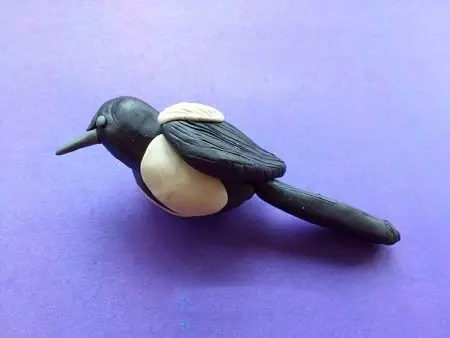
- Forty is considered a large bird, so it is not necessary to smack. The figure itself is black, but the sides, separate fragments and plumage - white. Black color remains basic, this plasticine should be a lot.
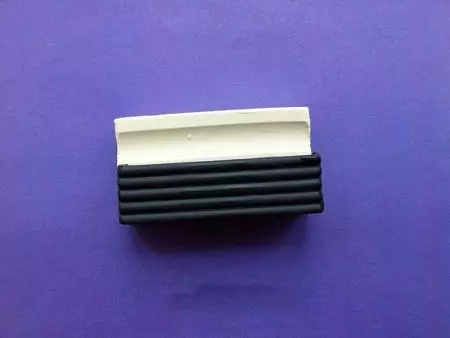
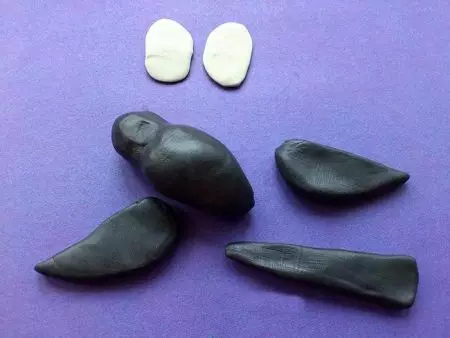
- The main parts of the forties - the torso and the head. Two wings and tail complement the figure, and therefore from black plasticine you need to roll 4 balls, commensurate parts of the fact that they will sculpt.
- Round head and pear-like torso need to glue together. Soft plasticine is well pulled out with fingers, the back of the body can be a little point.
- In the place of attachment of parts, the surface is especially carefully smoothed with fingers. Shepheys for wings are attached from above, and then on the sides.
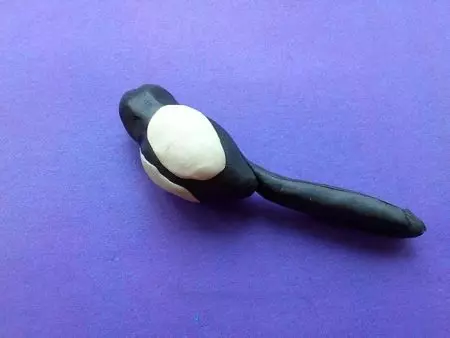
- One side remains rounded, the second will be pointed. Then two identical wings are made. Pull out a thin pinch-pinch. Two white thin pieces, which will be glued in front. Two other cakes glue from behind with the exciting of the sides. Also fixed in its place the tail, plasticine flashes forward.

- White oblong shephers are pasted on the top of each wing. Now the stack is useful, which the details are used, they should become similar to feathers. The bird tail is also processed in the same way.
- The head is glued with a thin long beak, two glazes; Details should not be merged with a common background, so they can be performed from gray plasticine.
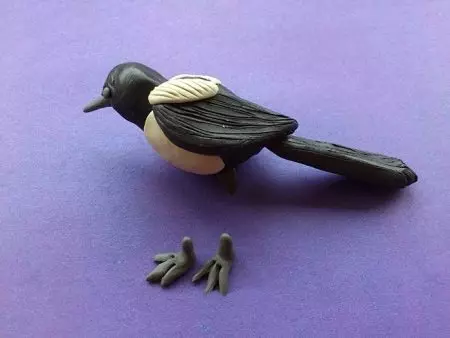
- The wings are glued on the sides, soft plasticine is attached. Forty almost ready. From the brightest gray plasticine left to form her paws. They are attached to the body.
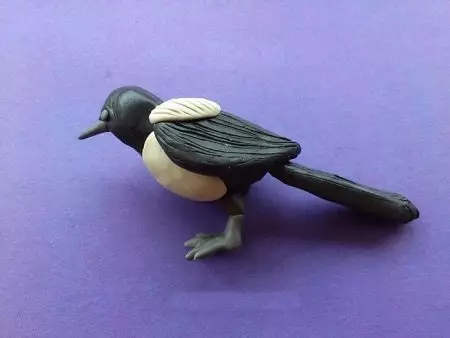
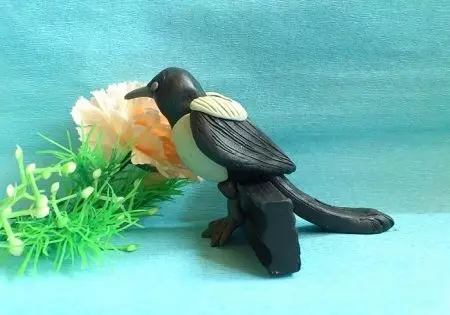
As a result, it turns out at all a small bird, preschoolers make it completely independently will not be easy, but with the help of adults they are ascended by Soroki.
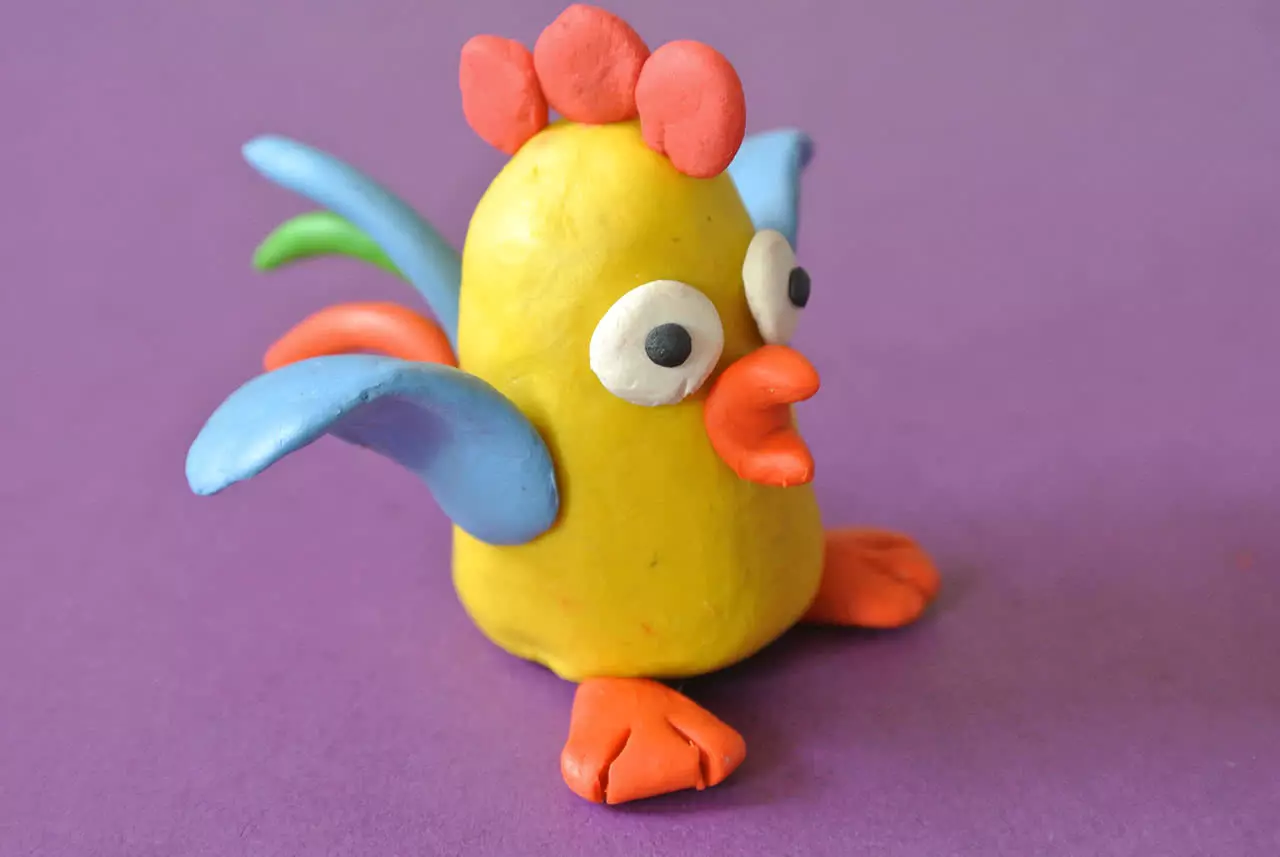
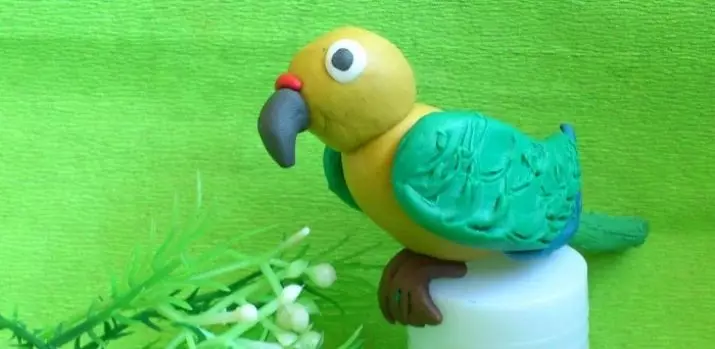
Parrot
To blindly close the parrot, two-three plasticine will be required (and more) bright colors. Also need black, white and brown. Pointed toothpicks come in handy.
Parrot step by step.
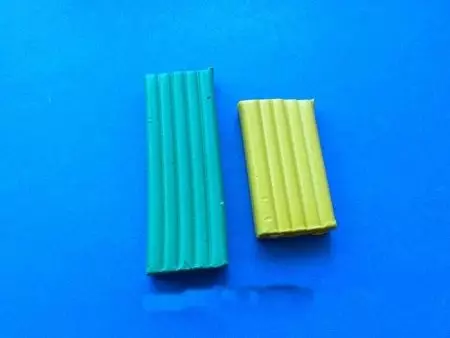
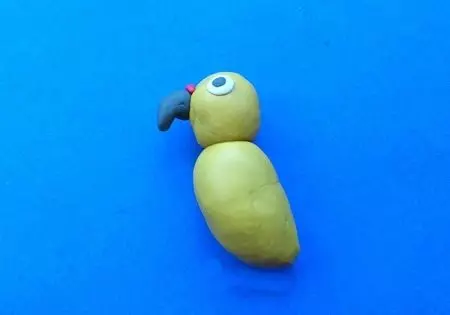
- Suppose that this bird will be yellow. Green wings and tail will appear on top of the yellow body. Each stage of work begins with the kneading material, the form elements should be given to fingers.
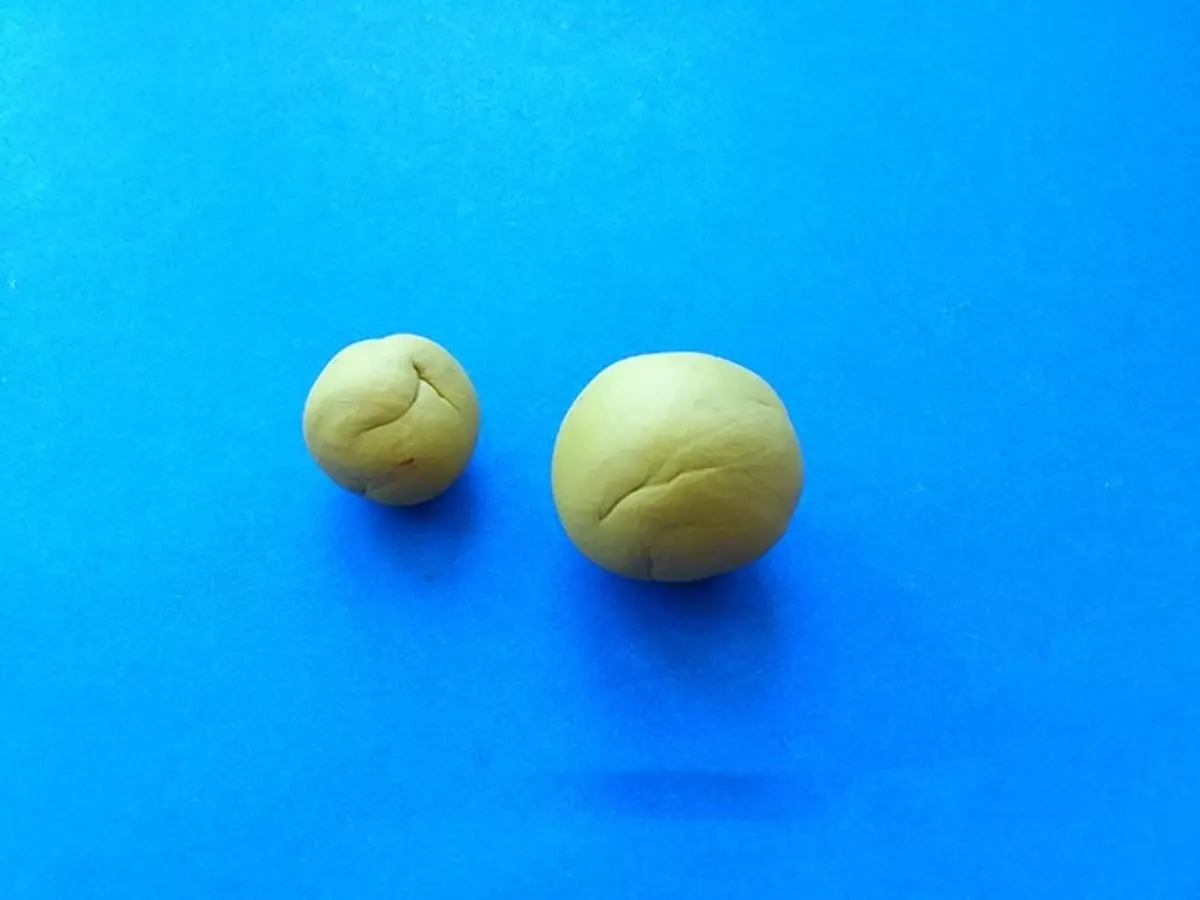
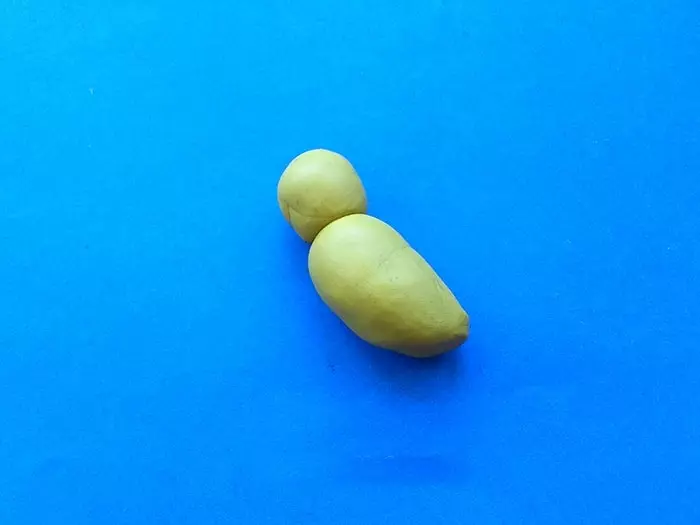
- The head remains just a round ball, but the torso stretches into the bullet, in the tail part it is necessary to make an accuracy. Details are joined to get one whole. While the mass is not frozen, the plasticine sticks out well.
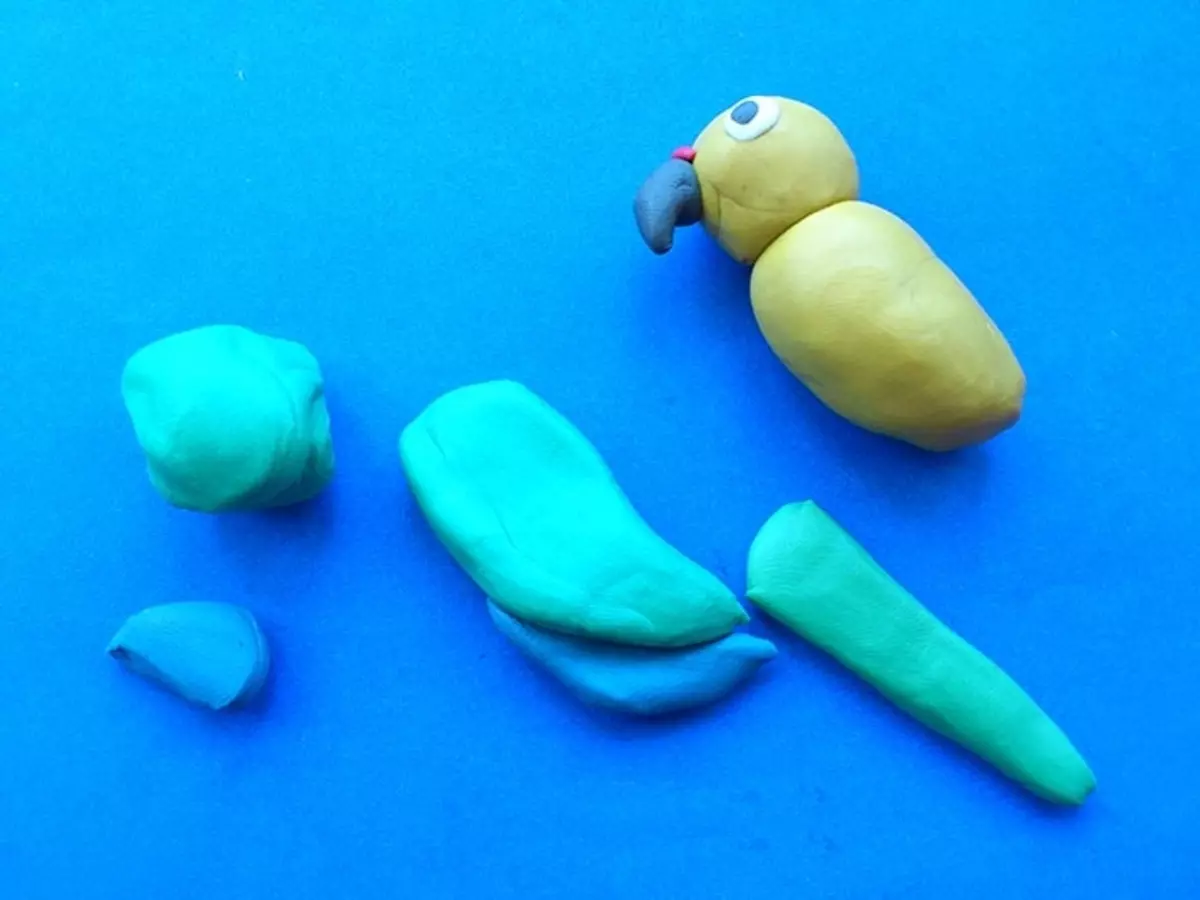
- There is a hitch of figurines, you can take a muzzle. Packages Standard: White circle plus black pupil smaller circle. The bird's keyboard will be sharp, lowered down.
- Now you can take on the wings and feathers. You can take only green plasticine or supplement it with other bright colors. From oval cakes, wings are formed, drawings on which are made with a stack or toothpick.
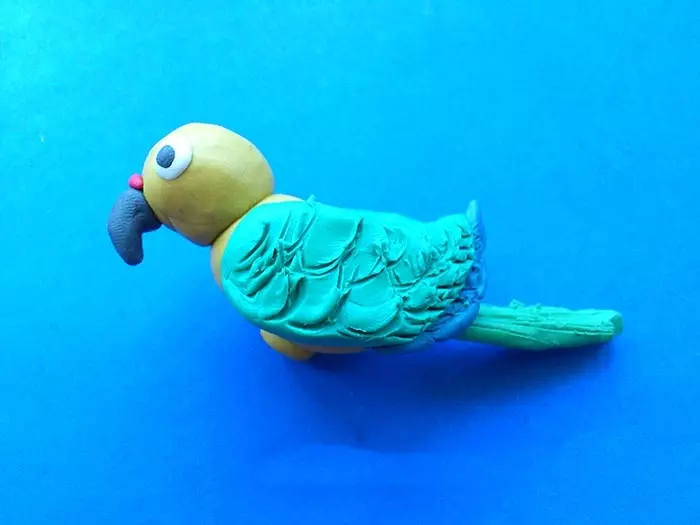
- Brown paws, standard. This is a plasticine, which is risen in matches. On the other "legs" parrot will not stand.
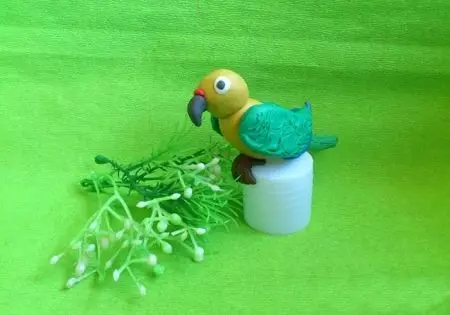
In the next video, other Methods of Parrot Parrot are presented.
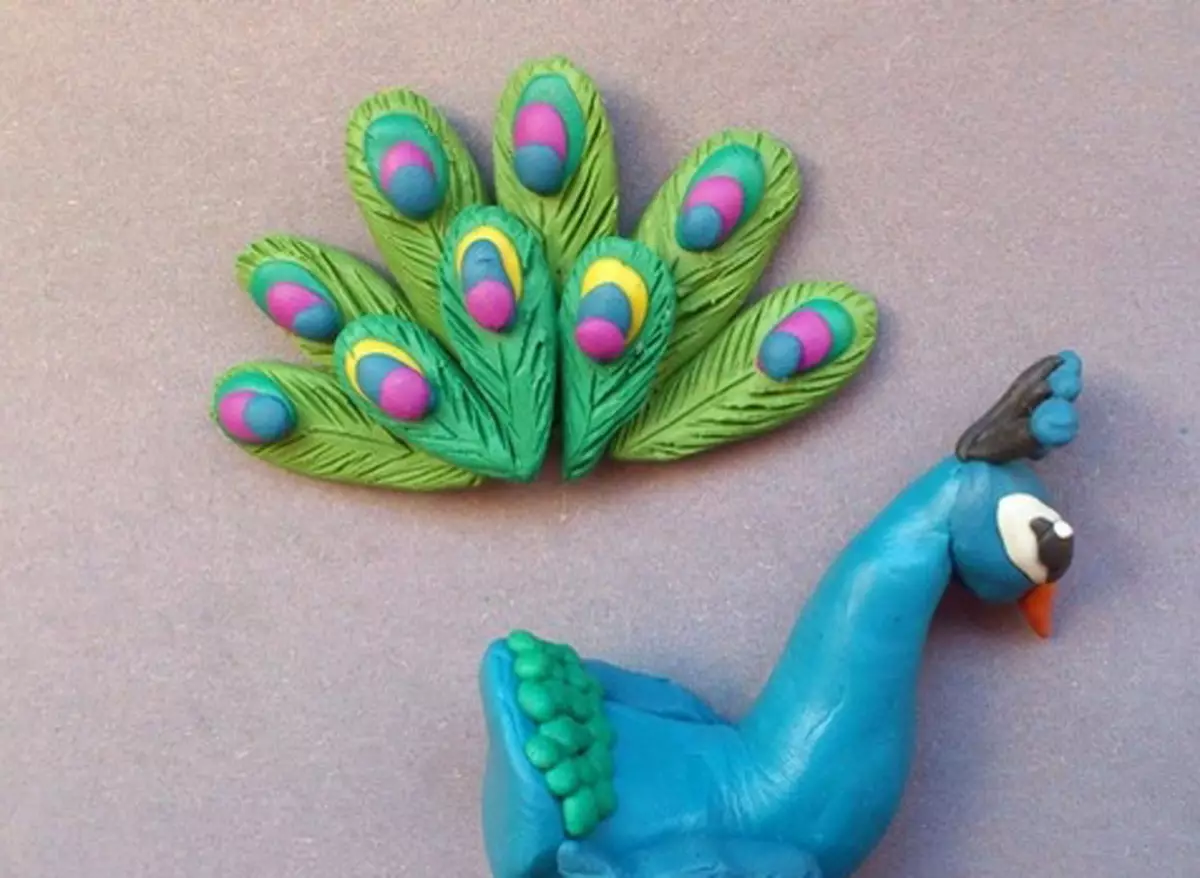
Peacock
To make this handsome, it will take: plasticine of bright colors, not less than 5 different samples, stack, wire, match.
Stages of modeling.
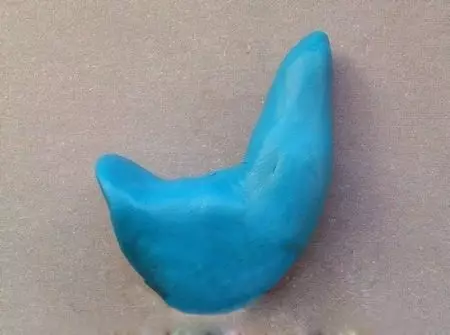
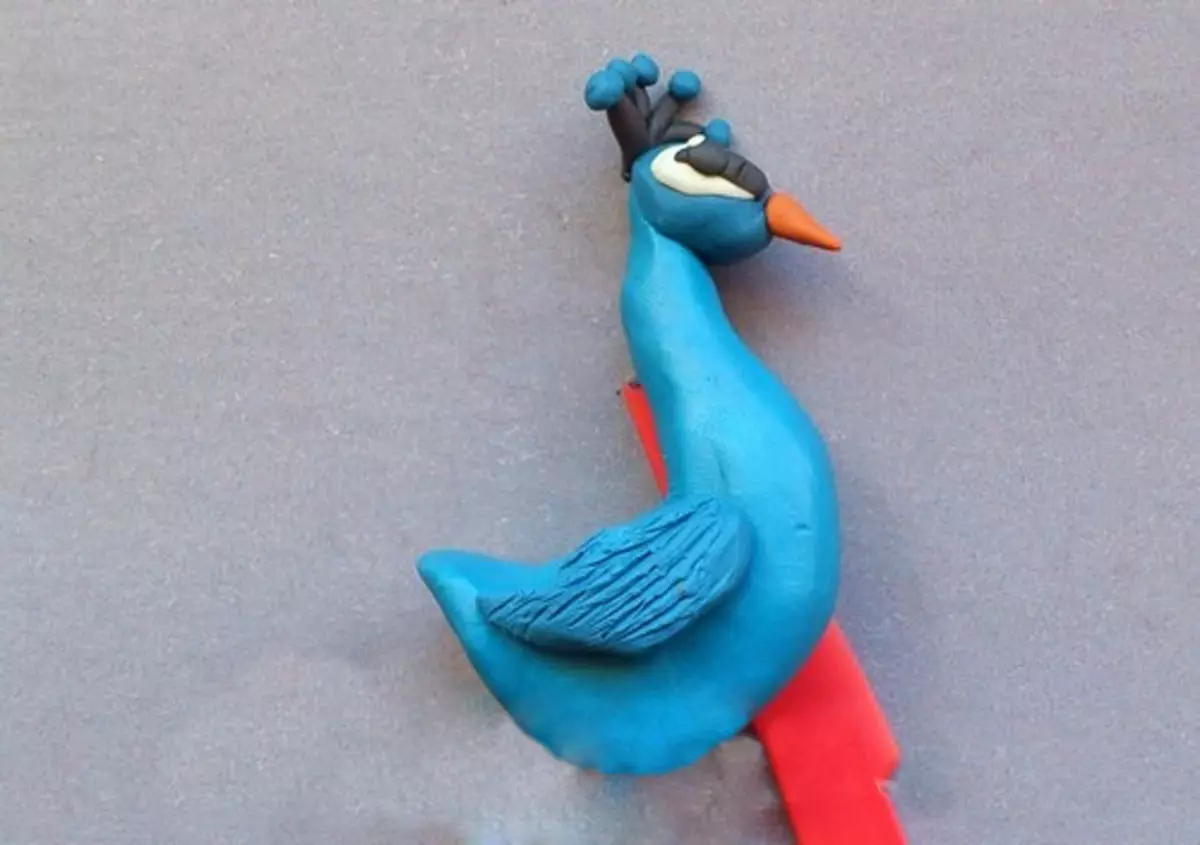
- You need to smash blue plasticine lump. It is drawn up so that the center is formed a rather compound to the caller, the thick neck was covered, the tail part was flattened behind.
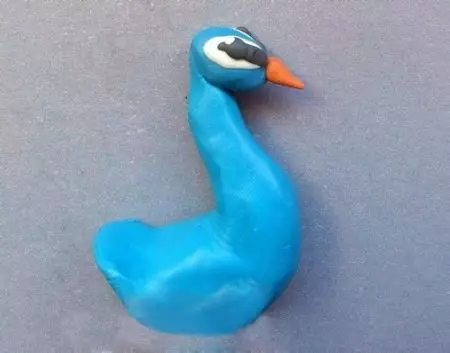
- A small head is added to the neck (Peacock is really small). On the two sides, white cakes are stuck, which will subsequently become eyes.

- Ahead is attached to an orange small beak. Black stripes glue on white cakes - so the plumage is set. Black eyes-points are glued. The head is made.
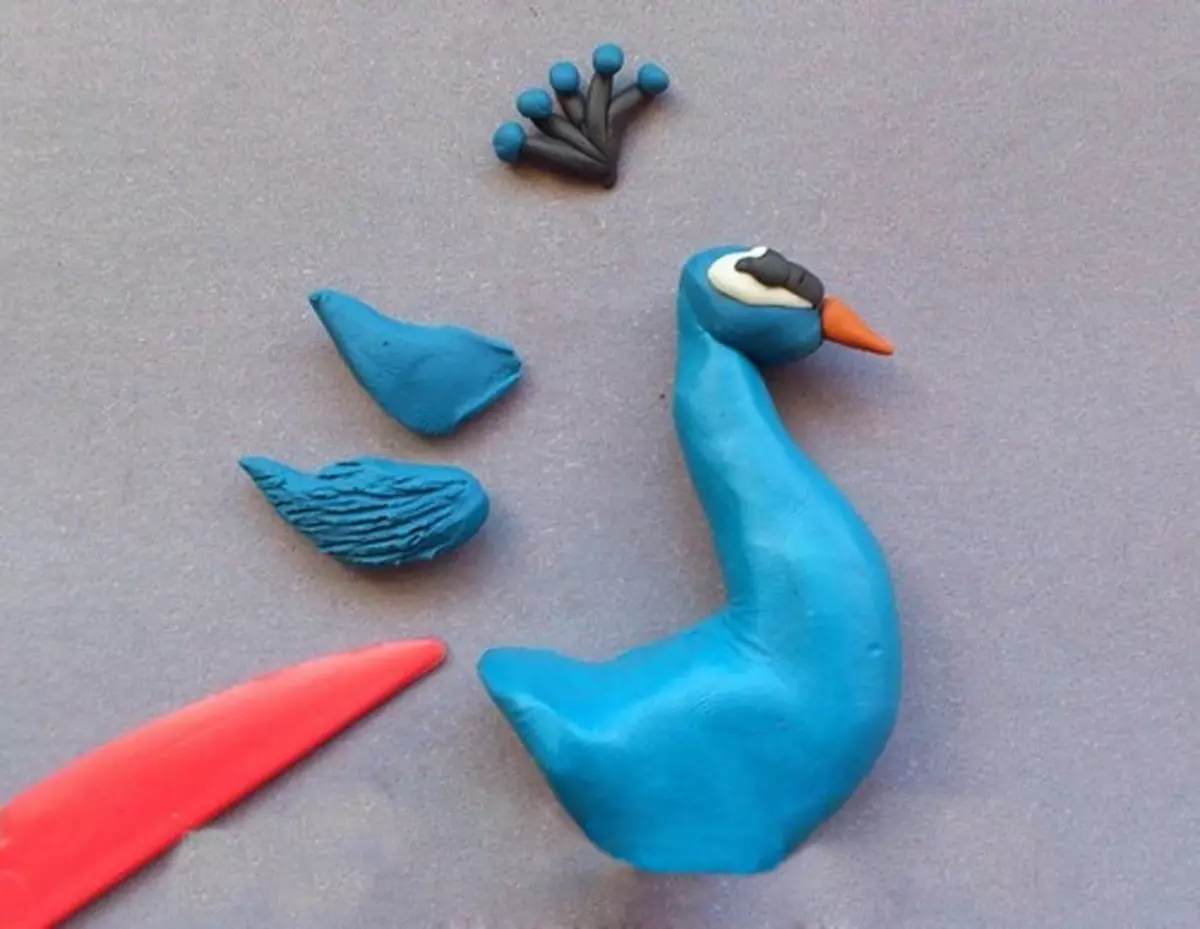
- On the head, a hokholok from black spots collected in the fan. Only first on each twig, a blue ball is fixed. In the Khokholka there will be 6 sprigs. Wings in peacock are inconspicuous, they can be made from the same plasticine as the main part.
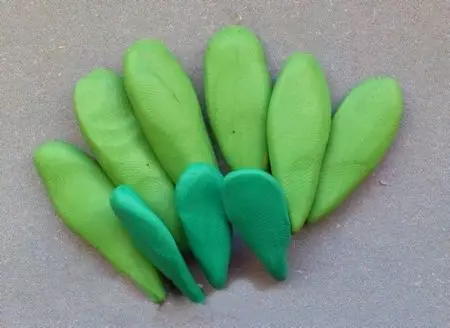
- The most important thing is the tail, it has the most remarkable bird. Two shades of the same color will be required, for example, light green and dark green. Of these shades, you need to make a few dense droplets: dark smaller, and bright more.
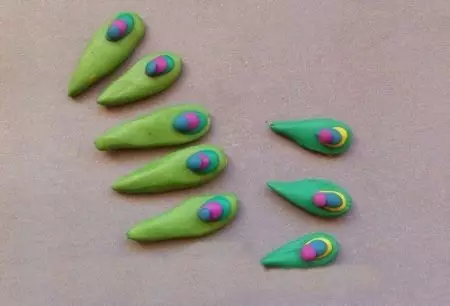
- Closer to a wide part of the droplets are lined with multi-colored cakes, such work requires the greatest skillers - it is necessary to glue the smallest details.
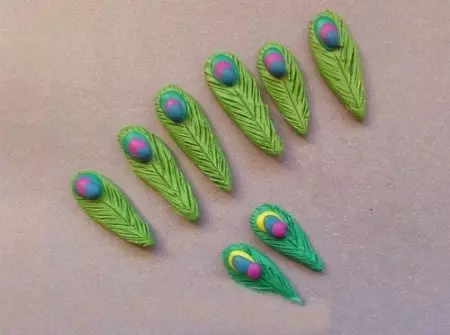
- A sharp tip stacks on feathers are made notches. All the tries makes sense to glue the fan, so they will be easier to mount them. At the base, there are many small balls on the torso. They can also be greine, but not necessarily.
- The tail is attached from behind, next to these balls. Each point is pushing the head of the match.
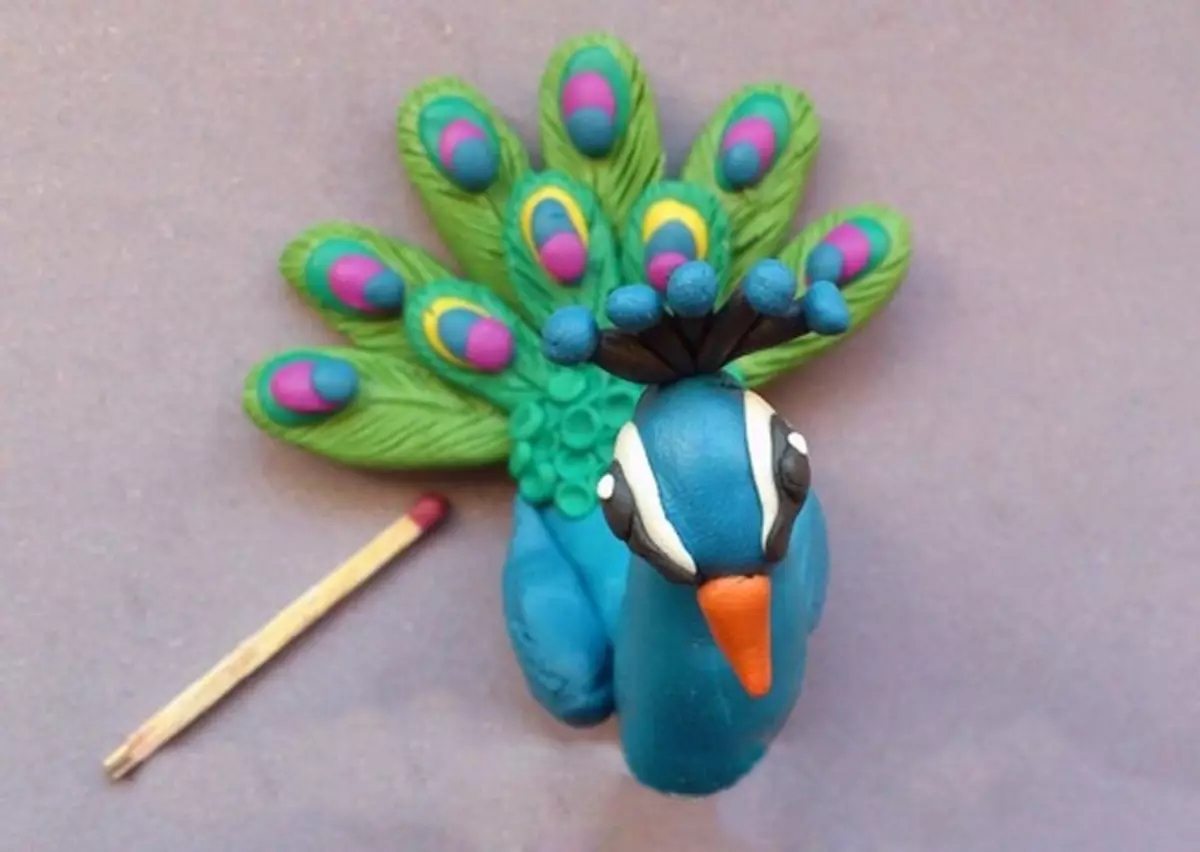
- Peacock also need to put somewhere. You can make a green circle-tube, decorate with flowers, insert two matches inside this tubercle. It will be a "legs" of peacock, which is then planted torso.

Children at 5-6 years old can try the manufacture of this and other birds. The guys in 3-4 years old do not cope with the like, but already studying simple options, pushing the bird in the nest, etc.
Any of these MK can be upgraded and improving, invent author's comments and adjustments. You can play with flowers, add rainbow plasticine, use plasticine with glitters, etc.