
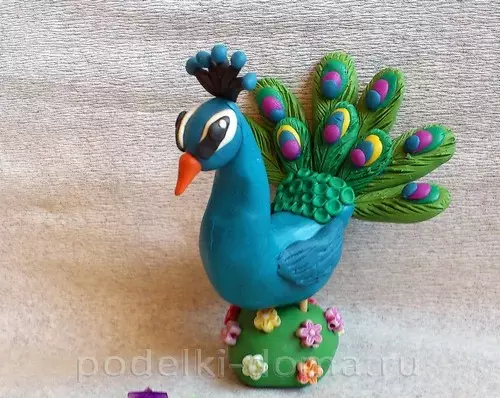
Plasticine is a pliable material from which you can make a variety of figures. Especially children like to make different animals and birds. In this article, we will deal with how you can make a beautiful peacock of plasticine.


Classic option
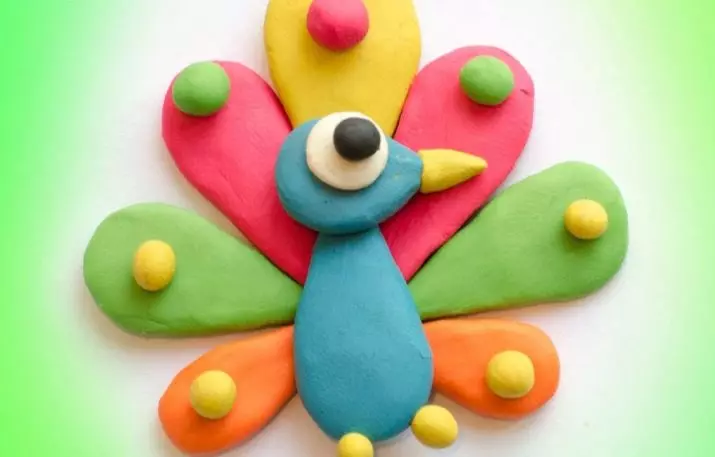
The most popular is the simple peacock production scheme from plasticine mass. It can be mastered even the smallest masters who are still weakly familiar with all the features of work with plasticine.
- First of all, you will need to form the body and the head of the future peacock. Masite these basic elements are recommended from plasticine mass of blue, but you can use other options if the child wants so much.
- After that, you can move to the manufacture of eyes and beak. For these purposes, you will need to roll out several balls that differ from each other with dimensions. In total, there should be 5 pairs of plasticine balls. Three pairs should roll out of white material, and 2 more from black.
- The first two white balls should be made of drowned. These elements will need to be slightly flattering. The billets are glued to the head of the peacock. After that, alternately, it will be necessary to attach the other flattened balls from the plasticine mass.
- The beak of beautiful birds will be able to make from two plasticine pieces of different sizes. To do this, it is best to use a plastic material of yellow, orange or red.
- After that, it is necessary to connect the 2 main elements of the crafts: torso and head.
- Next, you can proceed to the formation of wings. Their color can be almost any. It is necessary to make flattened boils. By means of stacks or toothpicks, you can apply a pattern in the form of imitation of fluffy feathers. All items will need carefully, but firmly connect to a single composition.
- Now you have to make a tail. For this, the dark plasticine mass is mastered small and very small details in the form of droplets.
- Each pyryshka should form an appropriate bright pattern. It can be done by means of different-dimensional plasticine balls. In this case, you can use absolutely any color combinations.
- Feathers need to be connected in such a way that they form a fan. The billet is attached to the body of the birds.
- Next, they make paws and a high-tech plasticine peacock.
If it wants, the finished handicraft can be supplemented with various scenery and decorations in the form of plasticine patterns of contrasting colors.


How to make on cardboard?
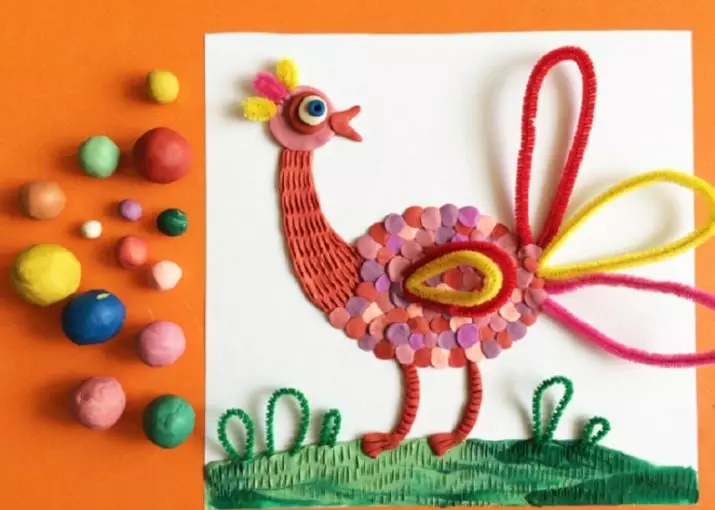
No less original and beautiful plasticine peacock, made in the form of a spectacular applique. To make such an interesting handicap, it will be necessary to prepare the following components:
- cardboard sheet;
- Plasticine mass;
- Special cinema wire;
- stack;
- stationery.

Let's wonder the step-by-step master class of making a beautiful bird on the cardboard.
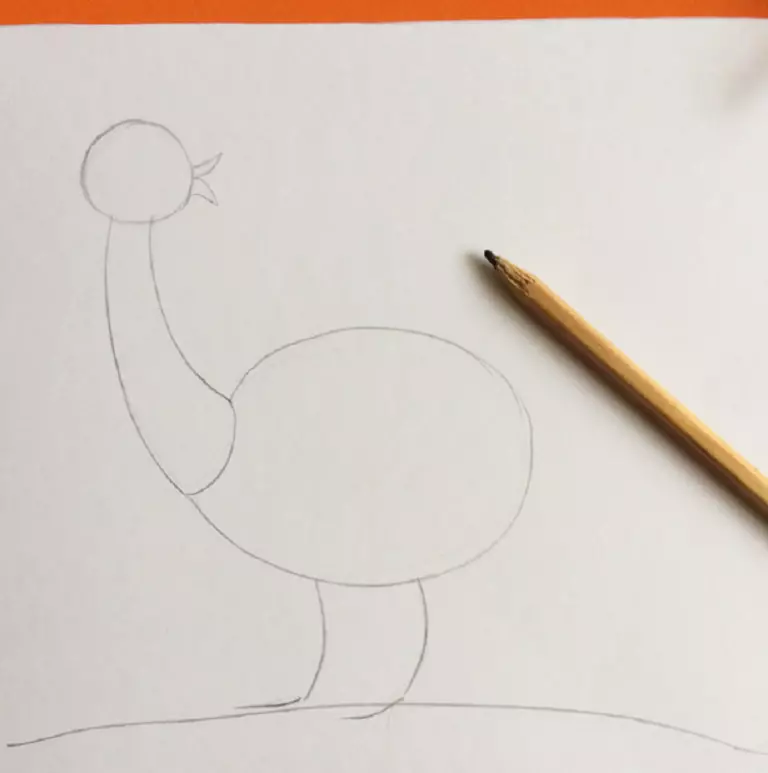
- The first thing will be needed to make a sketch of peacock on a cardboard base or paper.
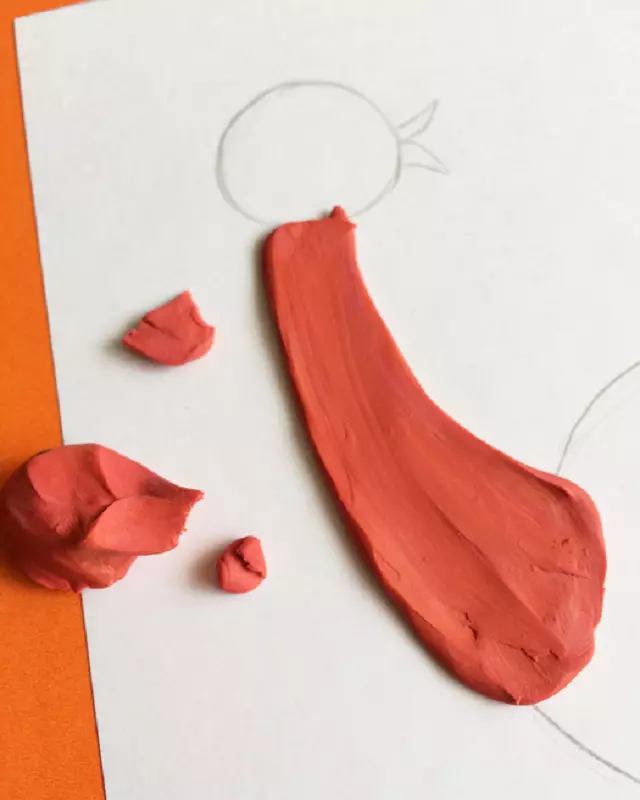
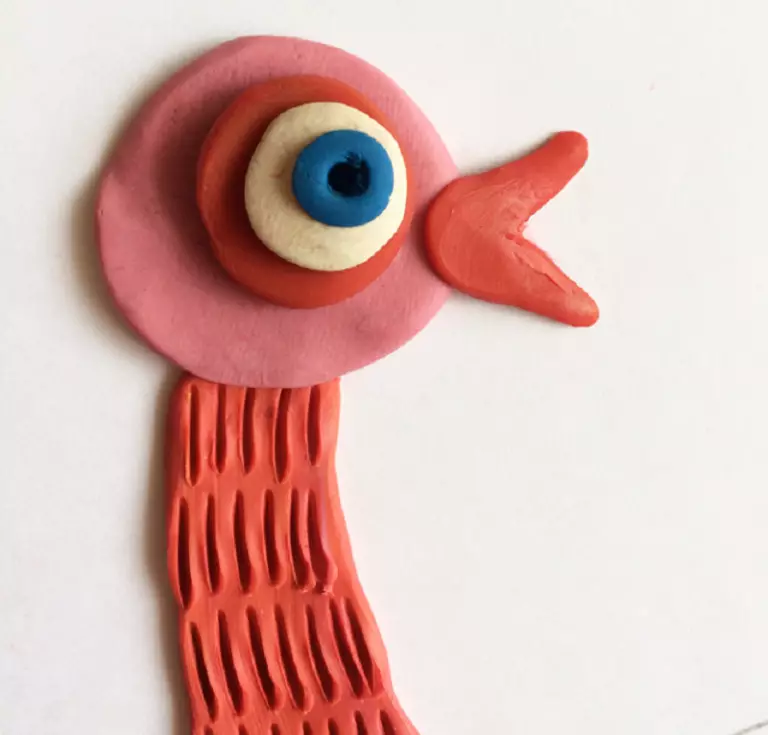
- Next, you need to take a plasticine piece of any favorite color. Slowly, they need to fill the applied pattern by contour. The first need to make a peacock neck.
- Using the plastic or wooden stack, the bird's neck can be made textured.
- Next proceed to the design of the head. From plasticine form a couple of circles of another coloring. Eye and beak add to these elements.
- Then you need to take plasticine, the color of which is combined with a tint of peacock neck. From the selected mass you need to roll two flashes. They will need to be glued as a feet of peacock.
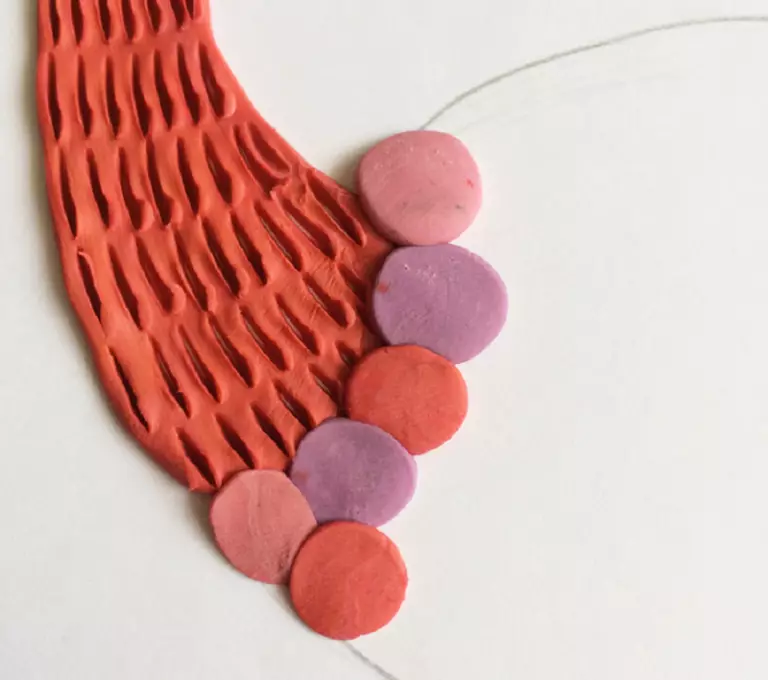
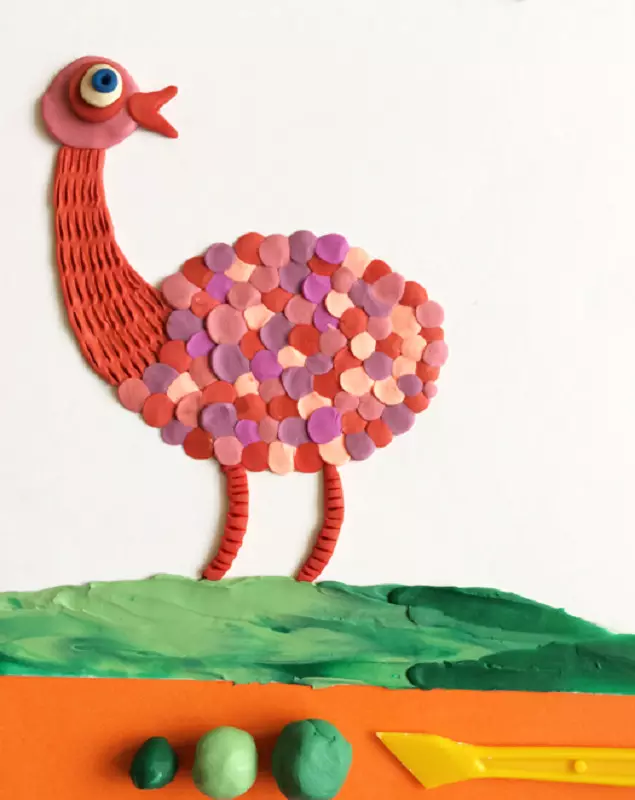
- Bird's body can be issued from several multicolored circles. To this end, we ripen a lot of identical small balls, and then by pressing they plunge them on the cardboard base with bird contours.
- Using green plasticine, you can form a herbal cleaner under a bright peacock legs.
- Next you need to take a cigal wire. Of these components, made in different colors, make the tail for peacock, as well as beautiful wings and elegant shoes. As a result, the original applique will receive a very interesting relief.
You can insert the finished plasticine applique into the frame, but it is better not to store such things behind the glass. Very soon the plastic material will begin to deform in such conditions. The shape of the crafts will inevitably deteriorate.
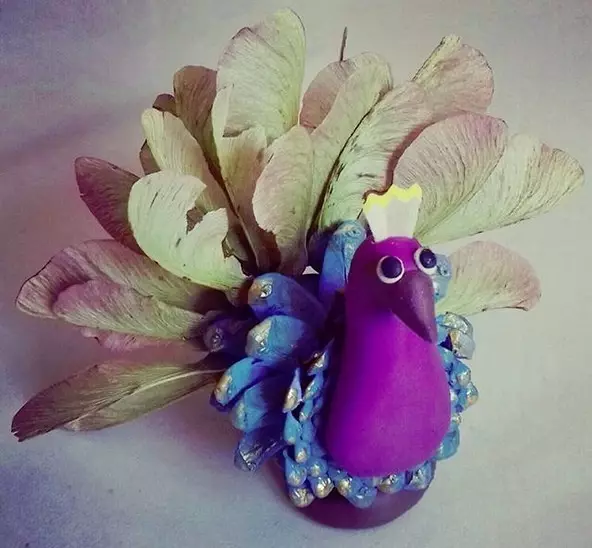
How to make bumps?
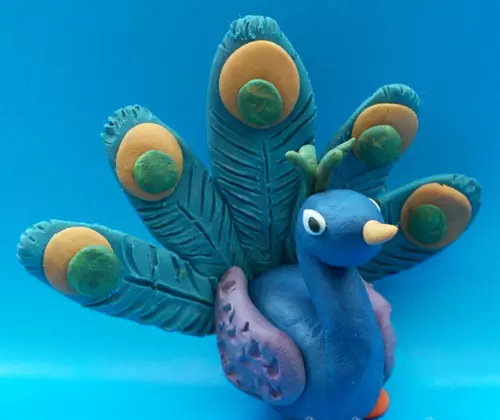
Spectacular peacock can be made from a combination of plasticine and natural materials. Consider the phased instructions for the manufacture of bright birds with bumps.
- Peacock should be done from a handsome tail. To do this, take a flattened plasticine's circle of any favorite color. Next, it will take to roll out multicolored plasticine balls that have different dimensions. You need to form a pattern by applying these components to each other.
- By making a bright tail, you can move to the manufacture of the body. The bump needs to be brushed from all contaminants and dust. This component must be set down to the plasticine stand. Then form legs.
- Now you can join the eyes, beaks and a hooker.
- Wings of birds form in the form of a drop. These elements must be fixed on the sides of the natural material.
- Complete the original handicap by attaching the tail to the peacock body from the cone.
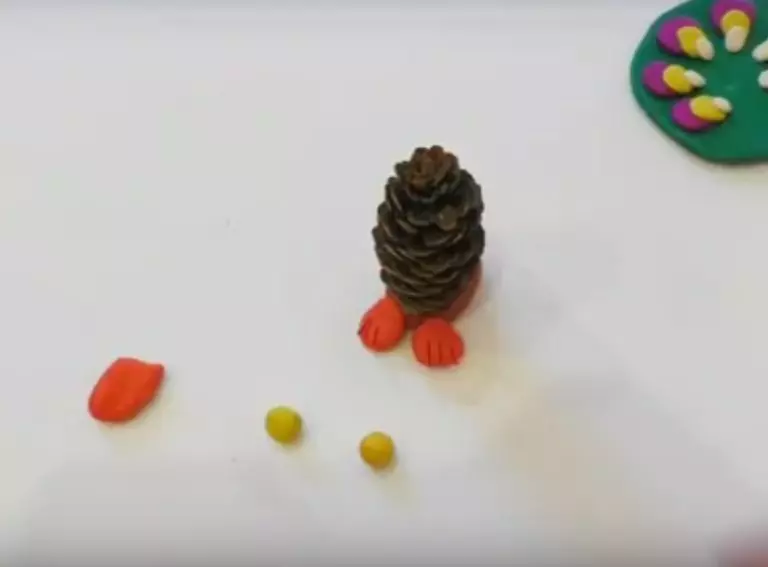
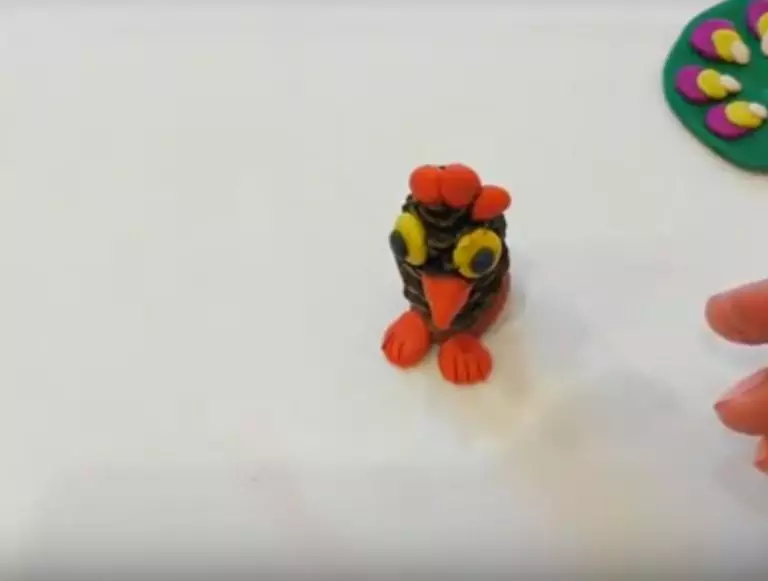
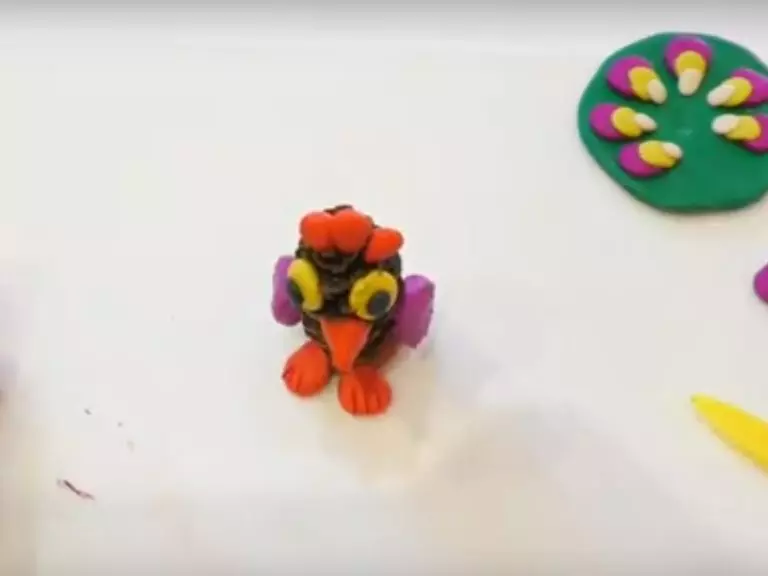
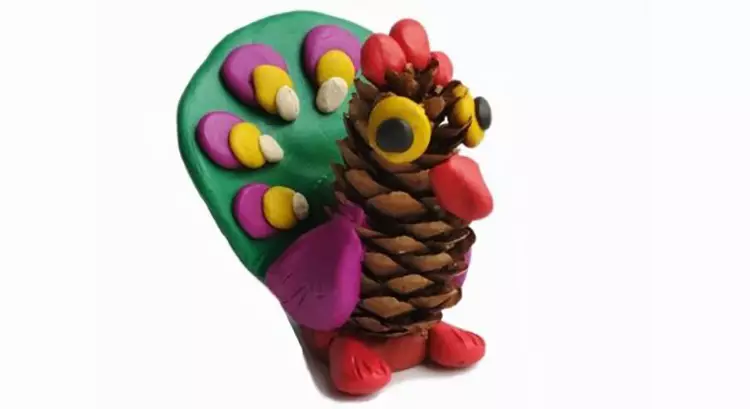
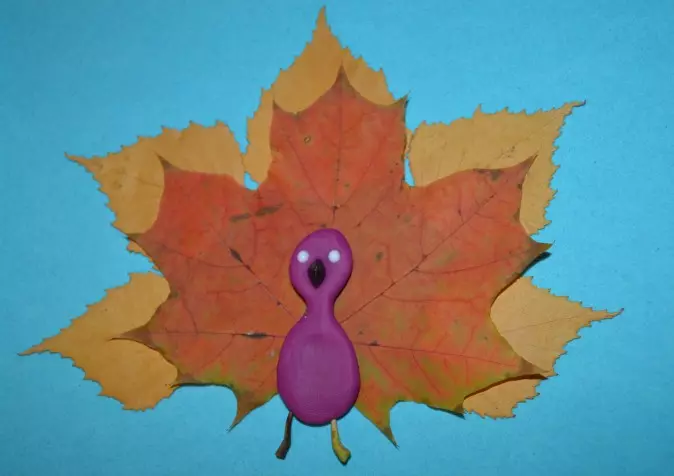
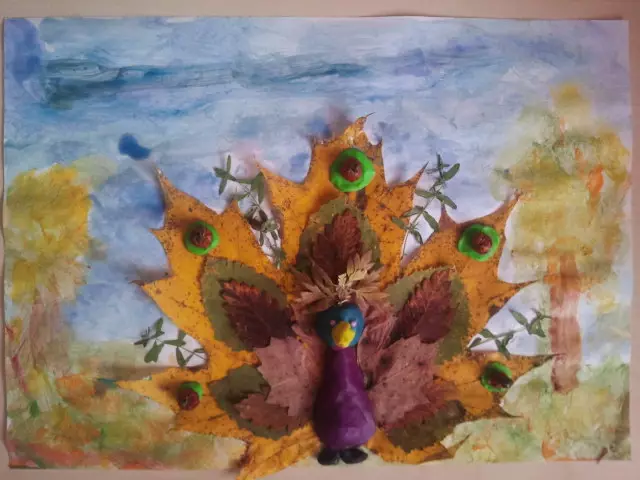
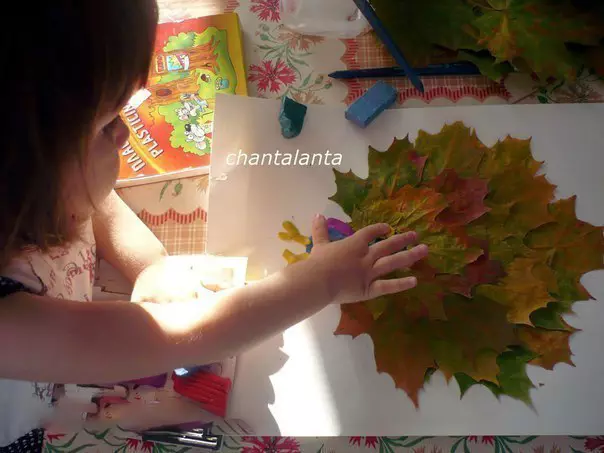
Figure with leaves do it yourself
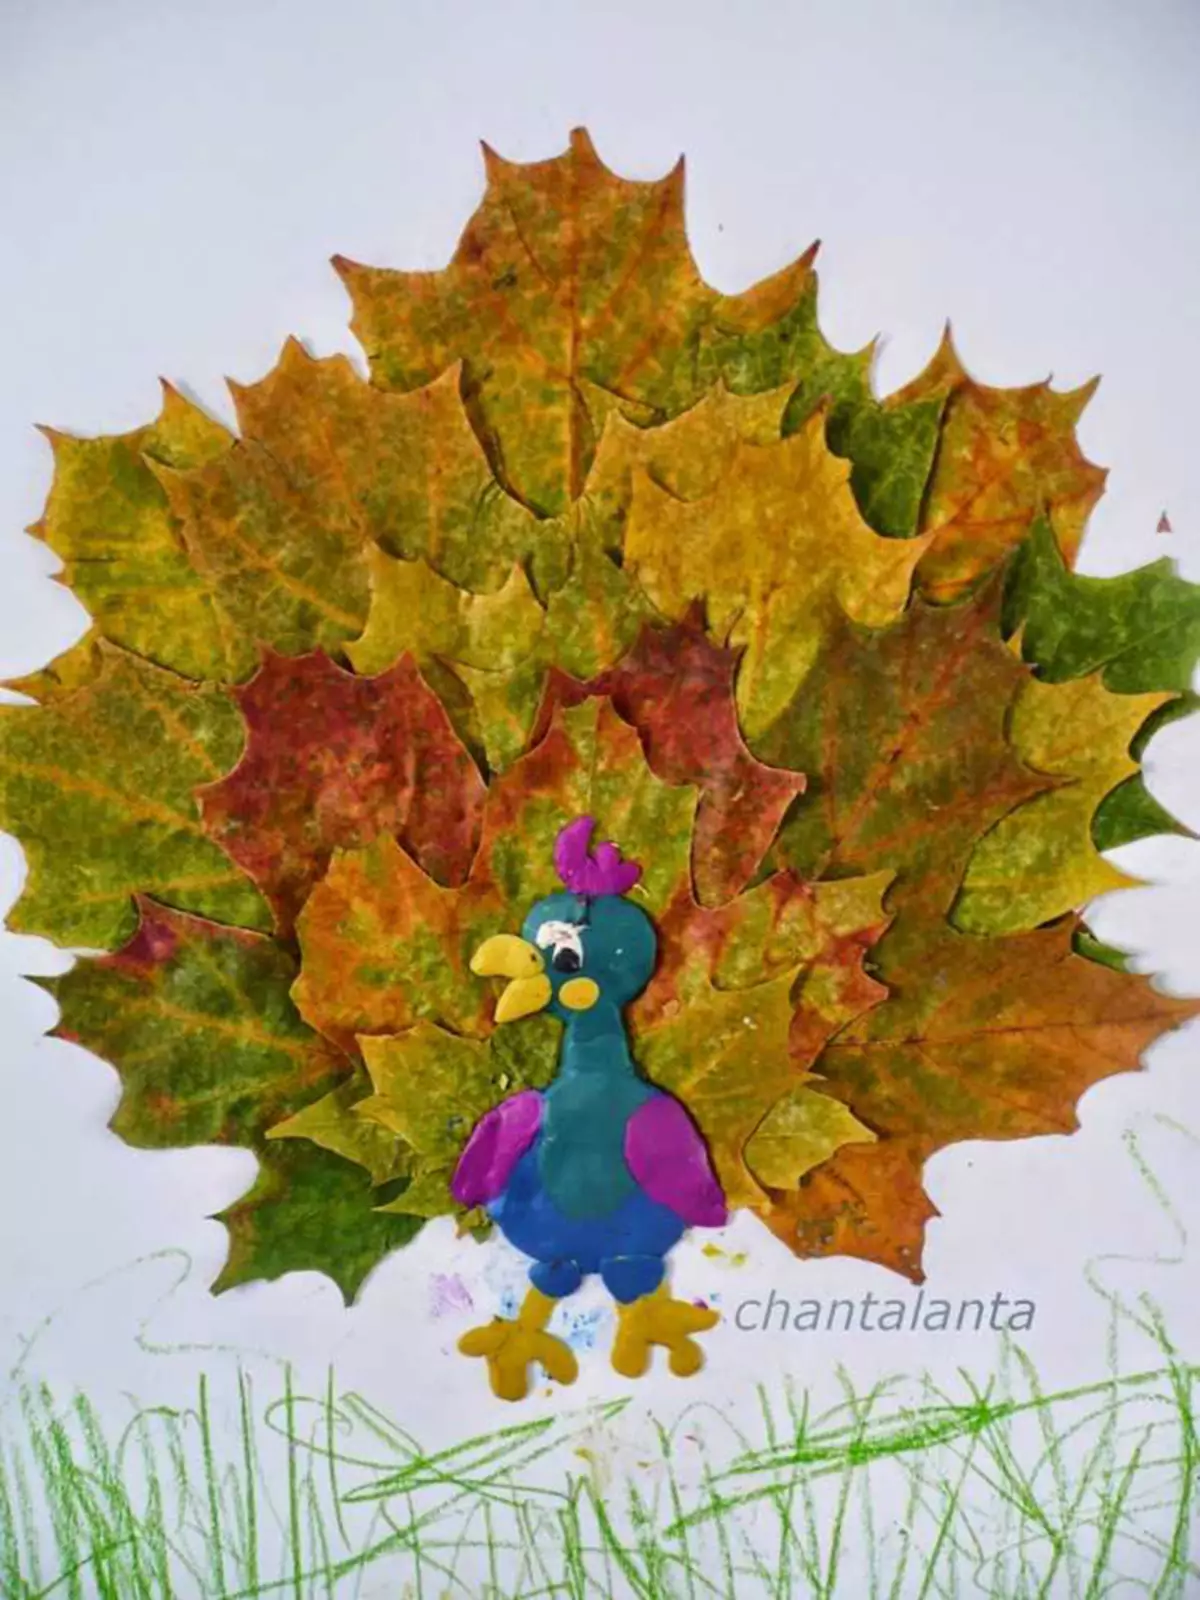
Very interesting and bright peacock may turn out of plasticine and autumn leaves. The most beautiful crafts come out if you use maple foliage.
There are many ways to manufacture plasticine peacock with specified natural materials. You can use appliqué technique.
Consider step by step, as you can make it possible to make an elegant peacock with the use of maple leaves.
- From the volumetric autumn leaves will be a first-class peacock tail. You can fix the foliage on a piece of paper or cardboard. It is advisable to mount these components in layers in order to create a noticeable volume.
- When the elegant tail is fixed on the base, you can move to the manufacture of the body and the head of the bird. First, you need to cut peacock from colored paper and stick over foliage, and then on top of paper contours to shake a plasticine mass of different colors. You can do without the basis of colored paper, but with it the manufacture will be easier for the child.
- A lush tail from maple leaves can be effectively reapting in various ways.
Details are especially elected, in which this element is supplemented with multi-colored beads, shining rhinestones.
Useful advice
Consider several useful tips related to the manufacture of plasticine peacock.
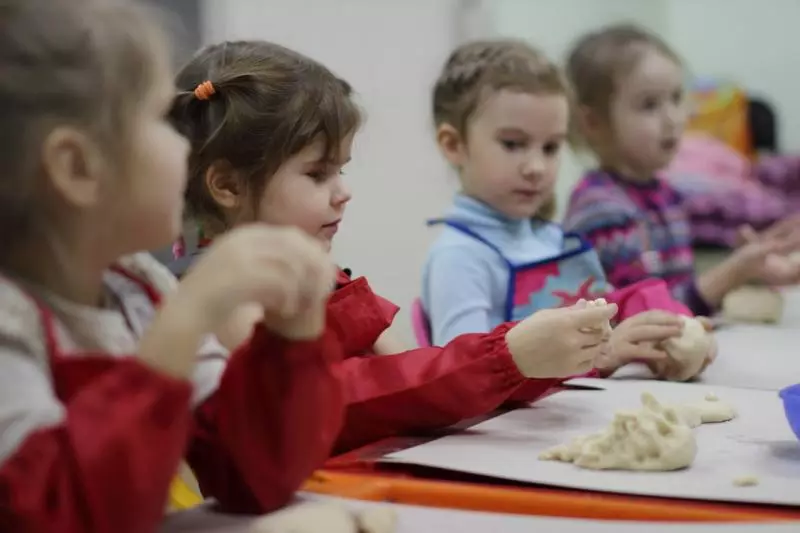
- If a child is not yet familiar with the plasticine masses, you should not immediately choose the complex techniques for the manufacture of crafts. It is advisable to start with the easiest and most understandable options. More complex schemes can be mastered later.
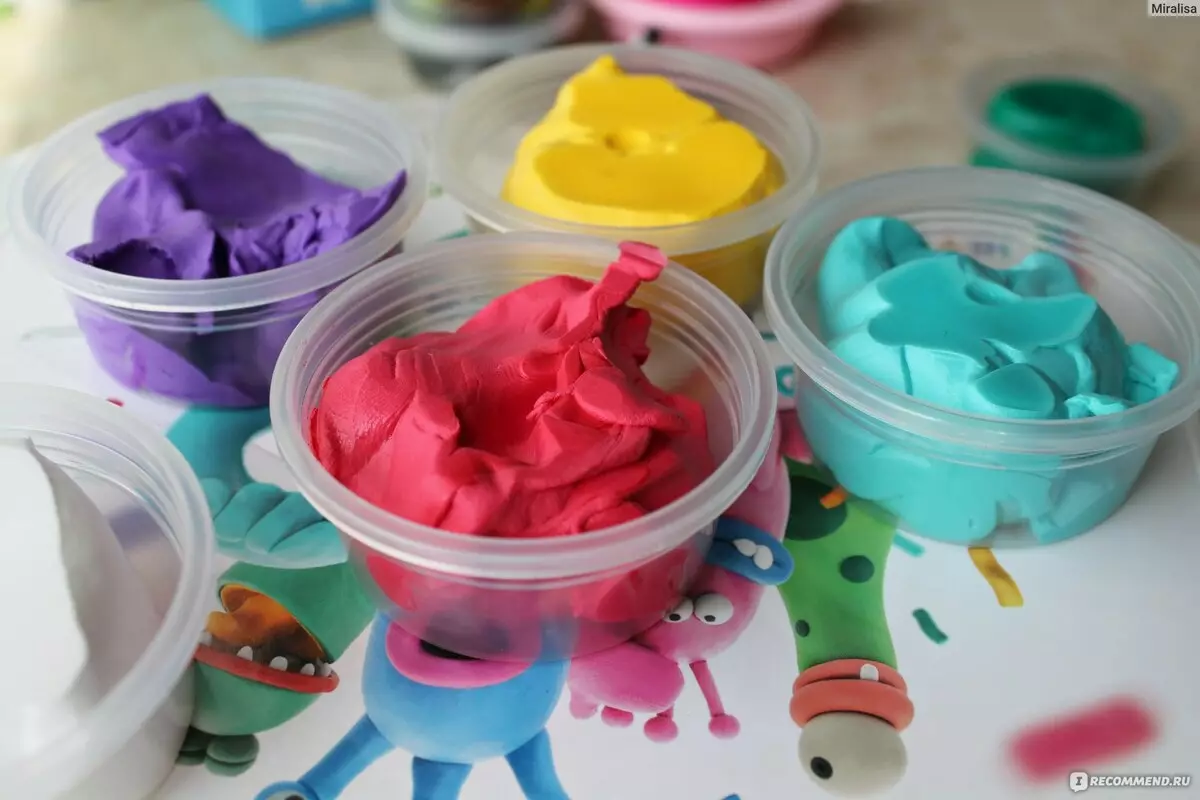
- For modeling, you can use a standard or light type of plasticine. A more pliable will be a slight option, but it quickly freezes. It does not need to knead. It is not recommended to buy sculpture plasticine for a child, because it is distinguished by a high level of rigidity.
- Working with plasticine, it is important to knead it at every stage of the manufacturer. Due to this, the material will be more pliable and mild, the child will be easier to work with it.
- Any natural materials before the start of making crafts must be carefully cleaned from any contamination and dust. The child should work only with clean and dry components.
- You can sculpt the figures on a special comfortable plank, and you can simply on the table. If a second option is selected, then do not do without cakes, paper or newspapers to avoid the appearance of fatty marks from plasticine on Furniture.
About how to make peacock from plasticine, see the next video.