
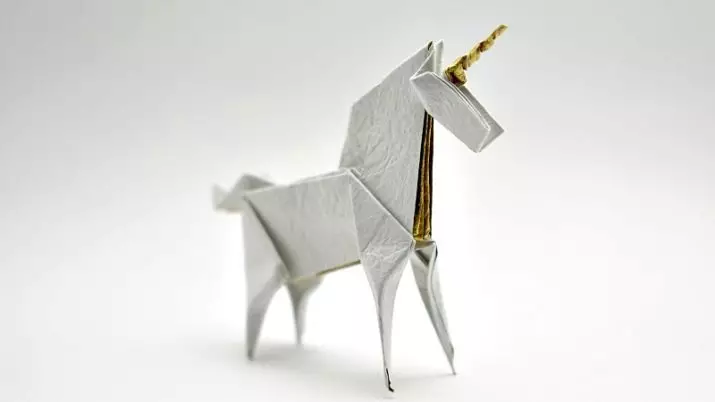
In the Origami technique, you can simulate the figures of various types and levels of complexity. Very original and attractive fabulous heroes are obtained, for example, unicorns. In this article we will analyze how to make beautiful origami in the form of a unicorn.
Simple option
There are a great set of interesting schemes, according to which you can create different figures of unicorns from paper. If a person is still familiar with the origami technique, it is advisable to start acquaintance with simpler and easy master classes. Modeling complex and intricate figures with a multitude of small parts makes sense when there is a certain experience.
There are such origami creation schemes "Unicorn", which will be simple and accessible even for young children. To create such crafts, just one sheet of paper and the minimum set of stationery is sufficient.

Consider which components will be needed to simulate the simplest pretty origami figures in the form of a unicorn:
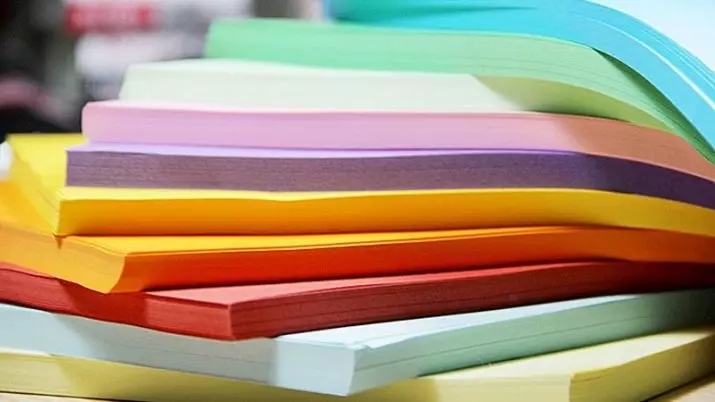
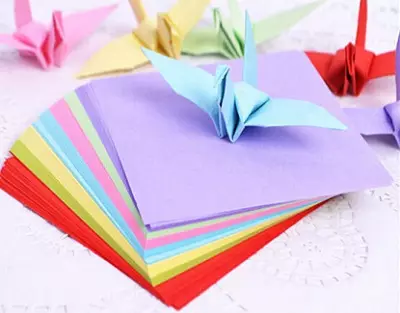
- paper (you can purchase special paper for origami, which is sold in stationery stores or outlets, where goods for creativity are being implemented);
- a piece of cream shade paper (a horn of a fabulous character will be formed from it);
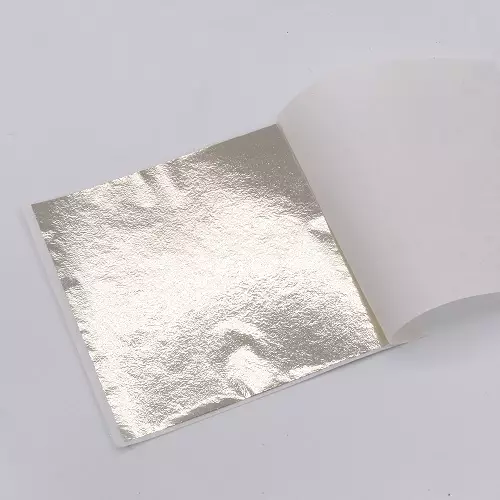
- the segment of the foil sheet (the unicorn mane will be created from it);
- glue;
- scissors with sharp blades;
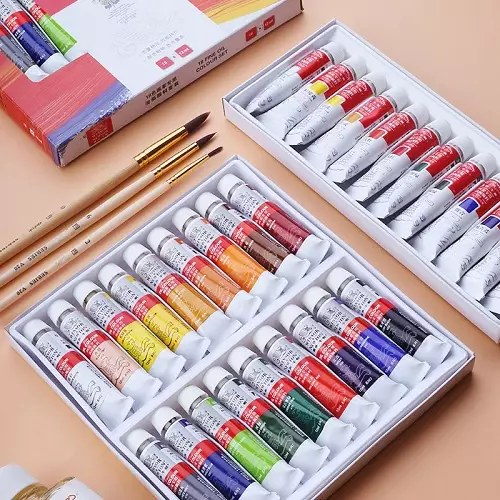
- Markers, multicolored crayons or paints.


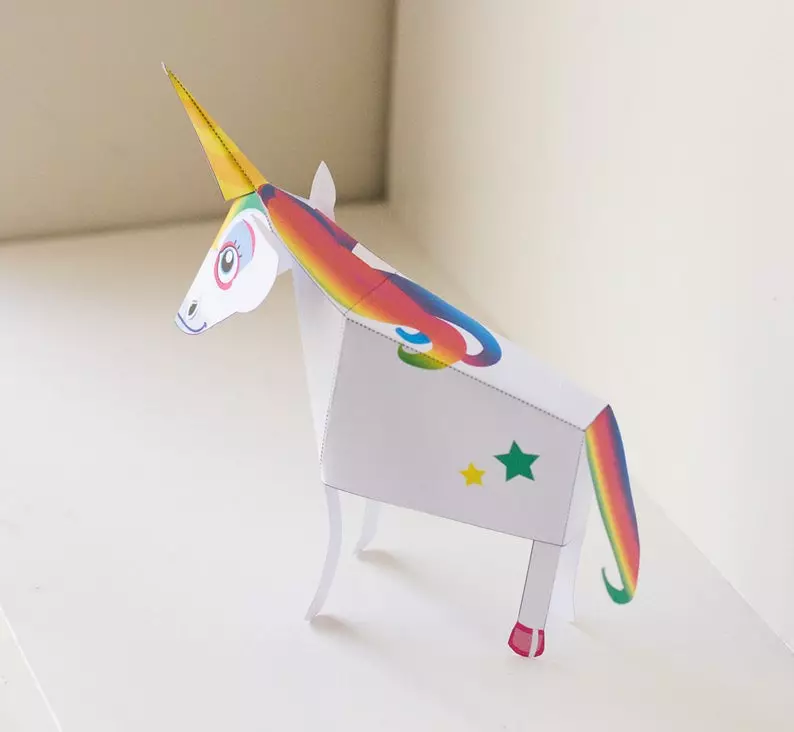
We will analyze step-by-step instructions, how to easily make an elegant paper unicorn for beginner masters.
- At first it will be necessary to carefully cut a rectangular item from a white paper sheet. The size of this piece must be approximately 15x10 cm. If a small child is engaged in creative work, all operations must control adults to avoid possible injuries when working with sharp tools.
- When the rectangle of the desired size is cut, it will be needed to be folded along the long side.
- Next, the paper item will need to be folded twice again. Thus, the central line will be well indicated. After that, the workpiece of the future figurines will need to deploy.
- In the next step, it is necessary to lift up one side of the paper rectangle. It should be done at an angle of 45 degrees. After that, the folded fold will have to be bandaged. It is very important to ensure that the edges fit smoothly and clearly along the central strip marked.
- These actions will need to be duplicated on the other side of the rectangular billet.
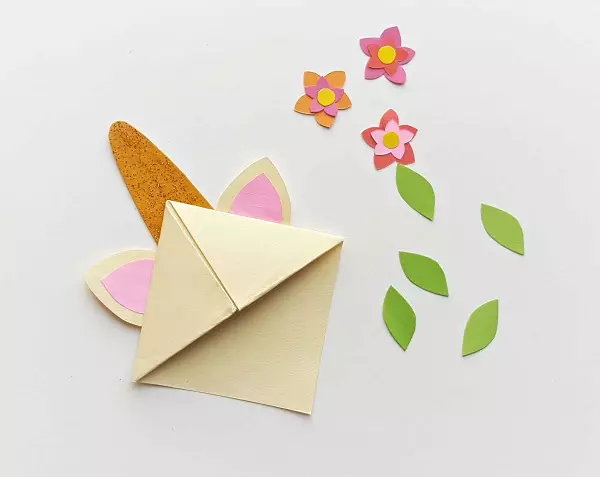
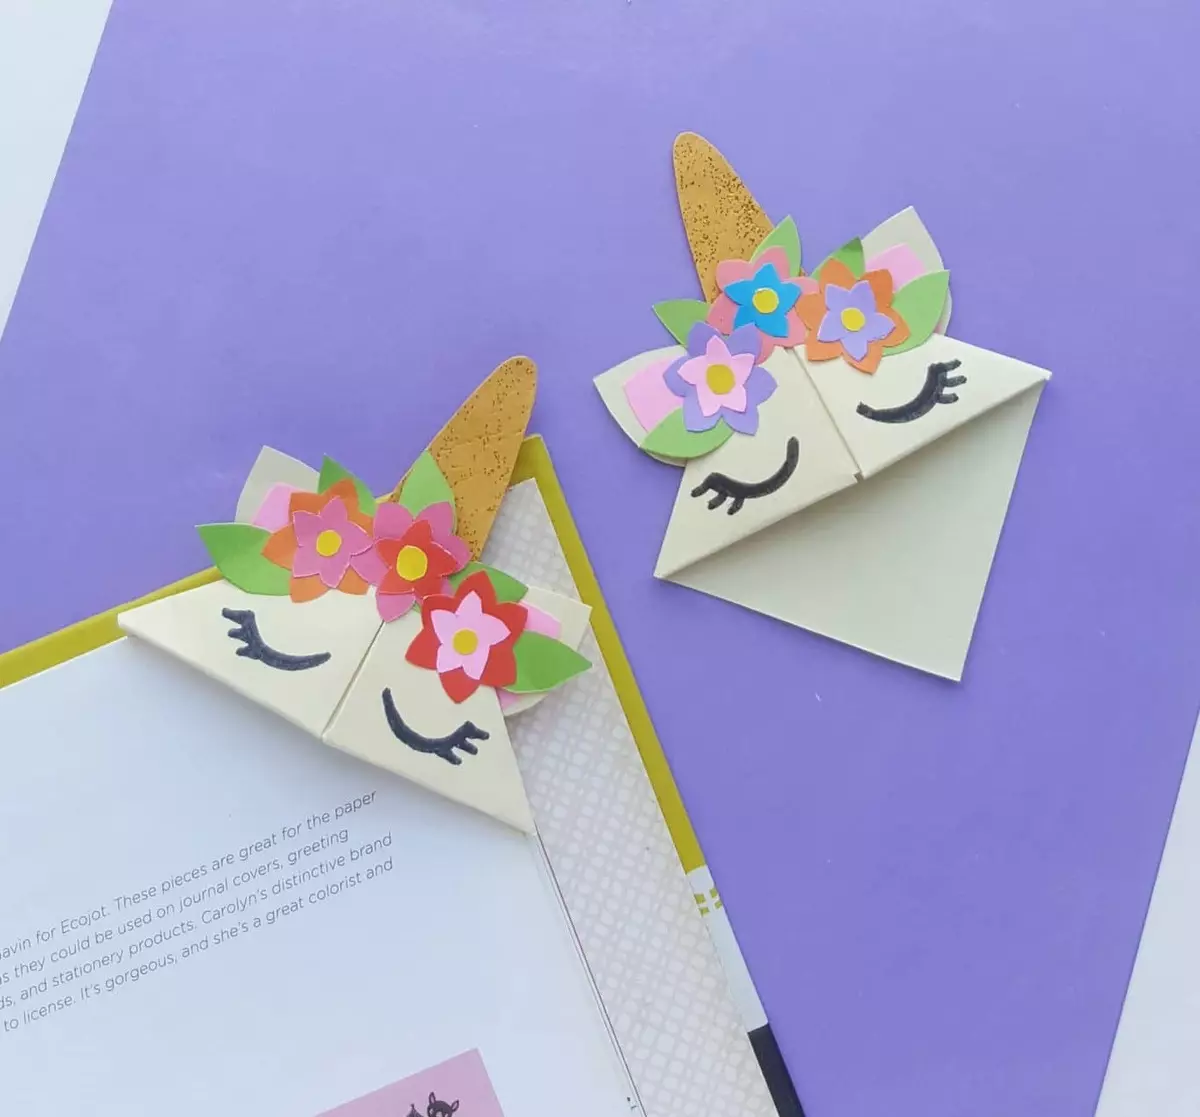
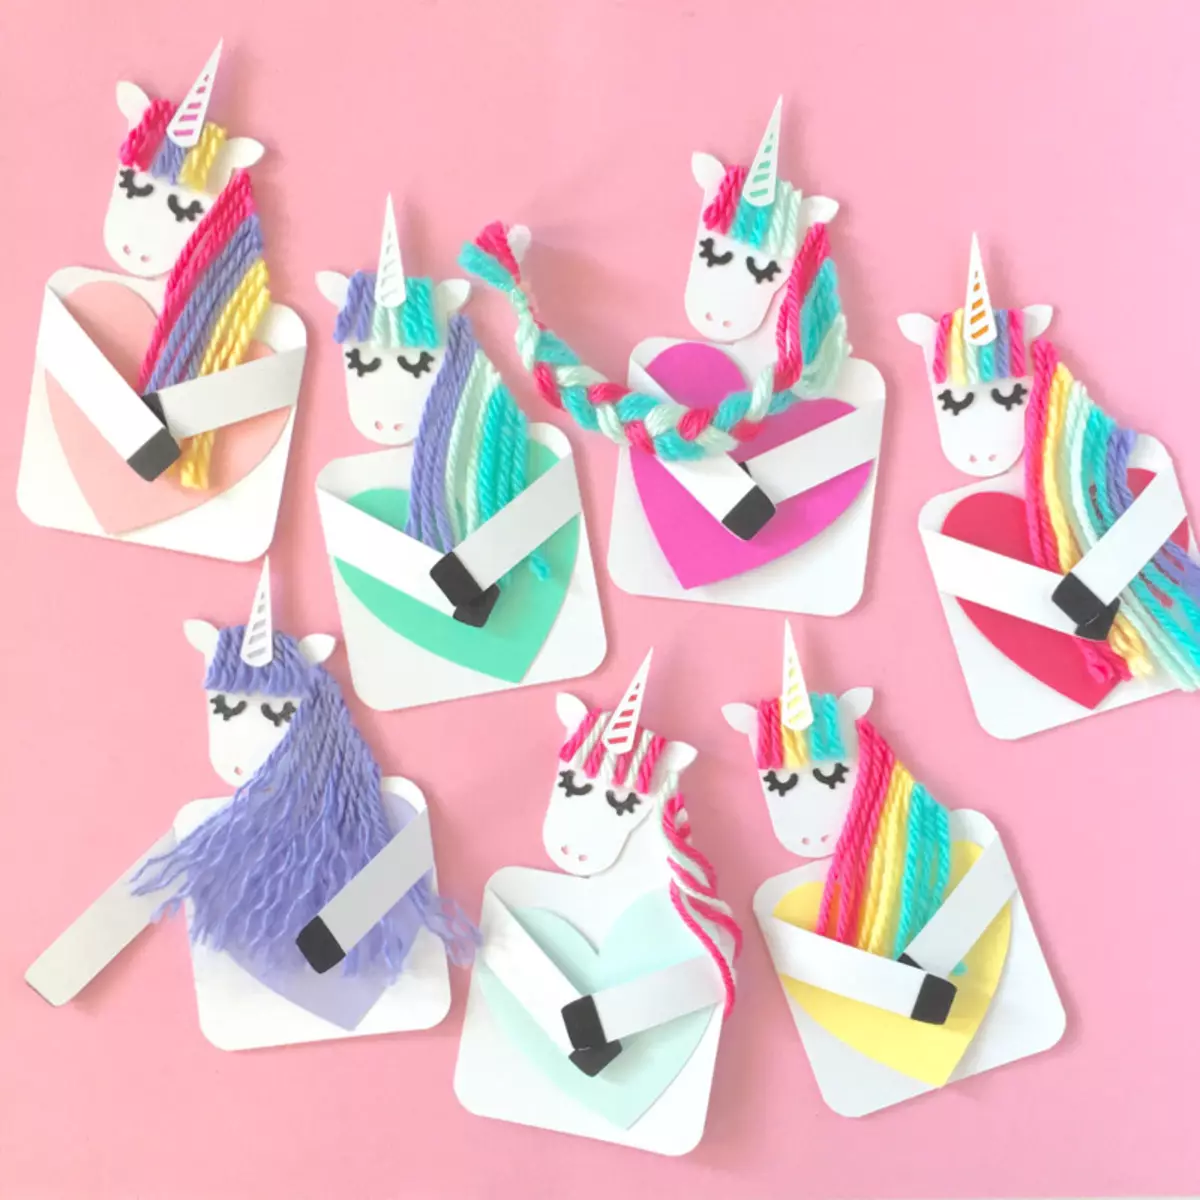
- Next, the product must be flipped over to the other side. It will take to wrap down the corners located on top. It is necessary to do this so that the shape of the workpiece looks like a heart.
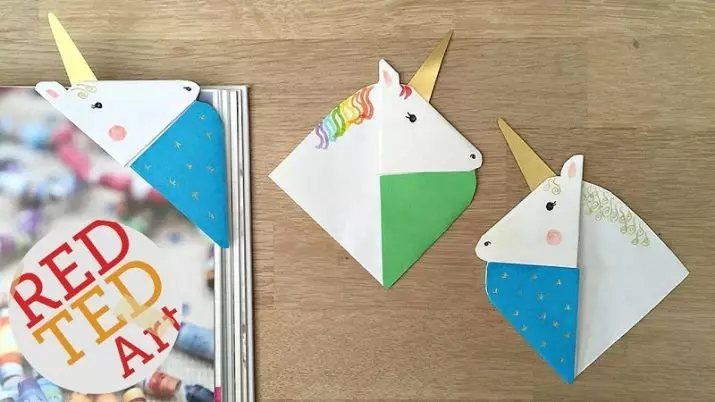
- If the handwriter is further used as the original bookmark, then the small pockets formed at the bottom will become a very convenient page holder.
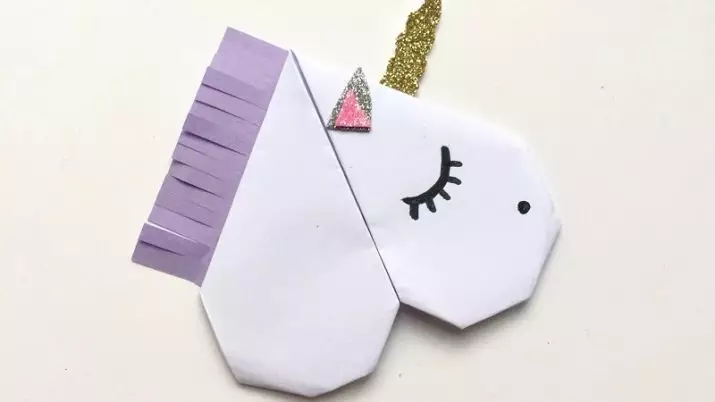
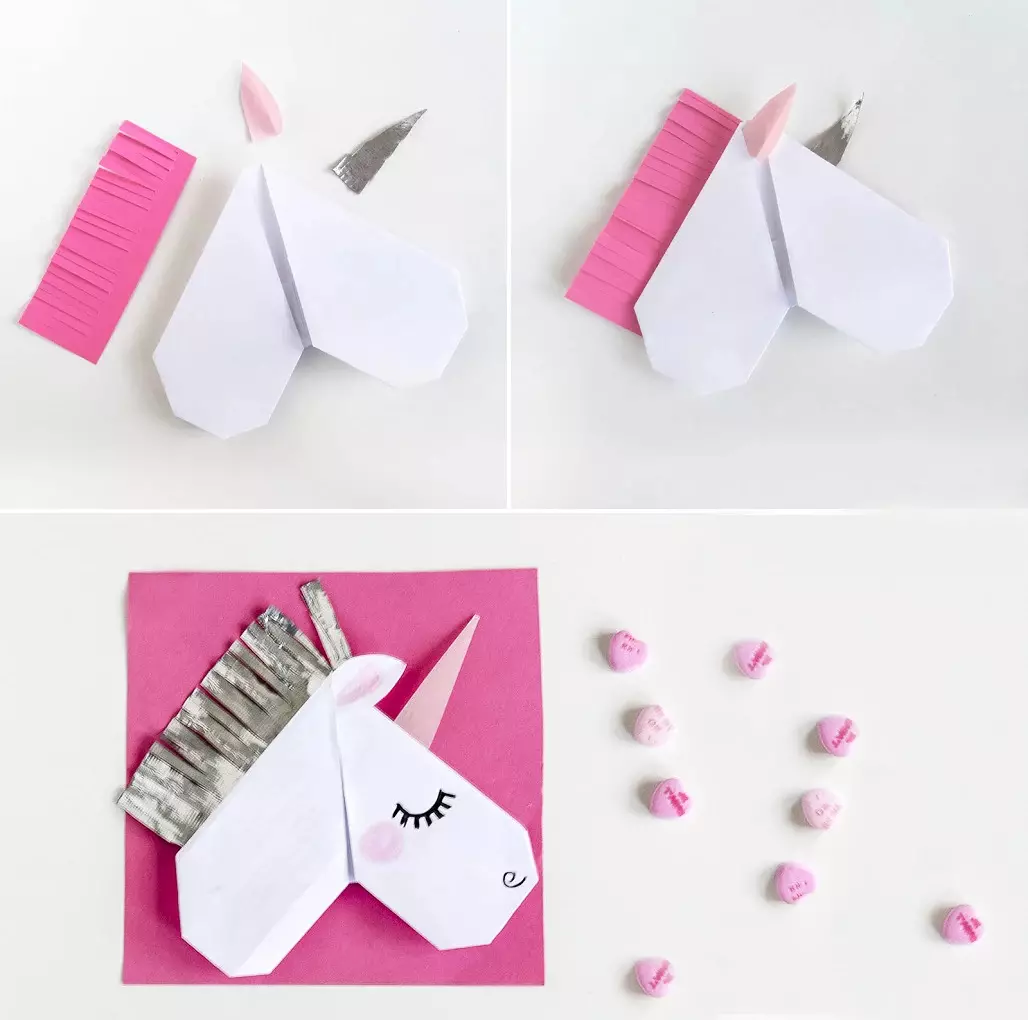
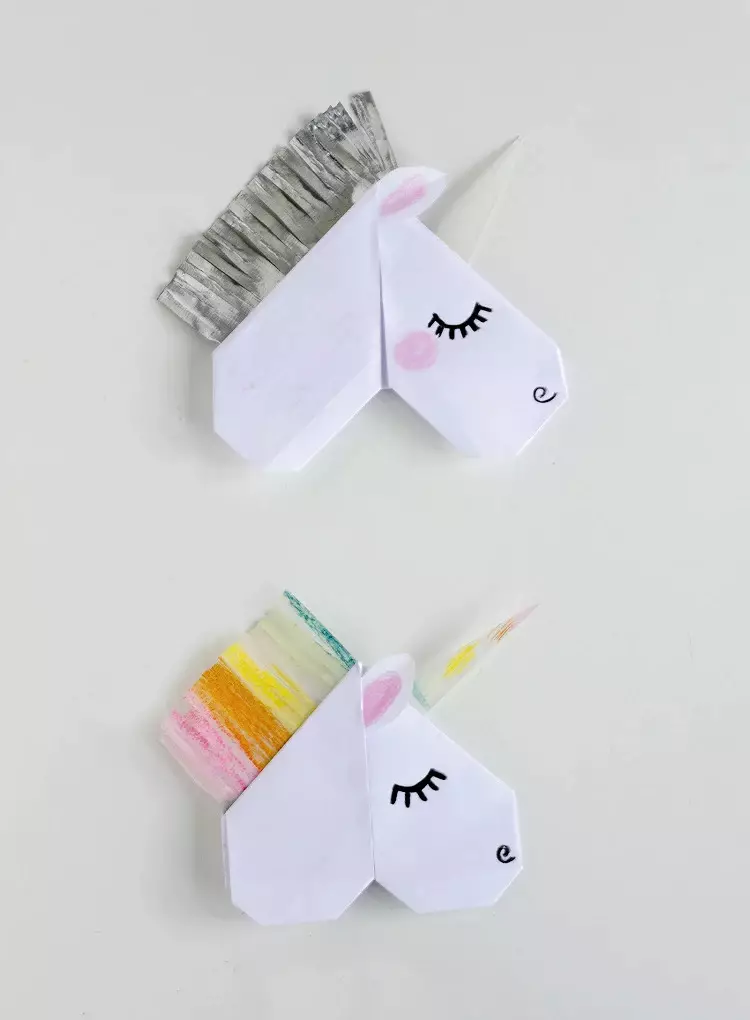
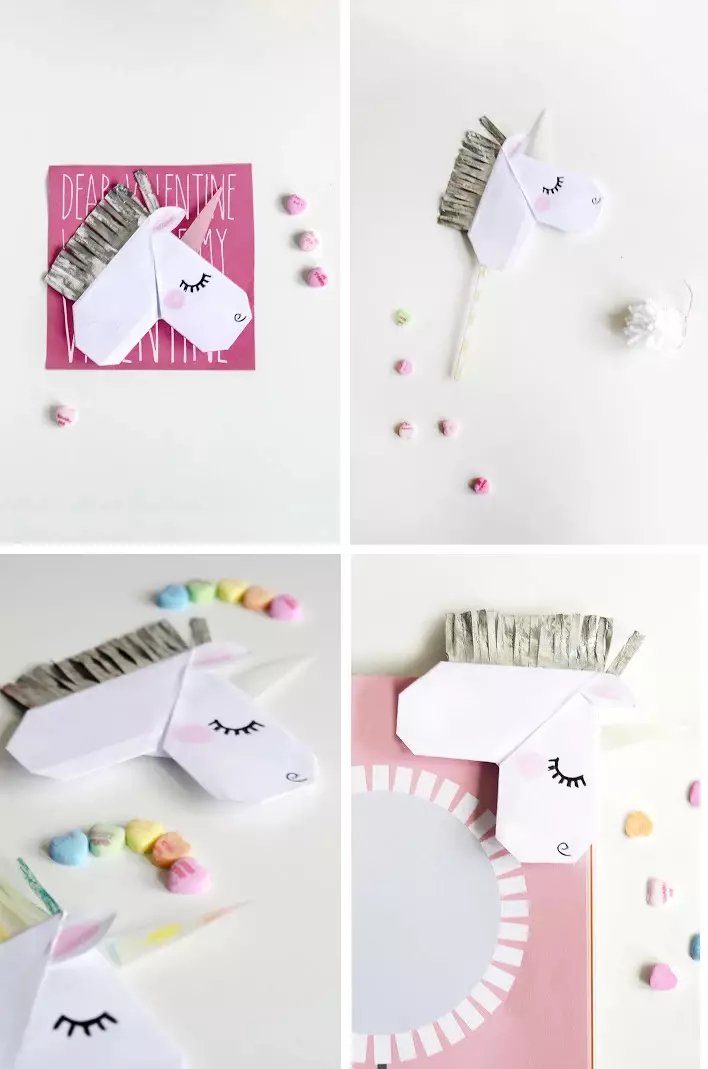
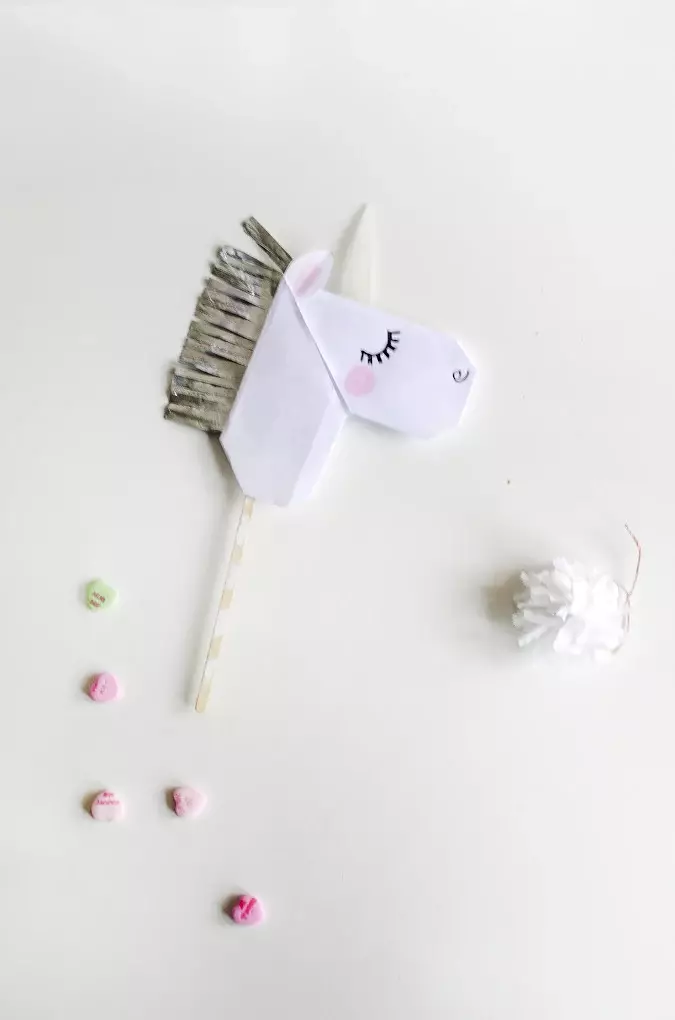
- In order for a small heart to turn into a unicorn, it will be necessary to resort to additional creative operations. You can neatly cut the mane from the foil, and then glue it to the left side of the paper heart, deploying pointed ends up.
- From paper cream shade should be cut horn. This item can also be cut from foil, but you can use simple white paper. The latter for beauty is worth painting with pencils of different colors.
- The unicorn muzzle should be issued - draw eyes and spout.

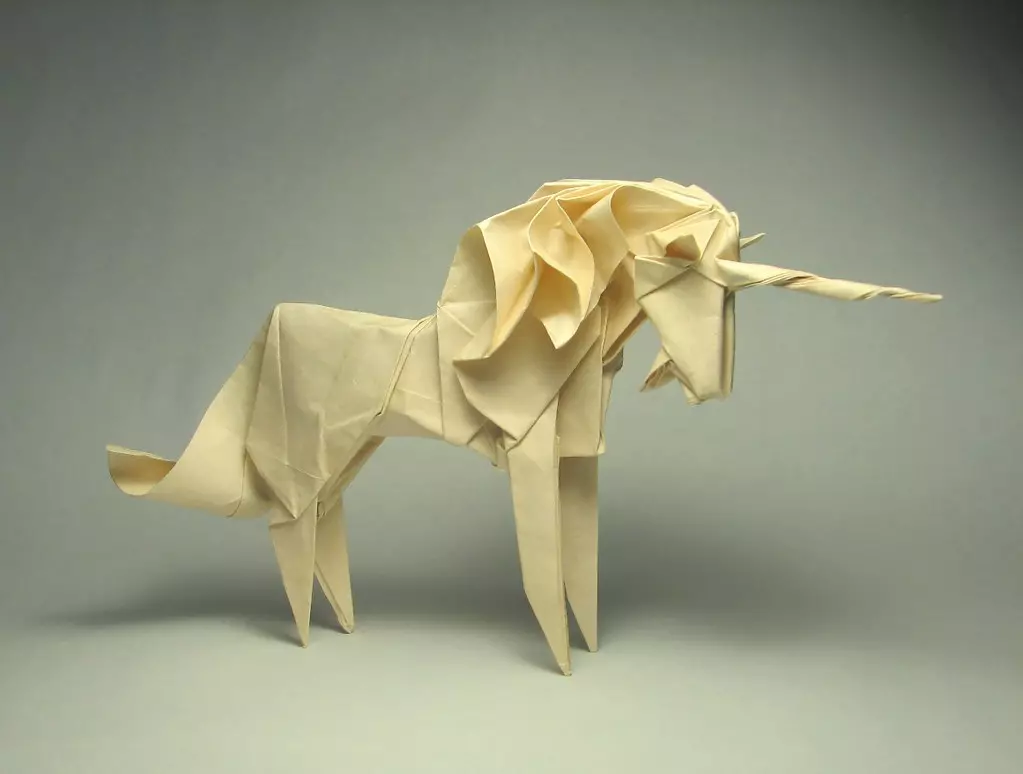
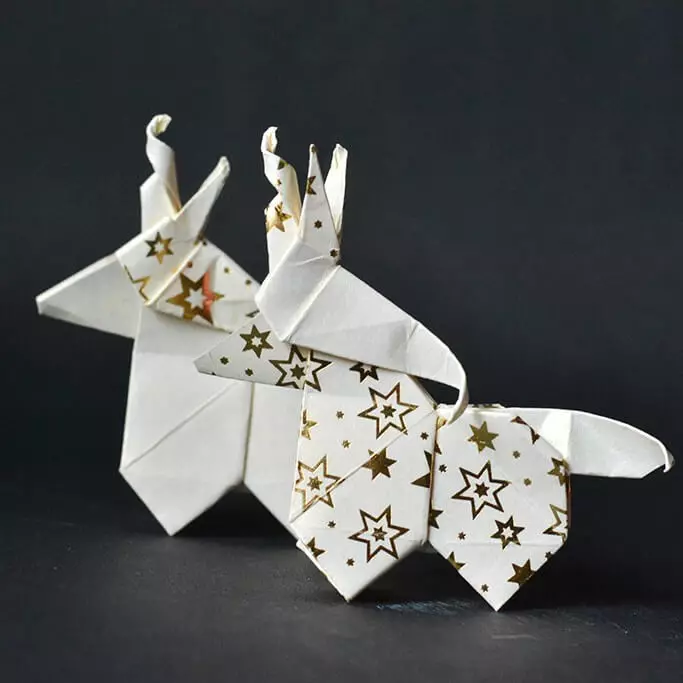
Creating modular origami
Very original and bright, modular origami figures are obtained. Such crafts are modeled much more difficult and longer, but at the same time have a more expressive and attractive appearance. To assemble such an interesting design in the form of a unicorn, it is necessary to prepare several component parts - modules. In the course of manufacture, they will need to be combined with each other, forming a single neat figurine of a fabulous character.
So, to make the charming baby, the union, the following components will be needed:
- 522 white module;
- 83 multicolored modular elements.

Consider step by step, as you need to properly collect the volumetric modular figurine.
- First, you should collect the body of the future little unicorn. 1 and 2 row of torso will be made up of 9 modular components of white.
- For assembly, 3 rows will need to use 18 modular components of the same white color. Formed module chains must form a ring.
- 4-7 rows will be compiled in the design of 9 snow-white modules, and 8 row are from 6 modules.
- The formed neck of the future design should be turned out, but it is necessary to do it carefully.
- Next, you will need to assemble the feet of the unicorn. After assembling the design in 3 rows it will be needed to turn out, as in the case of the neck. Such details need to make 4 pieces.
- Next, make the tail and mane. These components should be formed more voluminous using multicolored modular parts.
- At the next stage, you can move to the assembly of the head of the union. The first two rows of this part will be folded from 6 white modules. They are closed in the ring.
- Next, it is necessary to increase the number of modules in the ranks. In the third row there must be 9.
- In the 4th row there must be 8 snow-white modules. It will secure previous ranks.
- The 5th row should be collected from 14 components. They must be inserted through one.
- The 6th row must be formed from 15 modules.
- The 7th row should also be made up of 15 triangular components, and the 8th row is from the 14 components.
- The assembly of the 9th row will be carried out by 13 modules, and the 10th - 12. After connecting all parts of the unicorn head, it will be ready.
- Now all the finished parts of the future figurines must be glued together with each other into a single composition.
- Additionally, the ears of the babe of the unicorn should be cut out of the paper, as well as cute eyes.
- To make a beautiful and bright horn, it is enough to twist it from multicolored paper stripes. The choice of colors depends on the preferences of the wizard.
- When all parts of the figures are glued, it will be completely ready. If desired, the master can add a volume unicorn from the modules by other decorative components.
If you act without any extra rush and strictly gradually, it will work out very beautiful and cute naps with an elegant mane, tail and horn.
On how to make it a charming baby, see the next video.
Other ideas
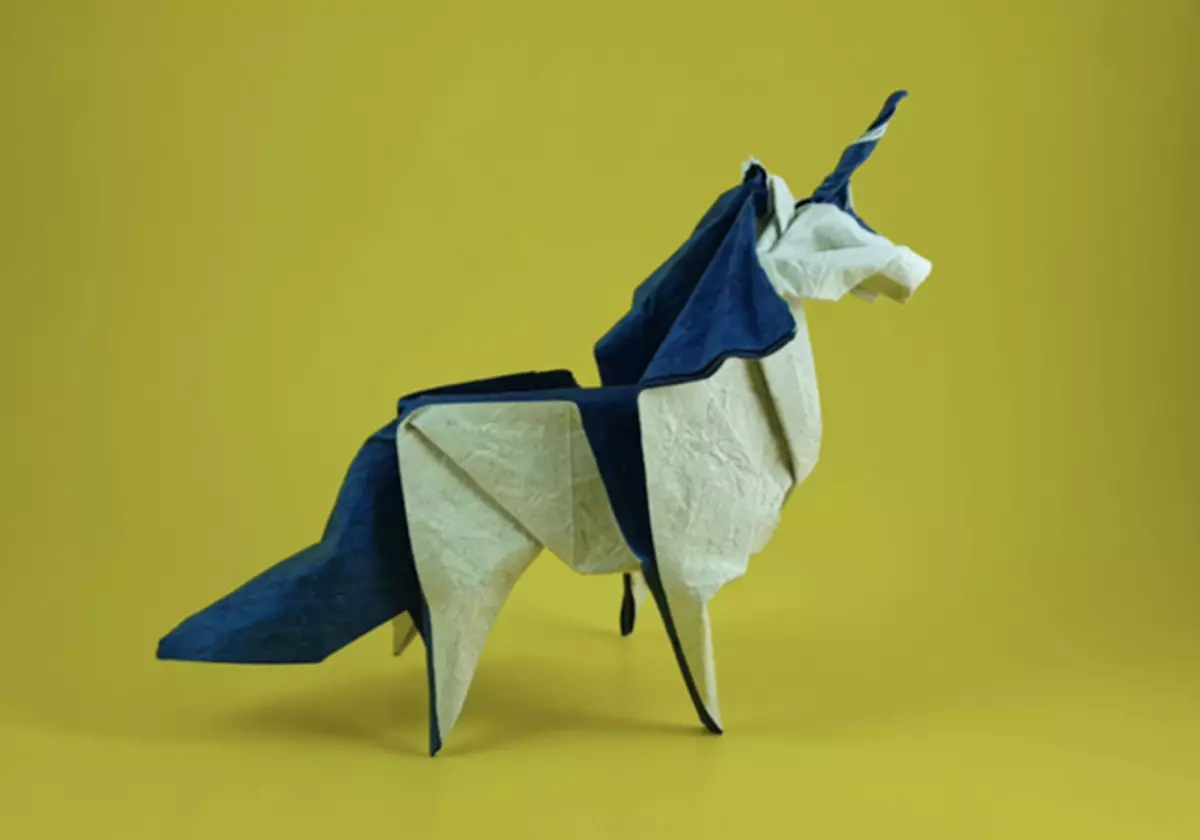
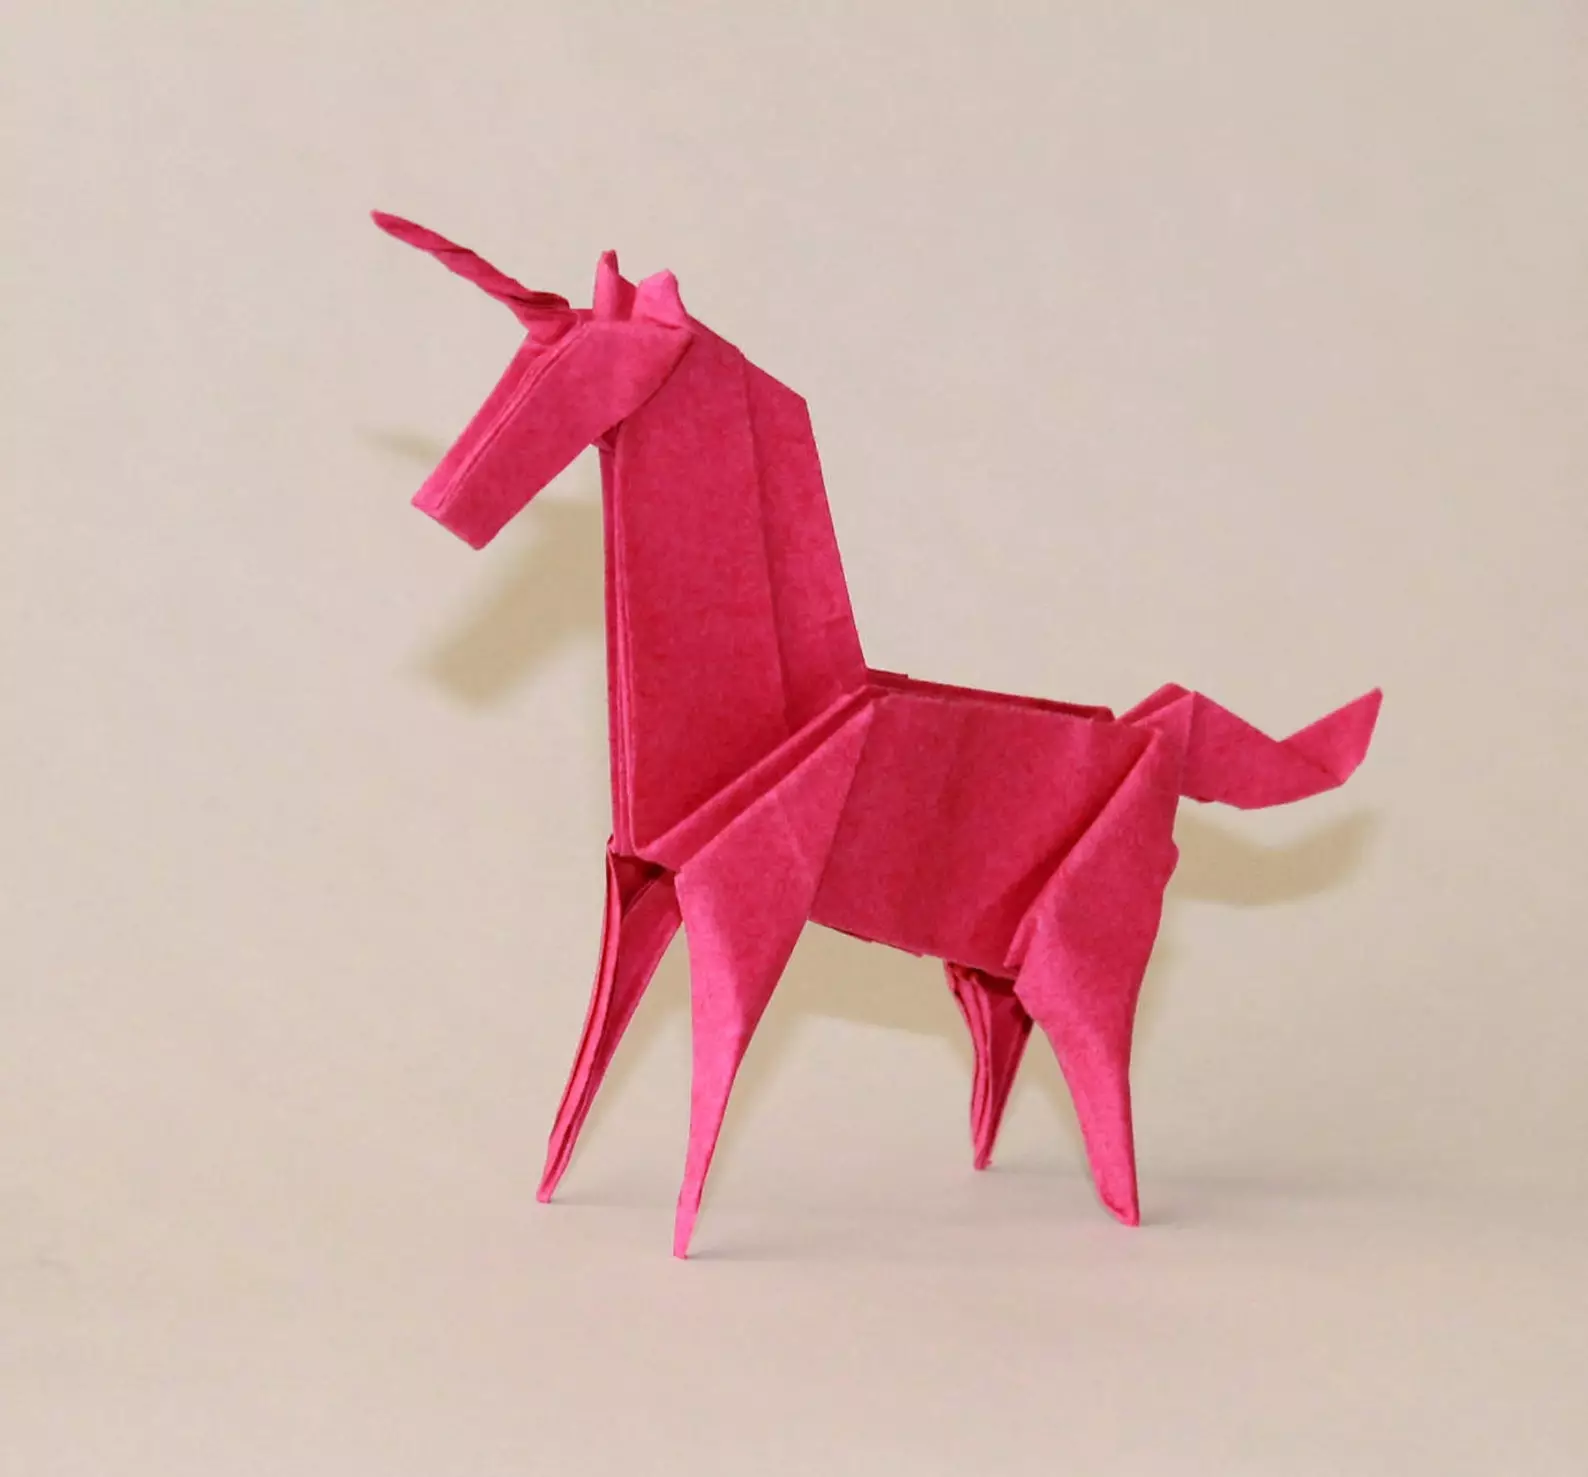
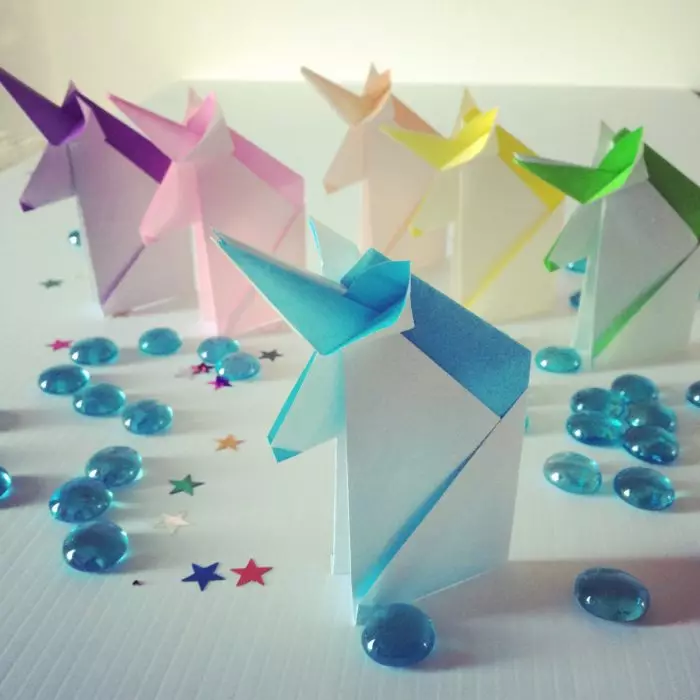
There is another mass of other curious ideas of modeling beautiful origami in the form of a unicorn. For knowledgeable origamists, an interesting scheme has been developed, in accordance with which only a paper sheet of square shape should be used. We will get acquainted with this scheme of making closer.
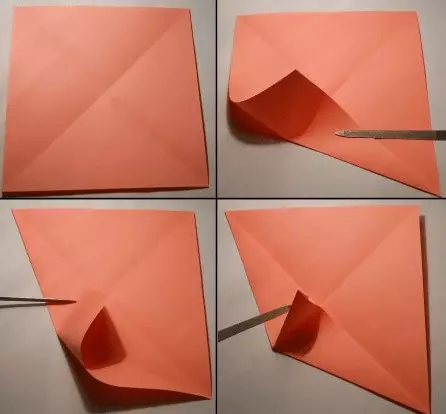
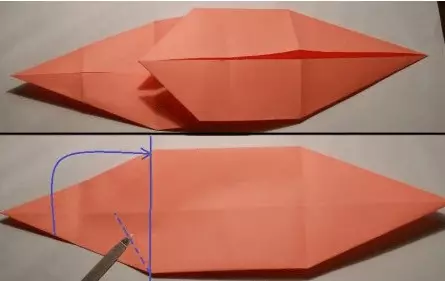
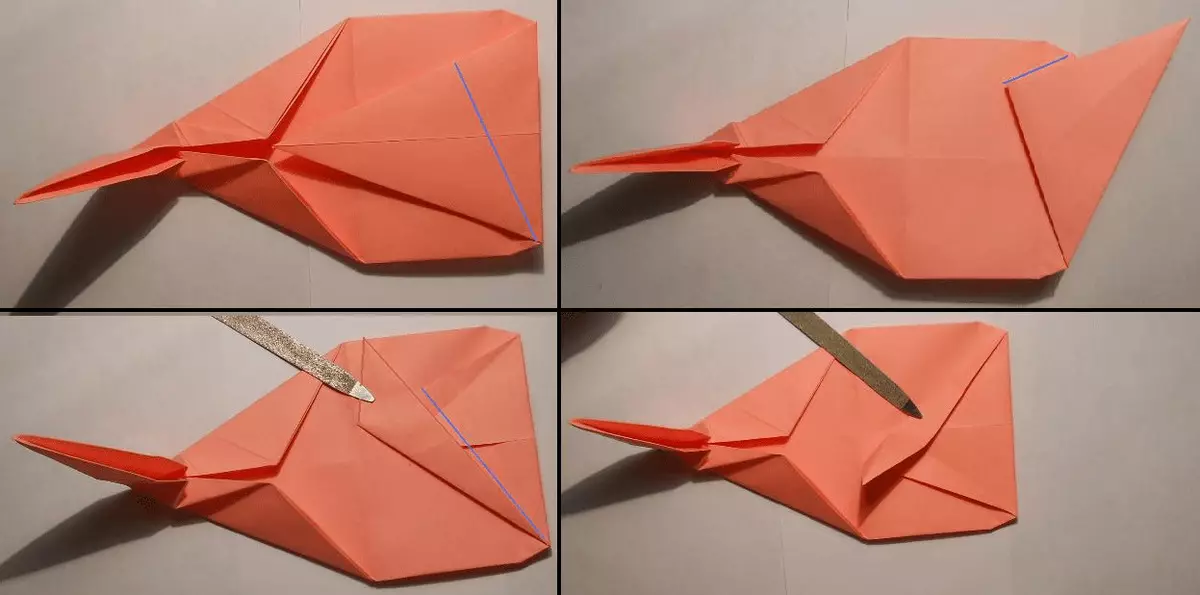
At the first stage, the square leaflet paper must be diagonally folded in both directions. The lower half of the paper blank should be bent towards the diagonal line, and then smoothly smooth, but only before the zone where there is an intersection with a different diagonal. The left half of the paper blank will need to gently adjust. At the same time, a fold of the type "Zayachye Ushko" should be formed.
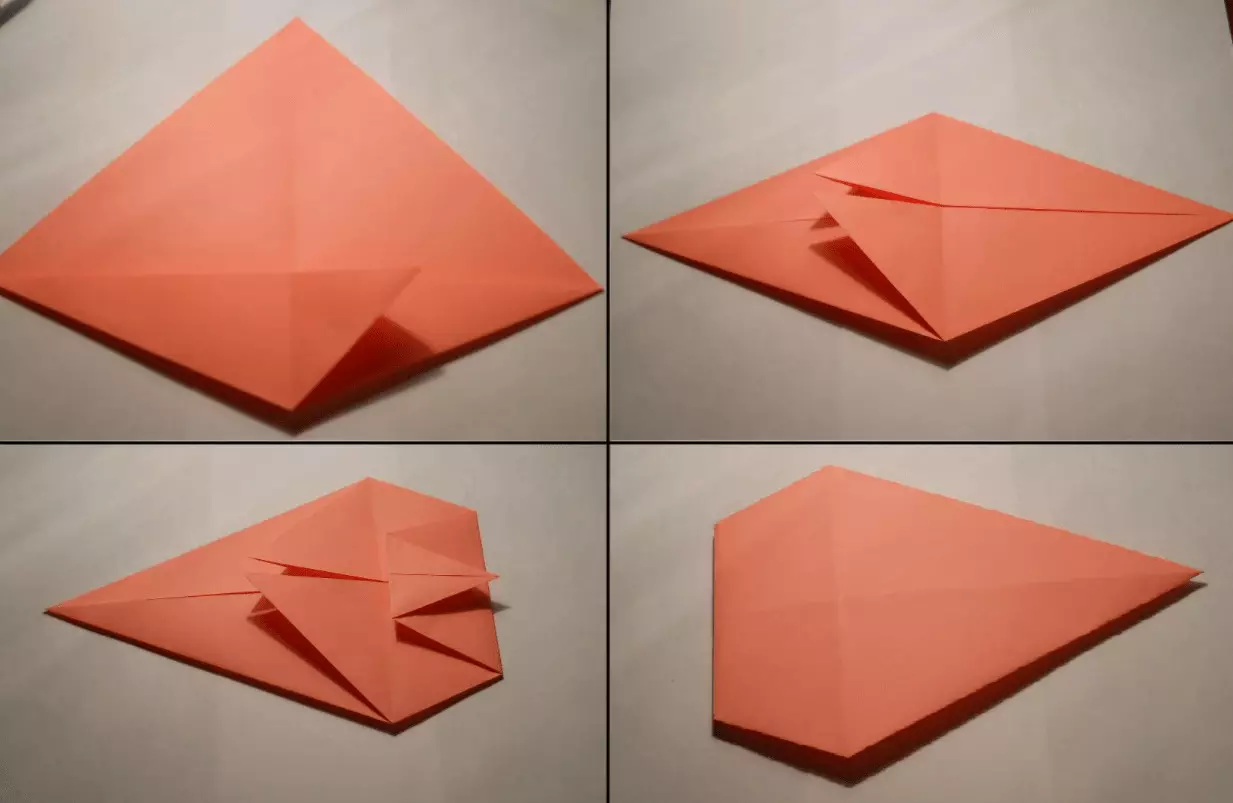
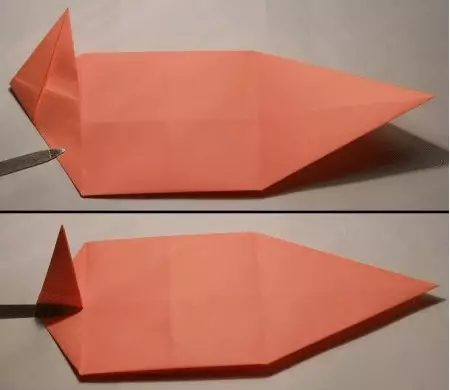
It will be necessary to form a similar fold on the other side of the workpiece. Now the elements will need to bend down to the left. The right half of the paper blank must be accurately folded in the form of a zigzag. Next, the product must be turned over. The corner located on the right should be adjusted to the direction left to the edge of the workpiece.
The corners that are topped from above and will need to be reduced from the bottom towards the workpiece. Next, the design must be deployed, and then folded in the form of a slide on triangular bends. The central part of the triangle will need to be sold inside. After that, you need to go to the left side of the product and fold it.
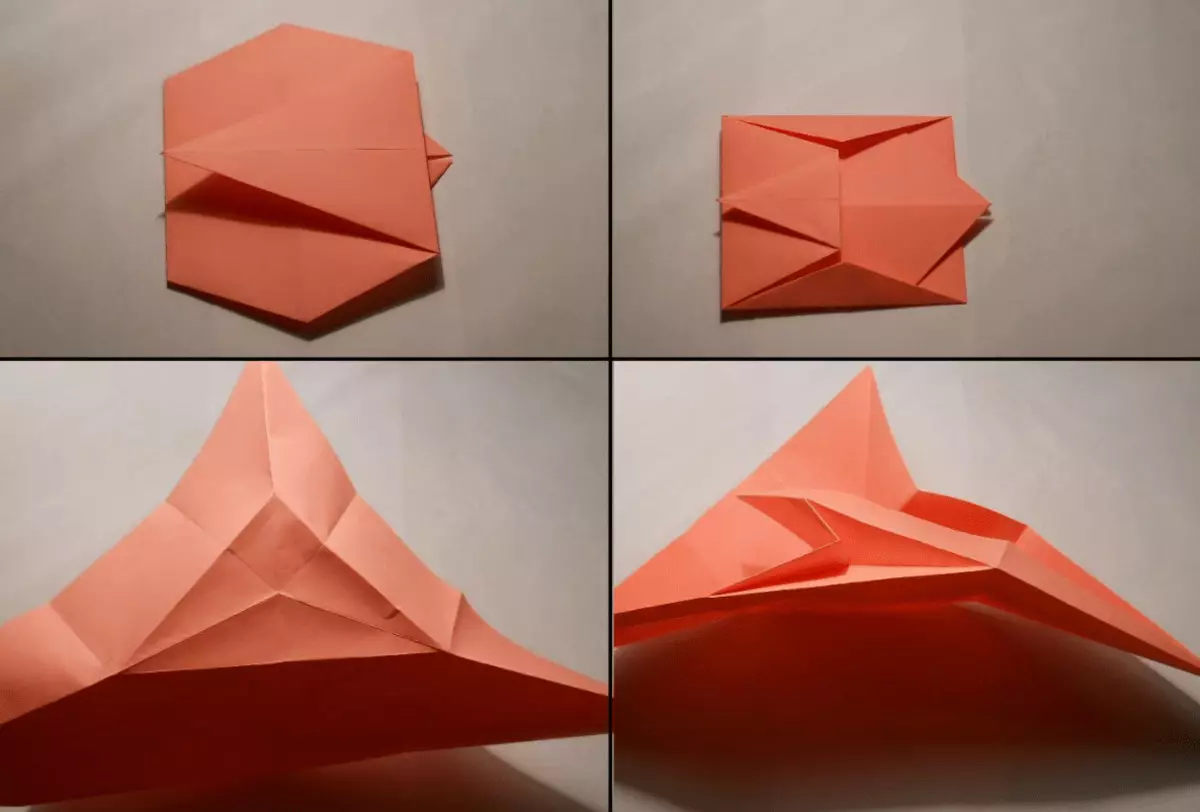
The same actions will need to spend on the other side of the product, after which it must be turned over. The angle of the left must be beatened towards upwards so that its side coincides with the vertical strip of bend. Be sure to need to try exclusively horizontal axes on the workpiece.
The same corner must be bent to the bottom. It is necessary to form "Zaoleachye Ushko".
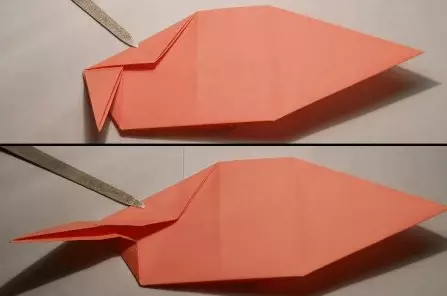
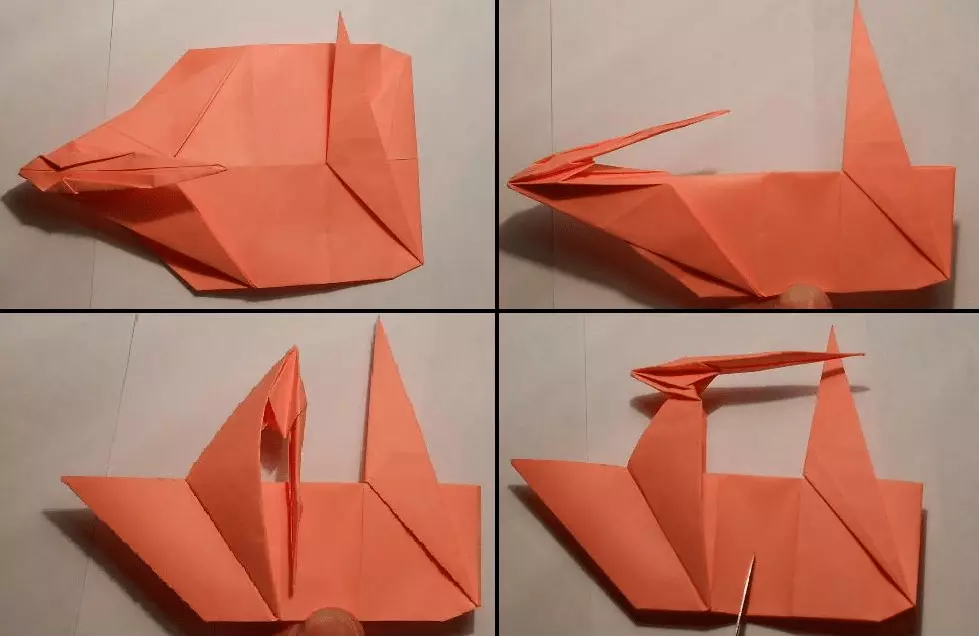
Next, you will need to gently fold the upper corner towards the middle. Through a transverse line, it will be necessary to refuel the valve into the inner part of the structure.
At the next stage, you will need to lock the horizontally located bend. Corner must be lowered down the book.

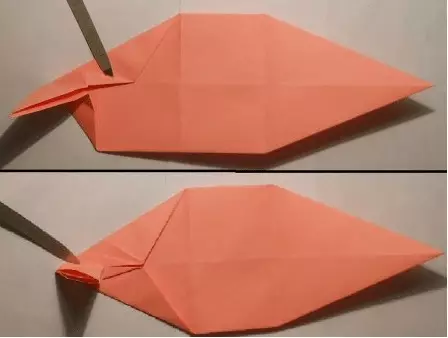
In accordance with the dotted line, you will need to form a great depth. The corner after that must be invest in the inner part in the workpiece. Now you should repeat the previous five steps, but already at the bottom of the product. The right half of the paper blank will need to be folded in the direction left, and then beaten right and up. It must be done so that his parties in the upper part can coincide.
The last folding of the workpiece after that will need to deploy, and then fold so that the side of the bottom coincides with the freshly placed fold. Actions should be duplicated on the other side of the product, and then bend on the laid strips from two sides at a time.

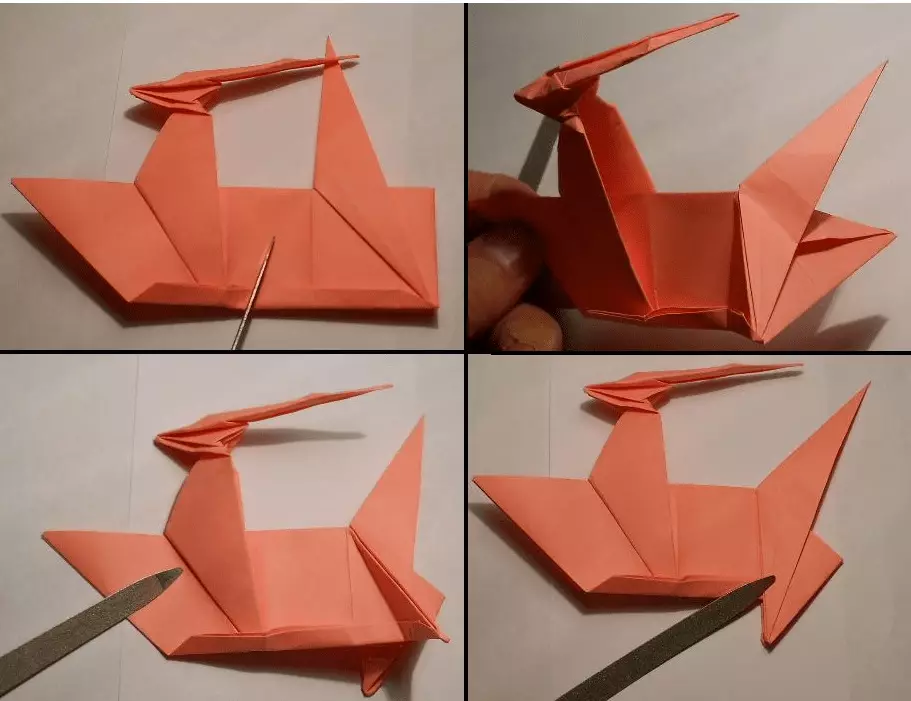
The formed corner is rejected up. On the left on the triangle flex the right half in the direction ago. In the left half of the vertical, the corner must be disclosed, after which it is possible to straighten and put the workpiece to the middle.
Now the angle should be bent on the left side. Side parts sweep to the middle. The angle is returned to the right, bend to the sides.

On the right side it is necessary to straighten the renewed half. The workpiece should be folded by half the slide. The head of the construction is raised upwards, bend and guide forward.
It is cut down the edges from the bottom. Reveal the back of the product, the angle is placed inside. The backs of the figurines are twice, descend down.

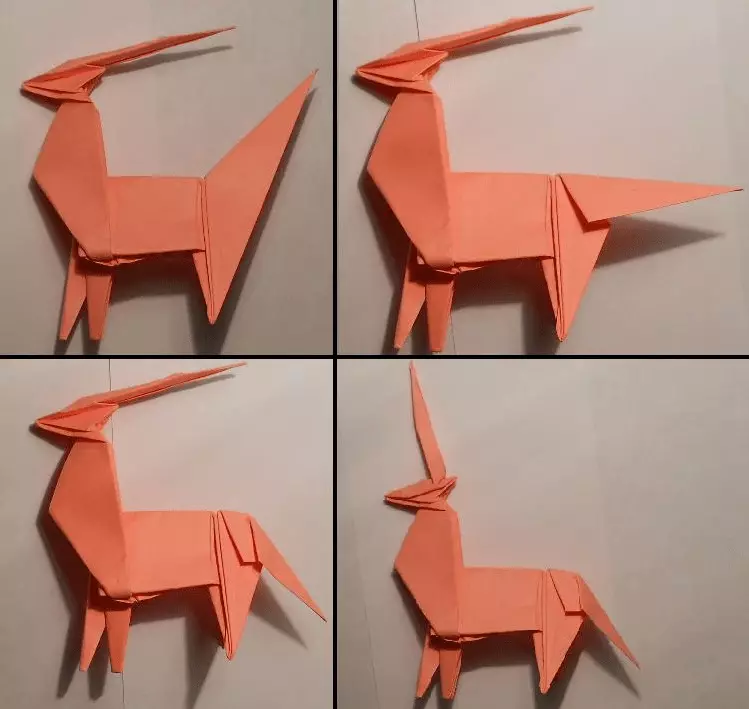
The bent edges from the bottom turn into the inner part. To create front legs, inward bend the corners of the left side, lower their book. Inside fill the corner between the rear limbs. Clean the ends of the front legs inside.
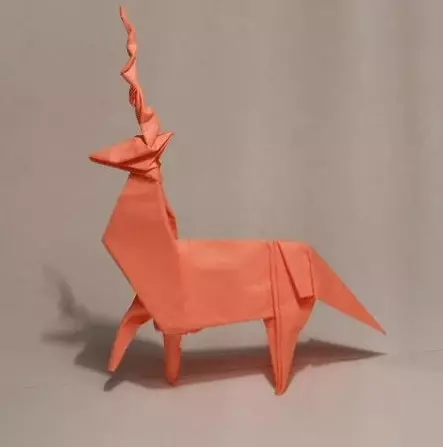
Streck-zigzags descend the tail down. Soak and raise the horn. The corners behind the head are turned inside, so the neck will become careful. The horn is tightened by a spiral. Crafts ready!
About how to make a cute unicorn paper for good luck, see the next video.