
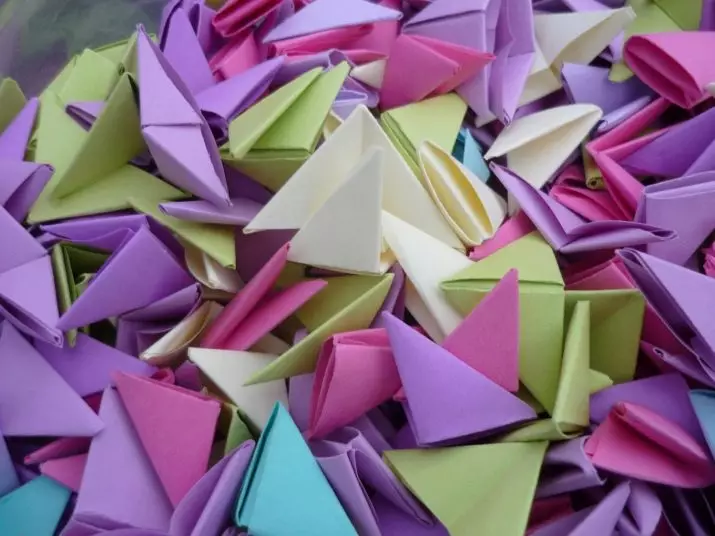
The Easter eggs from paper is best to do in the technique of modular origami, that is, from small squares of paper, which were pre-folded in a certain way. Egg figurines are obtained by bulk, attractive and very unusual. They can be used as a decor for a festive table or present as a gift.


How to fold the modules?
Before proceeding with the manufacture of eggs themselves, you need to learn how to make modules. To create these details, you will need to take a sheet of paper A4.

An important point: practicing in the creation of modules can be on a white sheet, which is usually used for printer printing. When the modules are started to get neat and smooth, you can work with non-ferrous paper.
Paper modules are made of 1/32 or 1/16 rectangles. The process of manufacturing modules consists of several steps.
- The rectangle is folded in half, and then once again in half.
- Next, you need to wrap the right and left side so that it turns out a triangle. After that, turn it over to the opposite side.
- Paper that will look out of the triangle must be fed. Corners wrap on the other side, and the detail itself bend in half.
It should be remembered that the touch modules must be sufficiently rigid. A more detailed layout of the details is presented in the figure.


Classic option
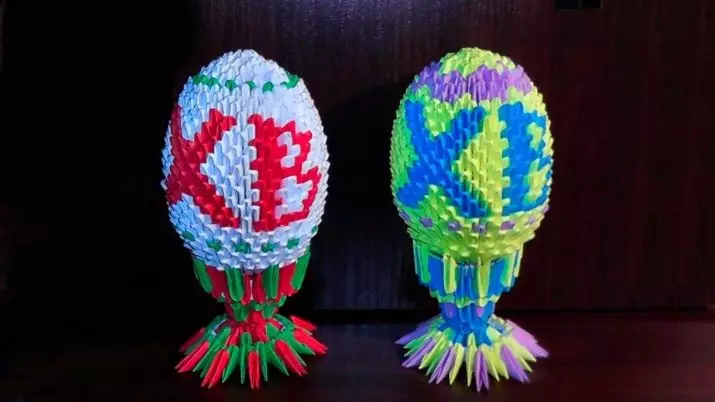
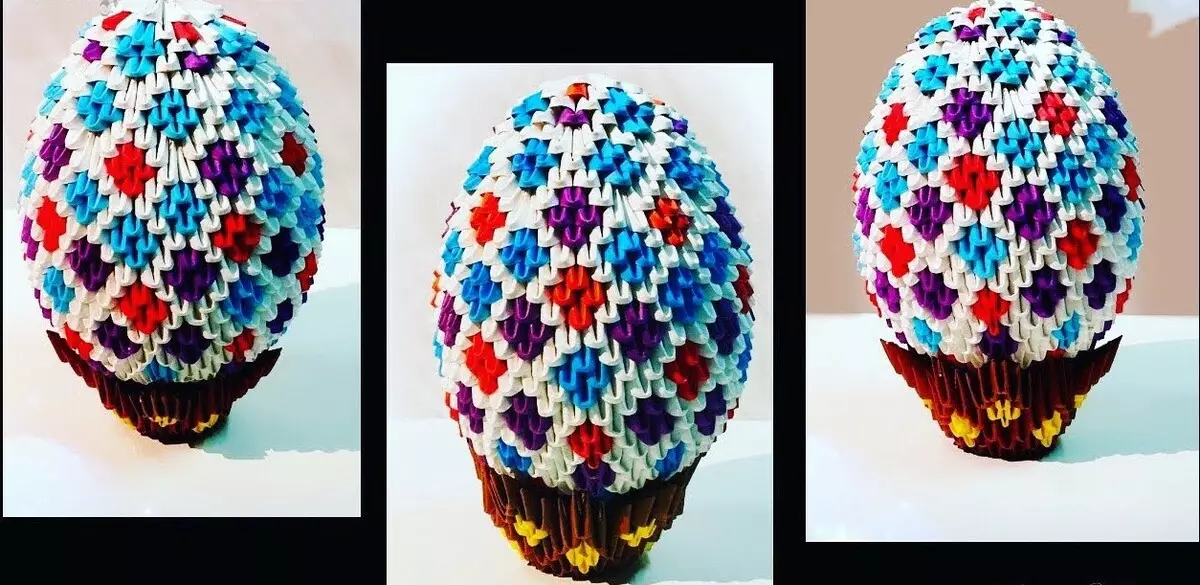
As a present or simply for the decoration of the festive table, you can make an Easter egg from modules with the inscription "KH". For work, modules of different colors and in a certain amount (taking into account the future stand) are:
- yellow (denoted as the basis of the hint of the product) - 538 pieces;
- purple - 111 pieces;
- blue - 143 pieces;
- White - 50 pieces.
Important moment: It is recommended to make modules with a margin, because in the process of work there is always a risk to spoil several modular triangles. Initially, it may seem to make modules tedious, but in fact, you can make them quite quickly. The most important thing is to understand the principle of folding.
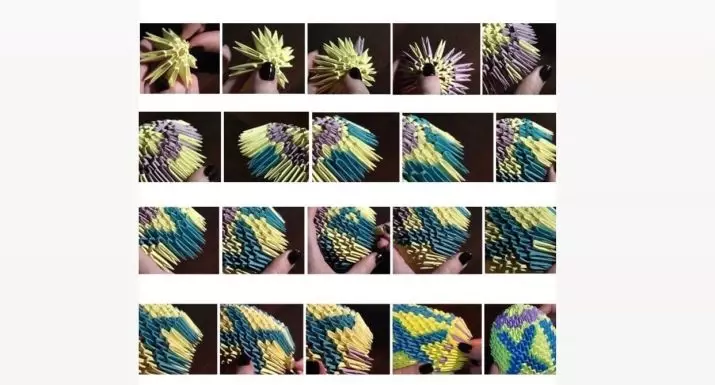
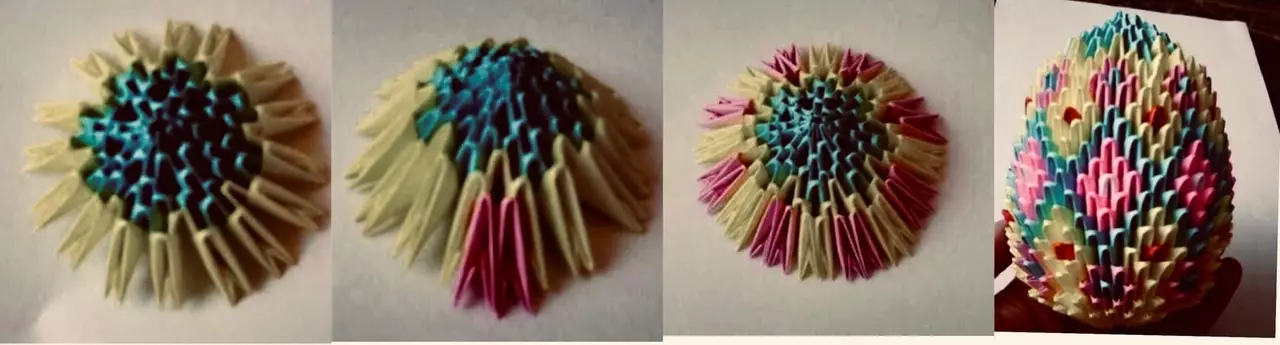
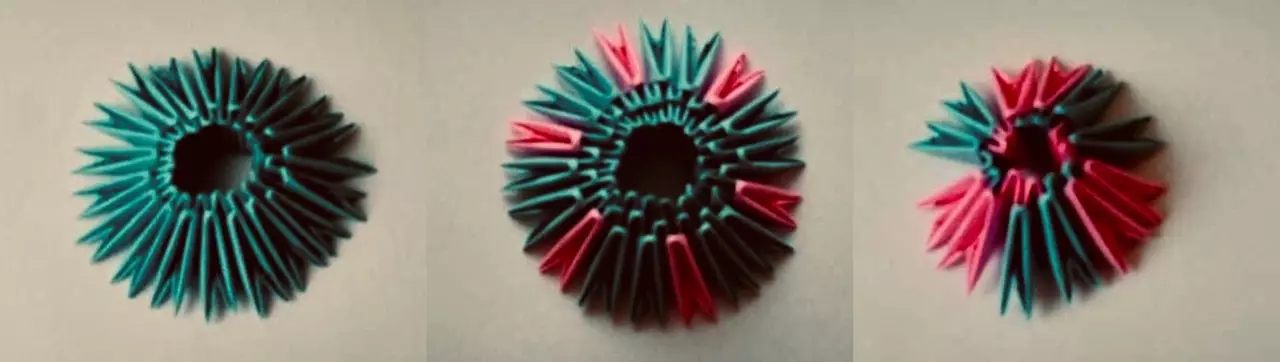
The master class on the manufacture of the Easter egg stages consists of several steps.
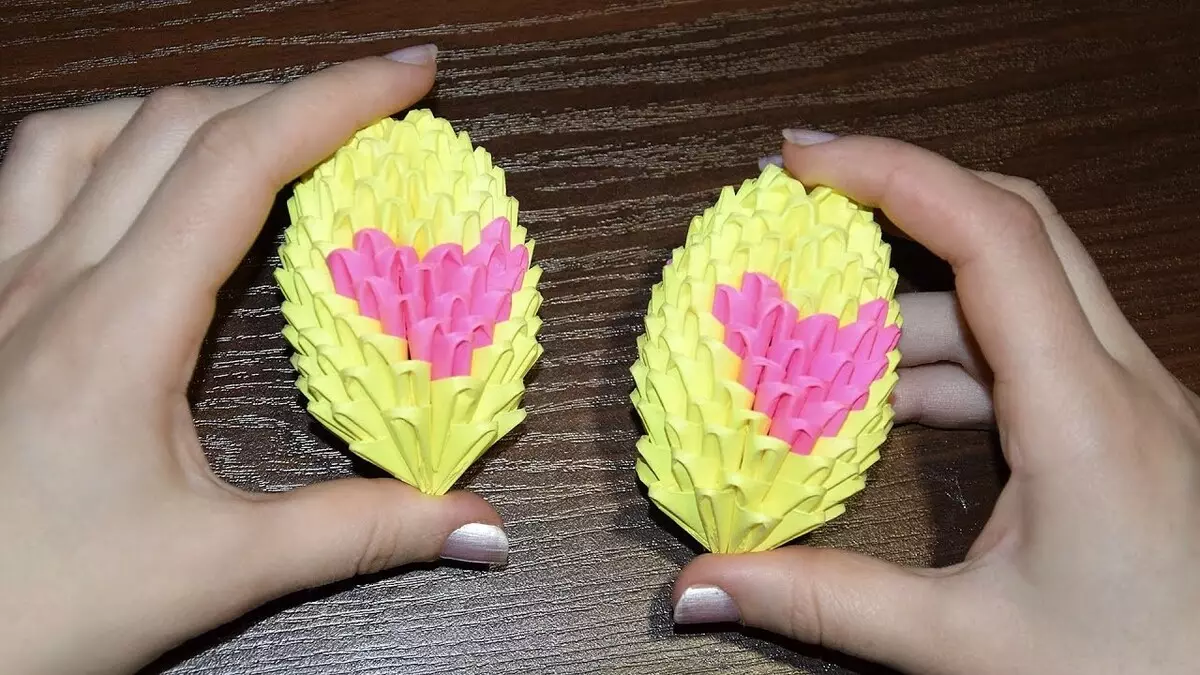
- At the very beginning it is necessary to take yellow modules for operation. Of these, three first rows are made, each of which will have 8 modules. The fourth row is so that one ward from the previous row to the modules from the subsequent row. As a result, 16 wings should turn out.
- The fifth line consists of 8 yellow and 8 purple modules. They need to alternate with each other.
- The sixth consists of 16 purple modules. In the seventh row, the same color, but it is required to inves the wing of the previous row in the pockets of new purple modules. The result should be 32 wings.
- The eighth row is assembled, starting from the protruding module. Color gamut - 1 yellow and 3 purple.
- The ninth row consists of 32 modules of the main shade.
- The tenth row is quite complicated on the side of the color design: 3 yellow, 2 blue, 1 yellow, 2 blue, and the rest are all yellow.
- 11: 2 blue, yellow, blue, yellow, 3 blue. The remaining modules are yellow.
- 12: 2 s., G., 2 s., 2 g., 2 s., W., 2 s. The rest are yellow again.
- 13: 4 s., 3 w., 2 s., 2 g., Blue.
- 14 row: 3 s., 3 g., 2 s., Yellow, blue.
- 15 row: 2 s., 4 g., 3 s.
- 16 row: 3 s., 3 g., 2 s., 1 g., 2 s.
- 17 row: 4 s., 3 g., Blue, 3 g., Blue.
- 18 row: 2 s., Yellow, 2 s., 2 g., 2 p., 2 g., Blue.
- 19 row: 2 p., 2 g., 2 s., 2 g., Blue, 2 g., Blue.
- 20 row: 2 p., 3 g., 2 s., Yellow, 4 s.
- 21 row: yellow color.
- 22 row: alternate purple and yellow.
- 23: Main color.
- In 24 row, the figure should begin with little chance to narrow. From 32 modules you need to do 23. In some places, the module is put on three wings immediately.
- 25 row should consist of 23 yellow triangles.
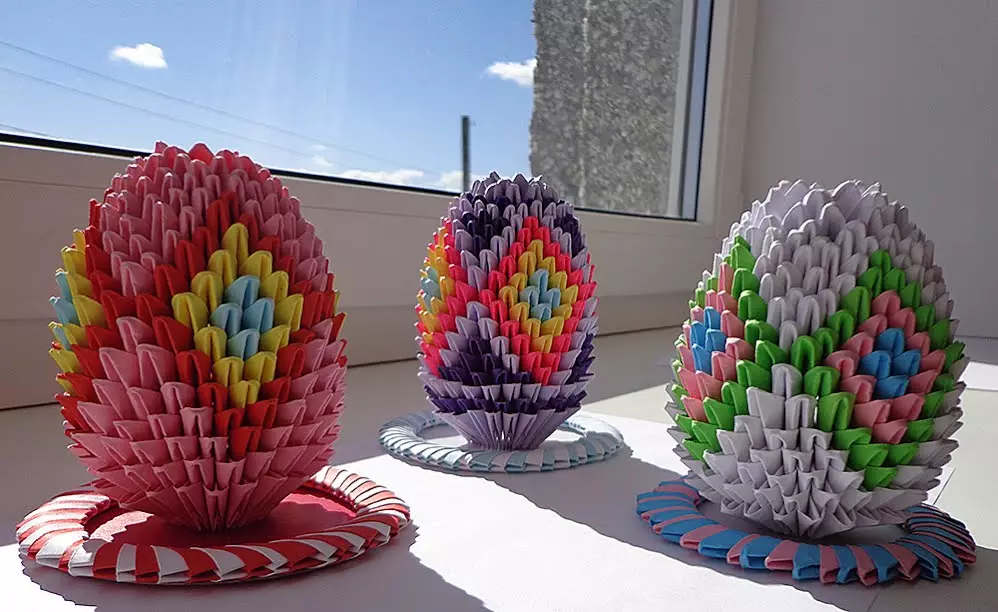
Origami in the form of an Easter egg is ready. But there is one small addition - gently chop the egg with the arms to get a more correct form.
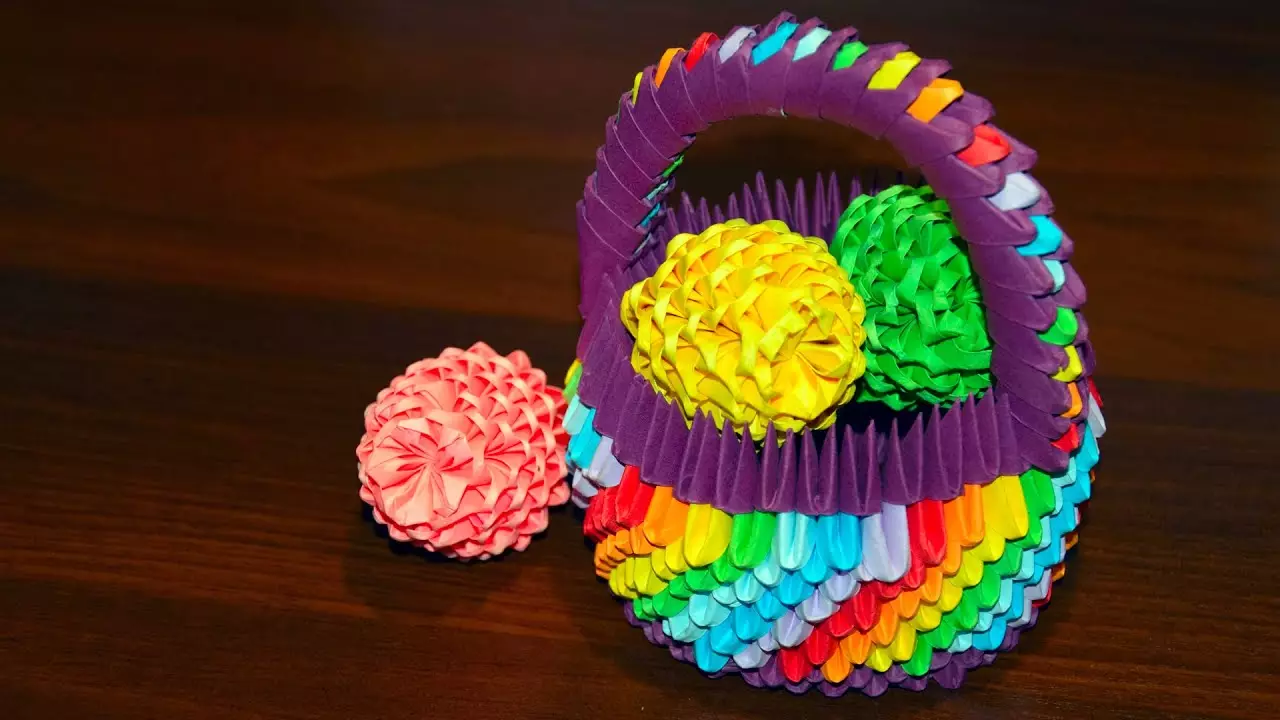
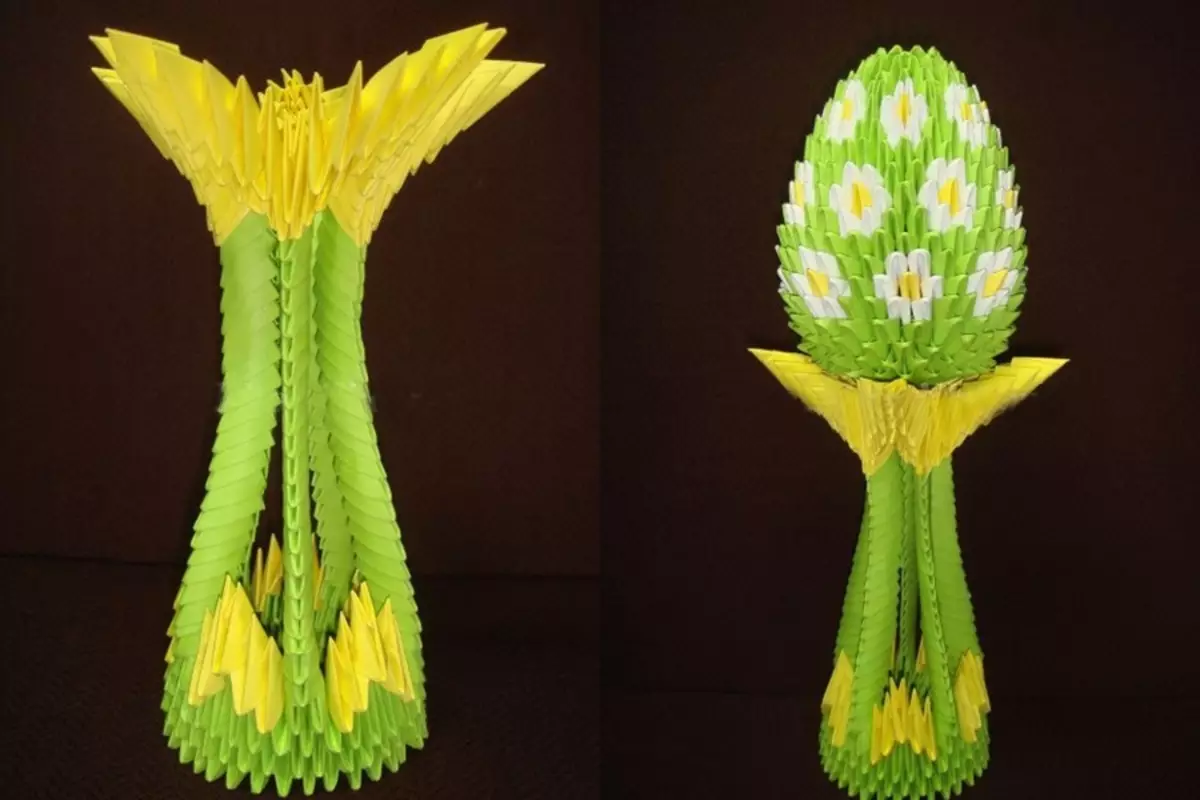
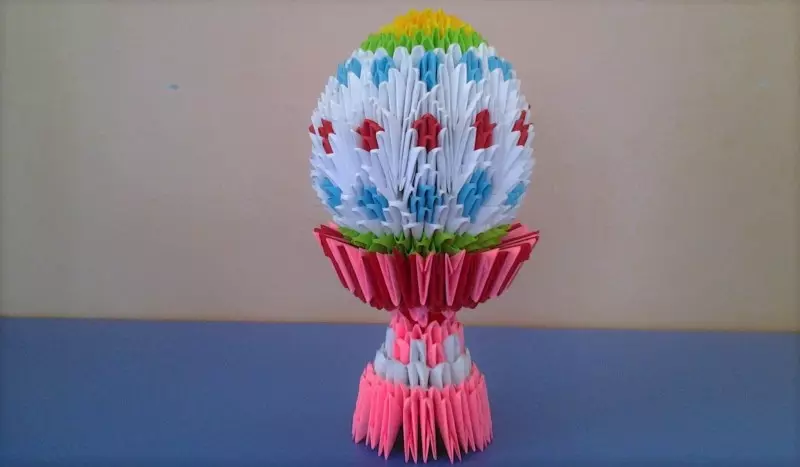
Egg assembly on stand
On Easter you can make an egg on the stand. The egg itself is assembled by the same principle as in the previous description. You can, if desired, remove the inscription "KH", then the modules will be required in the same quantity, but already monophonic.
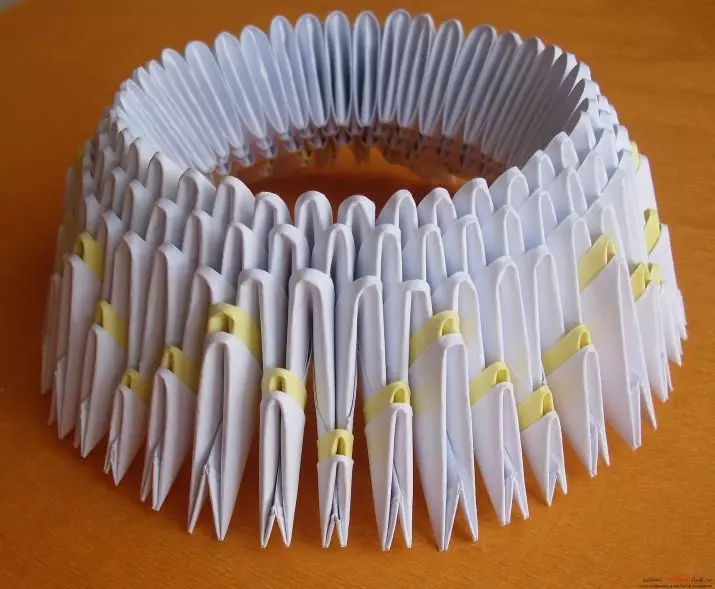
Step-by-step instruction of creating a stand consists of the following steps.
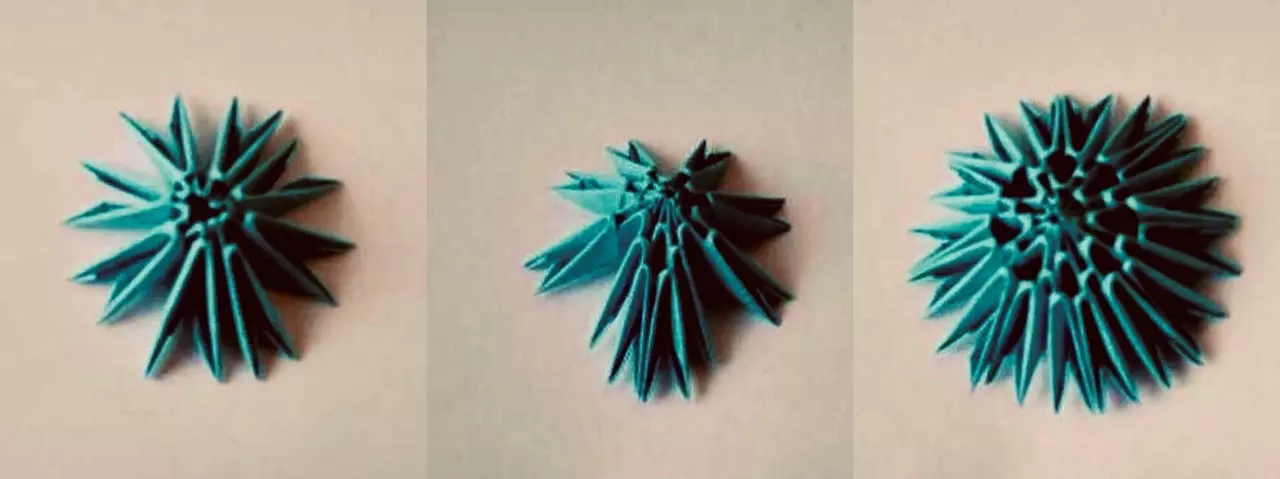
- We make two top rows. Each of them should be present in 10 blue triangles.
- The third row alternate blue and the main color in the same quantity.
- In 4 row there are 10 white triangles. At the same time, the short side they must be out.
- The fifth series consists of 10 pieces of main shade.
- The following will be 20 white triangles (one pockets go on one wing).
- The seventh row is 20 blue modules.
- In the eighth alternate blue and yellow colors.
Now you need to switch to the creation of another detail related to the delivery. In the first and second row there will be 10 blue modules. Next, in the same quantity alternate blue with yellow. Further by a number: 20 white, 20 yellow and 10 purple parts.
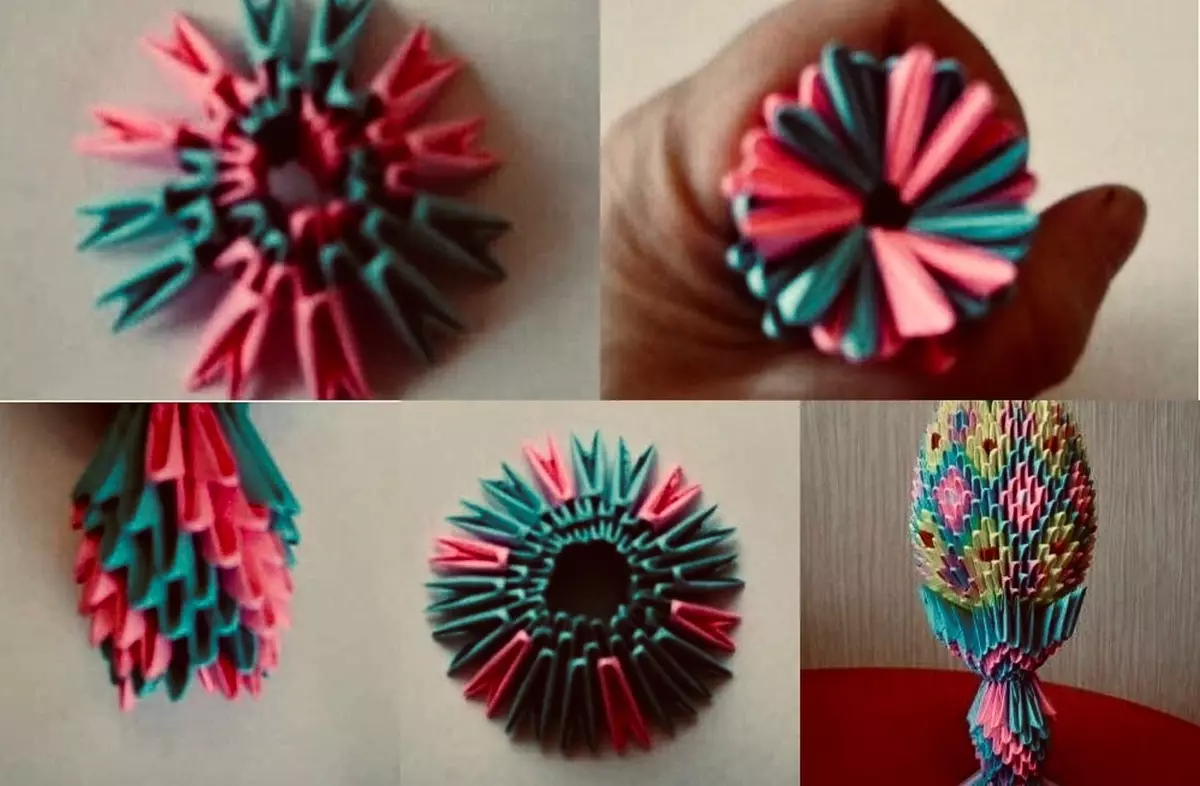
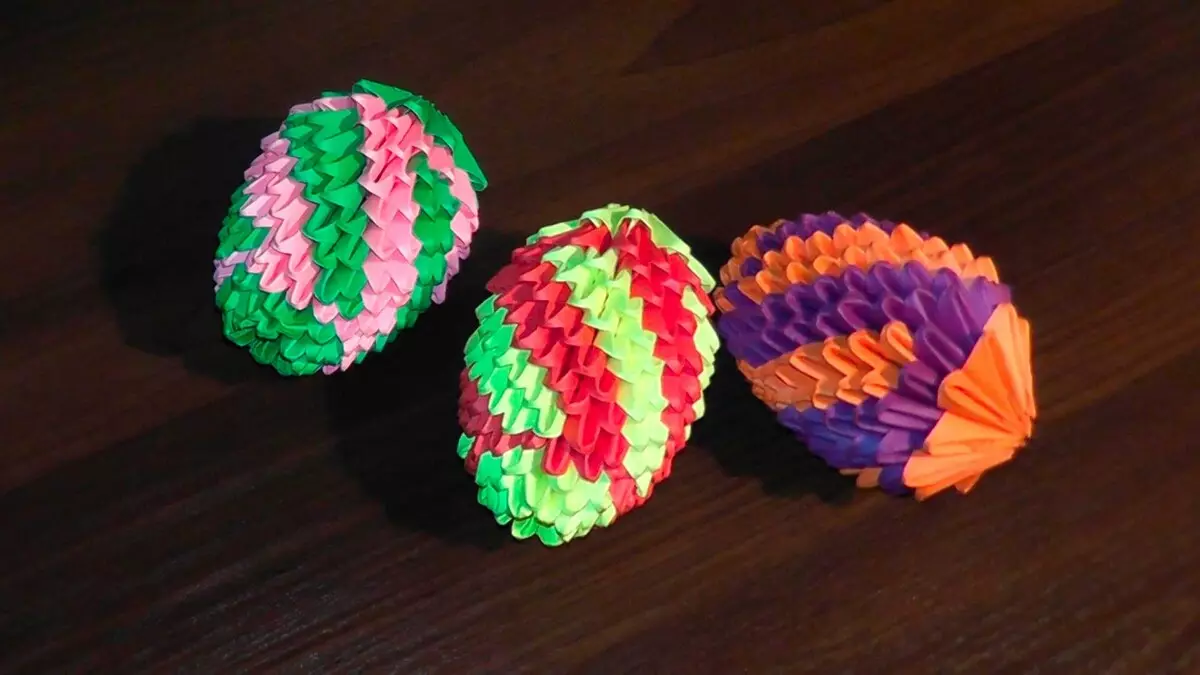
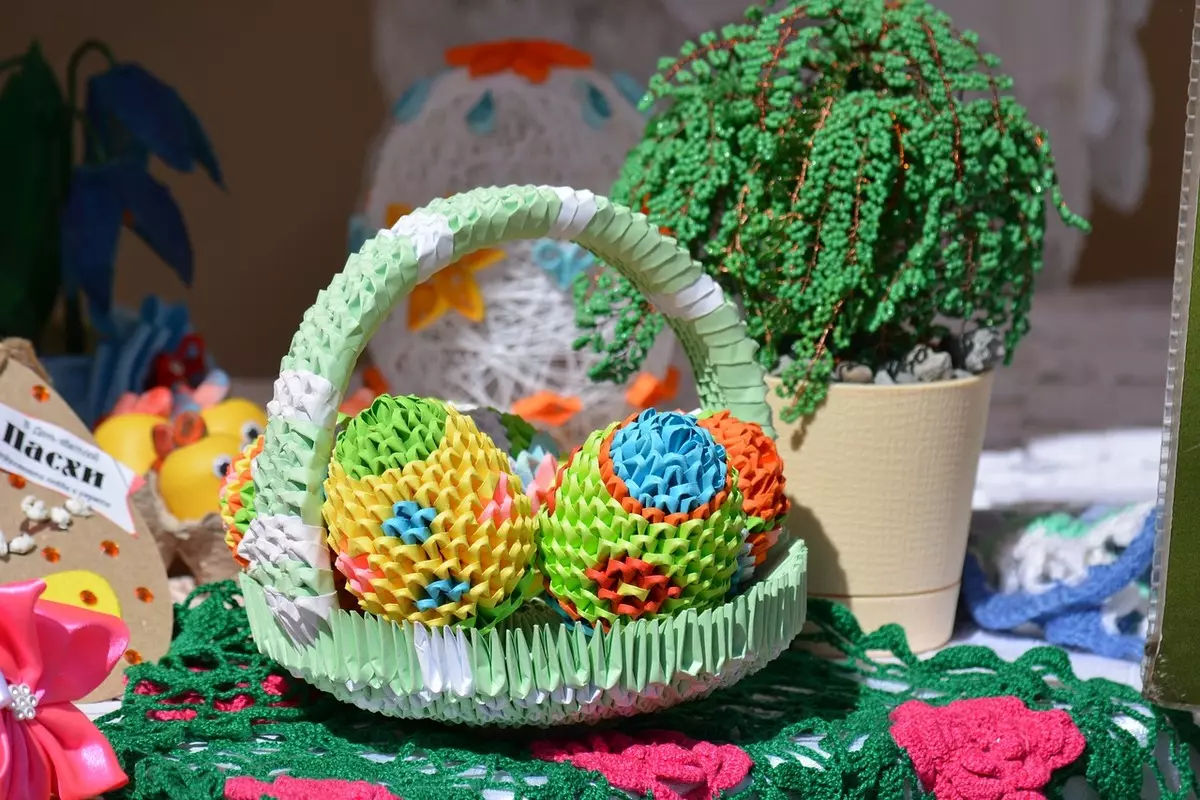
The finished result of all the work is presented in the figure. It should be paid to the fact that the color of the triangles may differ in each case. The choice is purely individual. But relative to the manufacturing material there are some requirements that should be observed.

So, it is not recommended to make modules from high density cardboard, since during the work they can unfold. And in general, it will not be very convenient to put them. The most suitable colored paper of good quality. It makes not bad, does not break and does not mind in the process of work.
There is another important feature. It lies in the fact that the number of modules constantly need to be considered and controlled. Otherwise, the exercise can be spoiled, it will have to redo it.
The egg made of paper modules, with a careful point, can be saved for more than one year. The main thing is that there are no moisture, straight sun rays, there was no mechanical impact.

More about creating modular origami in the form of Easter eggs, see the video below.