
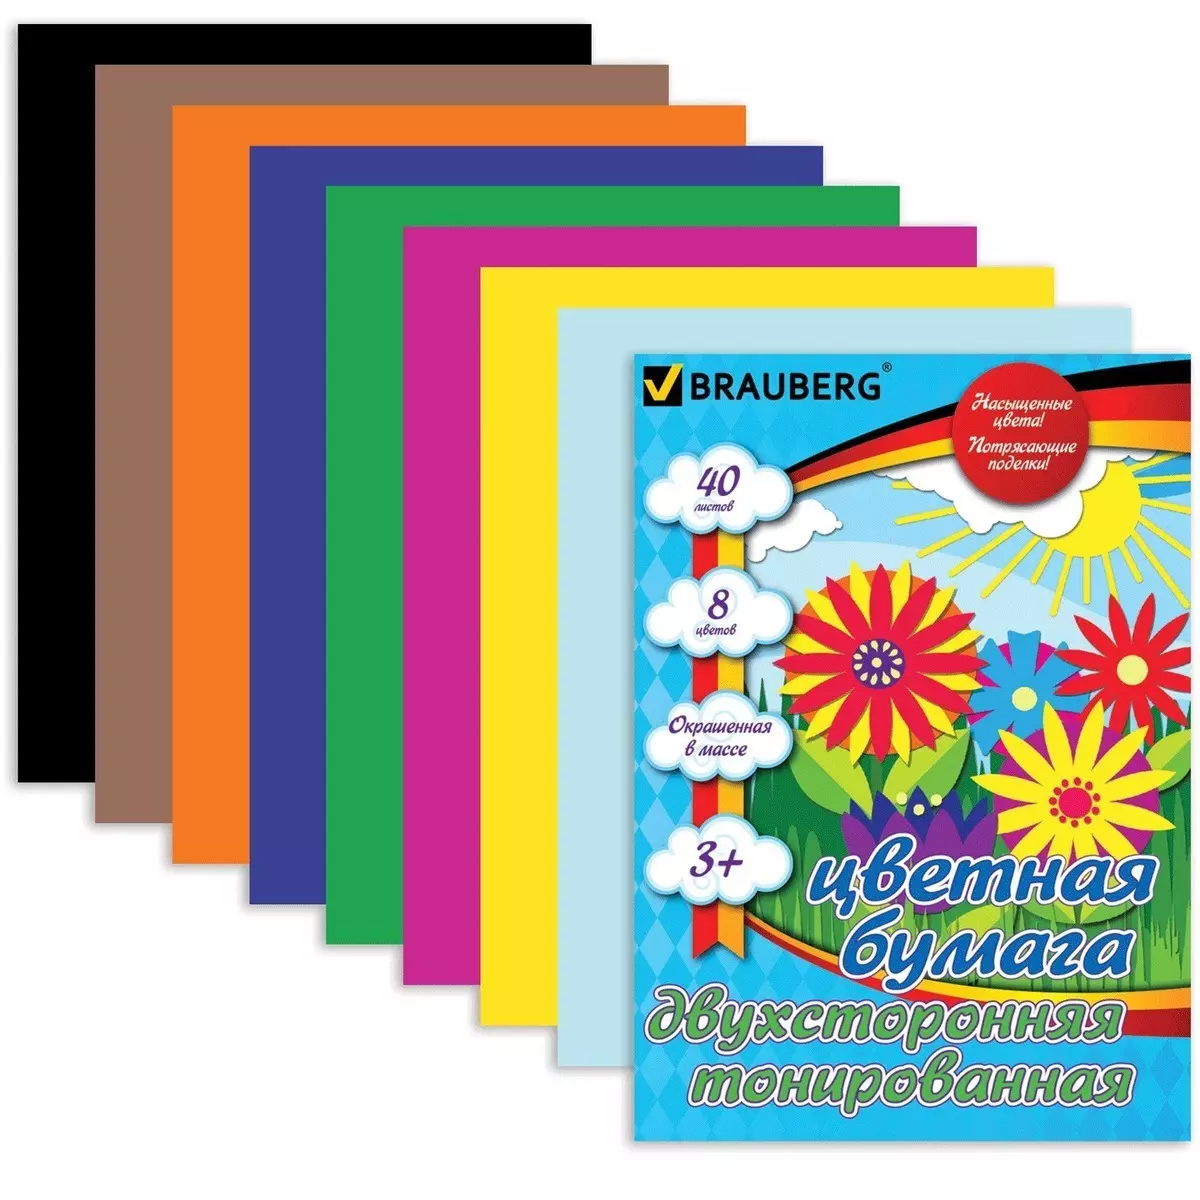
From simple colored paper (or more original variations) you can make a huge number of figures in the Origami technique. And do it quickly and efficiently. And those who want to try right now, these simple instructions will be useful.
Folding animals
Cute little animals, birds and other pretty animals are usually the first in line in creative stylization. So origami for children does not do without such master classes.
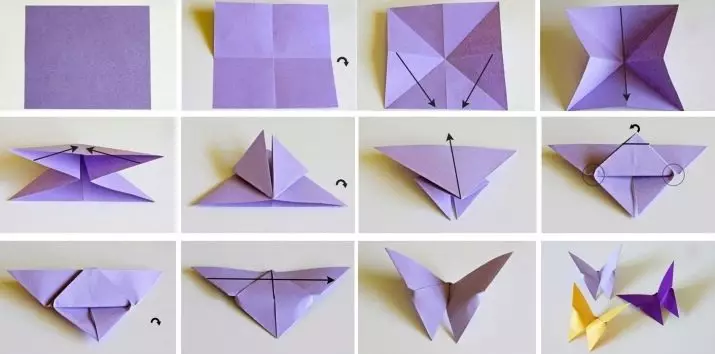
Butterfly do it yourself from colored paper.
- Color paper of any color to fold so that the square is the square. Then this square is folded twice and deploy.
- Fold the square diagonally, deployed with the formation of 8 folds, which this square will be separated by 8 triangles, respectively.
- Side part of the square to adjust inside.
- On the one hand, the angles attract each other.
- Top triangles fold twice.
- A sharp corner of the book to turn over, block the base slightly.
- Correct to wrap, turn over the other side to the craft, the render will be on the "face".
- Perform bend, deploy lower wings.
Well, that's all, a very simple butterfly for beginners is ready. For greater decorative, crafts can use double-sided colored paper.
And now a very pretty brown dog - instruction step by step.
- Take 2 equal brown paper leaves, a dark marker and ordinary adhesive pencil.
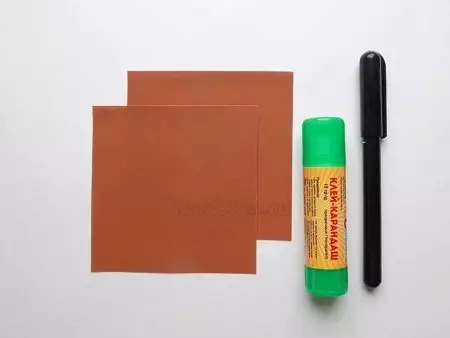
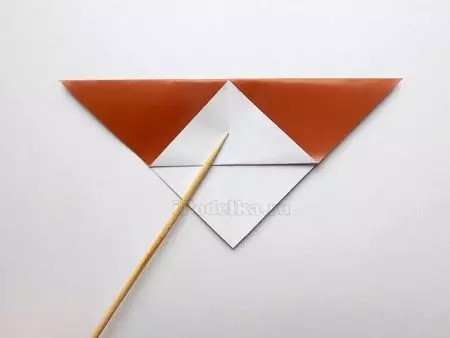
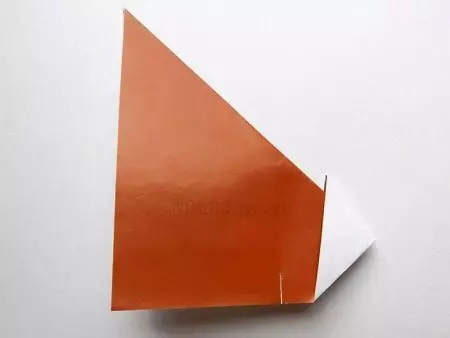
- A head will be performed from one brown square, from the second - dog body. Start better from my head: To make it, the sheet is folded along the pair of diagonals.
Then the workpiece is left folded with a triangle.

- The bottom corner from the top triangle is bent up.
- To make a dog's ears, you need to bend lateral angles.
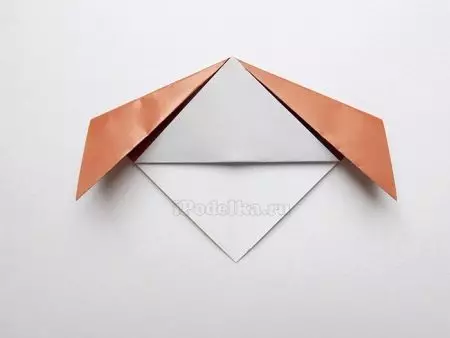
- And then straighten them with rhombuses.

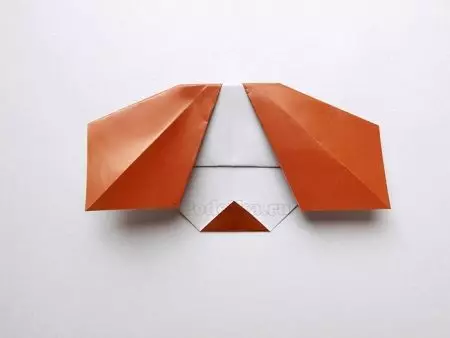
- The upper part of the product is flex a little down.
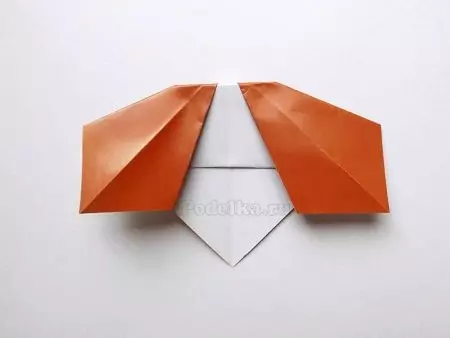
- To build a spout, the bottom corner is bend slightly up.
- The billet is folded along the middle line, the head of the dog in the profile turned out.
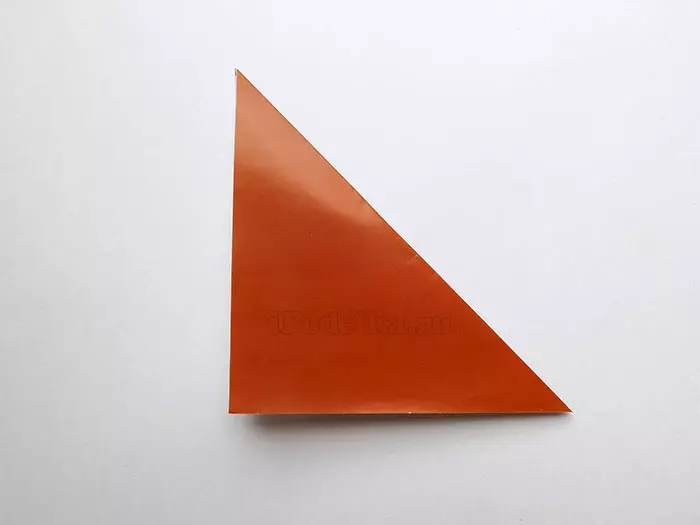
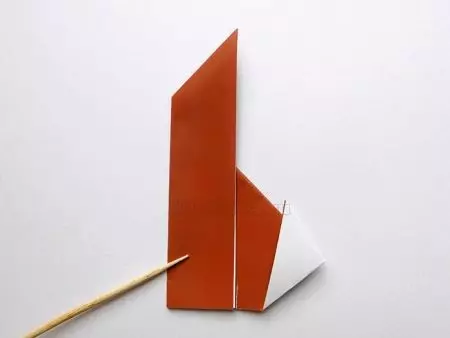
- The second square creates a body: first the leaflet is diagonally, on the bottom side of the resulting triangle is stated by a fold of the middle.
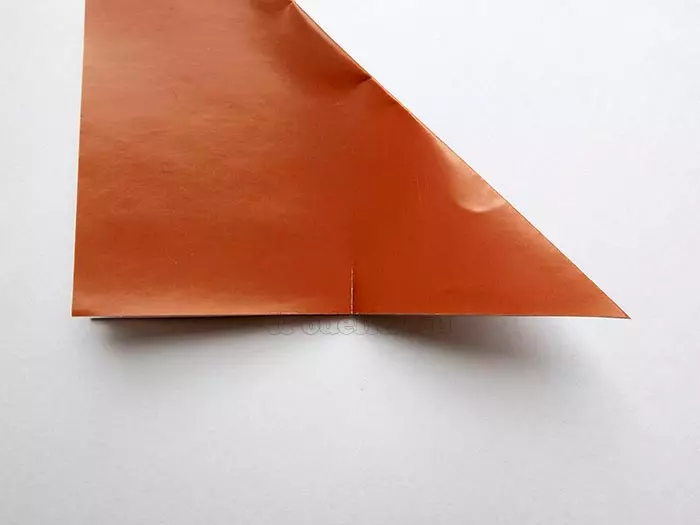
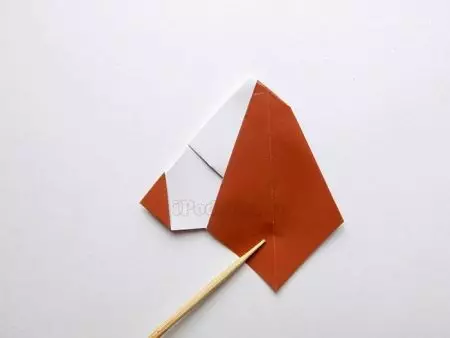
- To perform the tail, you just need to break the right corner.
- The drum tail should be turned outward, it will be white.
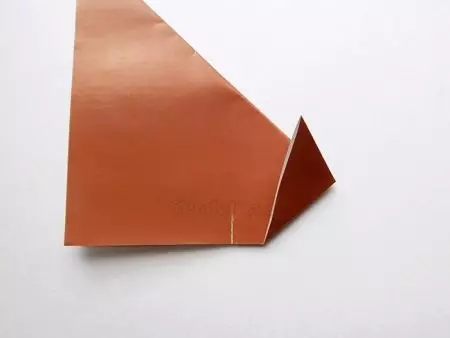
- The left side of the triangle will bended to the middle with a bendiment.
- The upper part of the body workpiece triangle is bent left.
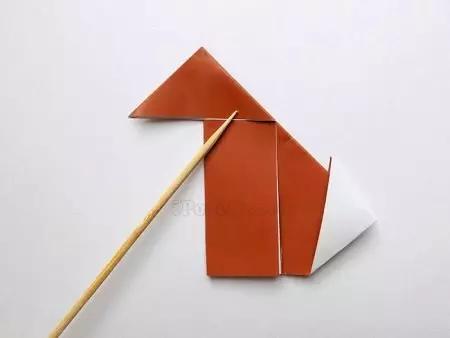
- The workpiece is gently turning so that the dog breasts come out white.
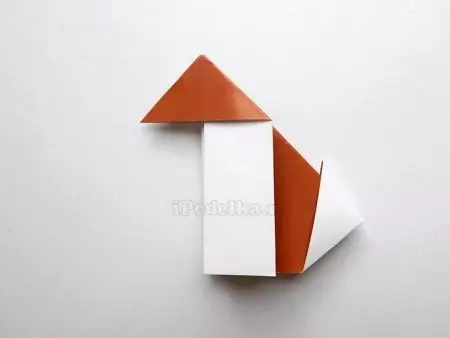
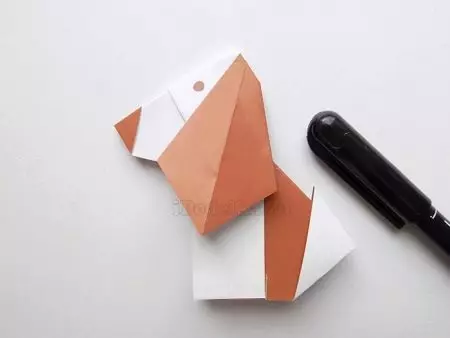
- The dog's head glue is fixed to the body.
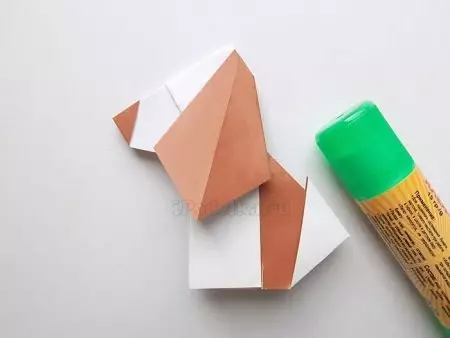
It remains only a dark marker to prick her eyes.
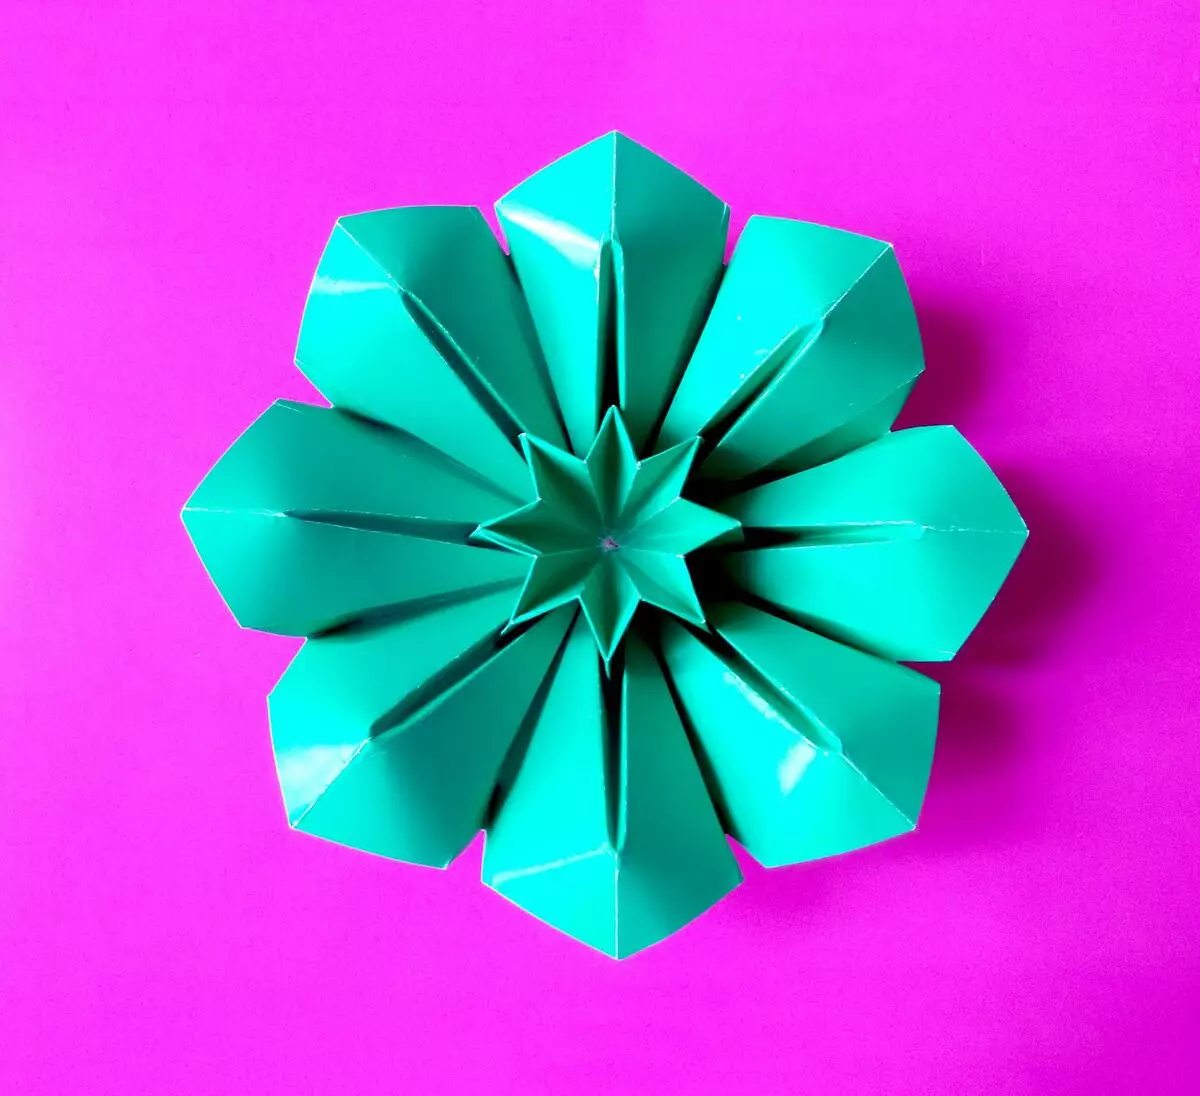
How to make flowers?
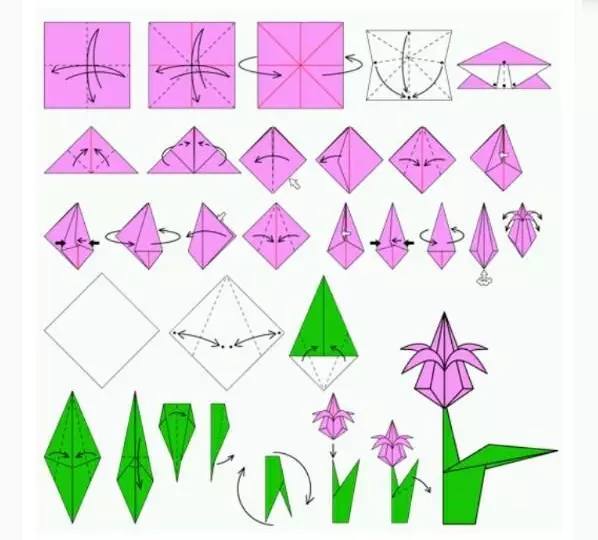
It is quite easy to make a tulip in a simple origami technique.
Tulip stages.
- Paper squares to place bends on the diagonals, as well as on the central axes, making triangle from it.
- The corners at the base should be bent upwards apart from both sides, and then one segment to be rented on the right left.
- The sides of the new small rhombus must be turned to the center, slightly referring them to one in another.
- The second layer of a small rhombus deploy, do it all the same.
- Then - to inflate the bud, unscrewing the petals.
- For a stalk of a plant with a leaflet, green rhombick should be beaten over the sides to the middle, first, and then below.
- The upper side must be adjusted again, the detail bend half - the thin part will be stem, it is stuck - unfold in the sheet.
But that is not all. Similarly, without special difficulties you can also build a violet.
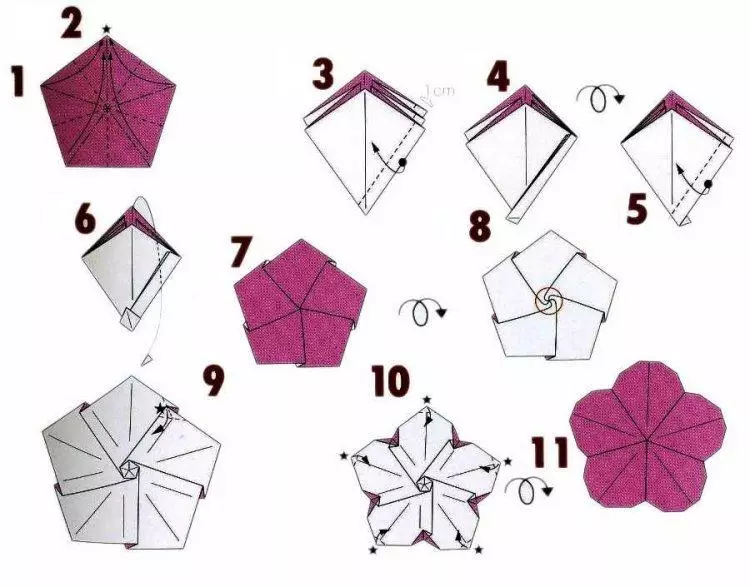
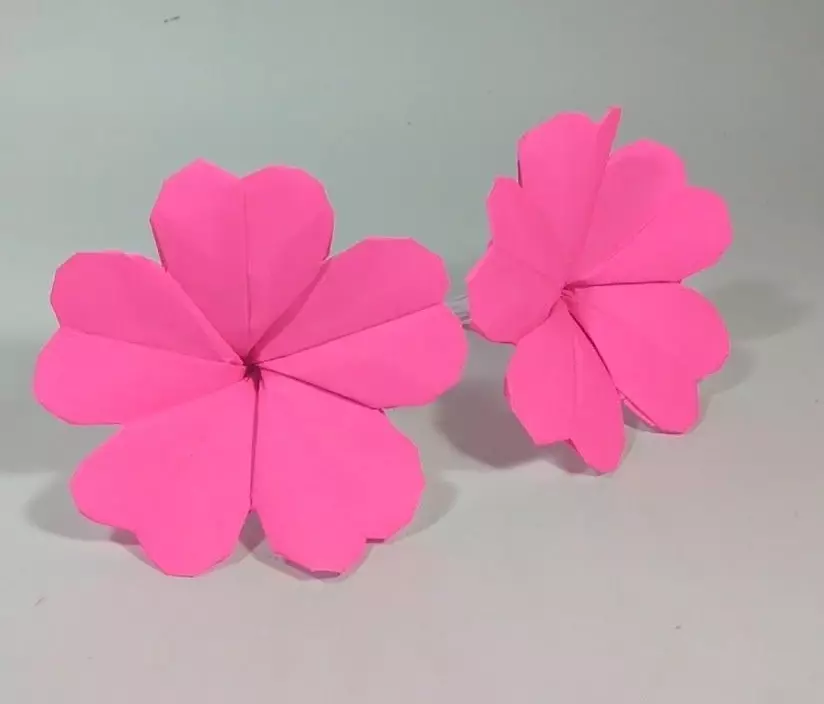
Violet in Origami technique:
- From the sheet of paper it is necessary to cut a pentagon, making the markup of its centers and diagonals (with a guideline according to the scheme).
- A diampty petal is assembled in several layers, the left should be one bend inside, on the right - two.
- On the right, the edge must be beaten actually 1 cm through each layer, the details are turned over, and then everything is duplicated on the left.
- The basis of the origami-flower should be firmly clamping, all the petals will unfold down, and then it is delicately scrolling for the fact that it will create a form.
- And so that the flower is more expressive, thin toothpick all internal and external corners must be carefully cut.
The flower will be very elegant!
Creating a house
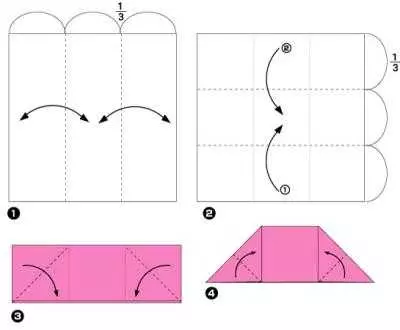
And this is a very interesting version of the house in 3D origami.
- It will be manufactured in stages - separately roof, and separately the box. From the roof start, probably easier. A square sheet of two-color paper is taken, it is bent into 3 equal parts (you can use a ruler, it is not prohibited).
- These parts, one after another, must be folded as a harmonic, stroking well all paper layers.
- Corners bend to the edges.
- Then they are folded again, according to the scheme.
- Next paper base is made - you need to look at the drawing. Square sheet, again, bends into 3 parts, one of the edges is planned in advance, and it becomes a narrow strip after folding.
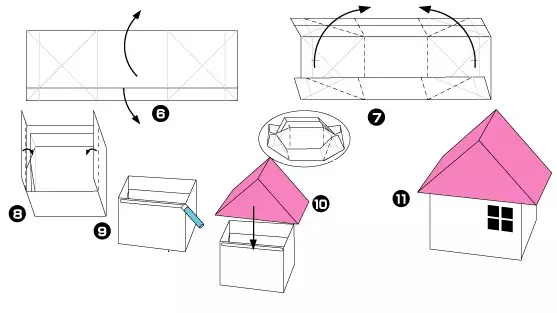
- The side pieces are folded by a box, they have to be punched. And the glue should be applied to the strip that was performed first.
- It is necessary to return to the roof, break the corners, straighten the figure directly from the inside. Then both corners are inside, the model is spreading.
- Roof and base are connected.
Now you can play with a house: it is pretty and, most importantly, volumetric.
Other crafts
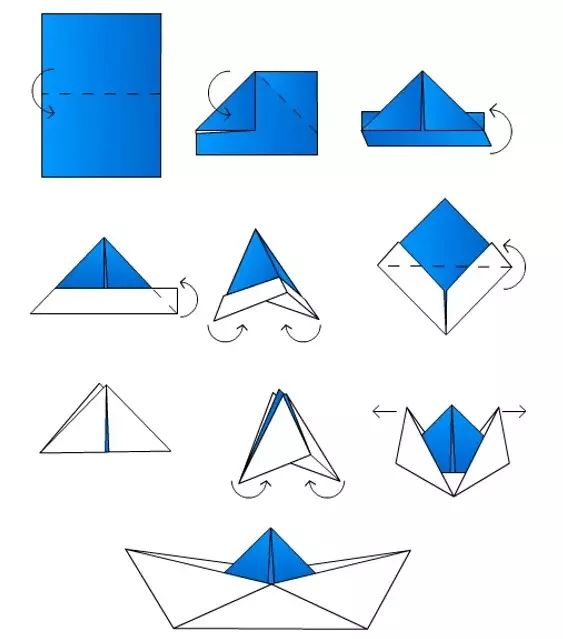
Well, as the origami without a boat - many begin with such a scheme, and it is correct.
A simple shoe from paper is step by step (it always turns out).
- It is better to make a whole flotilla immediately, taking a paper square for her of different sizes and colors.
- The sheet bends in half over the short side, and this step is repeated for each new figure, the center is planned using the fold.
- The two top corners bend to the middle.
- The lower part under the triangle is revealed (landmark for raising purple dots). The billet turns over, everything is done on the reverse side.
- The model is taken over the area below, which is marked with a red point and the same point from the opposite side.
- It is necessary to stretch all this until the rhombus succeed.
- Middle to the master layer must be bent, the lower point is connected to the top. And the same step - on the reverse side.
- And again, it is necessary to take the core of the triangle, stretch to the sides. Rhombus will come out.
- "Folds" models are revealed to the sides.
And the boat!

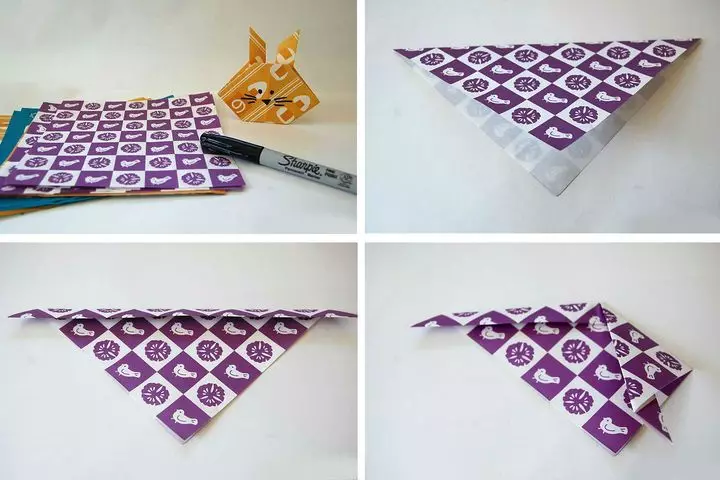
The cutest rabbit muzzle - you can call the following instruction. Here, in the example, it is not just unilateral, but designer colored paper. Square - 15x15 cm.
That's how to make a rabbit (muzzle).
- From top to bottom diagonally folded square. It turns out a triangle, looks at the author to the author.
- The base of the figure must be overcome by three quarters of the height.
- Right corner folds to the median line.
- The left is done with the left.
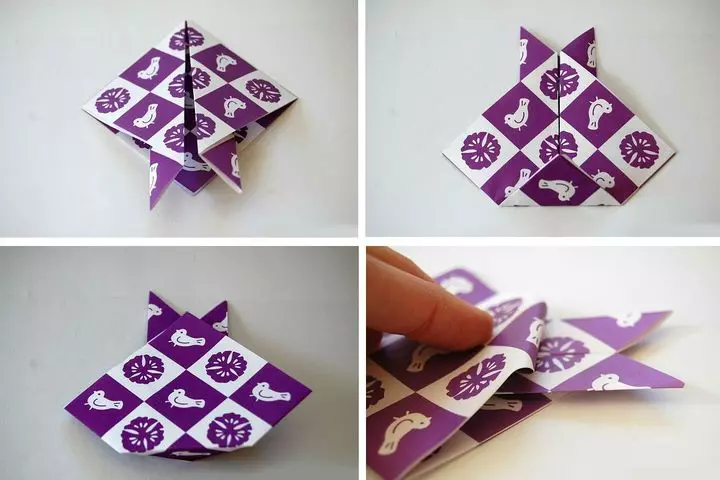
- The billet turns over 180 degrees, the lower corner must be adjusted.
- The face is put on the front side of him.
- The upper layer is refilled inside.
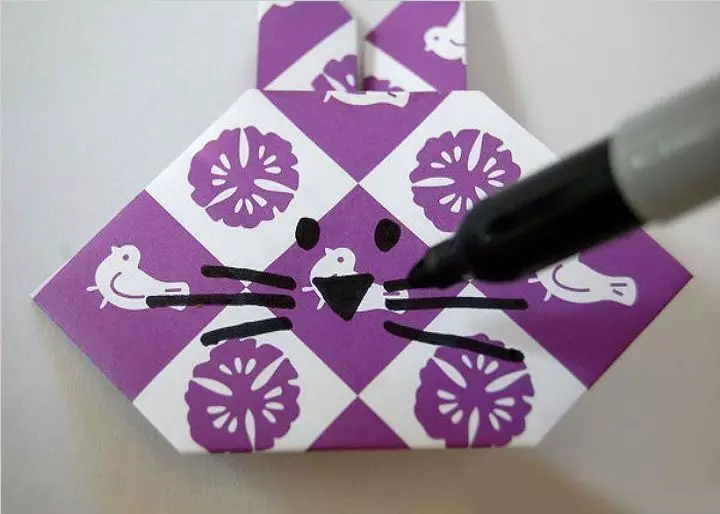
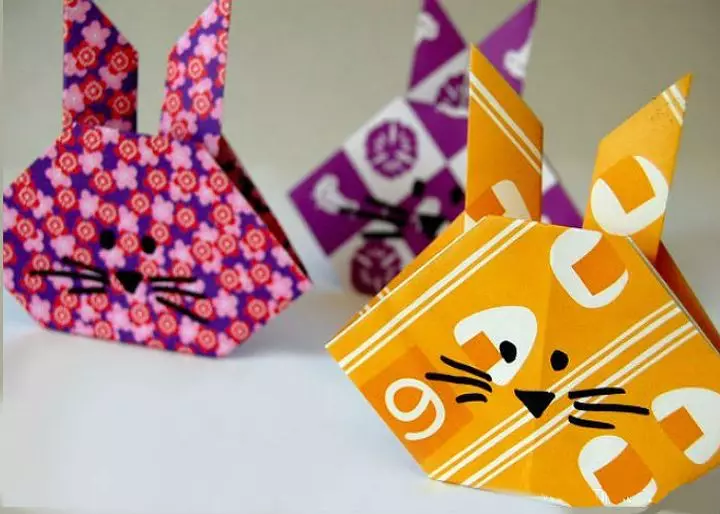
The rabbit is quite possible to draw a face with a marker, but it is only at the request of the author.
And rabbit muzzles can also be made in large quantities, forming one garland. In the nursery it will be appropriate anywhere and at any time.
Successful creative experiments!
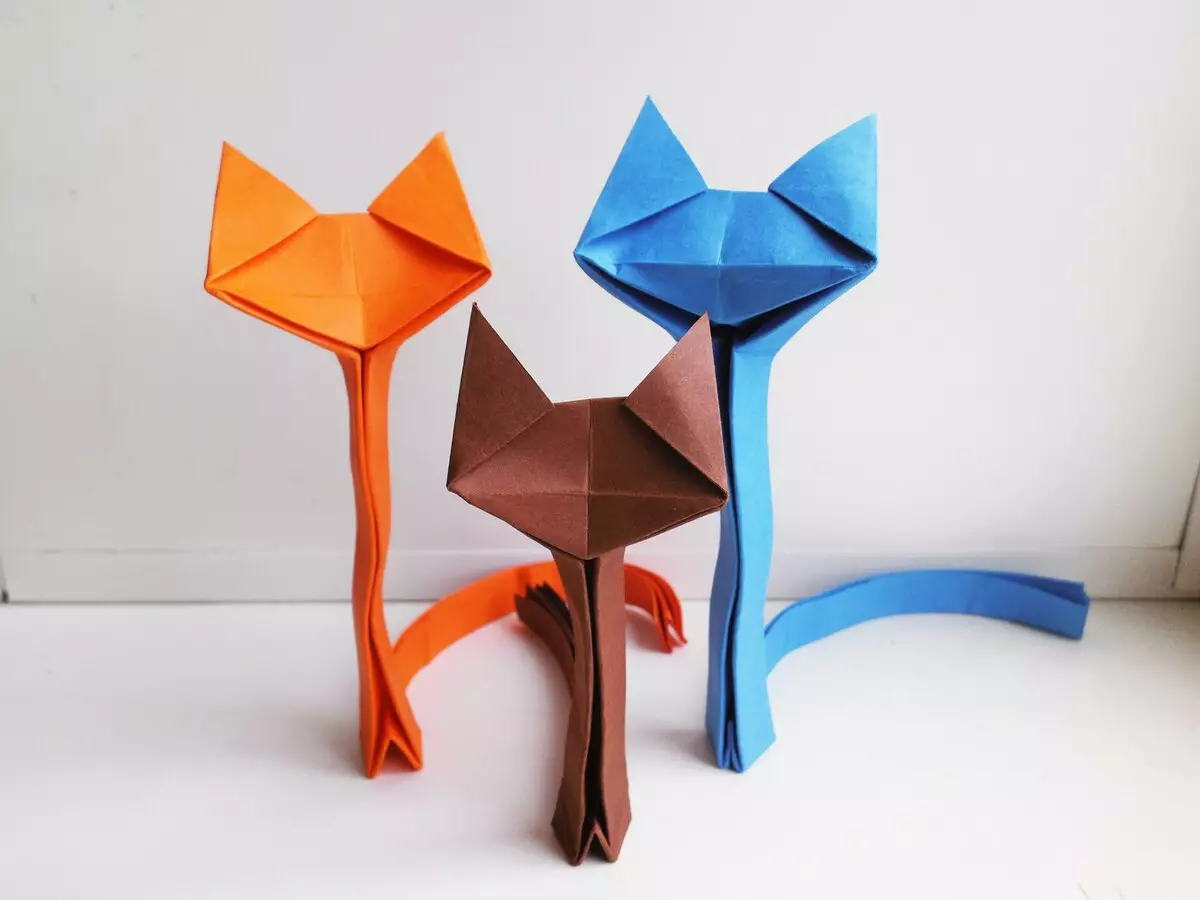
About how to make origami in the form of a fox, see the next video.