
Creative classes contribute to the comprehensive development of the child. One of the most popular types of such activities is the manufacture of applications. It develops a small man's hand, teaches children to be diligent. And also contributes to the development of creative imagination.
The extraordinary beauty of autumn serves as inspiration in the class of different types of creativity. Autumn forest, a fighting variety of paints and flowers, can become an excellent idea for creating children's applications. Color paper, secondary raw materials, various natural materials can be materials for the manufacture of autumn compositions.
We offer you some interesting master classes to create such autumn appliqués.
How to make colored paper?
Every year, exhibitions dedicated to the topic "Autumn" are held in all kindergartens and schools. An excellent idea for craft is the creation of the applixation of the autumn forest, which can be made of colored paper. A variety of options for manufacturing such a picture gives a wide scope for creativity.
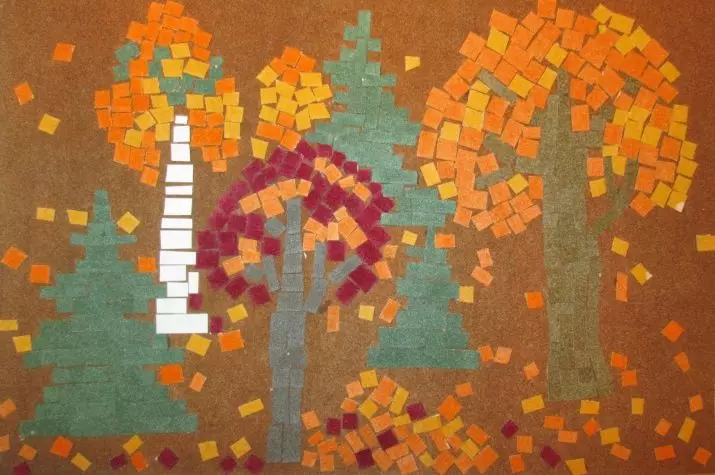
One of the simple options is poured or, as it is also called, torn appliqué. Its essence is that all items depicted on it are made from pieces of colored paper, which was finely broken.
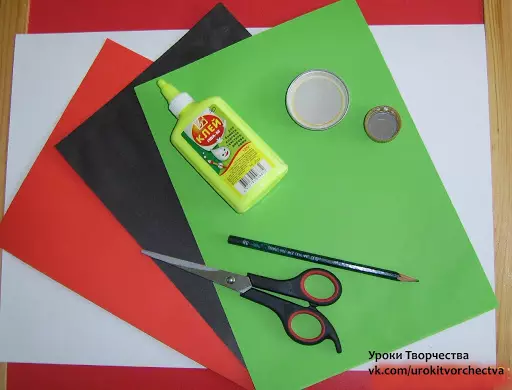
Even a baby will cope with such a handful of 6-7 years old. For its manufacture you will need the following materials:
Colored paper set;
glue stick;
black marker;
pencil;
scissors;
White paper sheets.

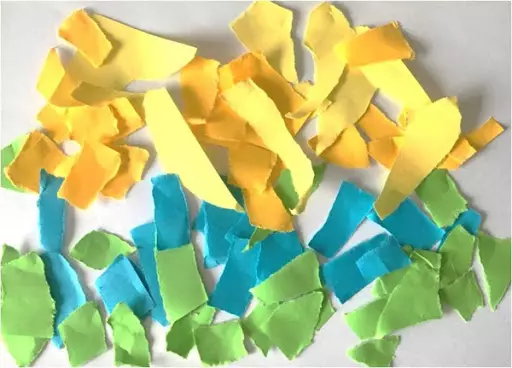
Preparation for luxury applications is the manufacture of basic material - pieces of colored paper.
For this, we take orange and yellow paper, we tear it into small pieces of about the same size. Immediately do not flit a lot of sheets so that no extra pieces remain, it is better to do it in the process of work.
Now you can proceed to the manufacture of appliqués.
Draw on a sheet of brown paper two tree trunks and cut them out.
On a sheet of white paper, we draw a birch trunk, black felt-tipper draw black stripes. Cut out the workpiece.
We draw and cut the clouds from blue paper, as well as a circle of yellow paper.
Separately draw and cut the green grass and 4 semicircles of brown paper - it will be hats of future mushrooms. On the sheet, we draw and cut the feet of mushrooms.
We start collecting our composition. To do this, on a sheet of white paper we glue the trunks of trees, clouds, the sun.
Next, we glue the details of the fungi - legs and hats. Then fix the grass so that it overlap our mushrooms slightly.
Now we proceed to gluing torn pieces. We try to glue them tightly, practically no leaving gaps.
On a black sheet of paper, we draw and cut the silhouette of the hedgehog. We glue it to our picture.
Now cut the apple, which is put on the back of the hedgehog. To do this, cut out a small red circle and a green leaf. We glue it to hedgehog. Feltaster Tyoving the tail of the apple.
Applique "Autumn forest with mushrooms" is ready.

Another interesting option is the manufacture of bulk composition. To do this, prepare:
Colored paper set;
scissors;
pencil;
White paper sheets;
glue stick;
Black marker.

We begin to make a bulk composition.
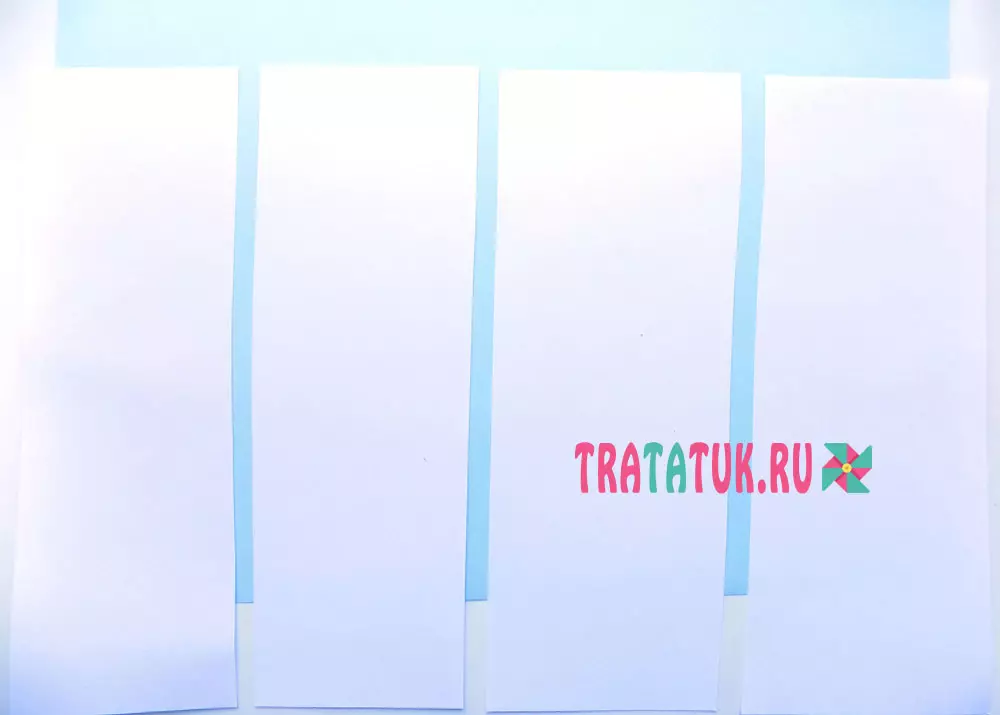
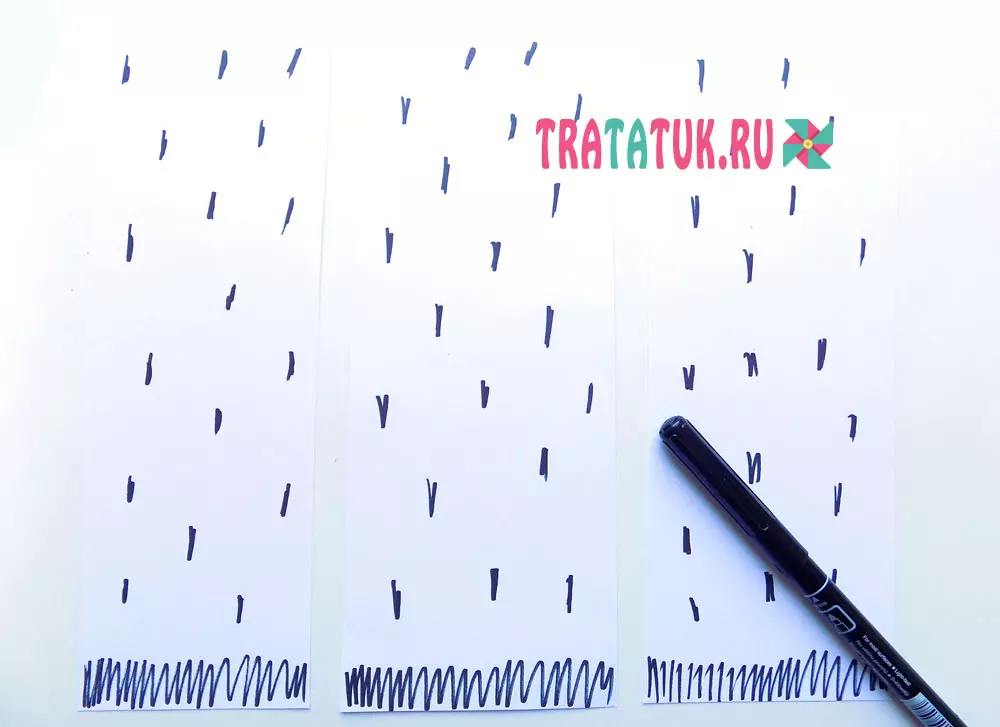
We take a white sheet A4 and cut it into 3 parts - it will be birch trunks. With the help of a black marker, we draw vertical strokes throughout the perimeter on the 3 billets.
Tightly one line make the same at the bottom of each sheet.
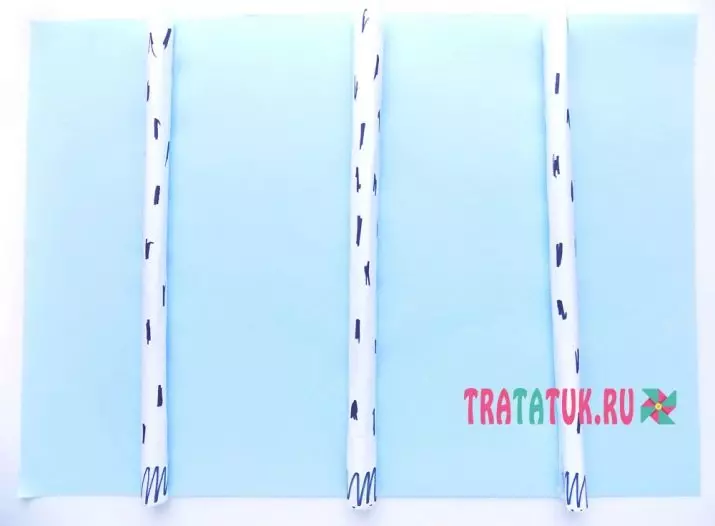
- Twist the workpieces into the tube and fix them with glue. There should be three trunks.

- For the background, we take a sheet of paper light blue. We glue our trunks on it.
- Fourth strip cut to 5 identical segments - Breaking branches, and also apply strokes on them with a black marker. Twist them in the tube, cut off the formation of one of the sides and glit along the tables.

- Grass make from green paper . Cut the strip and fold it several times. On the one hand cut sharp teeth.
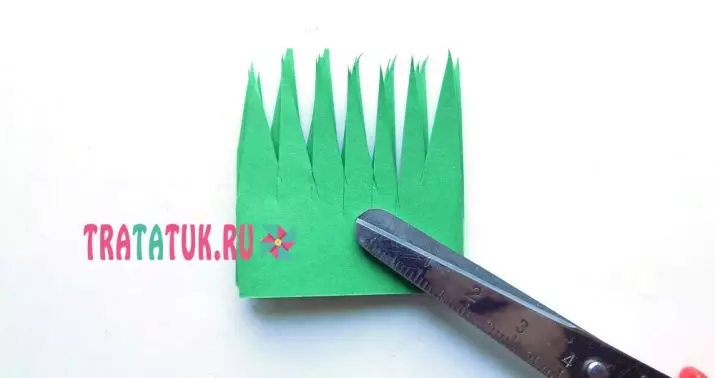
- We turn the grass slightly tighten the blade And we glue on our composition, as shown in the picture.

- For leaves, we take colored green paper, orange and yellow colors . We cut each sheet on the strips and fold them several times. After that, cut out the leaf. All over the contour of the leaves, we make small cuts and a little bend them in half.

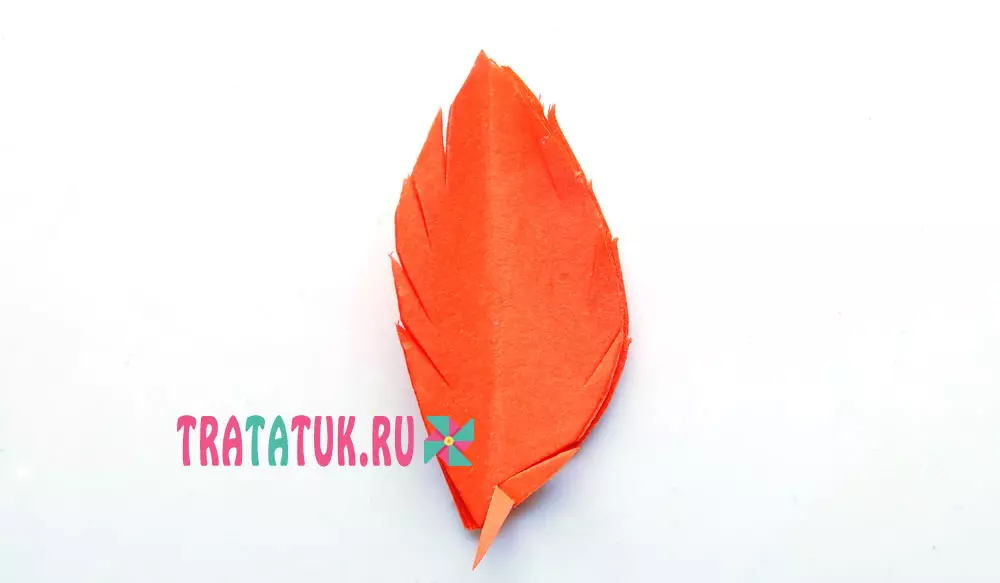
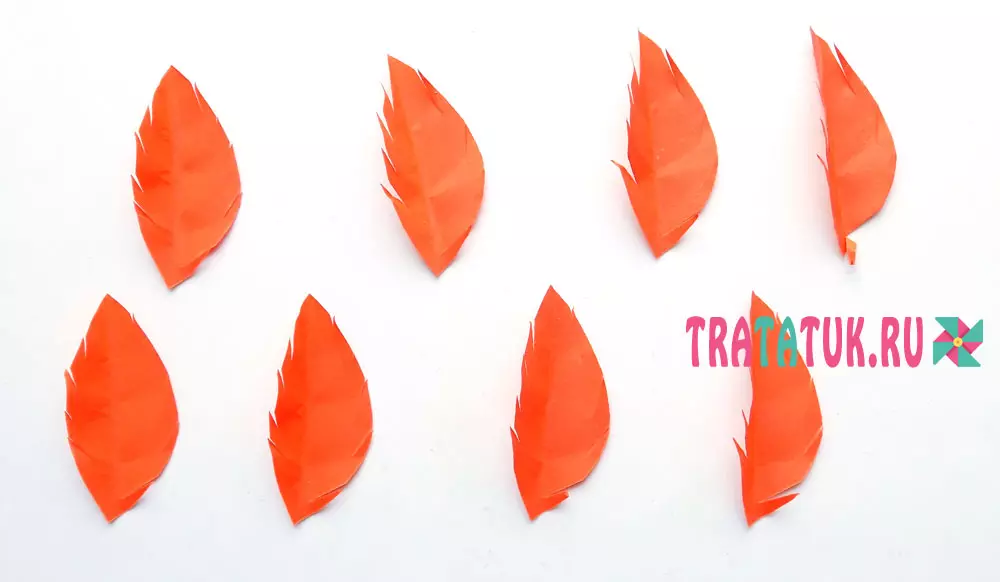
- By this principle, we make leaflets from each color.

- In any order glit Ready leafles to trees. Volumetric Applique "Autumn Forest" is ready!


Production of dry leaves
DIY with the use of natural material always look interesting and very beautiful. Therefore, we propose to create the applique of the "Autumn Forest" performed by dry leaves. For this, you will need the following components:
leaves;
paper;
paint gouache;
Thin twigs;
Rowan berries;
PVA glue;
Super glue.

Consider the course of work.
We collect leaves in advance from different trees. Drain them.
We start with the background. On a sheet of white paper draw a gouache background.
Next, lay out the trunks of the trunks and the crown of trees. We glue them to superciles.
Dry casting cut into small pieces of different shapes and size.
We place them on the trees, forming foliage. Fix on PVA glue.
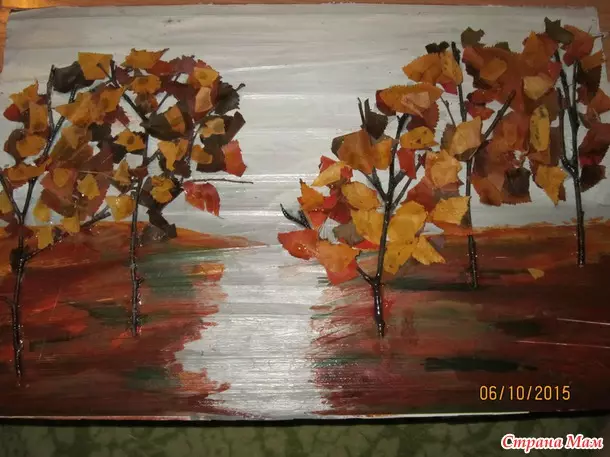
We decorate the berries of rowan, fix them with a superclone. Our painting from dry leaves is ready!


Other ideas
An interesting version of the appliqué "Autumn Forest" can be made of cotton disks.
For this, the following items will be necessary:
corrugated cardboard;
white paper sheet;
scissors;
PVA glue;
paints;
pipette.
Pre-prepare our leaves. For this, cotton discs are staining with water mixed with paint that we type in the pipette. Tell your child to create foliage, this occupation is quite interesting and fascinating.
From corrugated cardboard, cut out the barrel and glued it onto a white sheet.
We begin to engage in foliage. For this, painted cotton discs are glued around the trunk, overlapping them on each other. Bright autumn tree is ready!


We offer step-by-step instructions for another colorful version of the composition "Autumn Forest" made with colored paper. You will need the following:
Colored paper set;
PVA glue;
scissors;
foil;
leaves of trees;
pencil;
black marker;
Silver paper sheet.
That's how to do it.
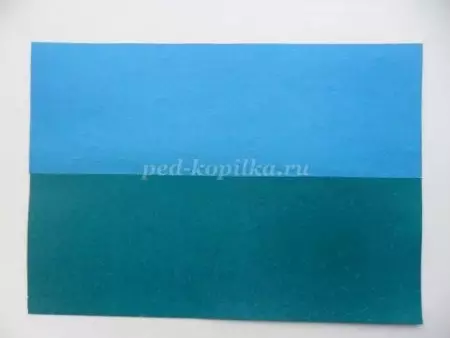
We take a blue sheet of paper and cut it in half in length. The leaf of dark green will serve as the basis of the applique. We glue a half blue color from above.
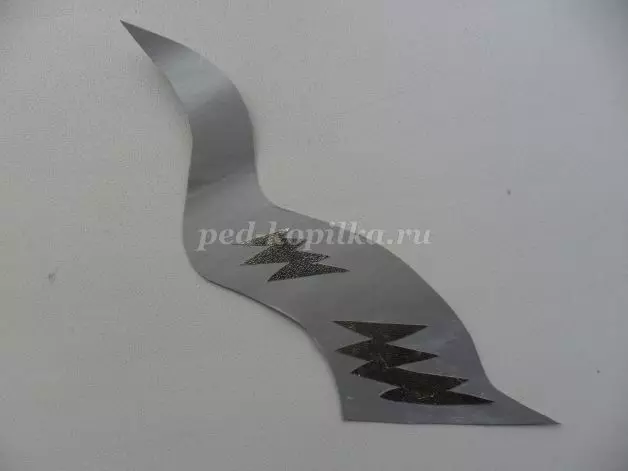
- On a silver sheet, we draw a river and cut it out. On foil, we draw and cut the zigzag glare from the sun.
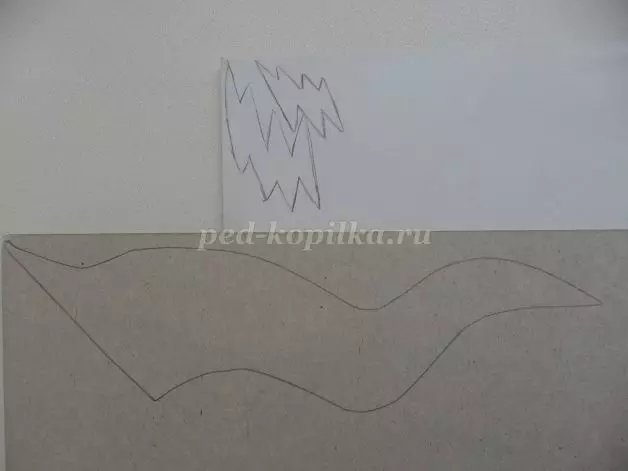
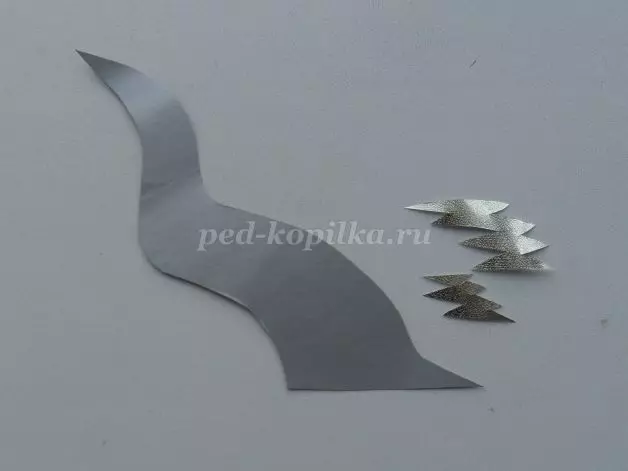
- White paper Cut the clouds.
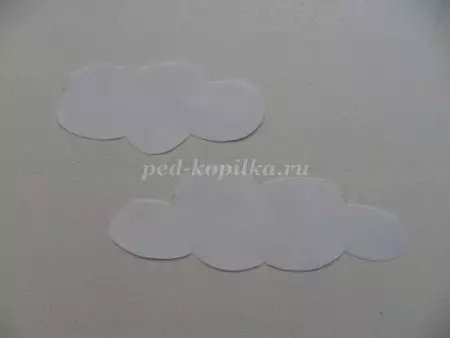
- We stick glare on the river . Fix clouds and river on appliqués.

- We supply different leaves on paper orange, red yellow and brown colors. Stems draw on paper light and dark brown colors, as well as on white. Cut out all the blanks.

- Fix Stems, and on top distributing leaves.

- Black marker Draw stripes on birch. Coloring Applique is ready!

Application "Autumn Forest" in the video below.