
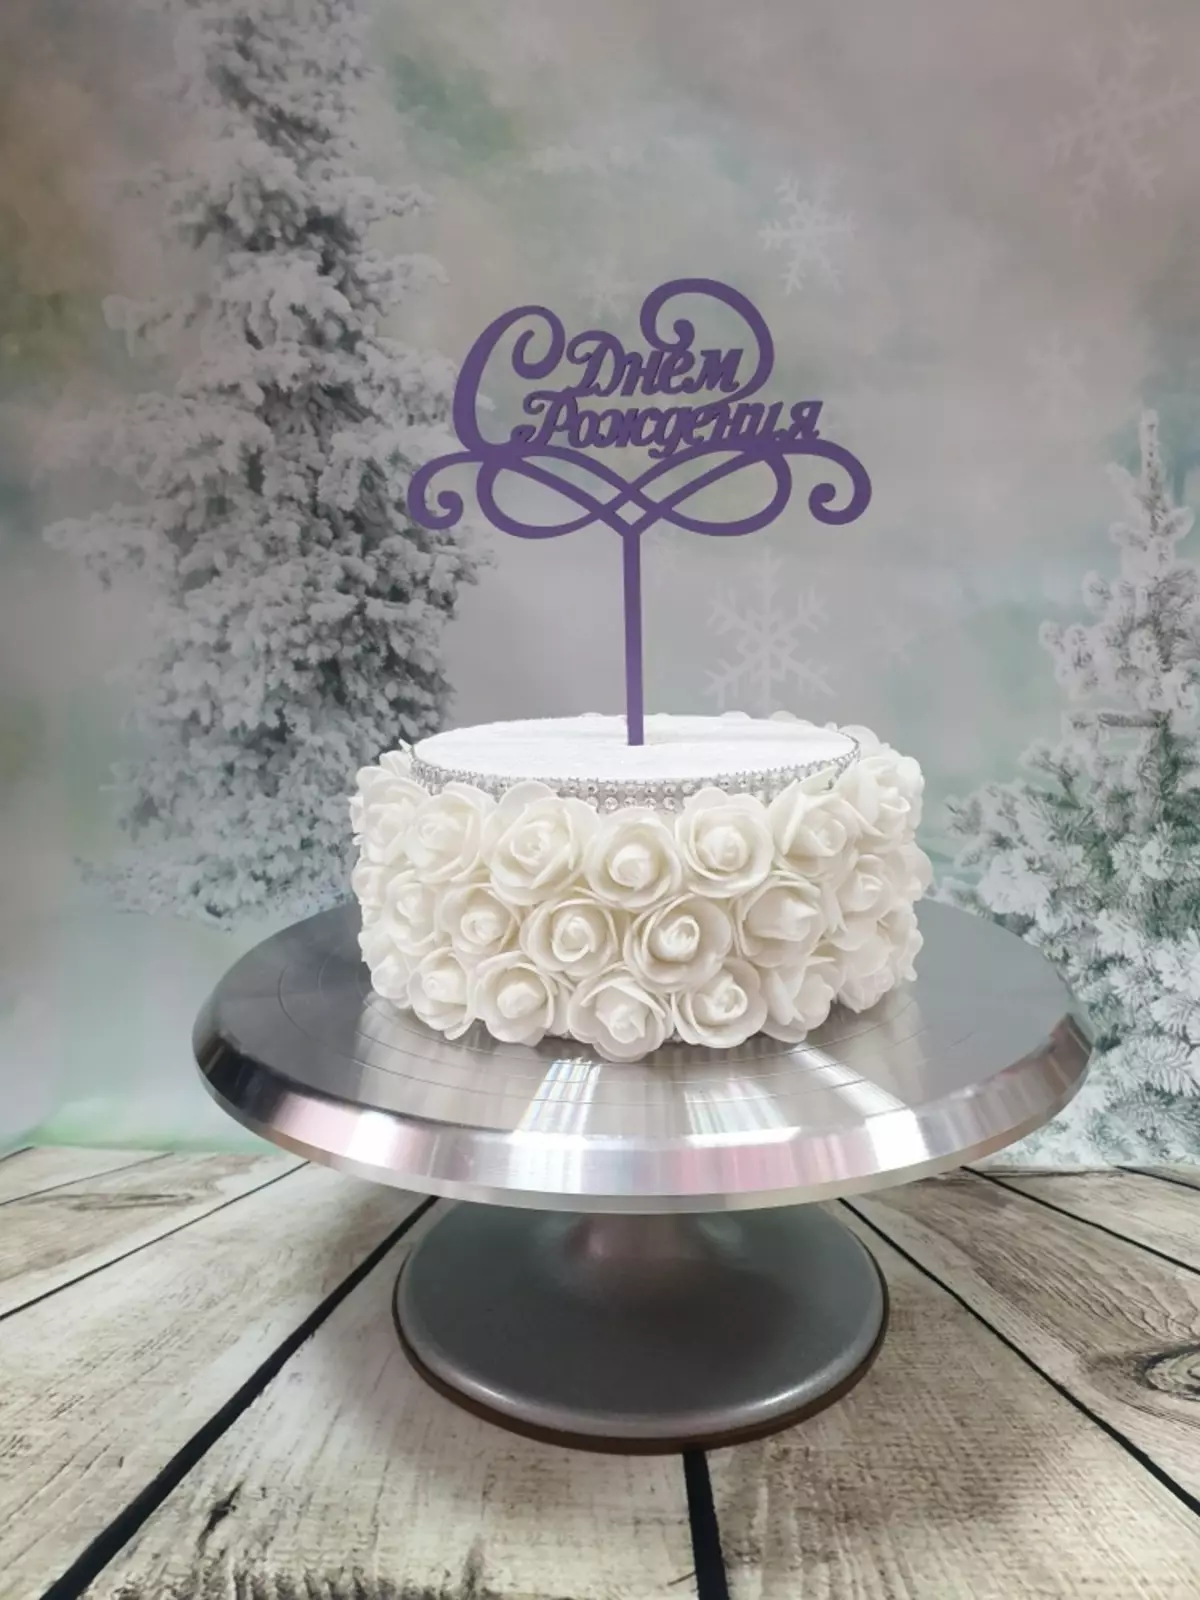
It is unlikely that someone will deny that social networks have long been transformed from simple photo albums to the sites for self-reclamation and making money. With their help, many self-employed citizens promote their products and services. However, in order for among thousands of pages to pay attention to your attention, you need a beautiful design. Today it will be about how you can make your own hands with your own hands for confectionery products: cakes, cupcakes, handmade marshmallows and many other things.
What can I use?
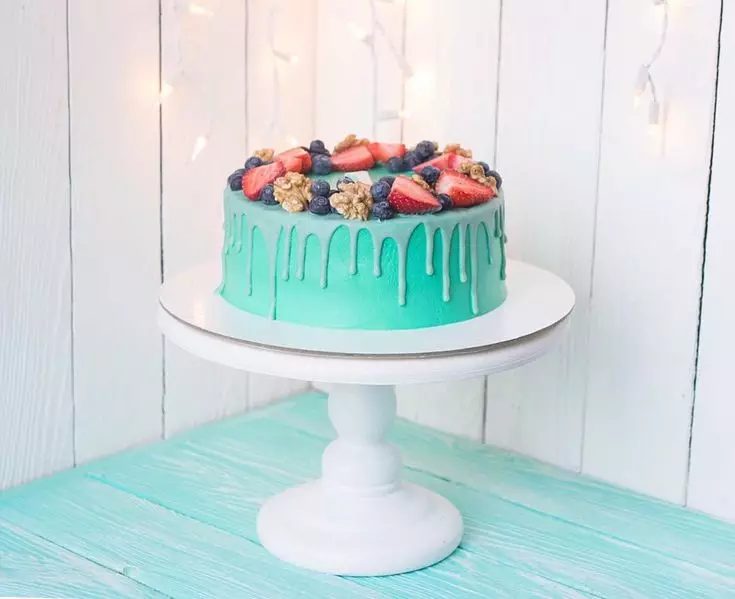
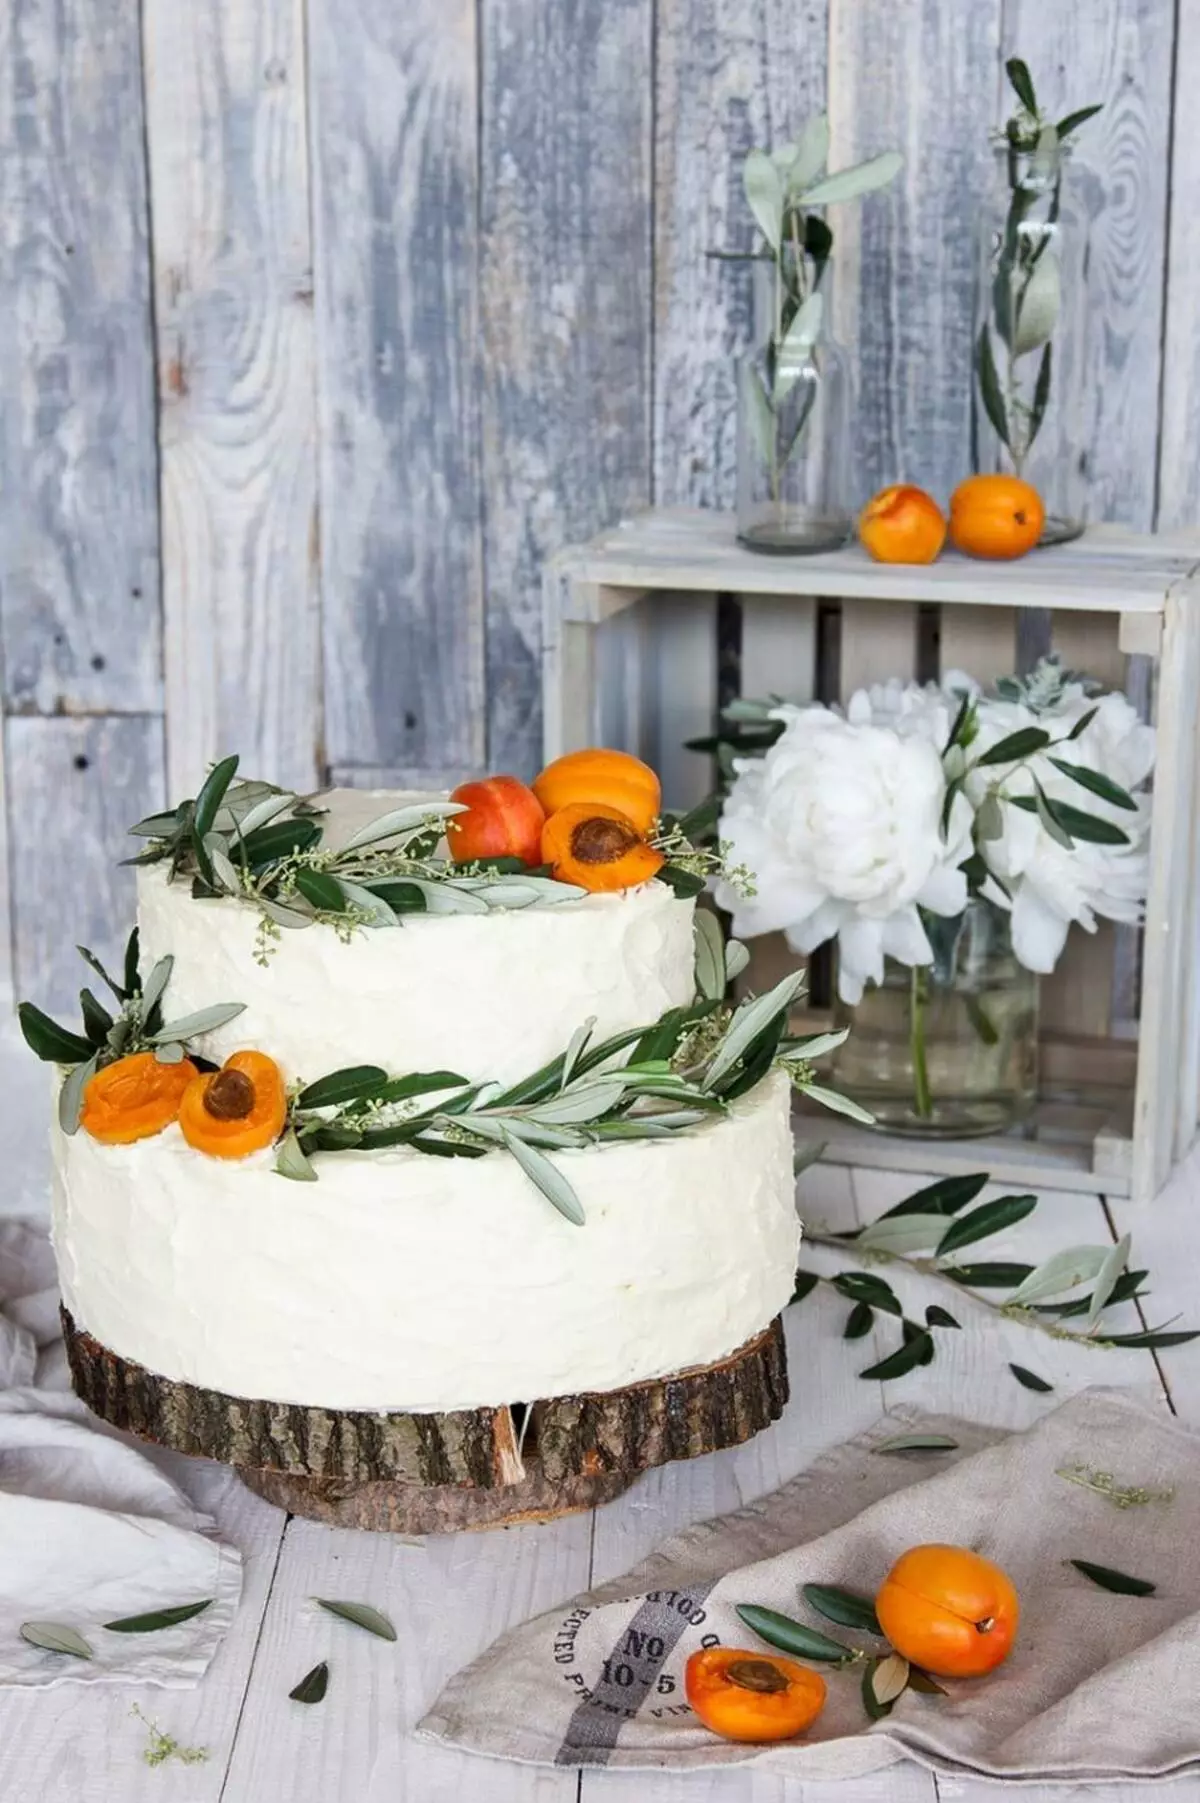
To begin, it should be said that the appropriate rear plan is vital when conducting subject or fod-shooting. Whatever appetizing and beautiful cake, it is just "lost" against the background of the usual home environment, wallpaper in the flower, kitchen table.
The hand-made photophone, used once, will make your page recognizable and individual, which is also important for the home pastryer.
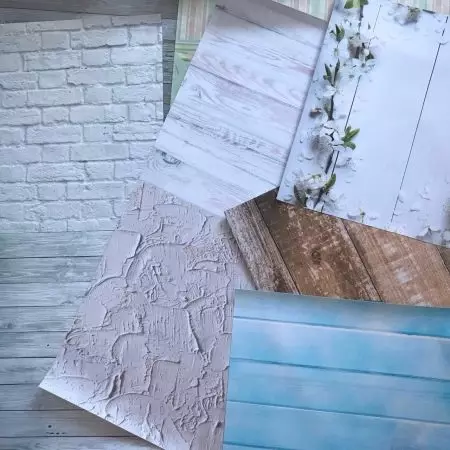
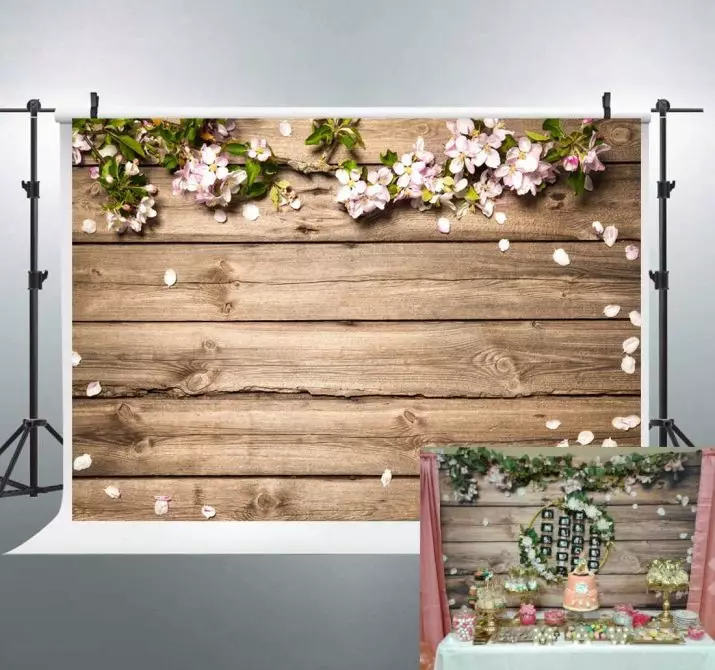
For food photos, the surfaces of light shades are best suited. Most often used:
- Vintage wood countertops with purples;
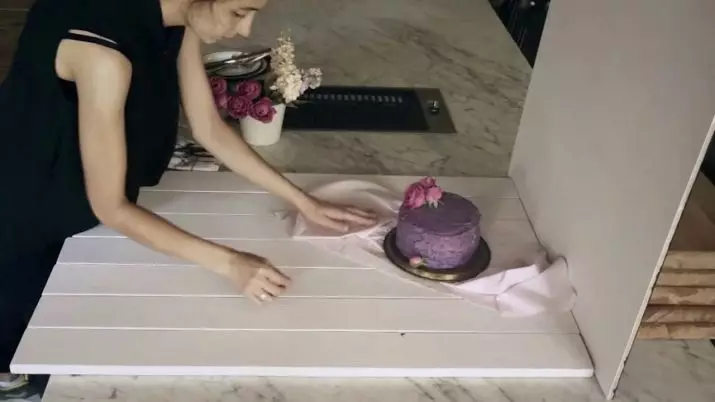
- various fabrics;
- marble plates;
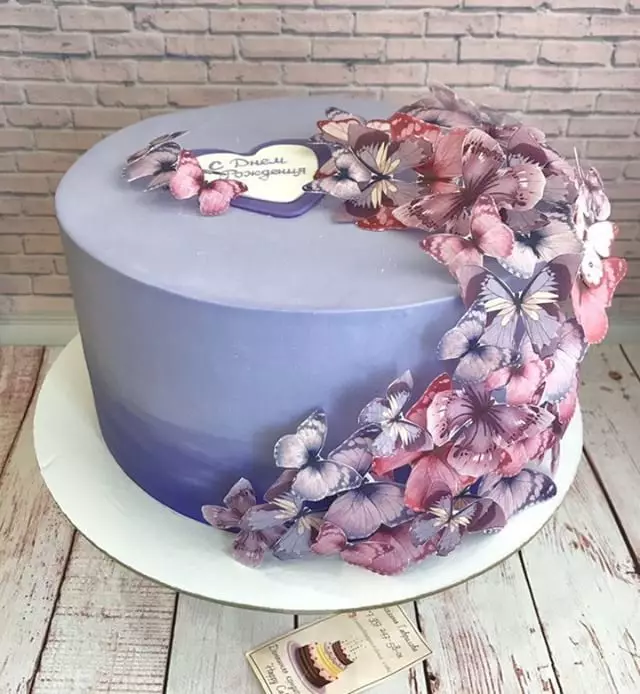
- Brick / concrete walls.
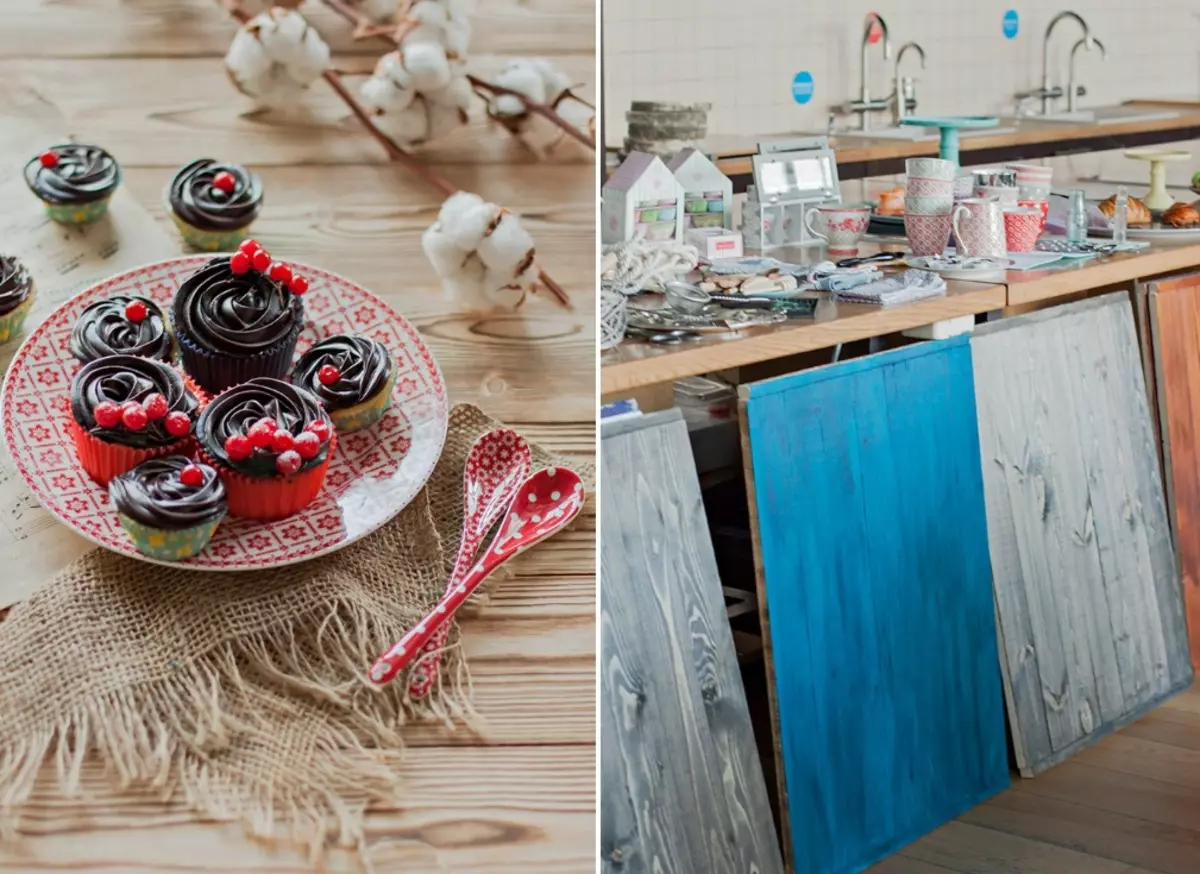
Of course, most often as a photophone protrude with images of one or another texture, and not real scenery. It is cheaper, and it is much easier to convert into life.
Option of wood
However, let's not go through the easiest way and for starters I will try to create a photophone after all Using a natural sawn timber.
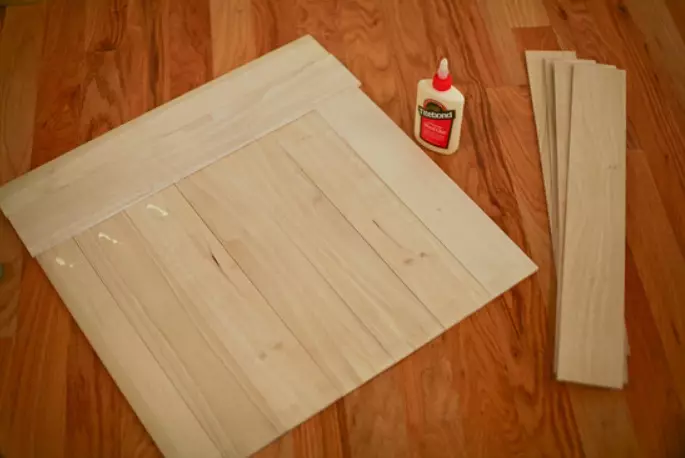
To do this, you will need to prepare:
- Boards (quantity, length and width Choose yourself, but keep in mind that in the end you should have a fairly large square / rectangular shield, which will be easily located with the ease of placing a cake or boxing box);
- Liquid nails (construction glue);
- sandpaper;
- a crucifier (a special tool for wasting wood);
- Matte lacquer for wood, veil or acrylic paint.
It is recommended to work in a mask, since dust will be very much.
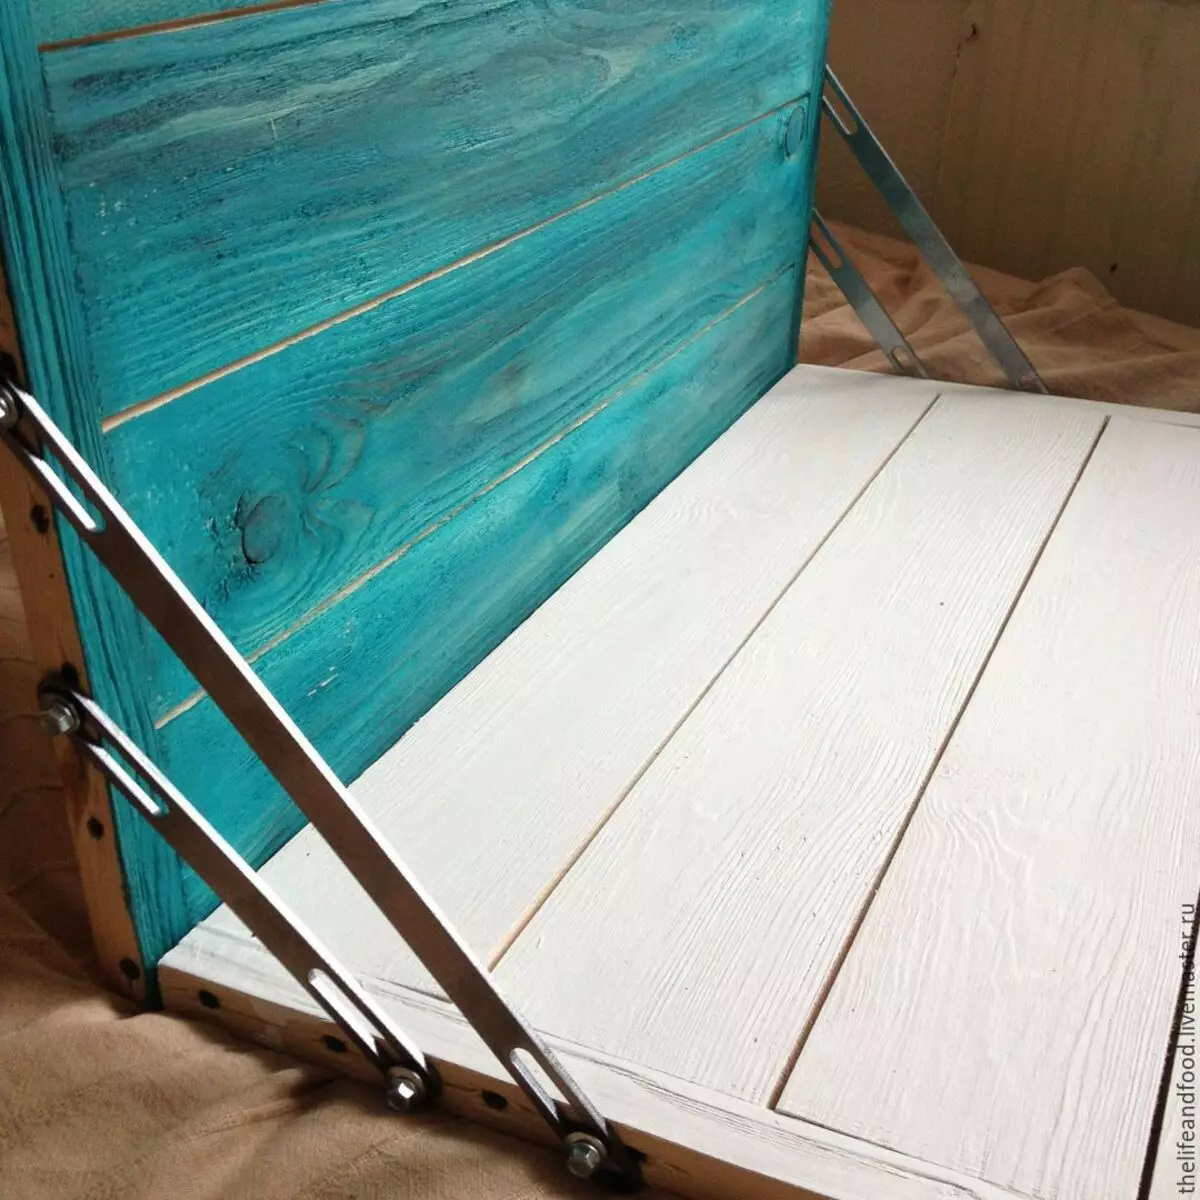
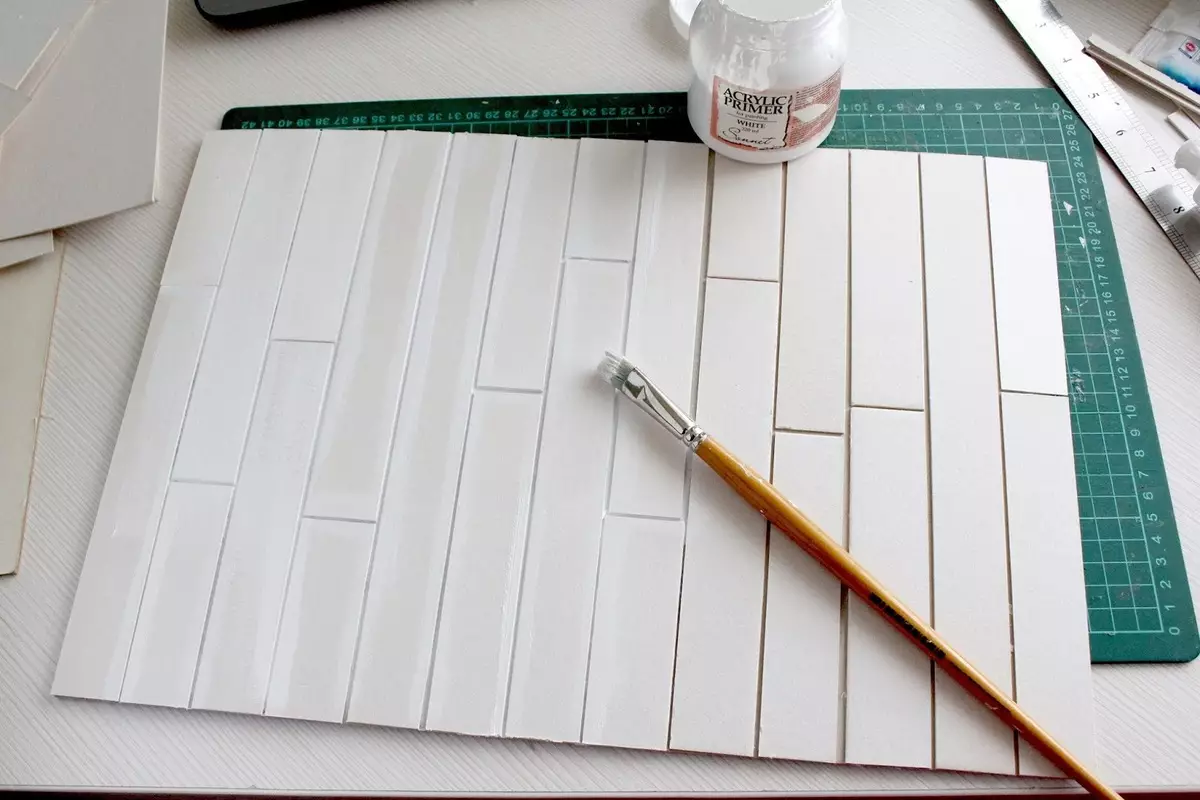
Step-by-step instruction:
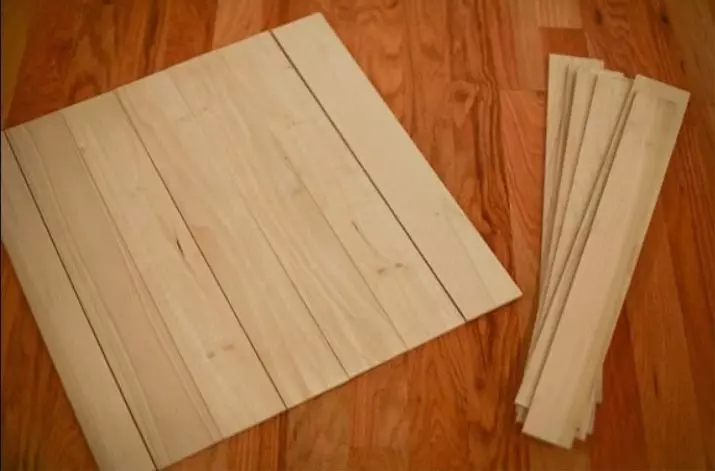
- Split prepared boards on the required number of parts;
- Collect each sandpaper, then process the circular movements along the fibers - so you improve the appearance of the board;
- Ready lumber fasten with liquid nails - for this board you need to put a square / rectangle, turning them down "face" down, and apply the adhesive substance perpendicularly;
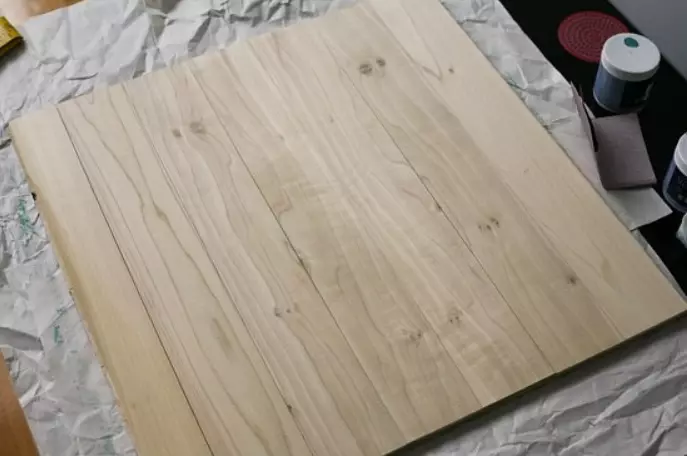
- On top of liquid nails also perpendicularly laid out the second layer of boards, but the front side is upward;
- After drying the glue, the surface of the resulting design is treated with a simulator;
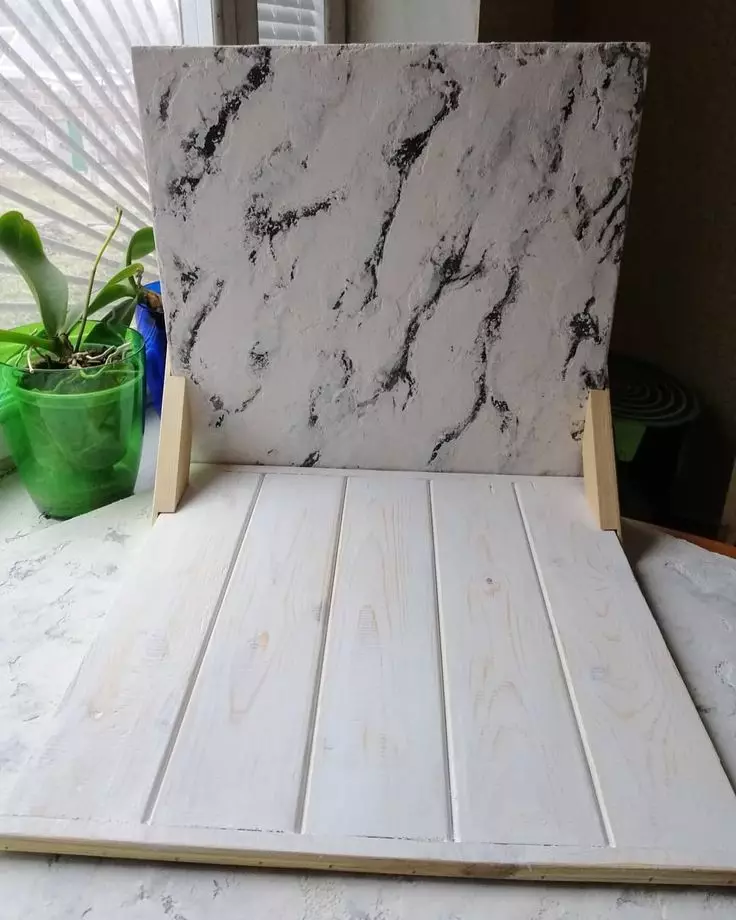
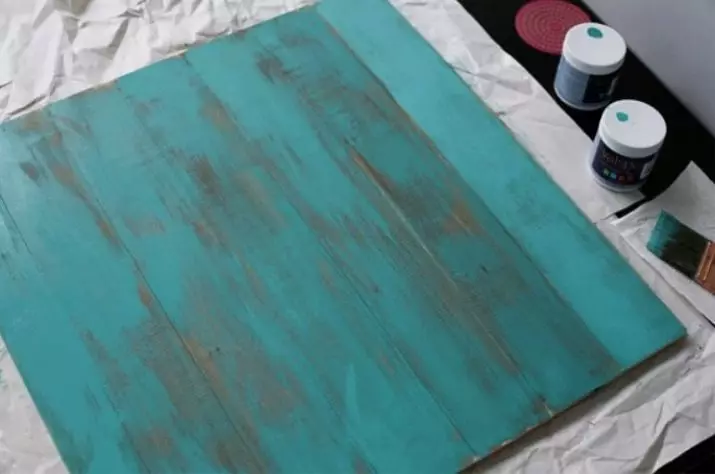
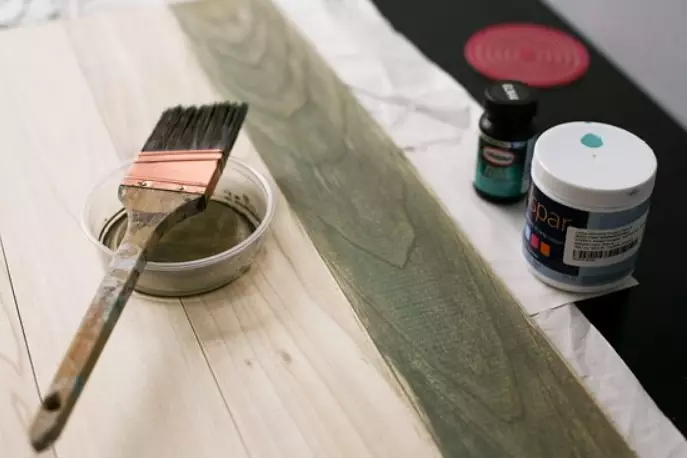
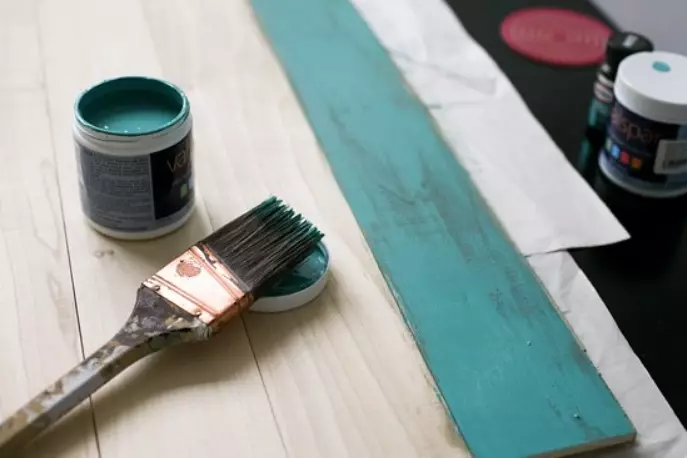
- If you want to use both sides of a wooden shield, you can paint them into different colors (for example, in white and gray), artificialize the surface with the help of sandpaper;
- The final stage of the work will be the coating zone for the photo of a matte varnish in 2 layers.

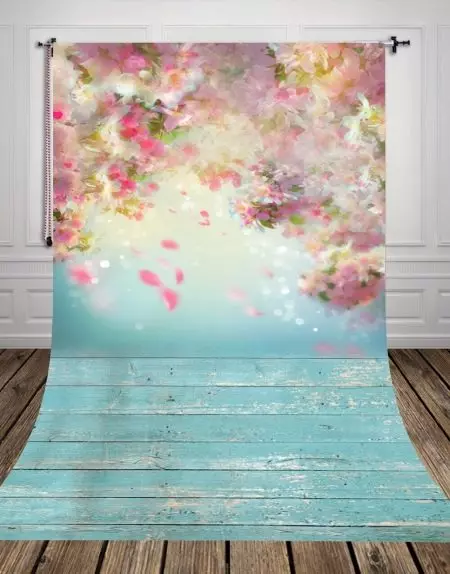
How to make a photo of vinyl wallpaper?
This method does not imply any curious actions - It is enough for you to visit any store where wallpapers are sold, find a canvas with a suitable pattern, to purchase 1 roll and use it as a substrate under your culinary masterpieces . Of course, before making a photo, the wallpaper will have to straighten and add something heavy so that the roll does not twist back. Either you can simply cut off a piece of suitable size and stick it on a sheet of plywood or a large ceiling tile.
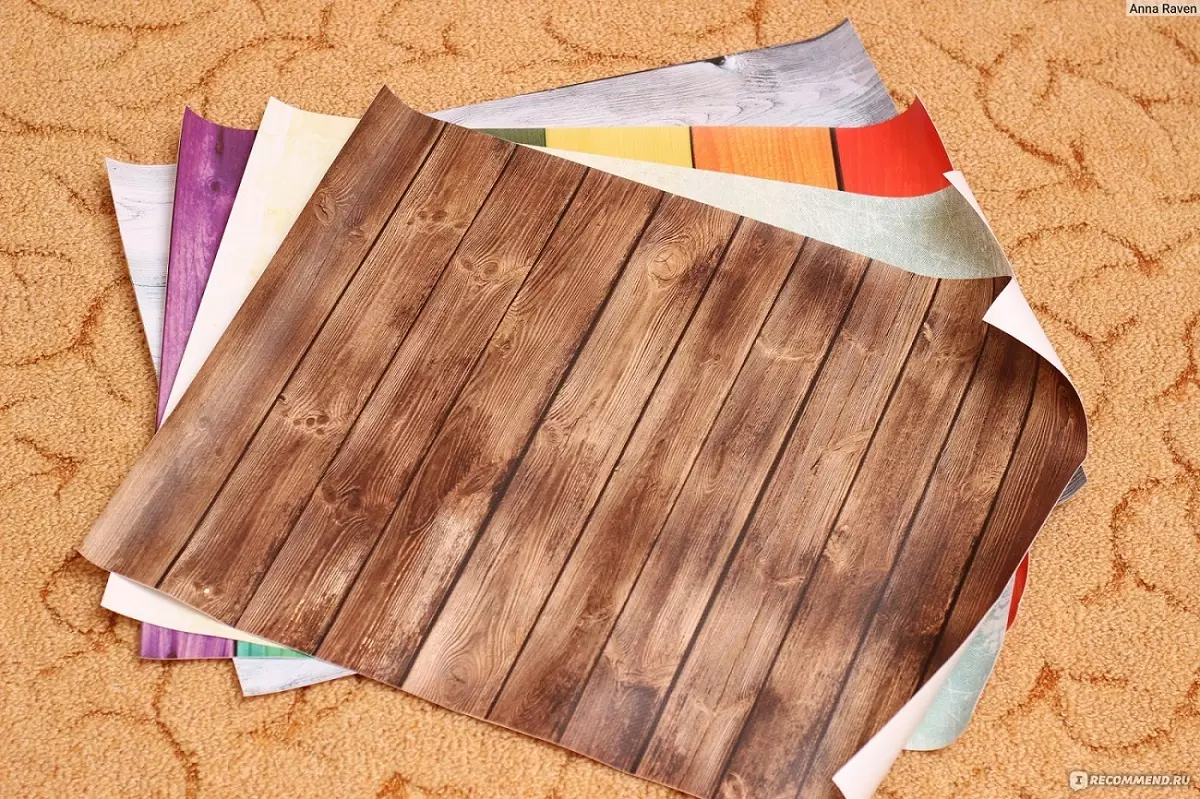
On the Internet on many venues, you can order ready-made photophones with any texture: under the tree, under the brick, concrete and others. But often the quality of printing on them is not too good.
Other original photowons ideas
There are 2 more ways to create a beautiful photophone for the food photo.
Photocopying on foamartone:
- Find the image of the desired background on any site offering stock photos for free use, or take a picture of the surface yourself;
- Find out which photo centers in your city offer photo printing services on foamartone;
- Tell the master of the following data - the sheet thickness should not be less than 0.5 cm, length and width or 50x70 cm (suitable as a substrate), or 120x100 cm (can be used as a rear wall with a vertical location of the subject).
And for the option using self-adhesive film you will need:
- Film itself;
- Cardboard used to create books books (can be purchased at any store for artists);
- rag;
- ruler;
- simple pencil;
- stationery knife.
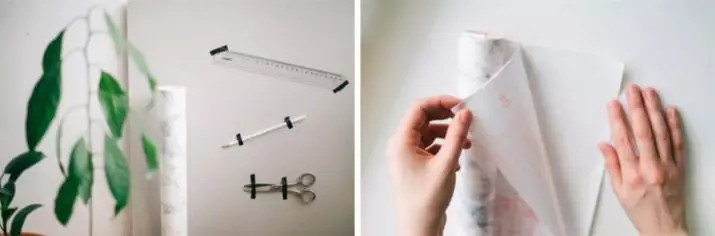
Stages of manufacture photophone:
- on a cardboard basis using a ruler and a pencil, a square / rectangle of the desired size;
- the same figure with the same parameters, draw on the film (from the wrongness);
- Gently cut down both forms by a stationery knife, laying for loyalty to the line;
- Gradually, removing the protective layer from the film, start gluing it to the cardboard substrate, while watching it to be bubbles and distortions, smooth the cloth with a rag.

Another idea how to make a photograph for cakes, in the video below.