
To congratulate close people with one holiday, you can make postcards from various materials with your own hands. Master classes will show how to make them of colored cardboard or paper for children under the supervision of adults or senior guys. It will be a pleasant addition to the prepared presentation and a fascinating occupation for children.
Warm good words that have been told at solemn meetings, many years are stored in postcards, especially if they are made personally.
Birthday options
Birthday is nice to get a gift and a beautiful postcard with gentle words. Parents, grandparents really like postcards that mashed their little children and grandchildren in kindergarten. For children, there are simple options, but made with great love. Conventional materials for manufacture are glue, paper, scissors, you can make cards from corrugated paper with the addition of beads, buttons, ribbons.

Simple
This simple postcard can make kids 3-4 years old. But adults or senior children should help.
For the postcard you need:
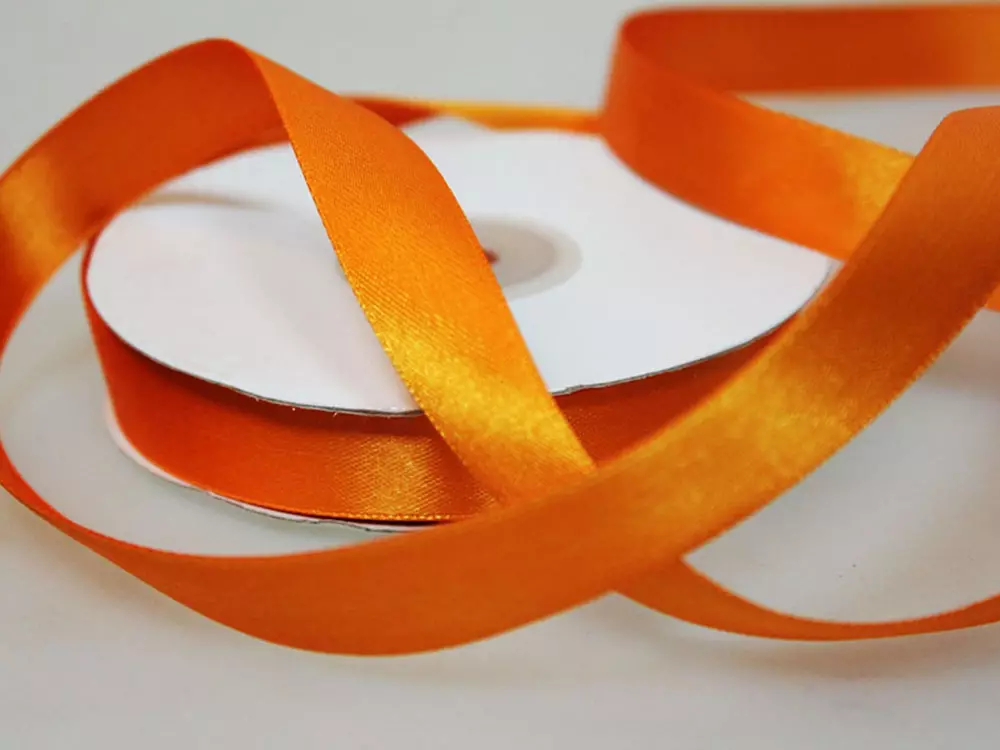
- narrow beautiful dressing tape;
- scissors;
- paper with patterns or wrapping for gifts;
- Bright cardboard for the base;
- Glue in a tube.
When performing all actions do not hurry, it is necessary to do everything neatly, the table is pre-noted with paper or glued, care when working with scissors.
Making a postcard includes 6 steps.
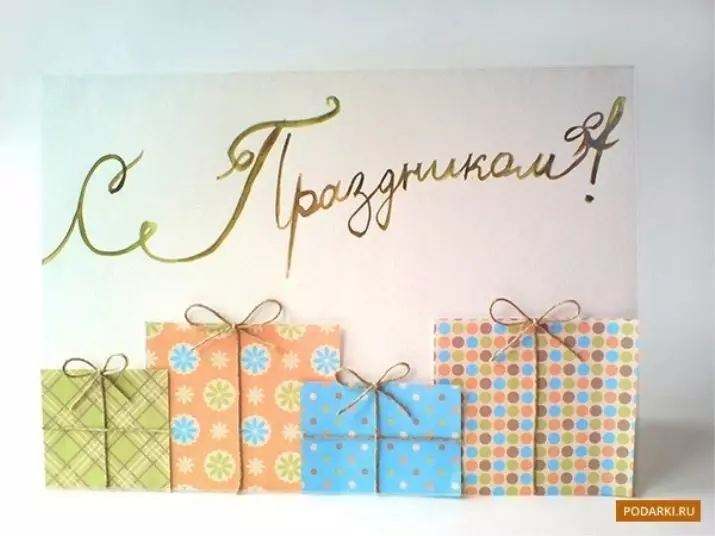
- Prepare the base from the cardboard of the size you want.
- In the top write the word "Congratulations!", "Happy Birthday!". You can glue a sheet with such an inscription that adults will write.
- Take color or wrapping paper, cut a few squares in the form of packaged gifts. Let them be different magnitude. Spread them on the basis to see how gifts will be better accommodated.
- Stick gift cut boxes at the bottom of the postcard.
- Cut the gift ribbon, attach to gifts, with the help of glue pencil attach.
- Make beautiful gifts for gifts, glue.
You can use colored thick threads, knitting yarn, beep instead of gift ribbon to bandaging gifts.
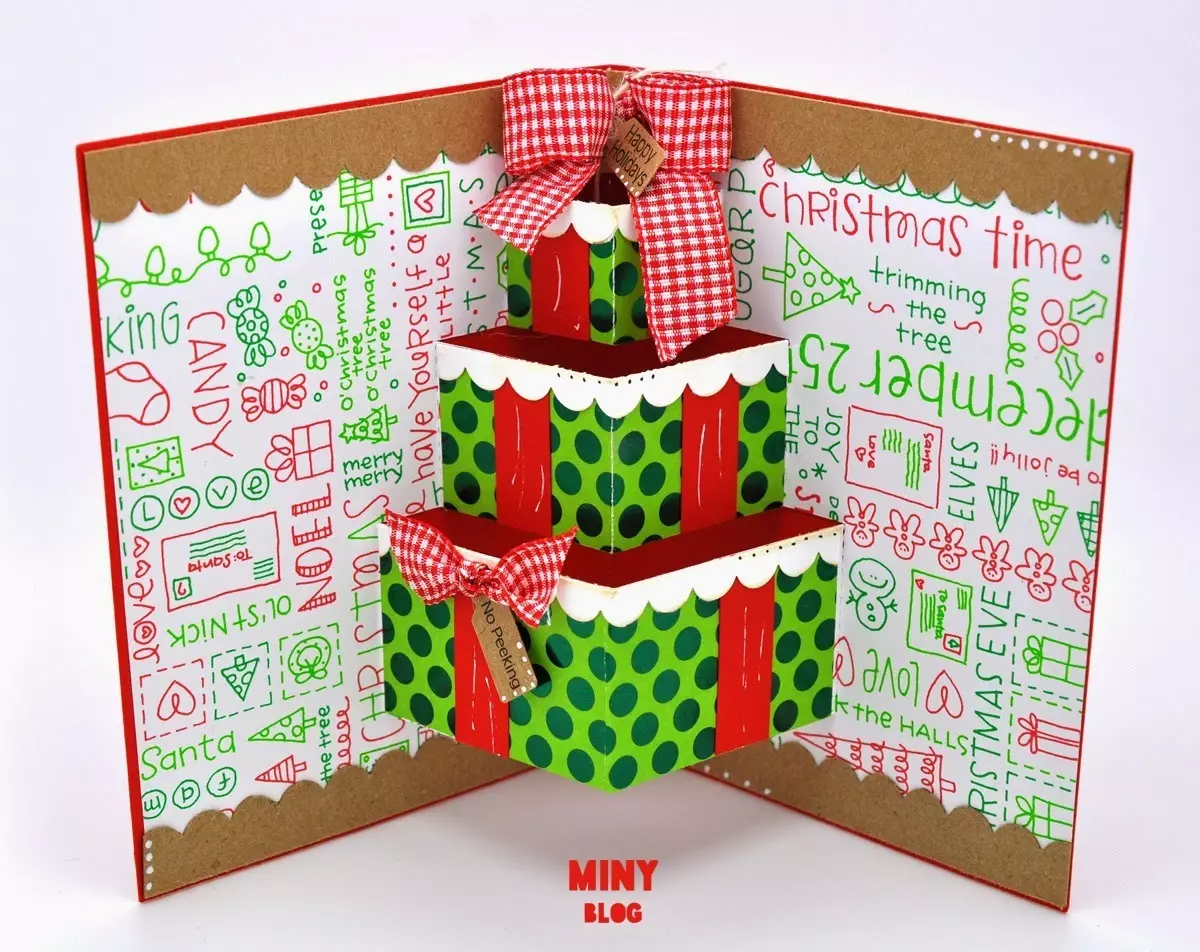
Volumeful
These are complex postcards, but they are beautiful, original, with a 3D effect.
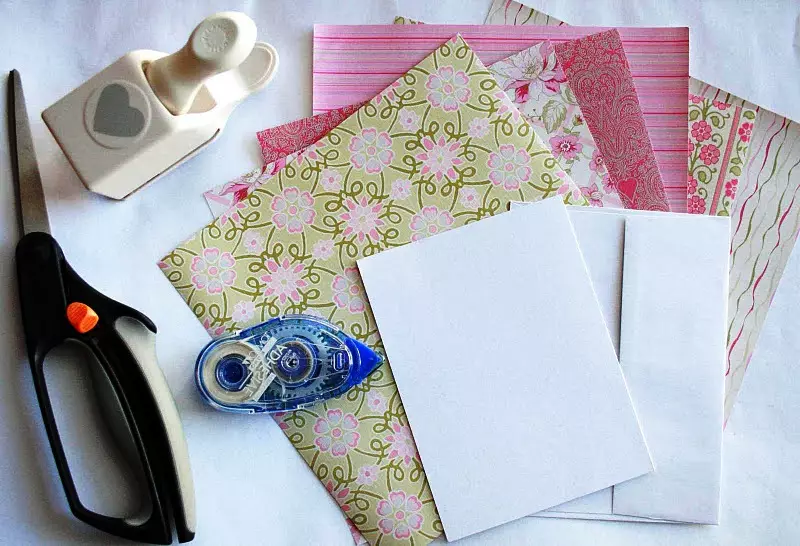
To work, you need to prepare such materials and tools:
- Cardboard - several sheets of different colors;
- glue stick;
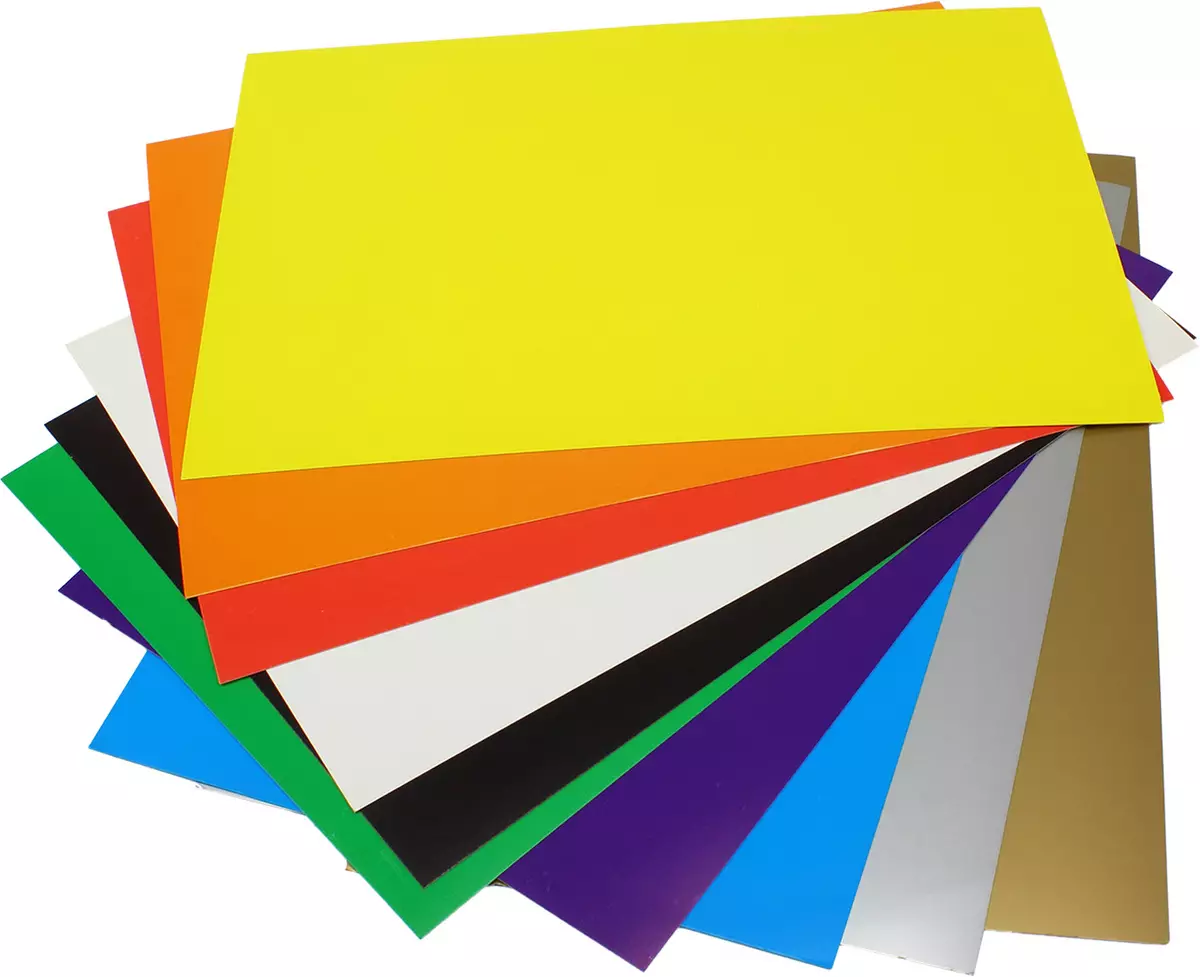
- Colored paper set (vector image);
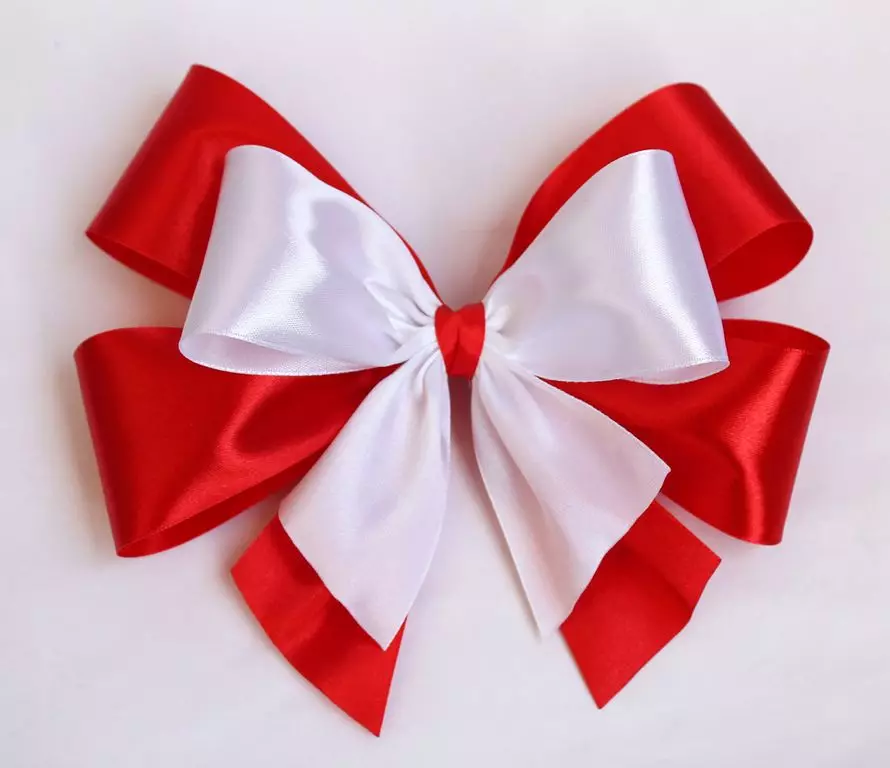
- BANT from tapes or paper;
- scissors.
Before the manufacturing process, do not forget to prepare the workplace - to store the surface of the table.
We describe the procedure for manufacturing a volume postcard.
- Making a dense cover, glue several sheets of cardboard.
- We put carefully in half.
- From the outside we write congratulations directly on the cardboard or on small leaves, then stick them into cardboard.
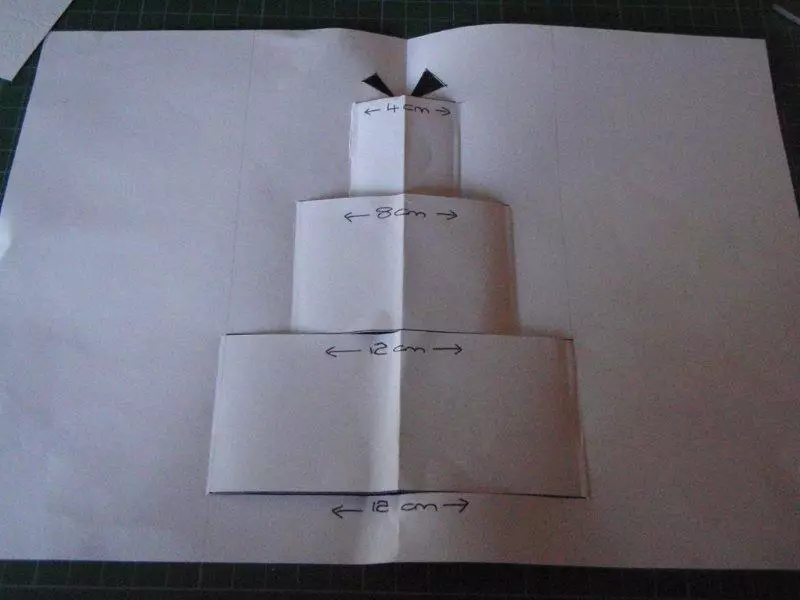
- Open a postcard, we carry out the markup of the pyramid from gifts in the center of the cover.
- For this, the workpiece fold in half in such a way that the angle from the boxes with gifts began to perform when opening forward. Then cut the foundation of gifts, except for the places where they are fixed to the main sheet.
- We glue this workpiece to the cover. But do not glue the places where the gifts will be at the opening.
- After drying the glue, you need to decorate the pyramid from gifts at your discretion, to glue a beautiful bow on top.
Postcards made with your own hands are gaining popularity. They are invested in a particle of heat, a special positive energy.
What can be done on March 8?
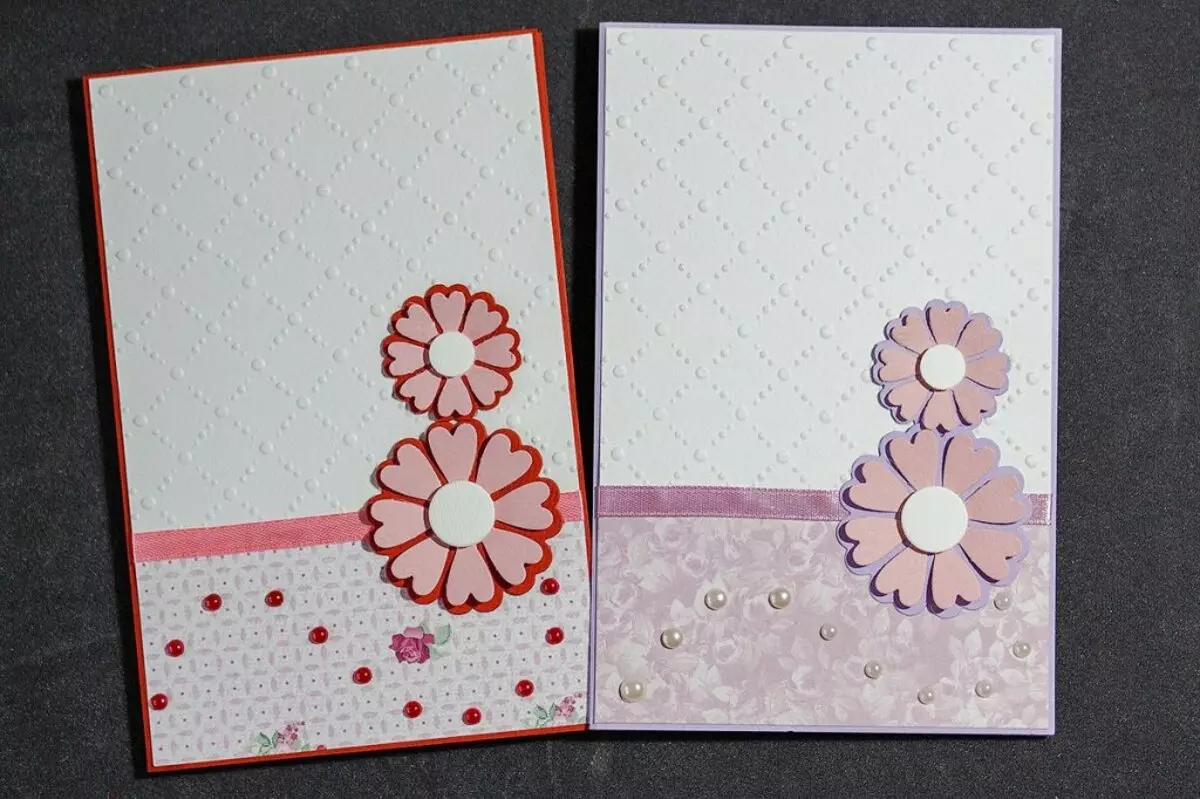
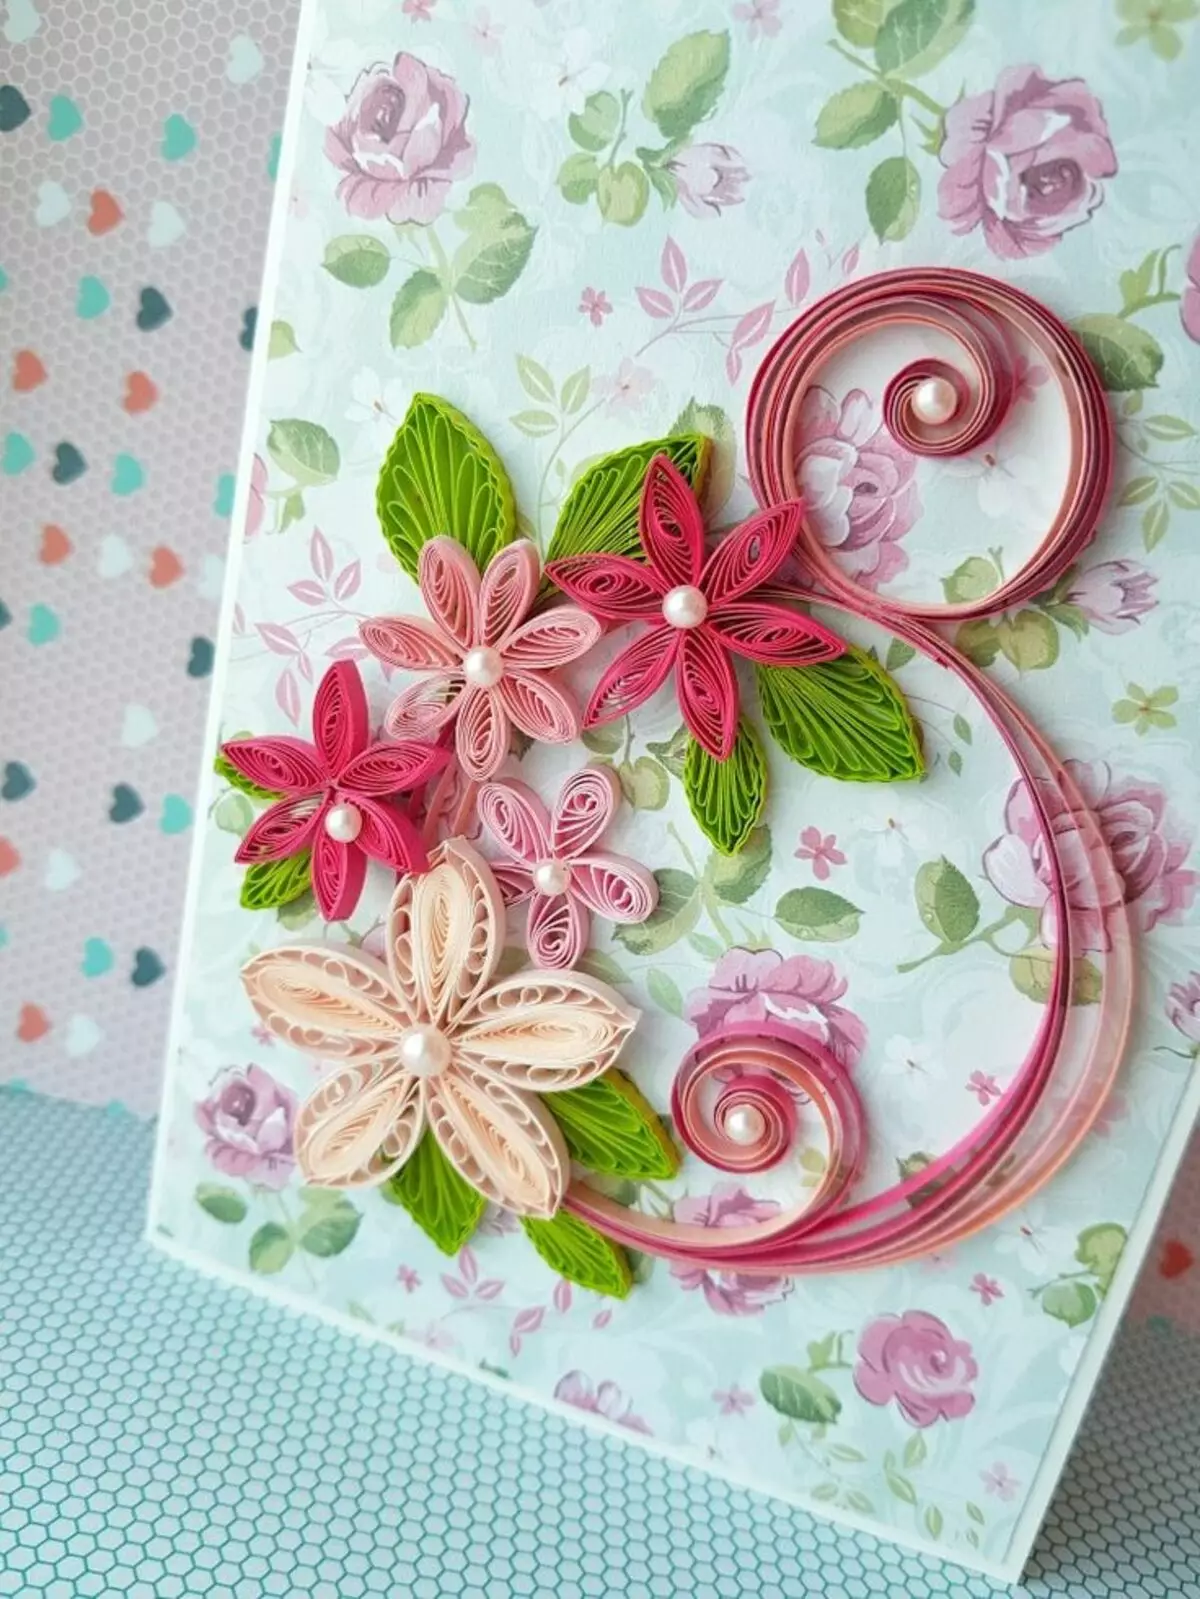
Postcards for women's day are characterized by tenderness and sophistication. For their manufacture, beads are used, beads, rhinestones, ribbons, lightweight fabric together with traditional materials.
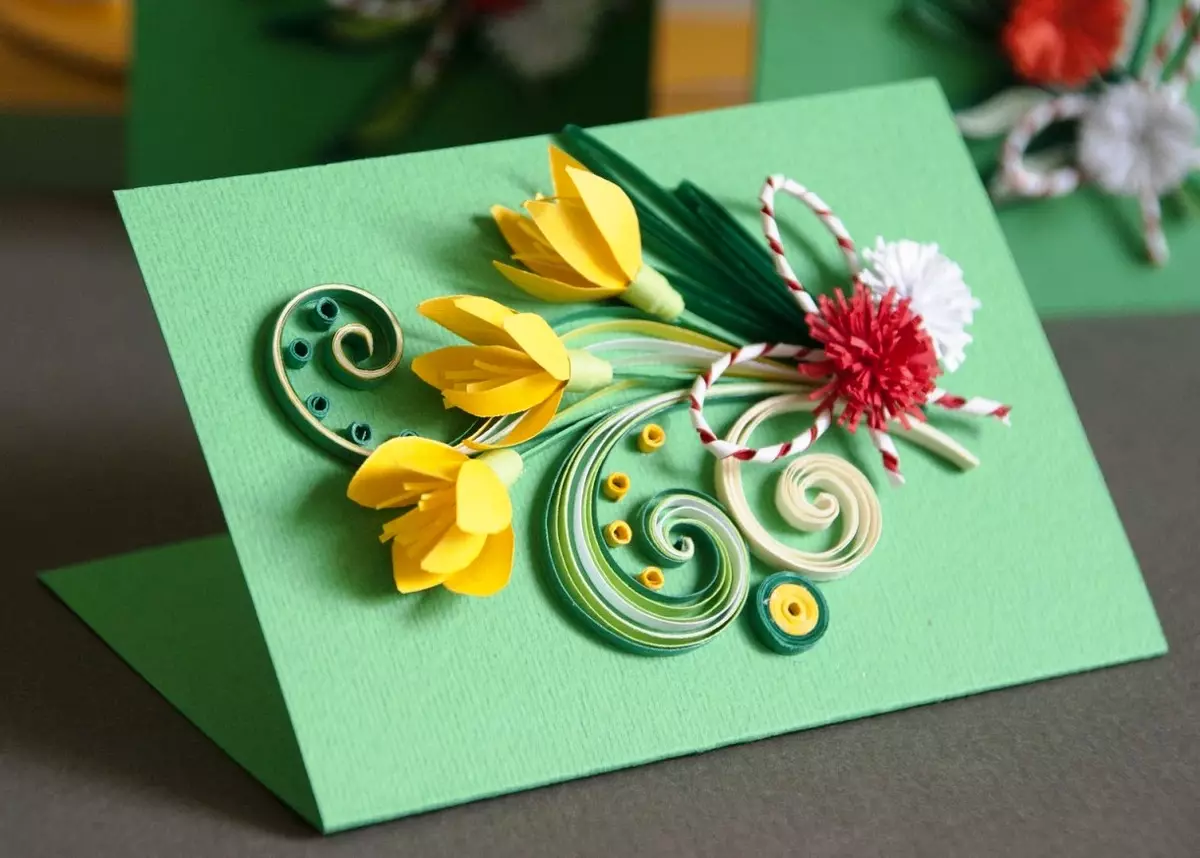
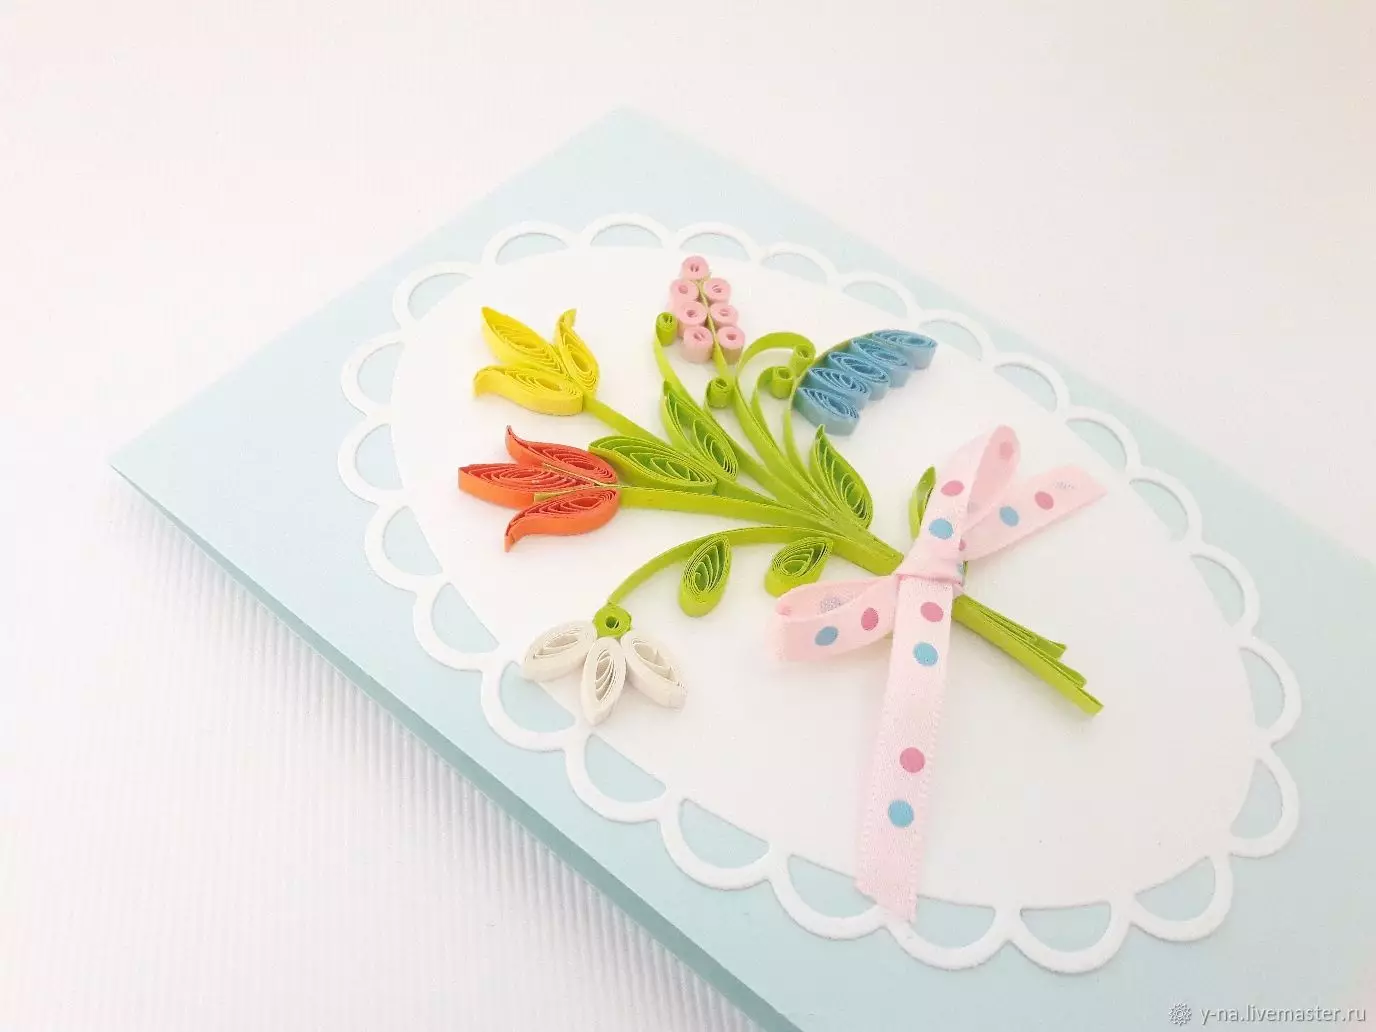
Good technique to create postcards with your own hands is quilling. It is easy to learn this technique, and the composition is elegant and original.

The following materials will be needed:
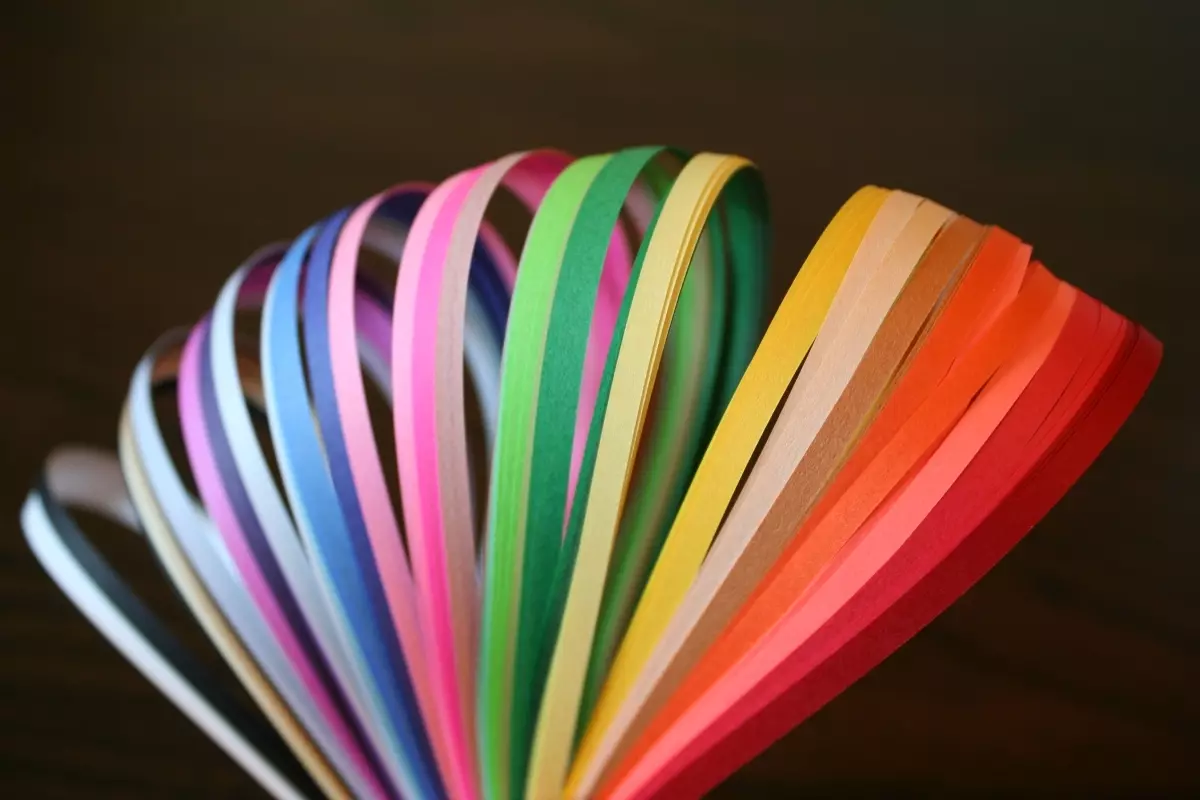
- Special paper for queening, you can find it in stores for creativity, order on the Internet (it is more durable, bilateral, but you can take the usual set of colored paper);
- glue;
- scissors;
- toothpick;
- Cardboard for the base;
- tweezers.

Even children can master the references of the queening, but it is necessary to explain to them the safety technique: innocuous toothpicks can rolling their fingers, you need to be attentive, treat them carefully, while working does not indulge.
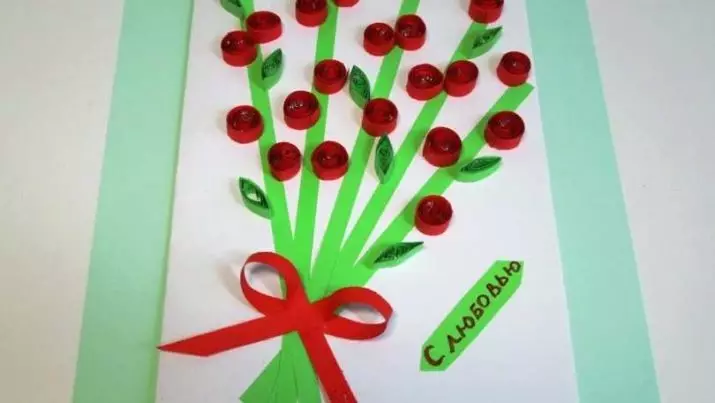
Instructions for making postcard by March 8 is described below.
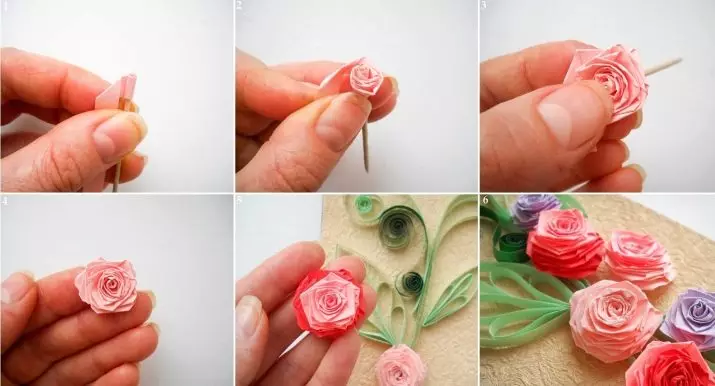
- Preparing roses. Cut from red paper strips with a width of 5 or 10 mm of any length. The longer the strip will be, the more fluffy the flower. If there are ready strips, then we take the appropriate color.
- Hound the color tape on the toothpick, carefully remove from the sticks.
- We relax to the desired size, the edge is fixed with glue.
- We make some more such flowers. We carry out the leaves in the same way as roses, only from green paper.
- After gluing the edge of the leaflet using a tweezers, press the corner from different sides to form a form of a leaf. We make several such leaves.
- We leave a few stripes unloaded for stalks, one red ribbon for a bow.
- We distribute the composition of colors, stalks and leaves on cardboard, fresh in half.
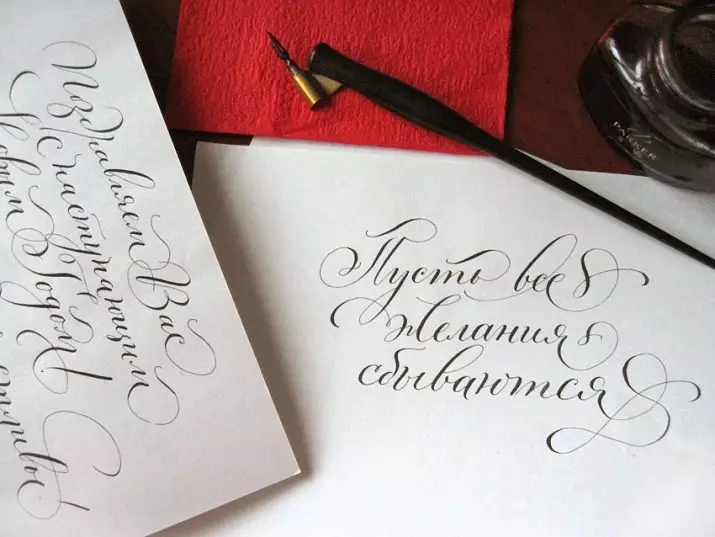
- We glue all the details, write on the basis or on a separate sheet and then glue "from March 8! Congratulations! Happy holiday! ".
Inside the postcard there is a place for good and gentle words for mom, aunt, grandmothers, sisters.
Crafts for the day of lovers
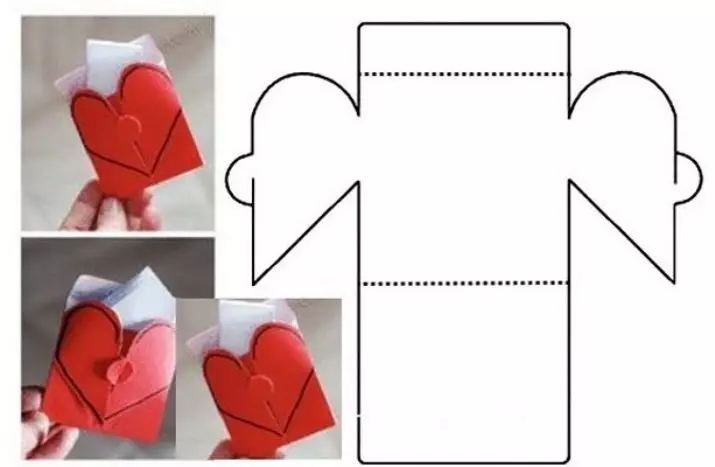
The most expensive messages on Valentine's Day will be postcards made by the hands of a loved man. You can cook such an envelope in the shape of a heart, to put the notes there with recognition, gentle words, compliments, verses.

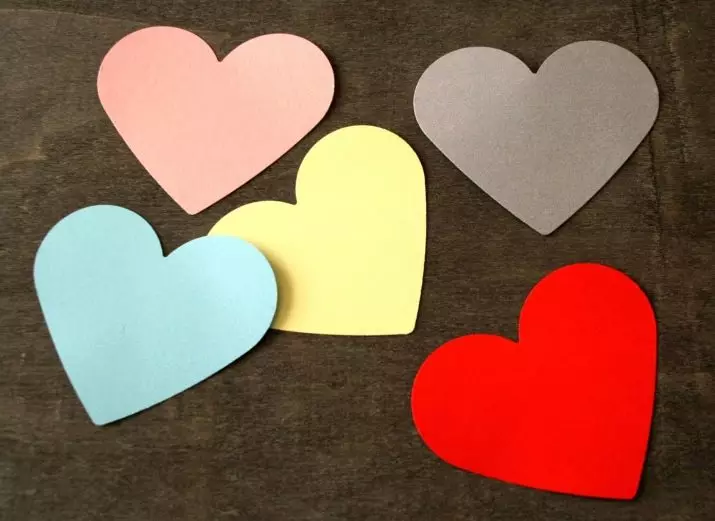
For the manufacture, you will need red paper, pencil and scissors. You need to circle a pattern, cut it, then fold. It is possible to circulate the heart as a stomaster, as demonstrated in the photo.
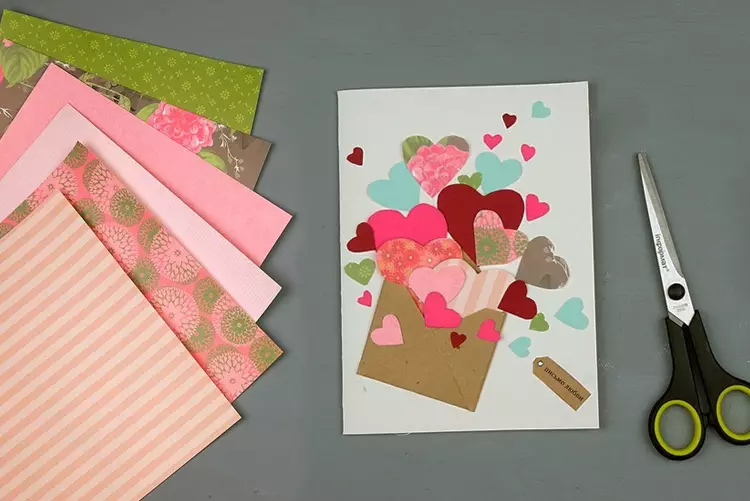
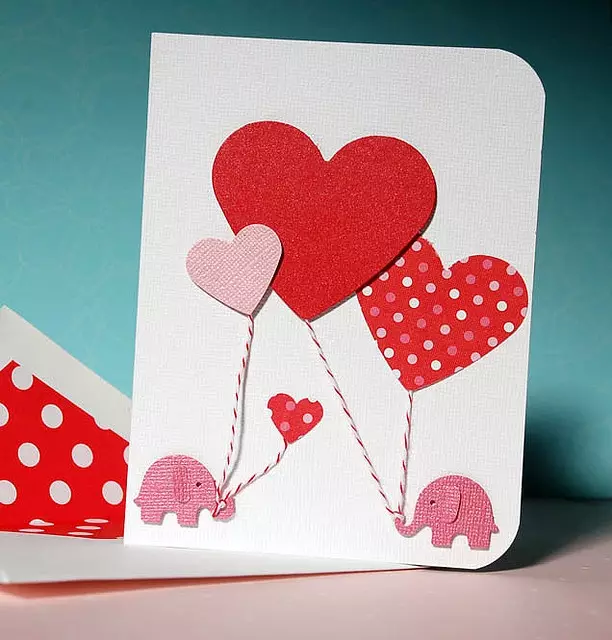
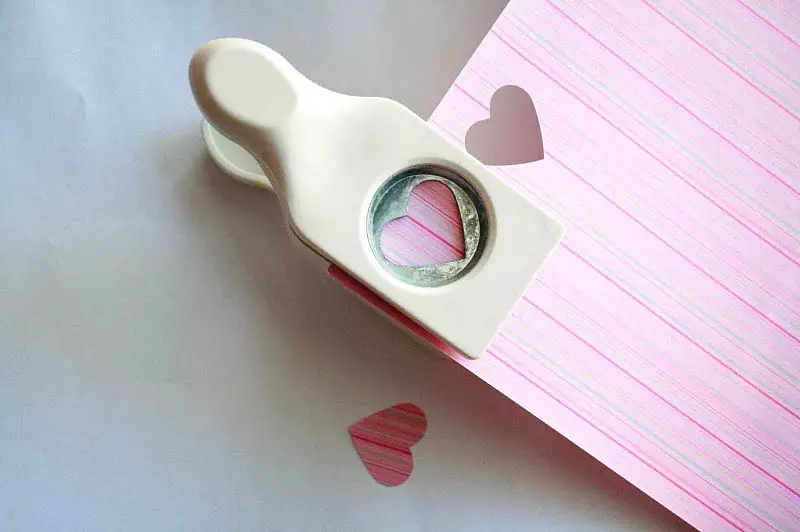
Another beautiful greeting card can be made it to the day of all lovers. To do this, you need to stick a lot of beautiful hearts from multi-colored paper on the cardboard basis. You can even put with a sewing machine. How to do this is understandable from the finished sample.

The more diverse there will be paper for hearts, the more original will look a postcard. Do not forget about gentle words that must be written inside.
New Year postcards do it yourself
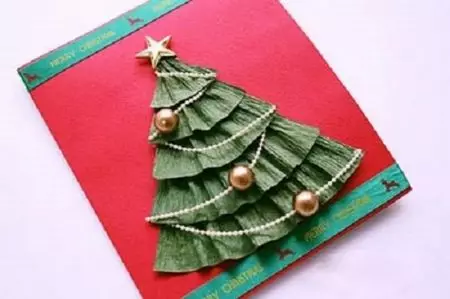
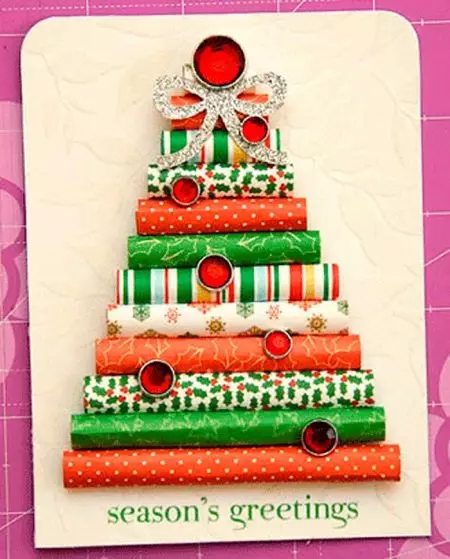
For the most magical holiday in a year you need to cook a lot of postcards, as you usually congratulate you need a large number of relatives and friends. The original Christmas tree is obtained from corrugated paper.
To make this option, you need to take the cardboard as the basis of any color, on top and bottom to decorate with stripes of a beautiful ribbon. For six levels of Christmas tree, cut corrugated paper about 3-5 cm wide. It depends on the size of the base. Top 6 levels should fit into height.
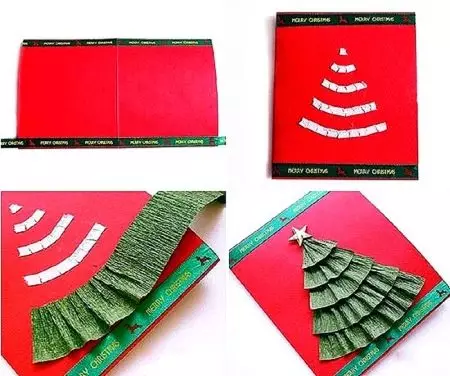
Levels should be accurately glued to bilateral tape, starting from the bottom. At the same time, it is necessary to navigate the center of the postcard, to give the upper part. With corrugated paper it is easy. As a result, it turns out that the lower part of the level and the sides remain uncomplicated. So gradually it is necessary to post all levels. At the end you need to stick the star to the top. To decorate the Christmas tree and large beads that will imitate the New Year's balls.
We offer to familiarize yourself with another postcard for the winter holiday in the scrapbooking technique. Need to work:
- white or color cardboard;
- Scrap-paper;
- scissors;
- decorations;
- safe adhesive composition;
- Normal pencil.

If there is no named paper, then the postcard will be beautiful from ordinary colored paper bright shades.
- Cut 12 rectangles of a certain size. Length 5 cm for all the same, width - from 1, 2.3, 4, 5 and up to 12 cm, adding 1 cm.
- Rectangles roll with a cylinder in width, veil on the pencil, bonding glue.
- All the resulting tubes glue between themselves along the length (from the longest to the shortest) - in the form of a Christmas tree. At the same time, it is necessary to follow the center so that the Christmas tree turns out straight.
- From white cardboard or color to make the basis. Stick on her Christmas tree.
Run decoration with decorative elements, make congratulatory inscriptions.
Other ideas
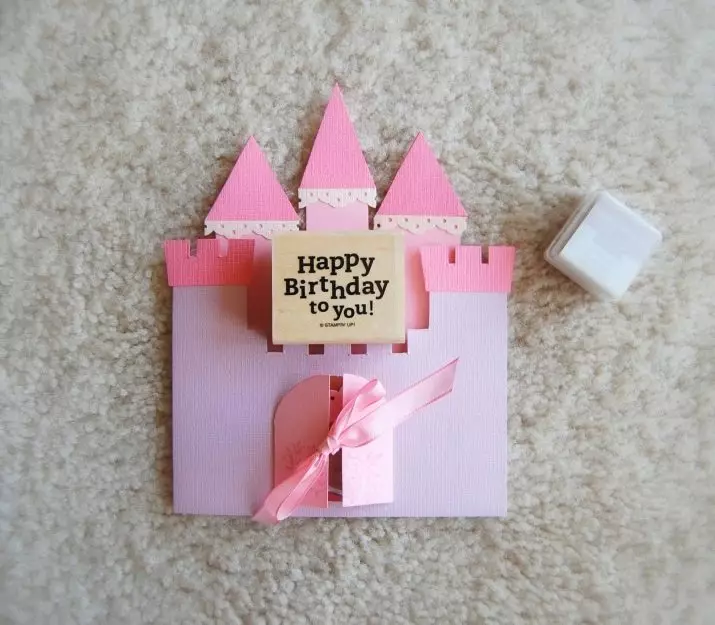
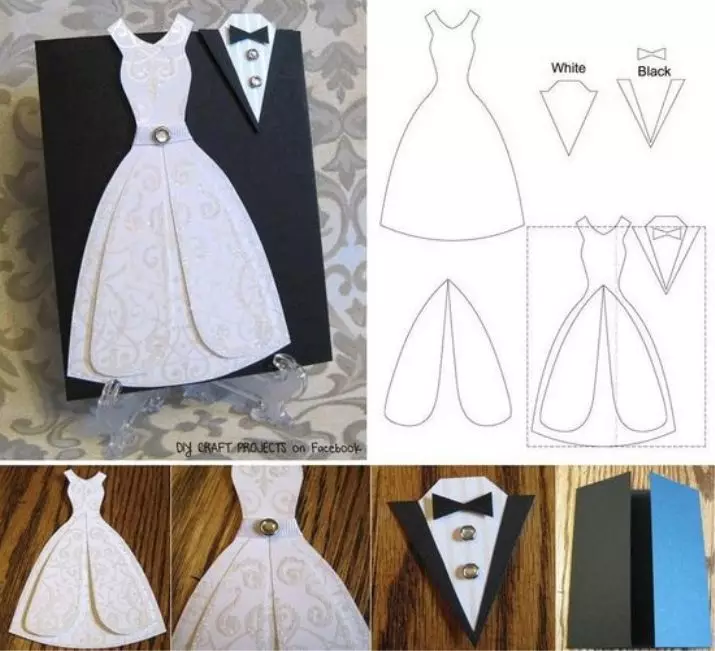
Postcards may be needed for a different occasion. For example, such an original postcard can be used to congratulate the wedding anniversary or use as an invitation to the next anniversary. For the manufacture, you need to cut patterns and glued to the base. For ladies dresses, you can use suitable wallpaper residues or light fabric. Flat rhinestones are suitable for decor.
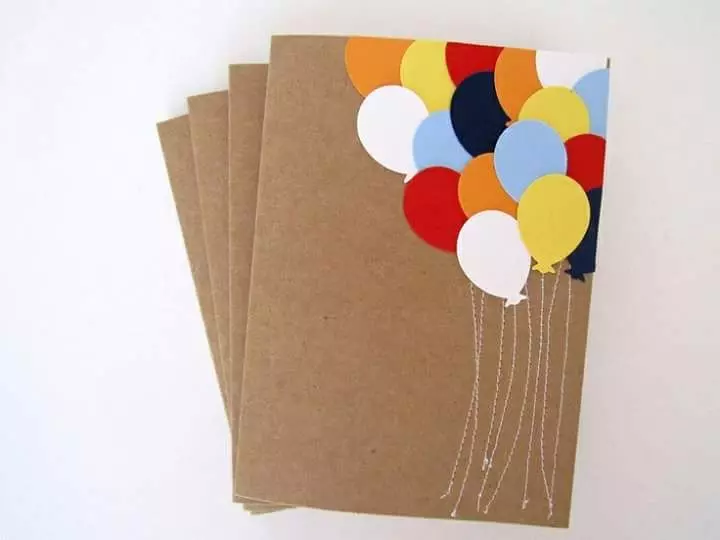
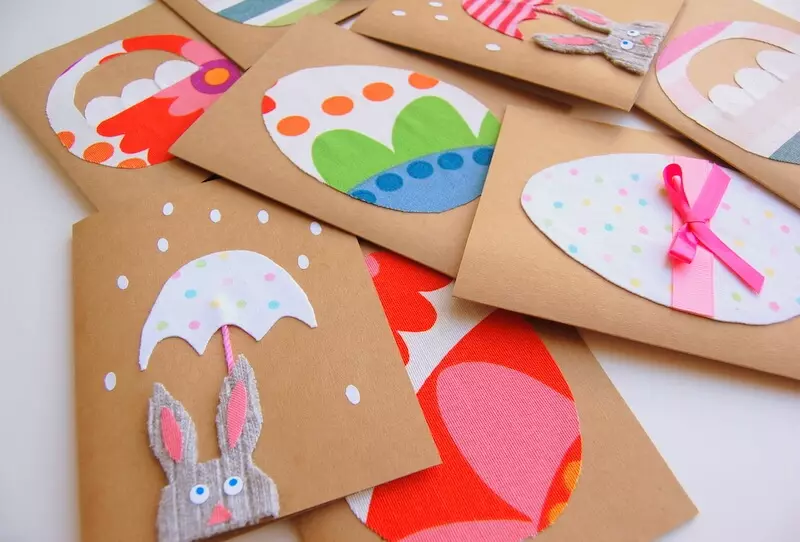
Even the most small child I want to take part in the manufacture of postcards. There are such options when kids can participate, while the craft is very beautiful.
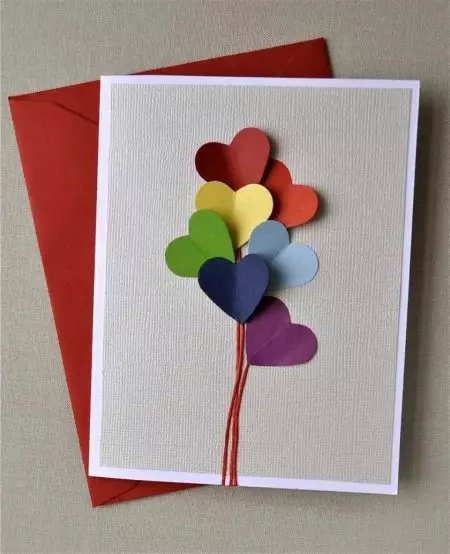
For the manufacture, you will need several bright hearts cut from colored paper, ropes, you can knitting yarn with bright colors, cardboard for the base, adhesive pencil. An adult can smear the place, and the kid applied there a bright heart. So it does not be painted with glue, will be pleased with the manufacturing process. This original postcard is suitable for any holiday.
Production of postcards with their own hands stimulates, contributes to the development of small motility, brings clips parents and children. This is an interesting process that will definitely distract children from gadgets, will show them another, more exciting world.
Ideas of paper cards and cardboard in the video below.