
On the eve of May 9, many schoolchildren and reoxoites will be not interesting to learn how to make postcards for WWI veterans with their own hands from paper. In our article we will consider step-by-step master classes for children for the manufacture of greeting cards from napkins and other materials.

Options from paper
Simple
Day 9 May is extremely emotional, Gorky and Radosin at the same time. There are still those who remove, in fact, the whole world from the most terrible, which only could happen in the twentieth century. And therefore the postcard veteran with their own hands is just a modest thanks to such people.
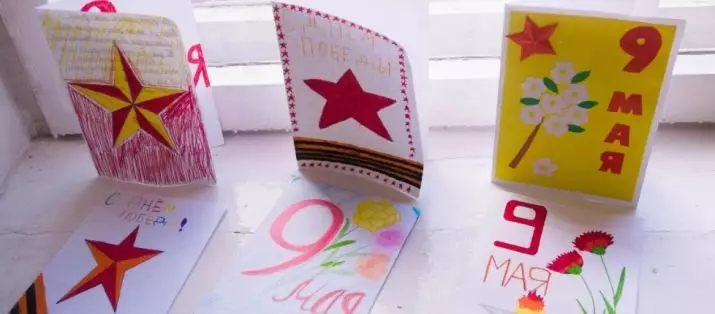
The easiest option of making a postcard implies Drawing with pencil and paints. The figure "9" and the additive of flowers will be quite appropriate.

So that the composition is more relevant and more accurate, you can also use:
Figure simple symbolic tape;
printing banner victory;
Eternal flame covered by cloves.


From corrugated
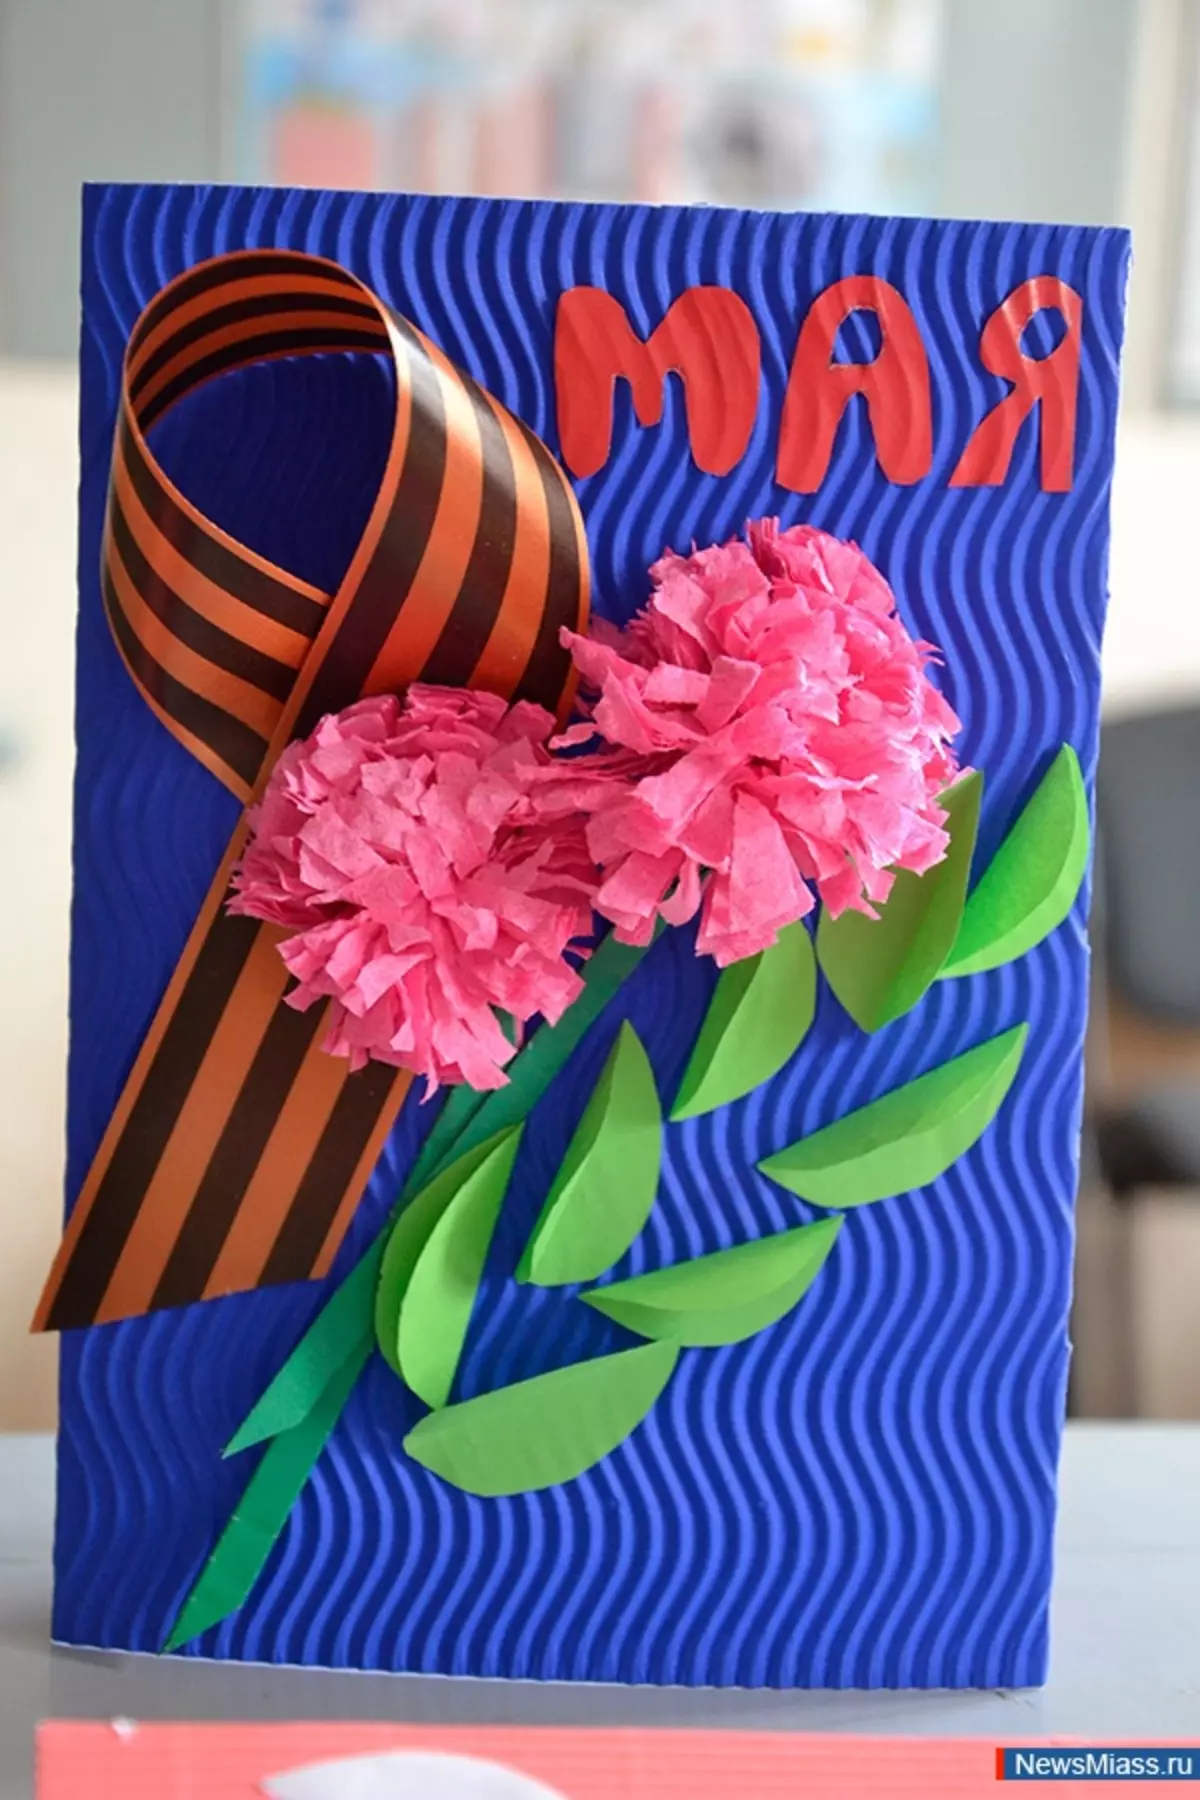
Make the Victory Day in the Warm A Corrugated Paper Postcard is also quite possible. The most logistic is to create simple red carnations. In addition to respect for veterans and already heroes of war, such a postcard will allow to work:
technique of manipulation with corrugated paper;
the art of self-generating compositions;
imagination;
aesthetic feeling;
Eyemer;
General motility.

For work it will be necessary:
red and white corrugated paper;
cardboard (used for the base);
Green paper, which is used for the manufacture of shoots, flowering and leaves;
scissors (optionally curly);
glue (pencil or PVA);
Cardboard sheet A3.
To make a postcard, you need:
cut round blank;

- fold it over and cut;

- Cut the round plot on corrugated paper;

- Cut (in this case, curly scissors are easier than normal);
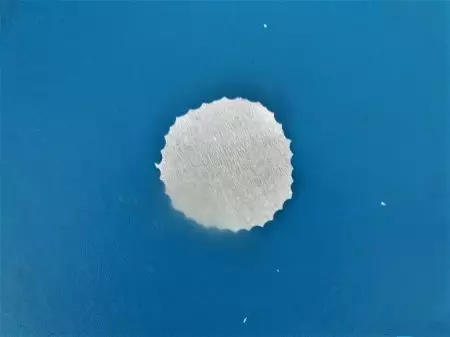
- fold twice, getting so many blanks as you need;

- Prepare green paper tanks;
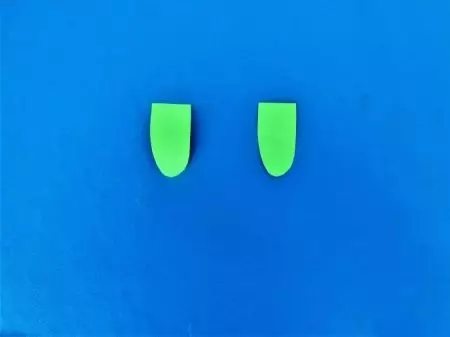
- put the blanks on the cardboard;

- Touch them.

In the technique of quilling
This technique also allows you to create a beautiful festive postcard with minimal effort.

Bilateral strips of bright tones will be needed. Important: As in other cases, glue and scissors will be useful.

Sequence of work:
Prepare 5 red stripes. Enter one into a special tool for curling strips (but if it is not absent, you can use a wooden stick cleaving from one end) and it is tightly wound it;

- Pull the strip and create a spiral. Then they fasten one of the edges of the spiral glue and repeat the same manipulations with other stripes;

- The resulting roll is pressed from 2 edges to form a rhombus and fold these diamonds in a five-pointed star;

- After its creation, it takes 5 strips of yellow color, 10 lanes of red and twist all the blanks on the quilting device. And after their removal from there, they put them on a flat surface;

- Allow the workpies to spin and glue spirals at the ends. All rolls attach configuration, like the arrow tip and gluing 5 parts, obtain 1 clove. Then, they make 1 red and 1 carnation and 1 yellow color;

- Leaf and bases for each of the flowers are prepared (7 strips are needed, which are turned into a spiral) and by applying glue to the tip of the spiral create a closed roll. Next convert rolls in 3 different forms (simple sheets, complex foliage and "heavenly month", that is, the basis);
- It is glued to the base for the bottom of each flower, after which the glue is fixed on top of the card ready-made flowers and complement them with stems, and also join the leaflets;

- Fasten into the lower part of the composition with a red star, a yellow strip is converted into the figure "9" and attribute the word "May" to it. Also, at discretion add a solemn dedication.

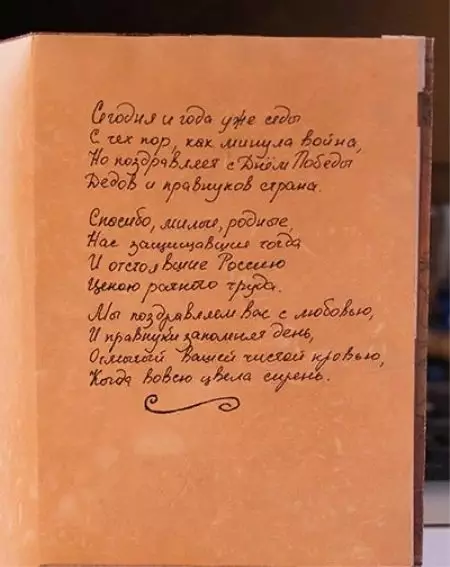
With aged
Such a greeting card will require the use of printer and cooking old texts, photos . In addition to the amount of paper, it is often used non-flame cardboard. To form paper, you can simply treat it with black tea. Curious: the cheapest brands of tea are more efficiently colored cellulose fibers. Also for work will need an old unnecessary towel.
Brew tea is needed in steep boiling water. It is not necessary to regret the brew. It is necessary to insist the drink to maximum darkening; Since it is not necessary to drink it, you can safely warm up.
Then you need to fill the infusion in the baking sheet, watching the tea sheet does not get there. Welding dispersed all over the sheet.

Next you need:
Create mugs on a sheet, putting a mug or a cup of bottom up;
keep them exactly 1/3 hours;
Print old cards, the act of surrender;
cook stars and make them volumetric, running exactly on the dotted line;
glue the card on the cardboard basis by bilateral scotch (with a bending of the edge);
Lighter slightly burn the edge of the act;
Add an act to the front of the postcard;
Share on top of it a small map, stars, a twine bow.


While all this happens, the paper just has time to "be". With it, it is necessary to shake the welding. Then the workpiece is laid out on a towel or another cloth; To accelerate drying, a hairdryer is used. The leaf does not need to burn. It is worth it only to trim, stick in the postcard and add on the independently invented congratulations.
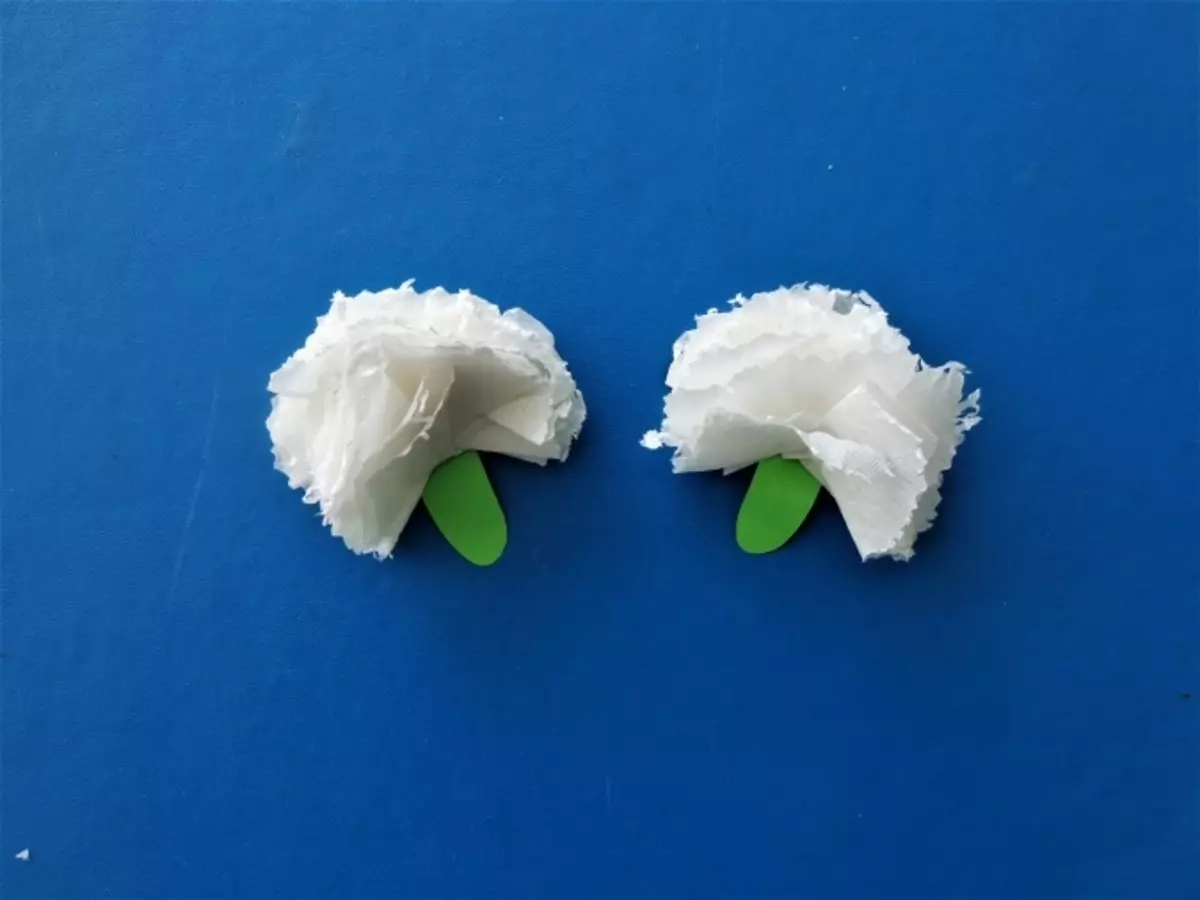
Manufacture of napkins
Children's master classes with napkin postcards are also very in demand. It is also not too difficult to make such compositions. You can take cloth balls as a basis. The sequence of work is as follows:
fold the A4 sheet overlap;
draw a star and digit "9";
Add inscription "May";
complement the composition of the wishes at their discretion;
Rolled balls from red napkins;
put these balls around the perimeter;
Make 20 circles, bend them in two;
fasten the petals for glue;
On each flower join 3 rolling of different colors.

Other ideas
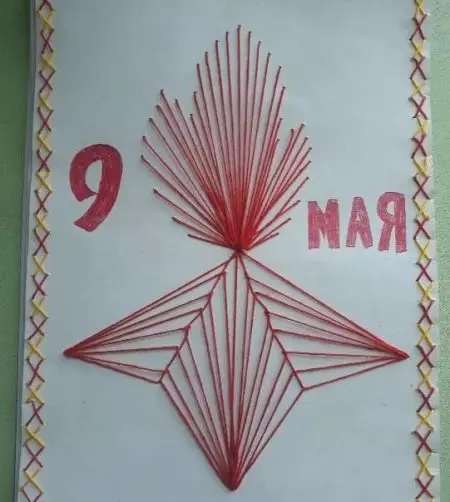
Of course, on this possible ideas are far from end. An excellent option can become a dydechnanka (in other words, cut out the openwork). Usually just cut off the nine by template. Not bad and technique "Will". Such a postcard is created by embroidery by threads in the cardboard or a different solid base.
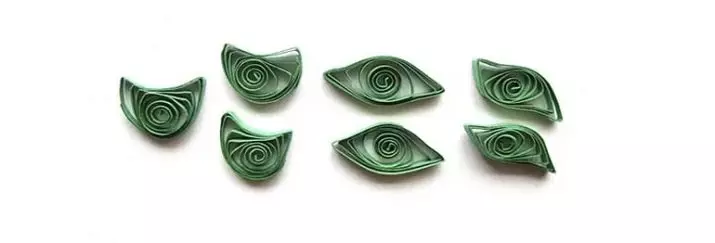
The branch of the laurel is an old victory symbol - make a quilling technique.

Symbolic star can be arranged with a multitude of lines inside. Black balls on tops increase its attractiveness. Another option - laid out the overstate star. From her, the flame of the eternal flame is broken. On different directions, the inscriptions "9" and "May" are made.
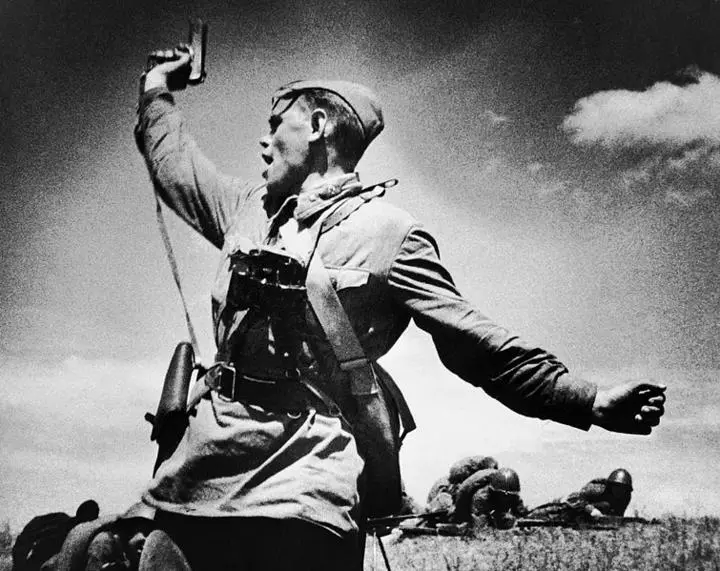
And even this does not exhaust all the diversity of available ideas. On a postcard dedicated to the Victory Day, there are quite organically iconic photos of wartime. For example, the legendary "combat" is a solemn, inspirational and tragic at the same time. Or regulation of movement in the purified Berlin. Or a photograph that does not need comments.


You can use less well-known pictures, visual materials:
capturing the captive in battle;
Solemn parade in Belgrade;
meeting in the Belarusian station;


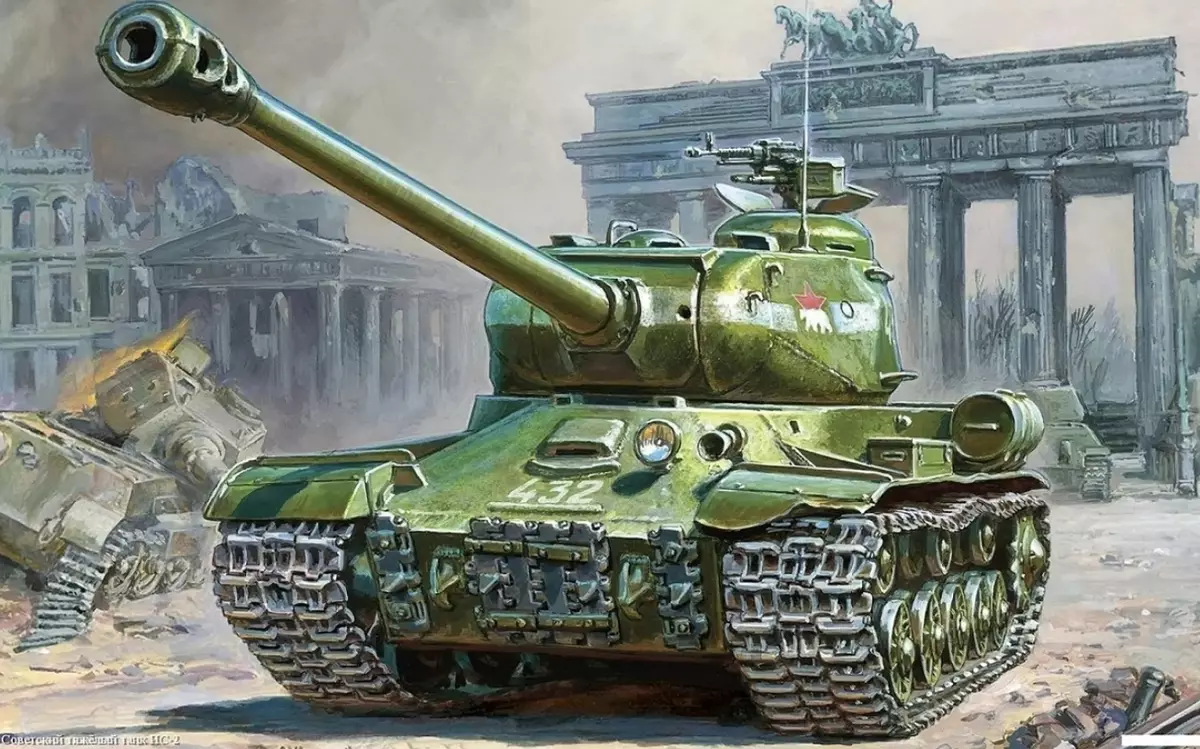
You can also focus on the armament of the period of war:
- Pistol-machine guns;
- rifles;
- IL-2;
- T-34;
- KV-2;
- IS-2;
- ZIS-3 and other samples of weapons, military equipment and equipment in their choice.


There are simple solutions:
Take an attribute and decorate a chop, plasticine card or balls;
use images in cutting techniques;
Add pictures with combat equipment of volume design.

The next video shows a master class on making a postcard for a veteran.