
Creating crafts with preschoolers is an interesting and useful occupation. It is much better if the child will make something together with you than spending time near the TV or computer. What you can make for children 5-6 years old do it yourself at home, what interesting and easy ideas of crafts for kindergarten exist, you will learn from this article.

Products from paper
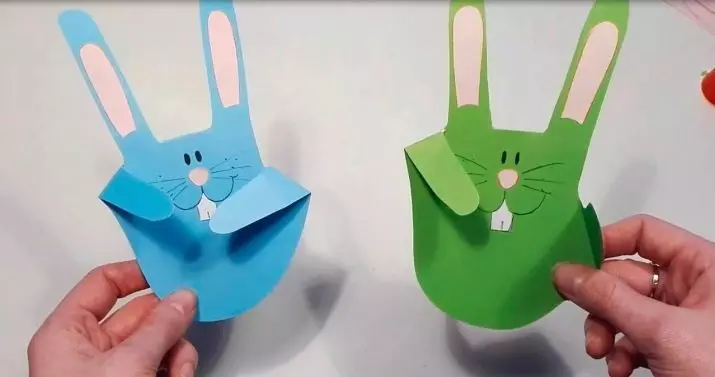
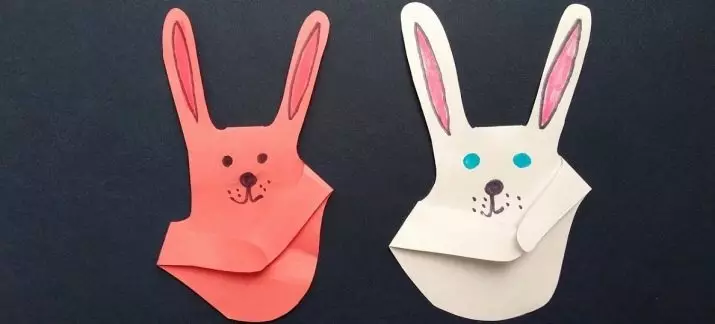
Paper is the easiest and most affordable material for children's crafts. Options for creating paper works Great set: from simple applications to complex origami figures. Start instilled with the most simple options so that the child does not lose the joy of creativity and believed in its capabilities.Bunny
It's easier to make a hare from the palm.
Prepare:
colored paper;
pencil;
scissors;
glue;
Feltolsters.


Progress:
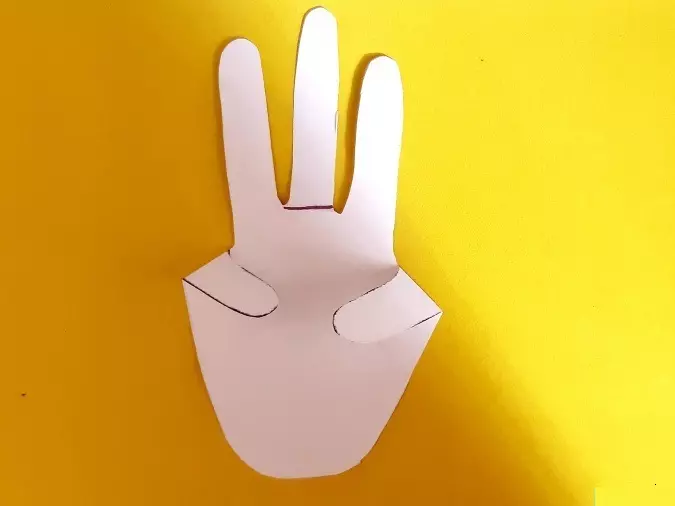
Druel the child's palm on a sheet of paper, cut it out;
Remove the middle finger neatly with scissors;
Index and ring fingers will be bunny ears;
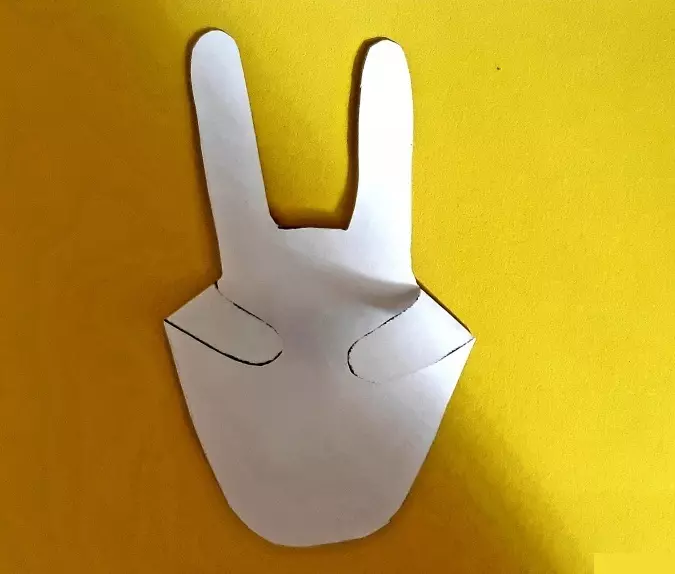
Big finger and a little finger bend down and glue with each other - these are legs;
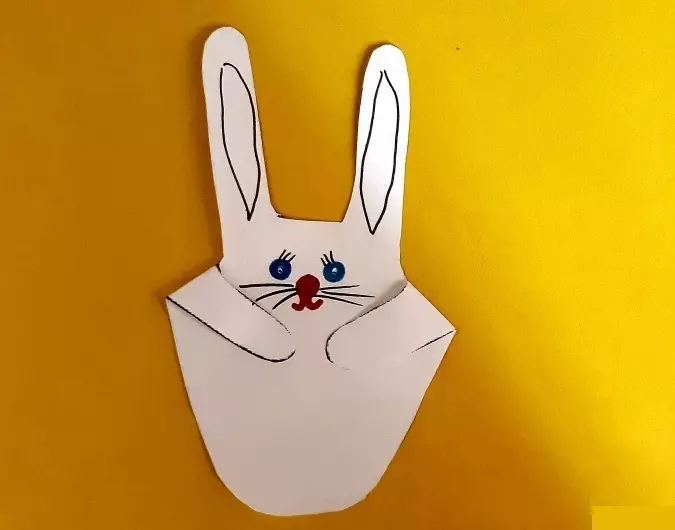
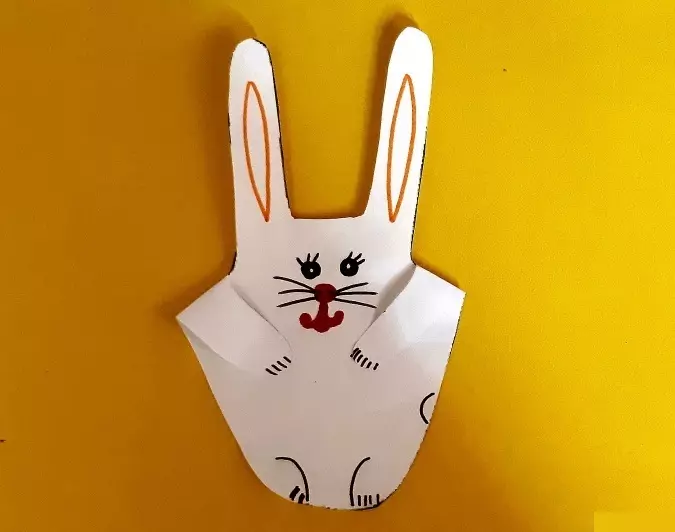
Flomasters draw the animal a funny face, coloring the ears;
Cute bunny ready.

Fish
You will need:
scissors;
Colored markers;
Glue or adhesive pencil.


The course of work is quite simple.
Colored paper square bend in half.
Carefully cut off the square of the corners: one of them is rounded, and the other - cut the damn.
Expand Figure. From the side of the acute angle, cut 6 identical stripes.
Binding the strips as a pigtail.
Bonding place glued.
Fish is ready. It remains to draw her eyes, and decorate the tail.


7.
Photos
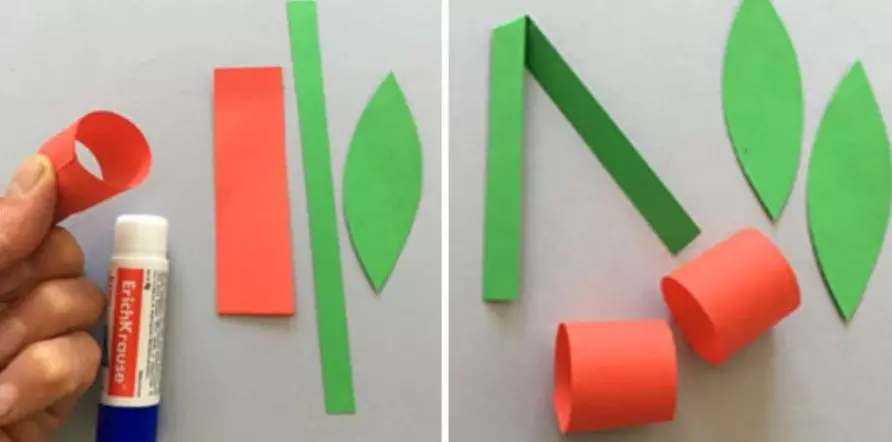
Cherry
You will need:
Color bilateral paper of green and red colors;
scissors;
ruler;
Adhesive pencil.

Consider the work process.
On red paper, draw a 12 cm long strip and 4 cm wide.
Cut it out and connect into the ring, and the connection is tied.
The first cherry is ready. We will also make a second berry.
Now we create a twig.
Blacks on green paper long 20 cm strip, 1.5-2 cm wide.
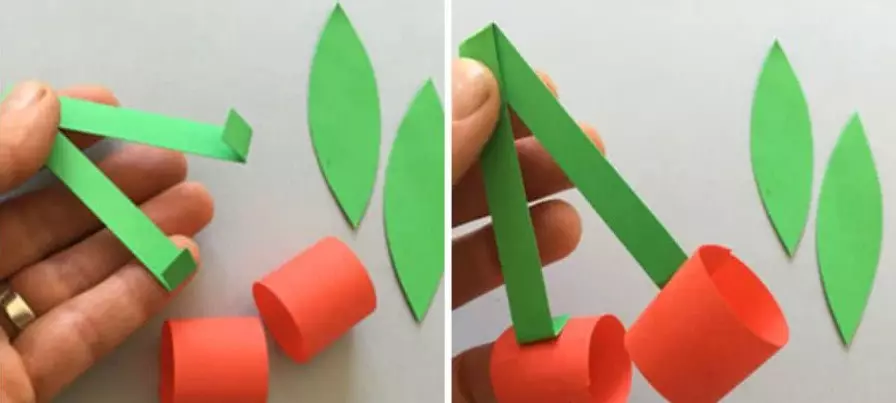
Gently cut out the twig and bend it in the middle of the scene.
We begin to be the edges, and glue the cherries on them.
We make leaves. We draw them on paper from hand, or use a finished stencil.
We glue the foliage to the top of the cutting. Our berries are ready.
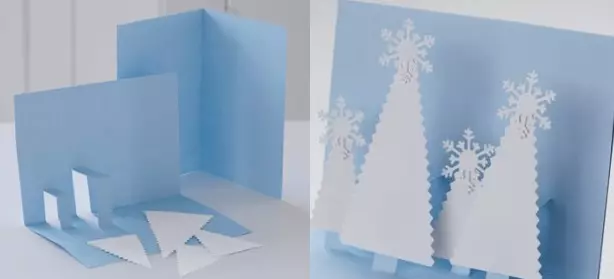
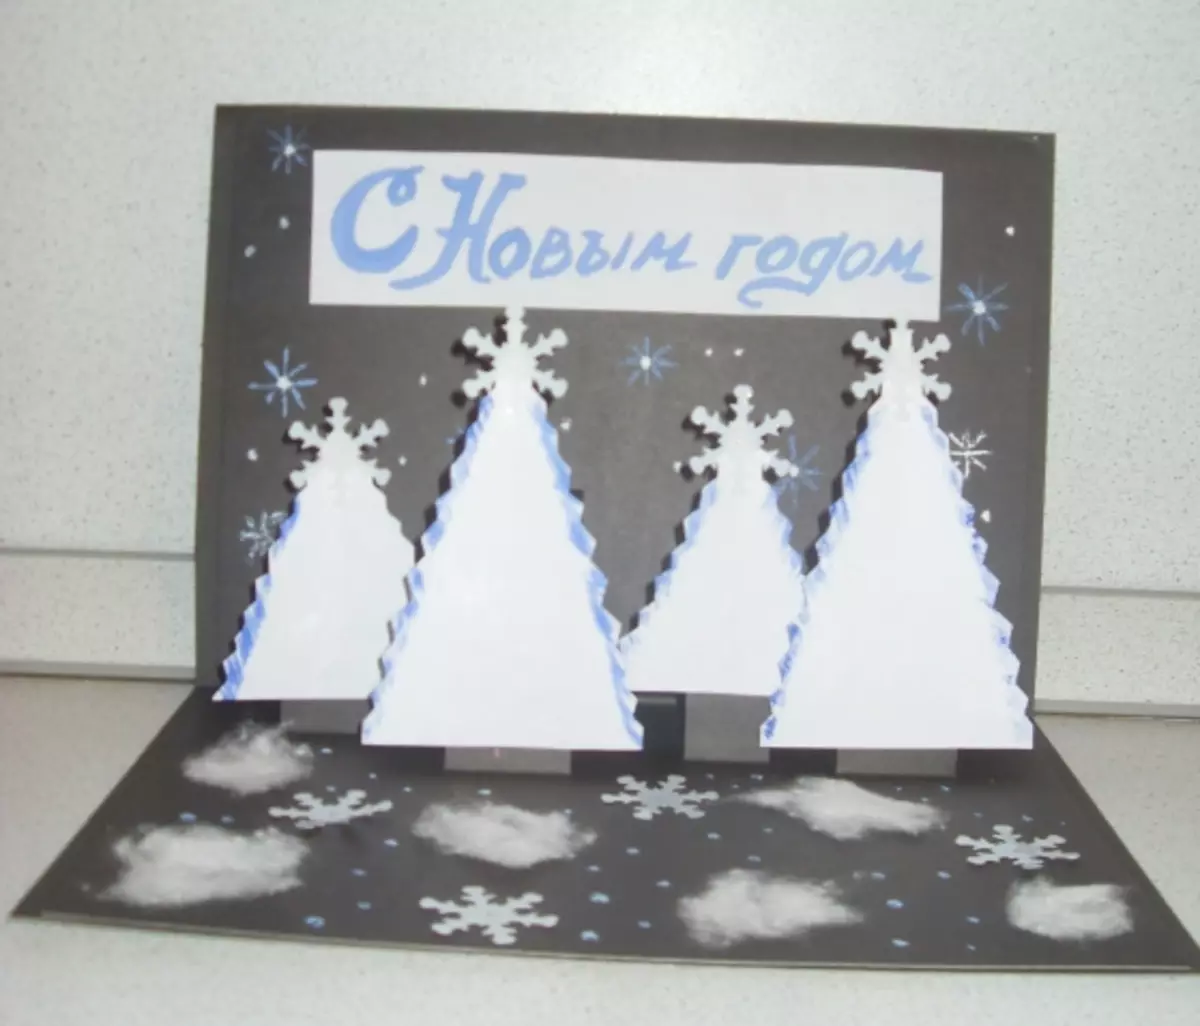
New Year card
For each holiday, children are happy to make postcards with their own hands. Create a simple 3D postcard with Christmas trees by the New Year.
Prepare:
2 sheets of cardboard blue;
white cardboard;
Scissors are simple and curly;
glue;
pencil;
line;
Christmas decor.


Progress:
Take 2 identical billets from blue cardboard;
In one of them, cut the strips of the steps;
Pan the cutting card into the whole;
from white cardboard cut the triangles of different sizes;
edges of the Christmas tree cut figure scissors;
Get the Christmas tree to the steps and decorate them with the New Year decor - snowflakes, sparkles, rain;
New Year's congratulations ready.
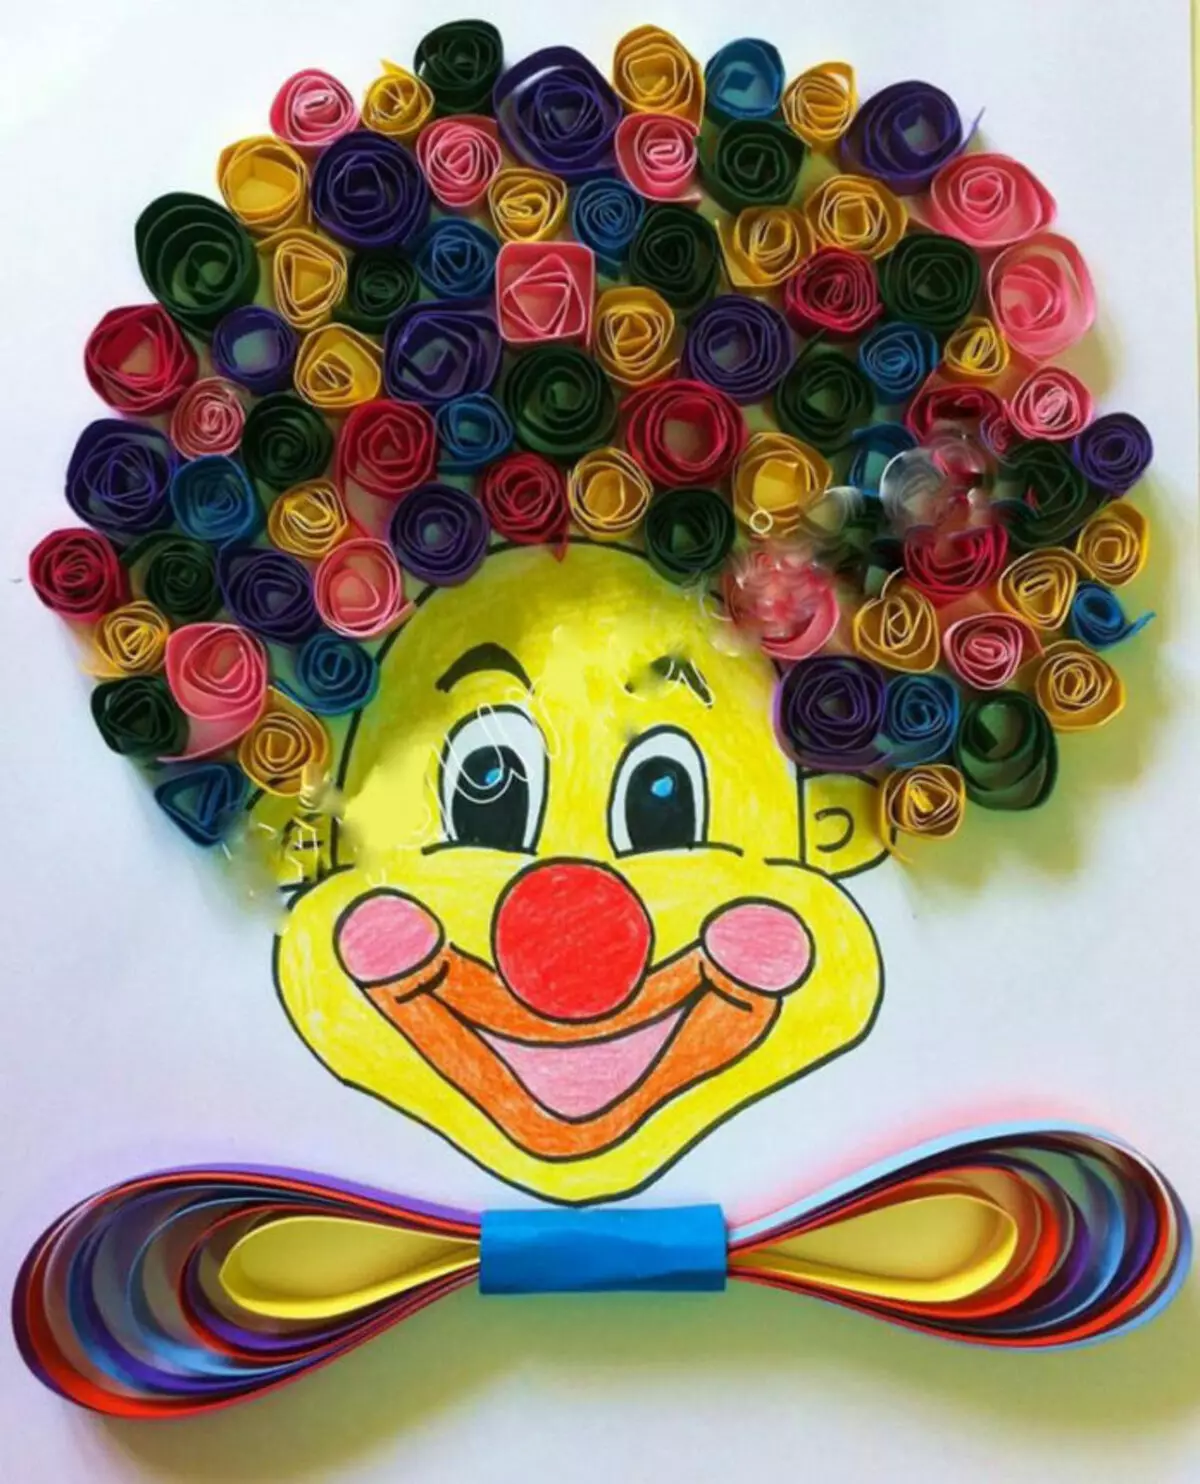
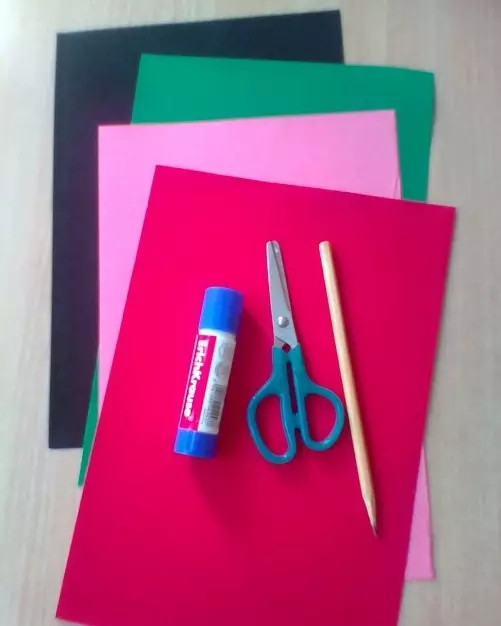
Postcard "Mac"
Make a festive postcard in kindergarten for your beloved mother or grandmother with your own palms - simple and fast. Postcard "Mac" will definitely lead everyone delight.
You will need:
simple pencil;
scissors;
glue;
white cardboard;
Color double-sided paper of red, burgundy, green and black colors;
Templates-circles for the middle of the poppies and openwork leaves.
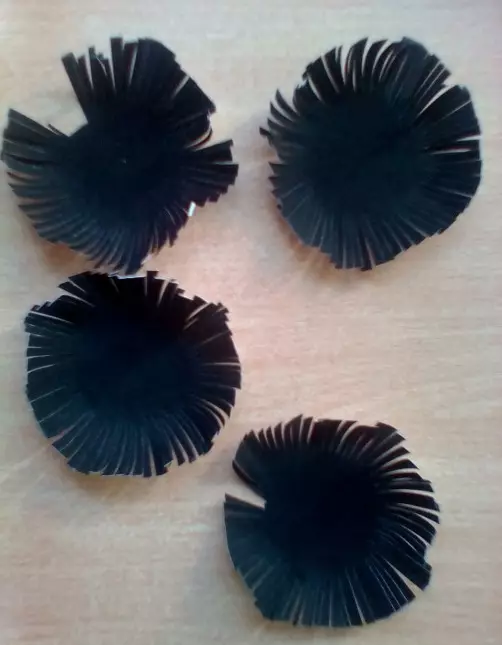
Progress:
Children will drive their hands on red and burgundy paper with an adult;
Carefully cut the circled palms;
diverge patterns, and carefully cut out the types of poppies on black paper;
On the edge of the black circles, a small bachrom is cut;
Using templates from green paper make leaves, cut the strips-stalk;
stick to the cardboard stalks, leaflets, form poppy flowers from palms;
Black middleware are glued to the popes;
Wonderful flower is ready.


From quit money
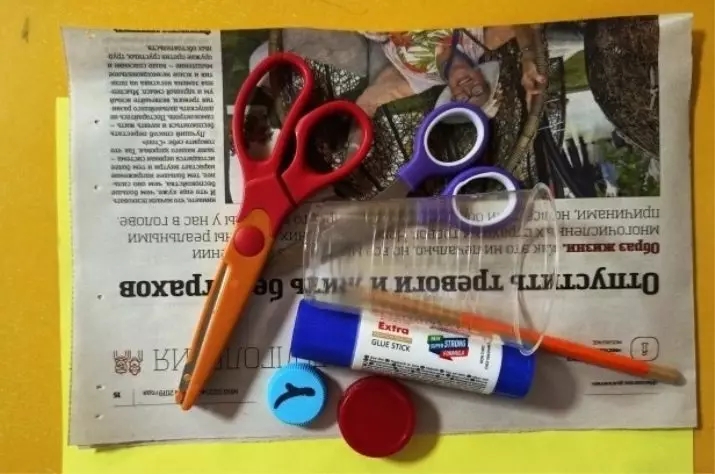
If you approach creatively, beautiful and original work can be made from any cast material. So, from newspapers and old magazines will be funny ostrich.
To create appliqués requires:
dense cardboard for background;
Scissors are simple and curly;
newspaper;
glue stick;
plastic cup:
bottle plugs;
pencil.
Work stroke includes several stages.
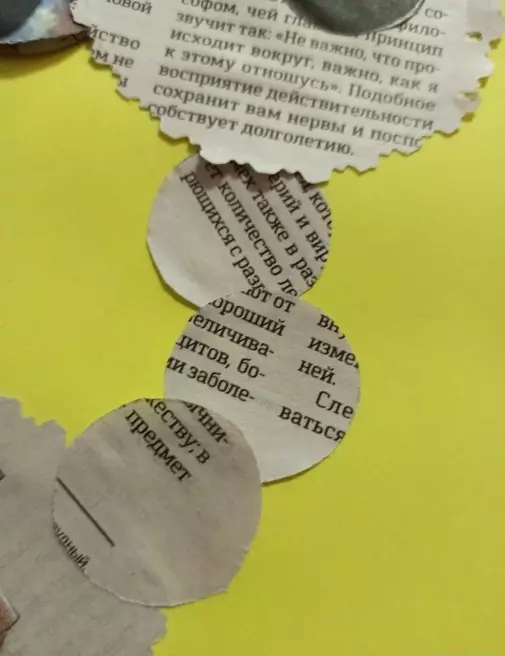
Create a head and torso of an ostrich. Wrong on the newspaper twice plastic cup, and cut the circles with figured scissors. We glue 2 circles - the head and torso of an ostrich on the cardboard.


With the help of the lid, cut 11 circles. We make a muzzle - we stick a circle-eye into the cardboard. Figure five other circles in half: from the 2nd, we do the beak, and from the rest - the abnormalist.


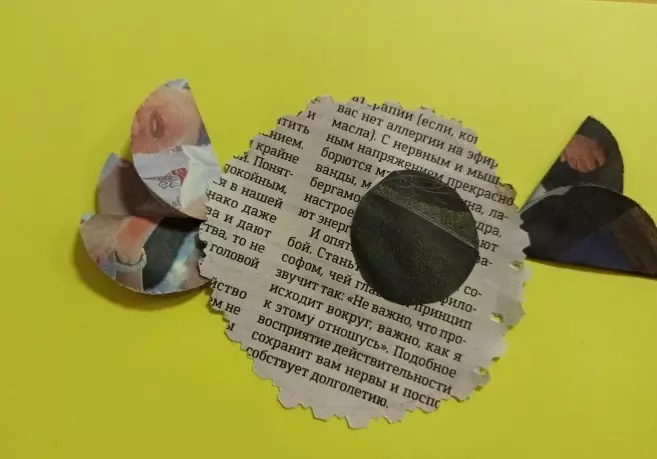
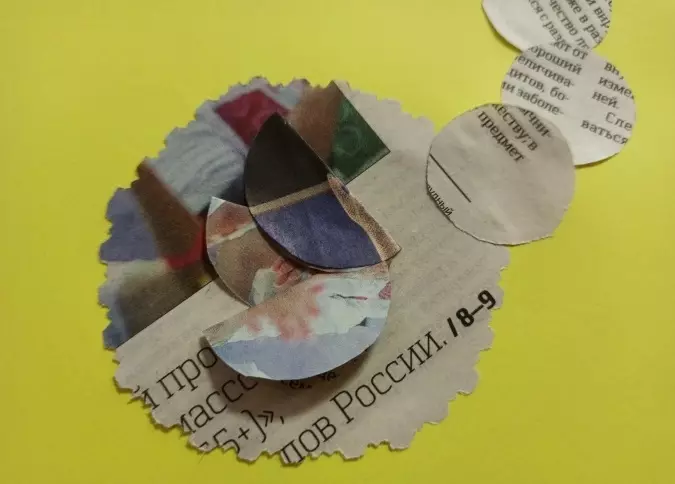
- Of the 3 circles, we create an ostrich neck. Complete the torso. We glue the wing - 3 rolled mugs on the basis, and from 2 of the same circles we make a tail.

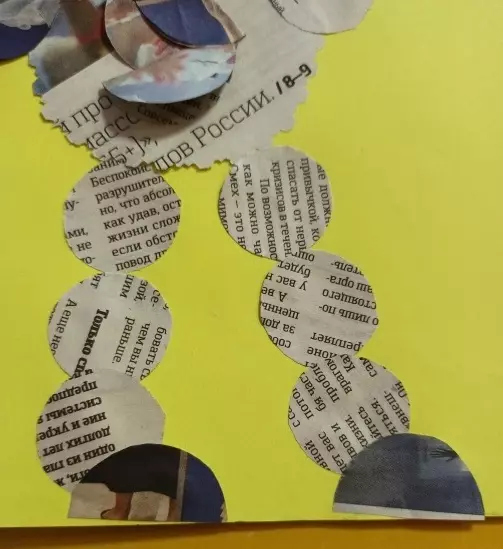
- Of the 8 remaining circles, make a bird's leg. So that the ostrichness is not sad, we will make a sun and herb for him. Application is ready.

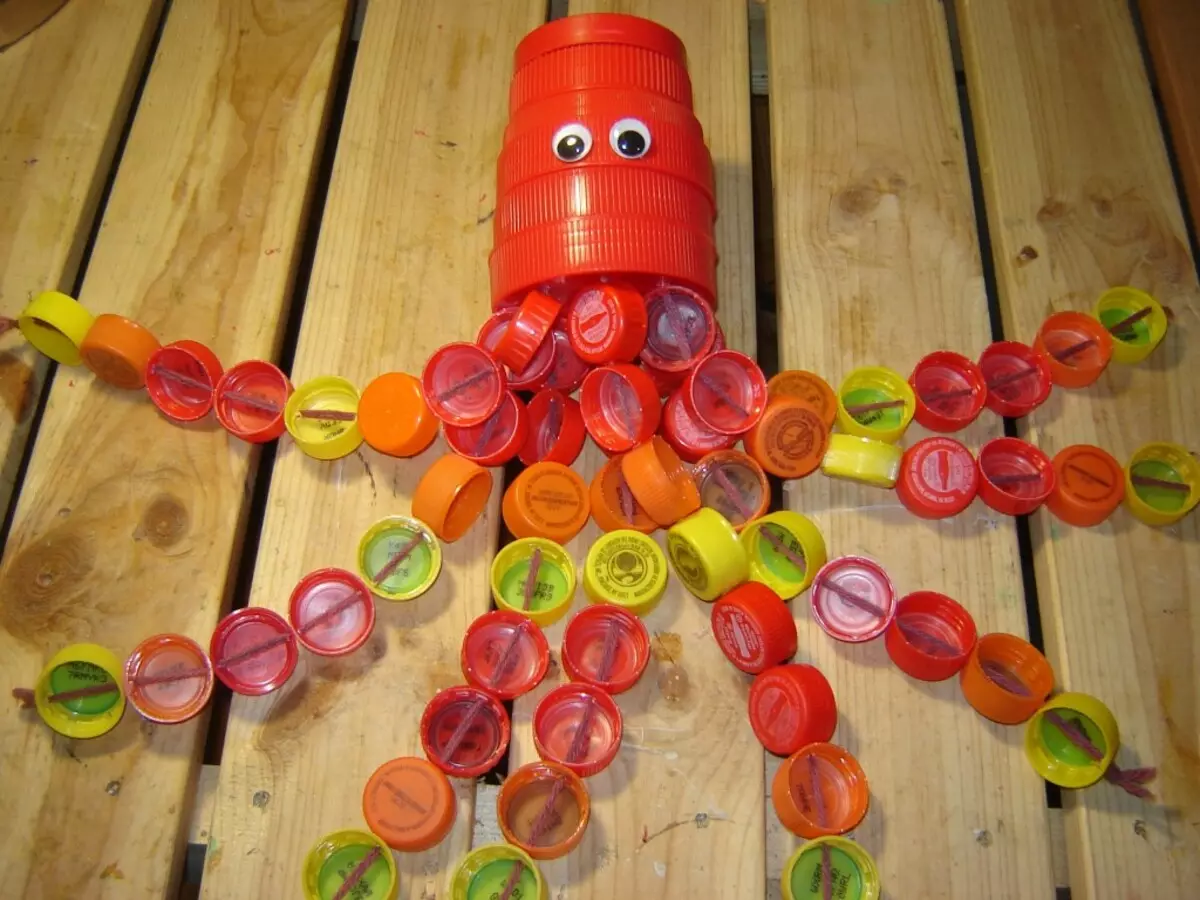
If you look closely around, you can give a new life to many unnecessary subjects:
From trays for eggs, make an excellent boat;
Old plastic bottles turn into cute pencil stands;
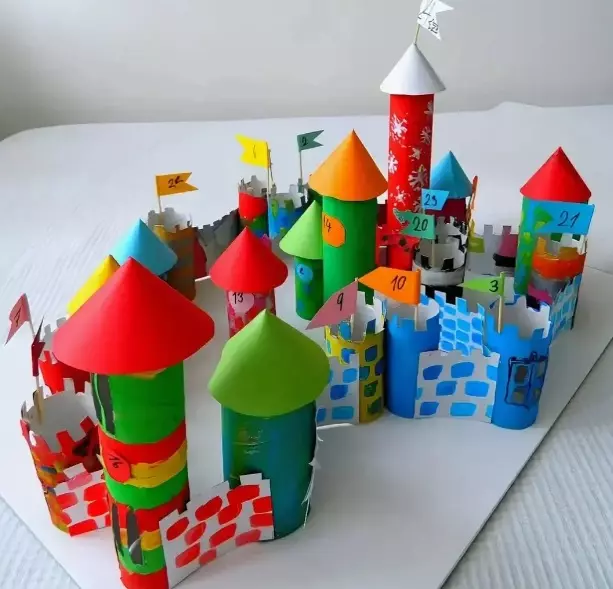
From bushings from toilet paper to build a beautiful toy city;
from forgotten plastic cups make funny birds;
Wonderful animals are obtained from eggs from kinder surprises;
Cheerful dog will come out of old computer discs.


7.
Photos
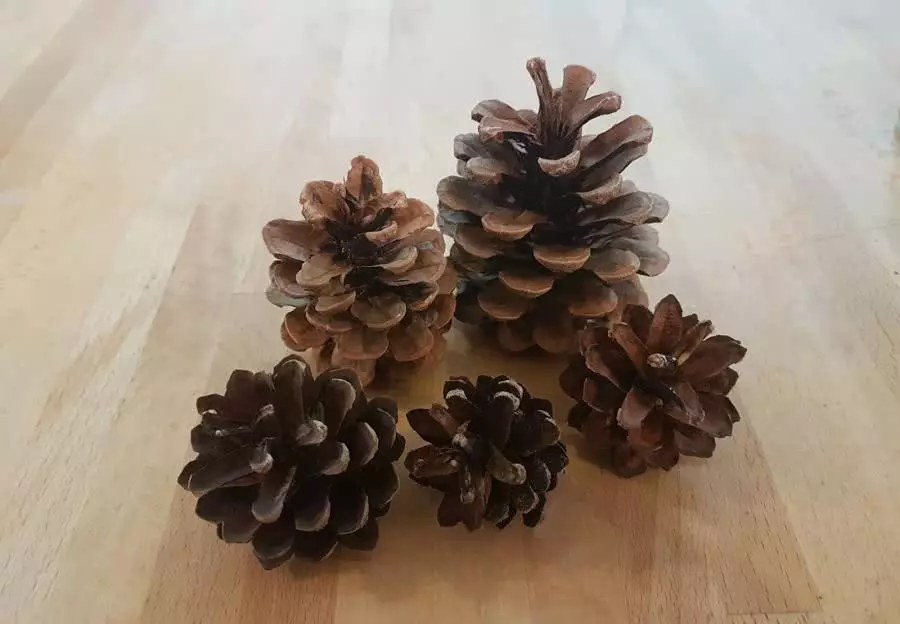
Ideas from natural materials
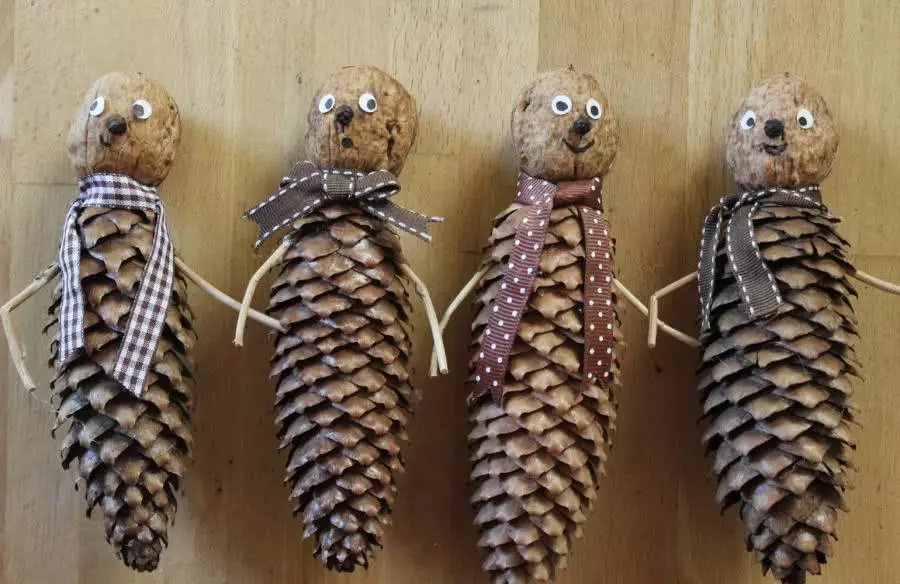
Crafts from cones, nuts, acorns and seeds can be created all year round. And in kindergarten, and at home you can do with children of wonderful butterflies.
You will need:
fir bumps;
dried leaves;
plasticine;
walnuts;
Thin twigs;
Black pepper peas;
paper and black marker;
glue;
scissors;
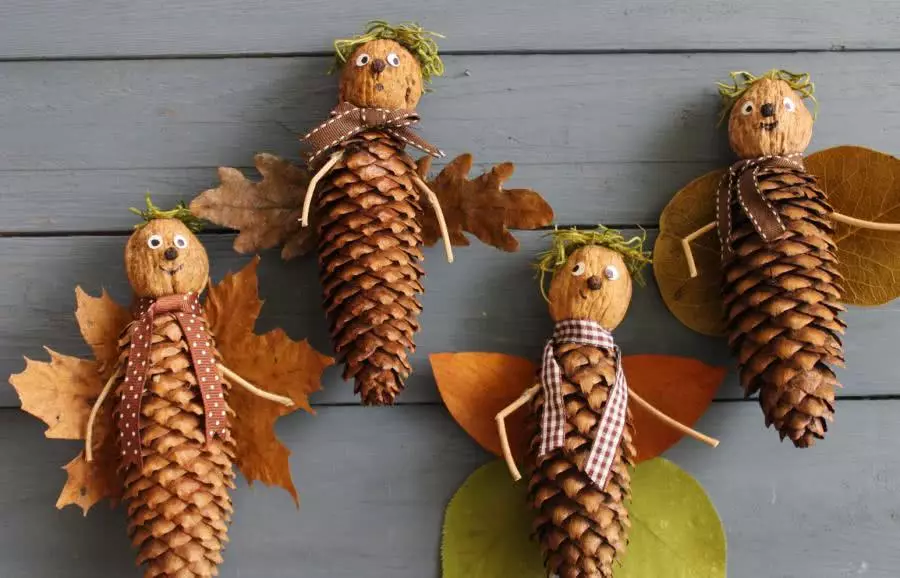
Decor - a little yarn yellow or green, colored patchworks.

We begin to make a butterfly.
Prepare natural material in advance. Clean the dust and dry the leaves and cones.
With the help of plasticine or glue, stick to the chish walnut. It will be a head and a torso butterfly.
Draw your eyes on the sheet of paper, carefully cut them out and stir up with glue. Glue peas pepper - nose, and draw the mouth with a marker.
Pan inside the cones are thin twigs, and draw the butterfly elegant scarves-loskutka.
We glue the shoe butterfly wings. All, they are ready for flight.

If desired, many creative ideas can be realized:
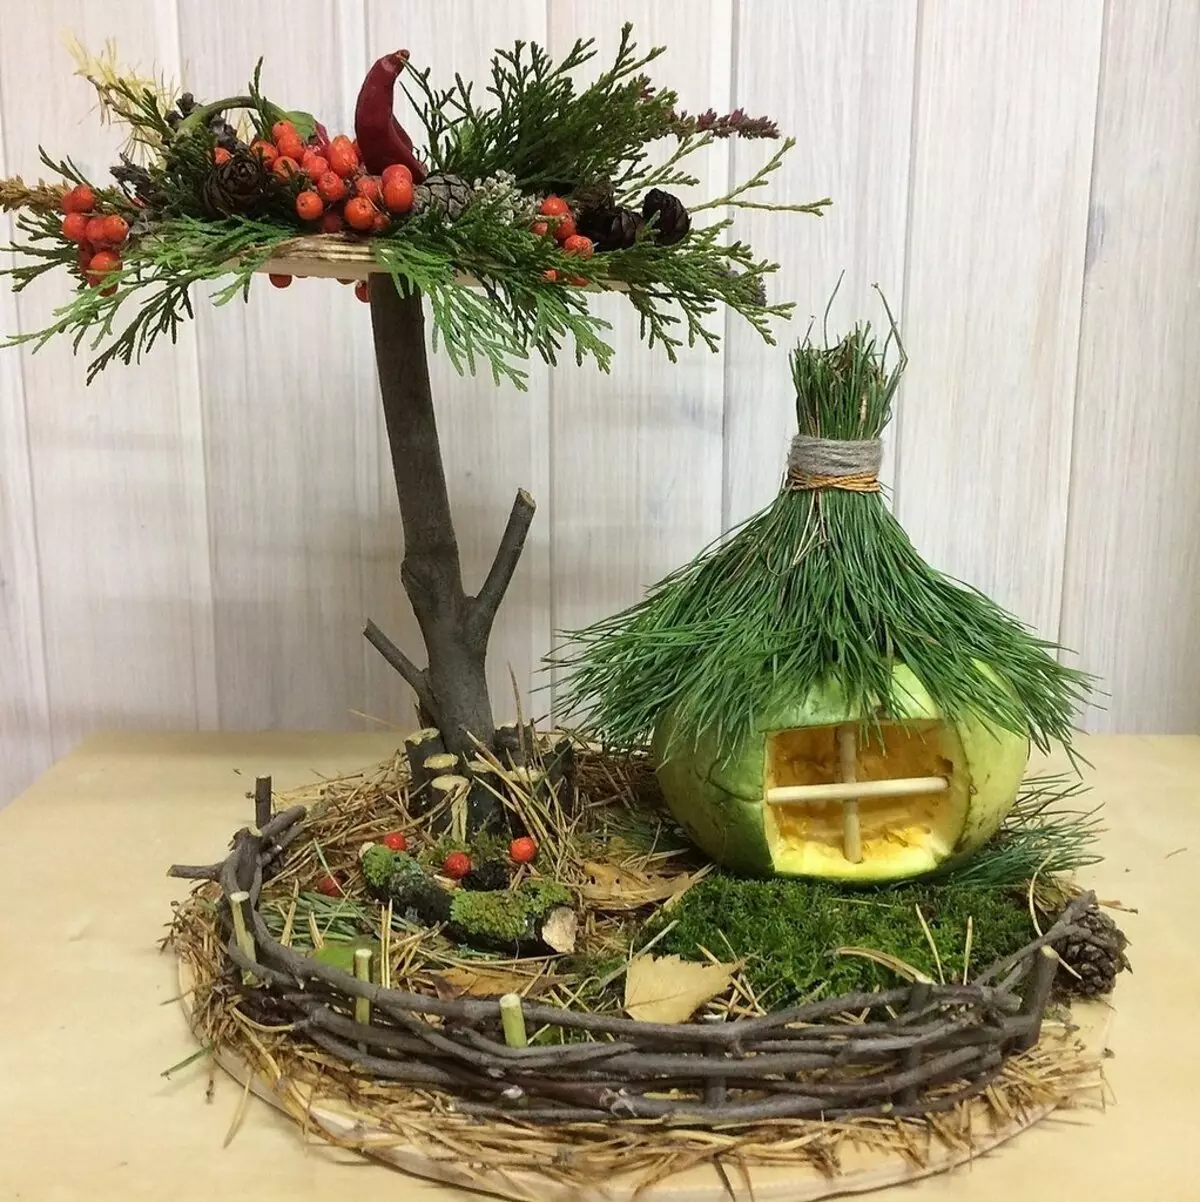
make a wonderful house for a small teddy bear from plasticine, leaves and branches;


Sleep of pine cones of charming hedgehogs;


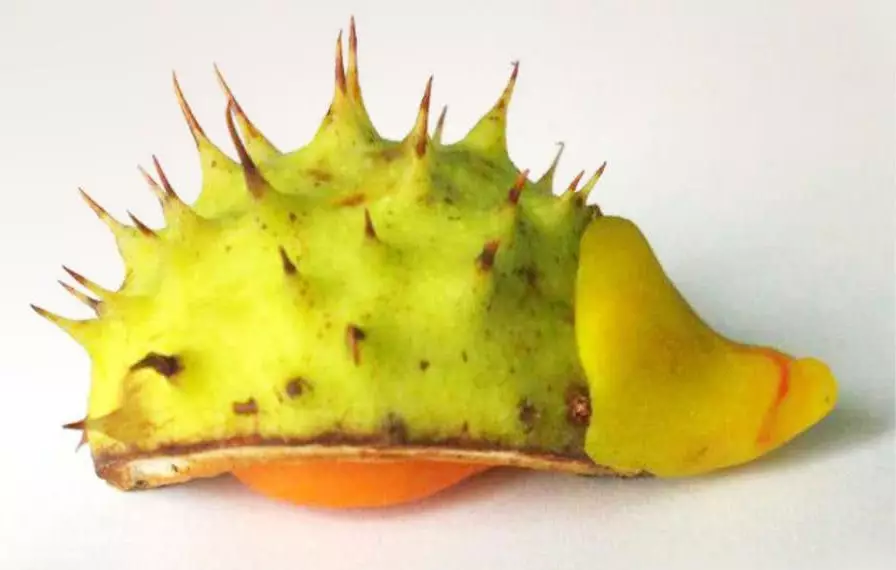
- make cheerful hedgehog from chestnuts;

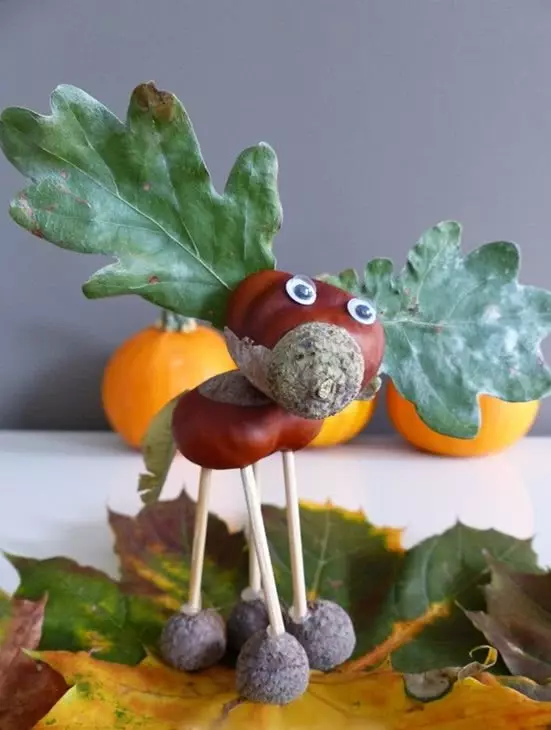
- Funny Loenok will come out of the acorns, chestnuts, matches and leaves.
Create fabulous compositions on the topic of the autumn forest will work if:
perform uncomplicated applications from seeds, leaves and croup;
make your own hands the real swan lake;
Fold from autumn fruits, colors and leaves wonderful wall panel.


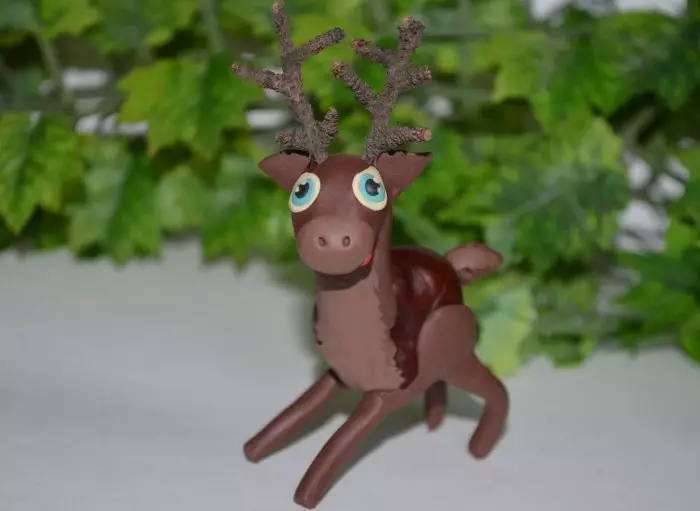
Plasticine craft production
Plasticine modeling is a fascinating lesson. She will not let me be bored in bad weather, will open up new expanses for children's fantasy. Girls can present themselves with skillful confers and please their toy friends with sweets of their own preparation.We make plasticine donati
Prepare:
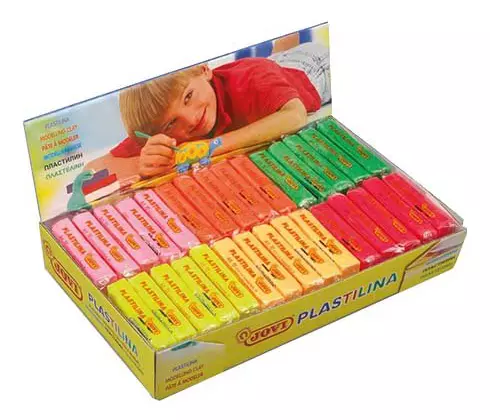
Bright plasticine;
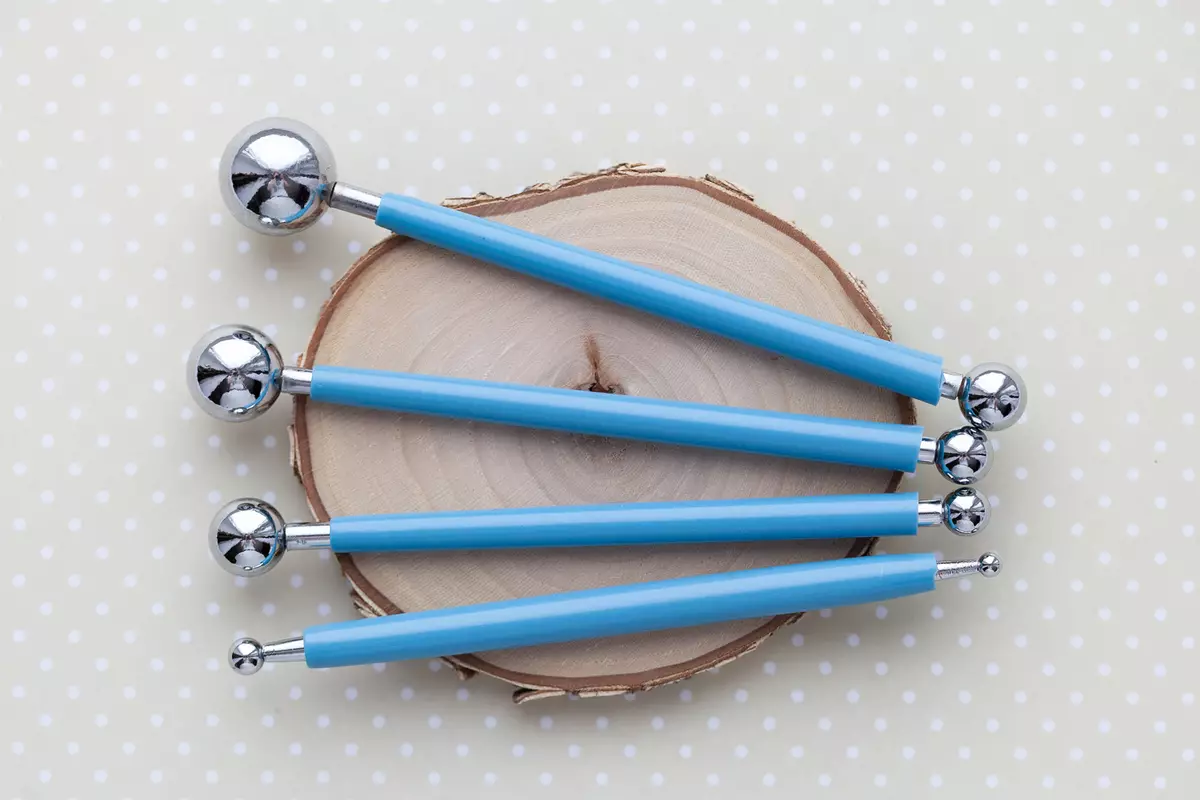
Stack with ball-bulka at the end;
Board for modeling.
Progress:
Thoroughly frone yellow plasticine, roll the ball from it;
Find the palm workpiece, make a hole in it with a bleb;
Gently remove extra plasticine from the hole;
From pink plasticine Make a thin cake;
Equally distribute it on the basis, and make a hole in the center with a stack ball;
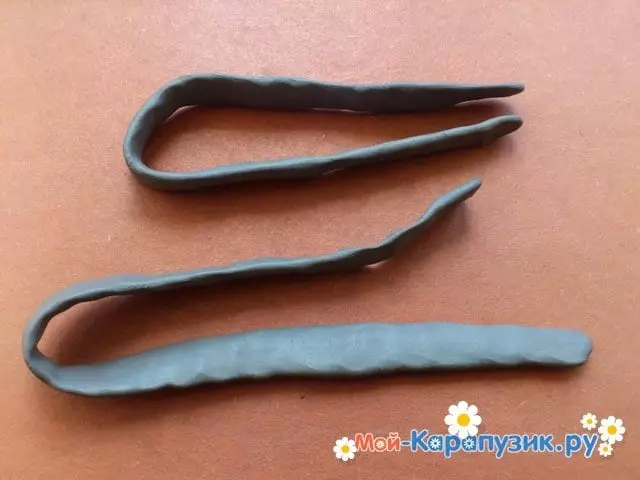
From the plasticine of other shades, roll with palms thin flashers;
Put them in the refrigerator;
After 5 minutes, get the flashers, cut the stack to small lumps;
Sprinkle with them;
Appetizing Donat is ready.


Tank
Boys with zeal will be treated to create real combat weapons. Make your own hand tank and deploy active fighting with him right at home - the dream of any fidget.
You will need:
Empty rectangular box, for example, from medication;
Plasticine brown, black and green colors;
stack.


The course of work consists of a number of simple steps.
Mix together black, green and brown plasticine - our tank will be a protective color.
We form the machine housing. Fully cover the plasticine box.
Cooking caterpillars. From brown plasticine we make the required number of balls of the same size.
Slightly flatten the blanks, we apply a stack of drawing on each wheel.
From gray plasticine lepim long ribbons along the length of the case.
We attach the wheels to the housing on both sides, turn them with a ribbon.
We cover the caterpillars with a thick green plasticine strip.
Lepim the square tank tower and round hatch cover on top.
Attach the top of the machine to the main case.
We do a blow and small details for the tank: mounts and handles for the hatch.
The fighting car is ready. You can start a cheerful and completely safe game.


eight
Photos
Under the leadership of adults, the children will be able to create wonderful crafts. Drop from plasticine can anything, there would be a desire and patience.
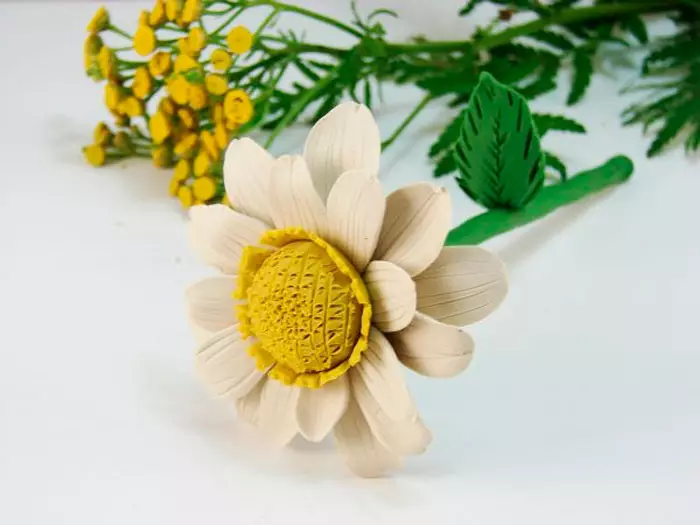
Realistic flowers:
chamomile;
Tulip;
lily of the valley.


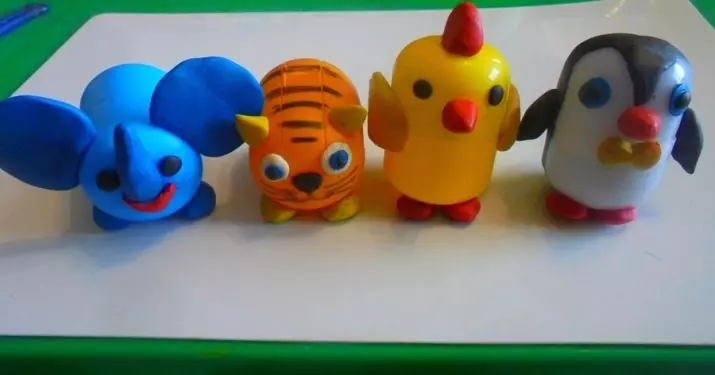
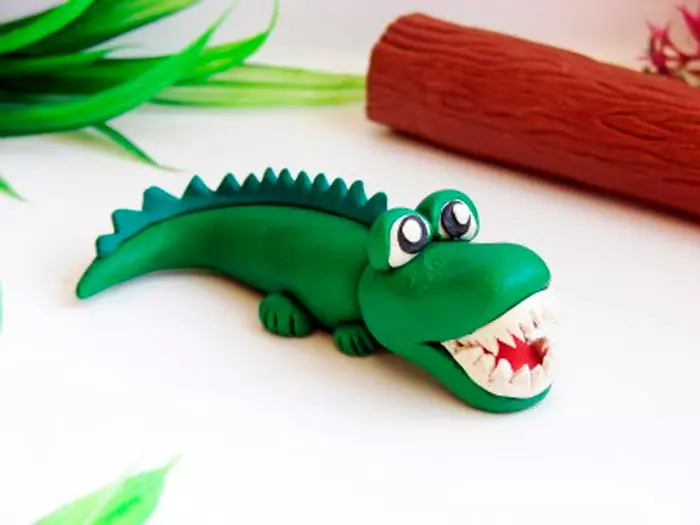
Funny animals:
crocodile;
panda;
Husky.


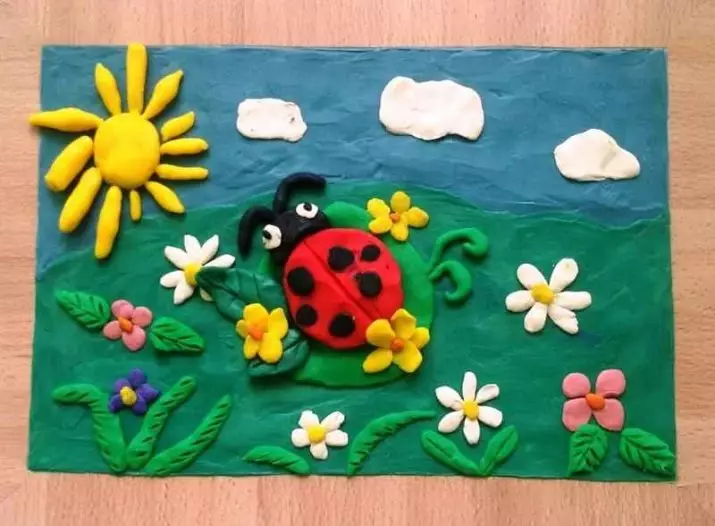
Make a beautiful panel.
Even more interesting crafts for children can be found by looking at the next video.