
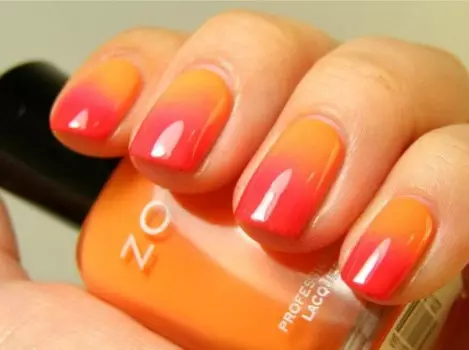
Neil-art today is one of the most popular nail designs. Mixing various colors and producing smooth color transitions, it is possible to achieve an amazing effect. One of the most contrasting and bold combinations is red with a numerous palette of shades.
How do you do?
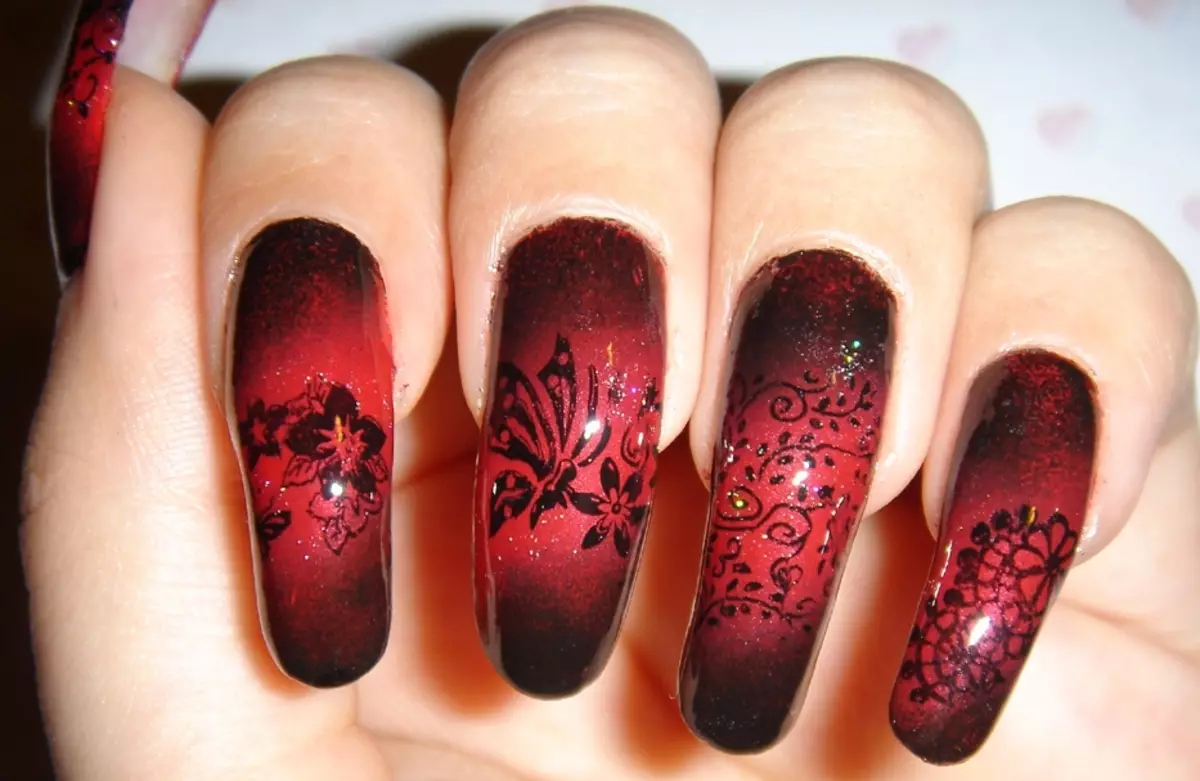
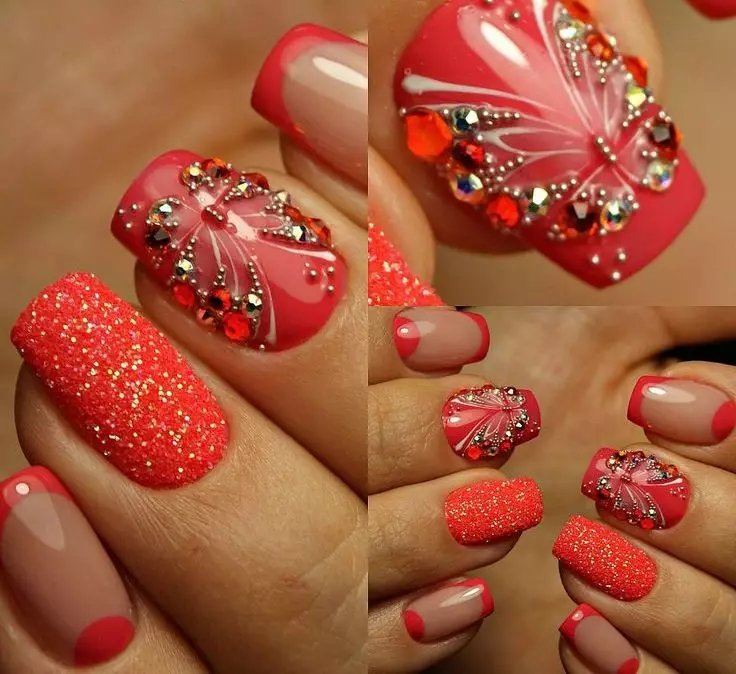
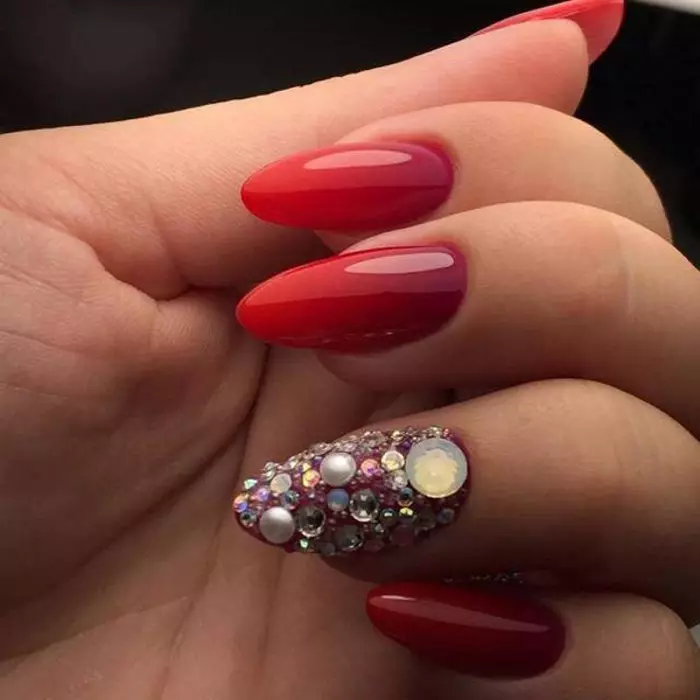
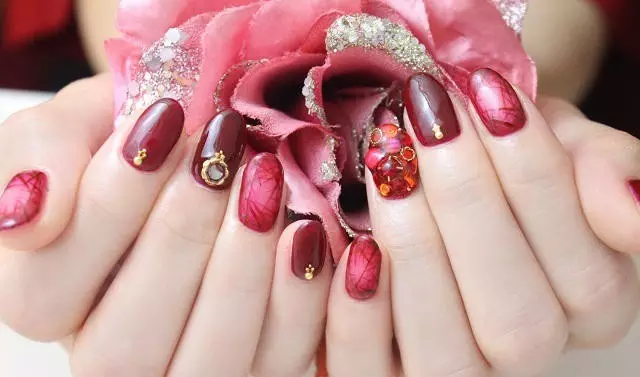
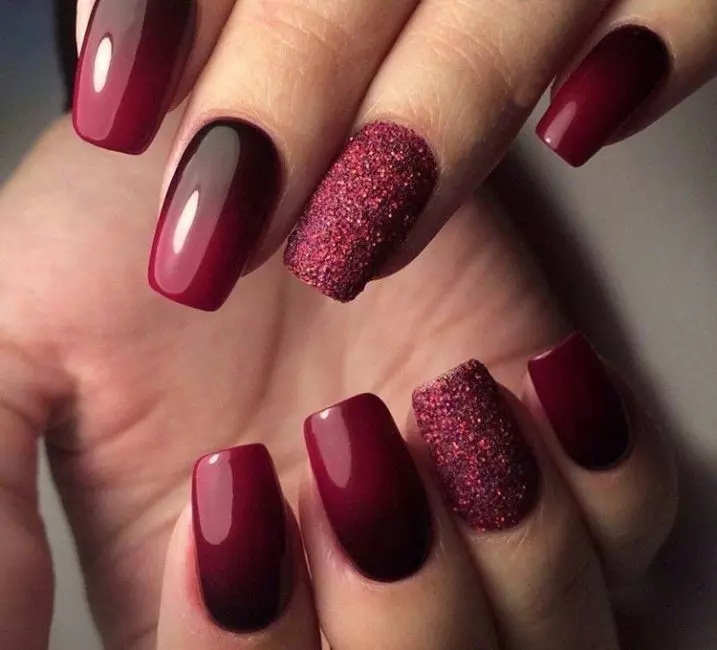
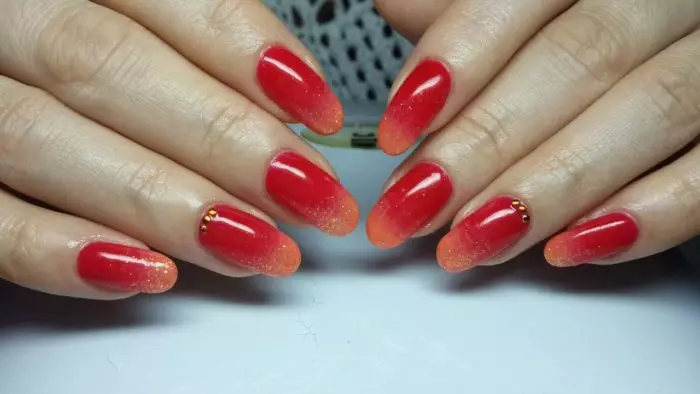
Thanks to the design of nails, it is possible to achieve a unique design quickly and without extra effort. Gradient nails look elegant and effectively. Certain with the task may even beginner, since the coating does not take much time. As a pleasant addition, you can use a gradient manicure as a platform for scenery. Picturesque look at the red newspaper technology, butterflies and birds, rhinestones and other elements.
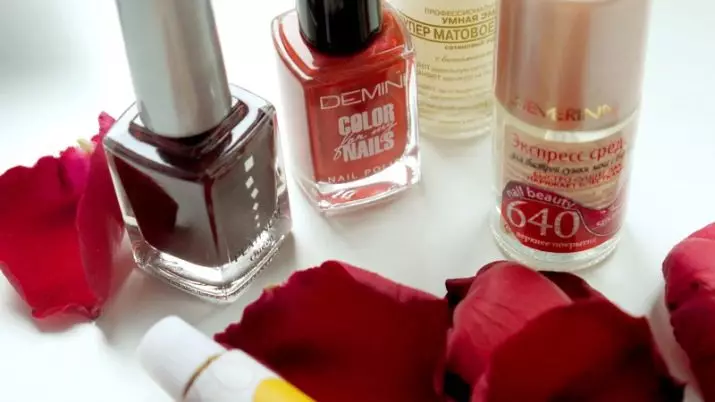
For manicure at home, there will be such materials and tools as:
- Basic color;
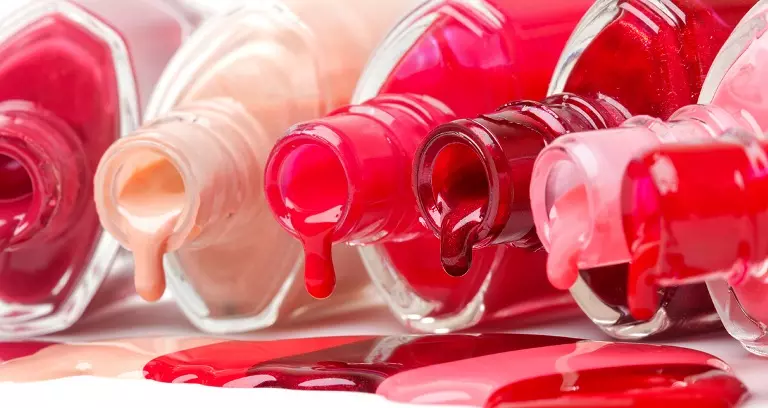
- Three color coordinated varnish for gradients;
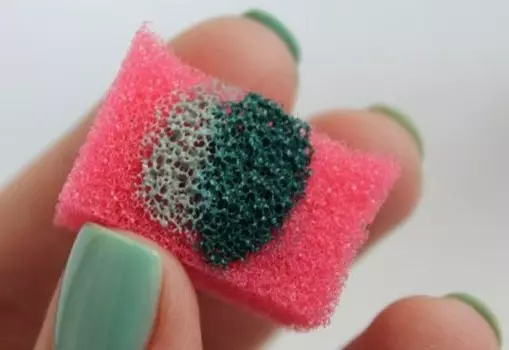
- sponge;
- pure towel;
- paper;
- Transparent nail polish.


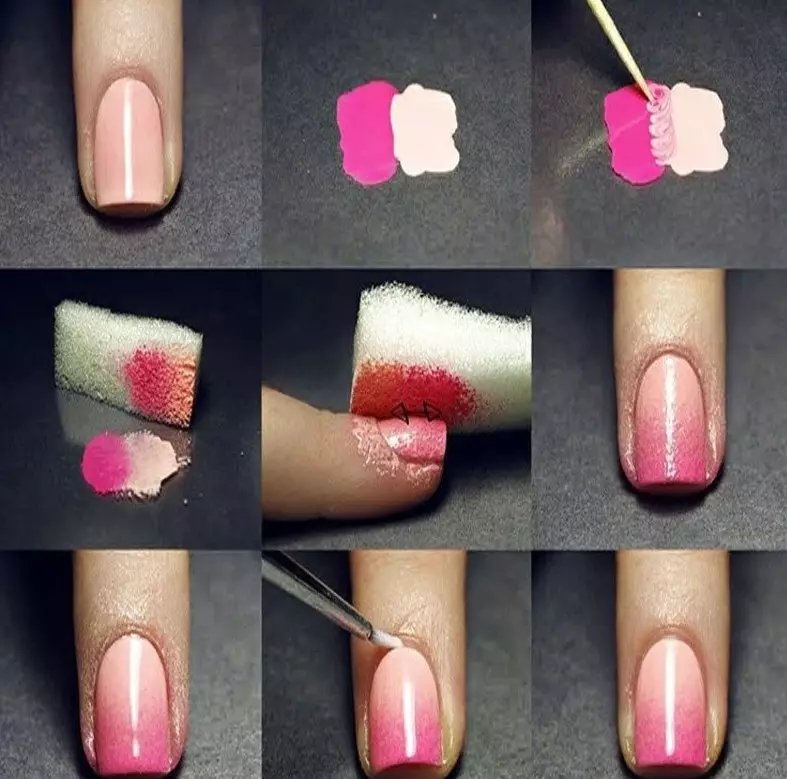
The sponge must be small to make it convenient to mix and decorate colors. At the very beginning, the base color is applied, that is, red. Nails must dry up before applying a gradient. On a sheet of paper, you can experiment and make a few sketches with a sponge to determine how many colors will be used, in what order. On a small piece of foil mix the necessary varnishes and blocked with a sponge. Only after this is applied to the surface of the nail plate. Sponge slowly move up and down.
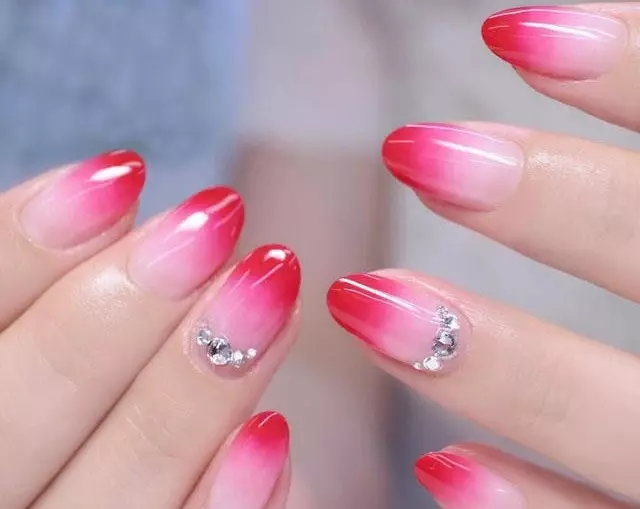
So make several layers to achieve the desired gradient. Everyone must dry out before the new one is applied. When everything is ready, add details, for example, drawing, sparkles, rhinestones. The finishing layer of transparent varnish is necessarily applied from above. It helps to keep the scenery and do not give them away.
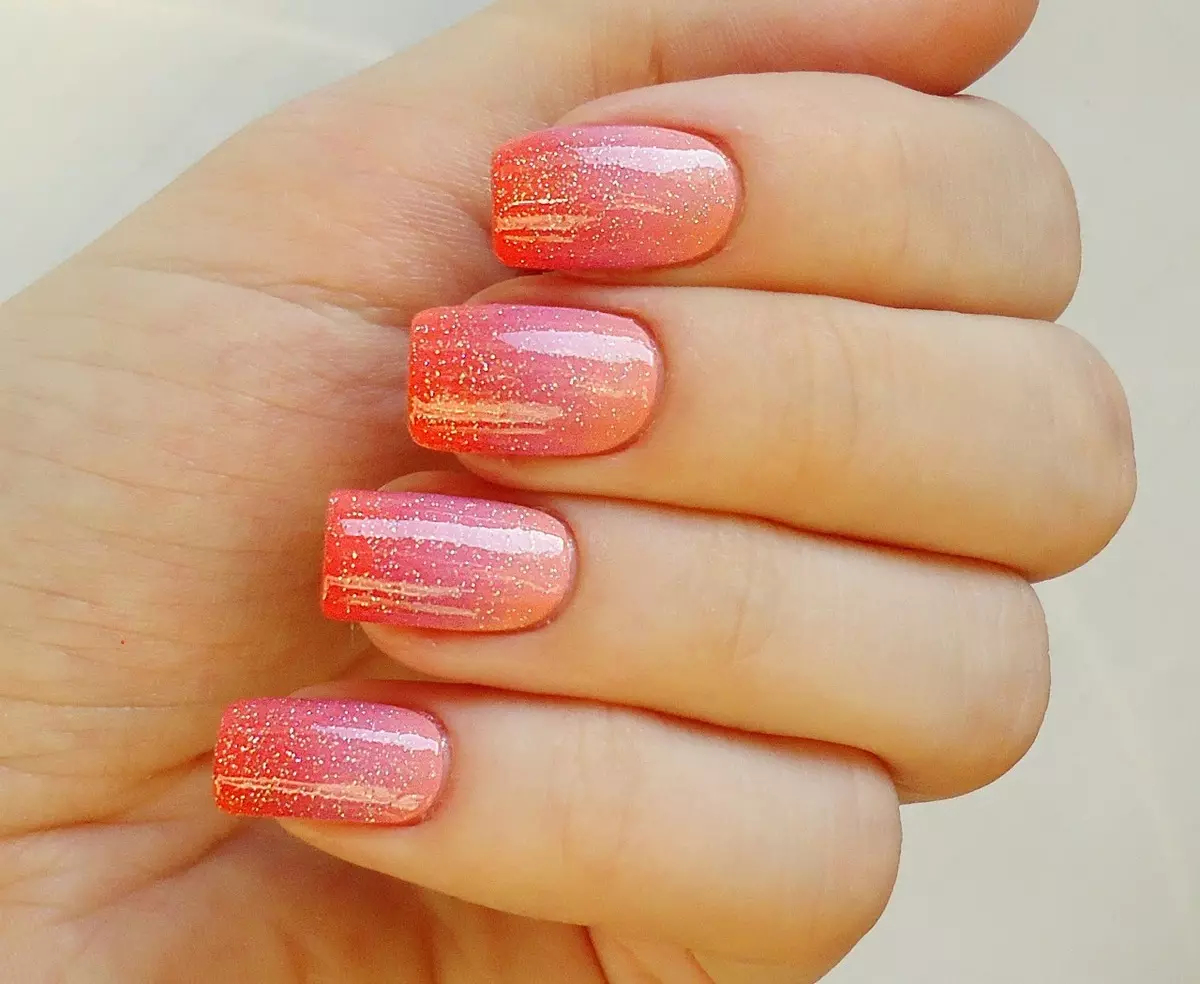
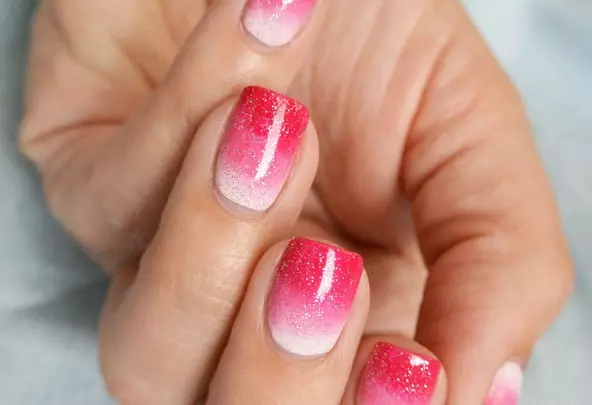
It is not easy to master this technique, but the result always pleases. At first, it is not so easy to achieve a smooth transition, but the longer practiced, the less time it goes to create a gradient. It is best to use such technique on long nails, since the area of the coating is greater. To get a neat manicure on short, you will need more patience and attention. The brightness of the red gives decorative design of the highlight, great for the summer.

Choose gradient or ombre?
The red ones on the nails became particularly popular this year. It is very diverse. This is not only the color of scarlet poppies, but also such as:
- Bordeaux;
- crimson;
- terracotta;
- strawberry.
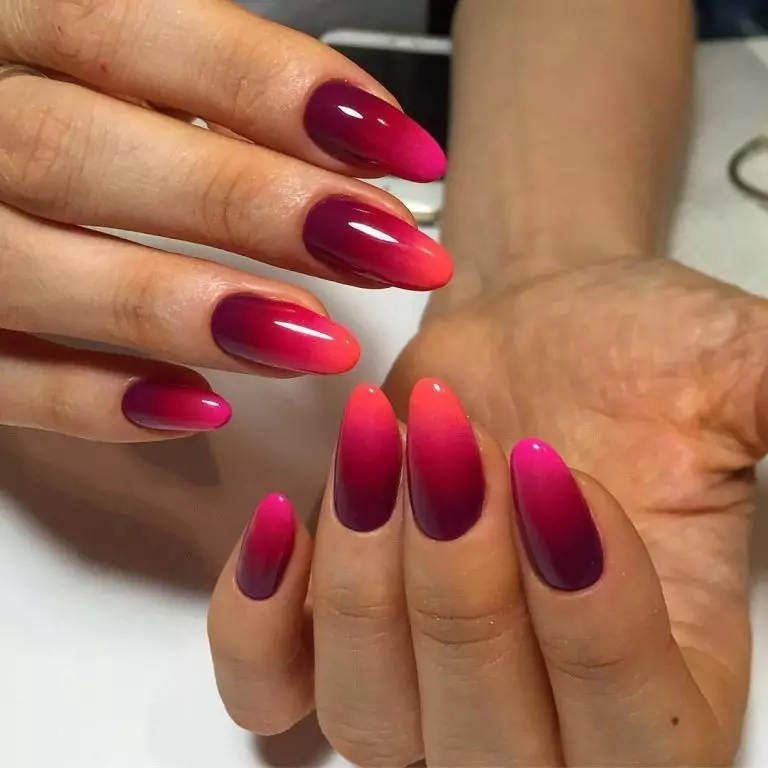
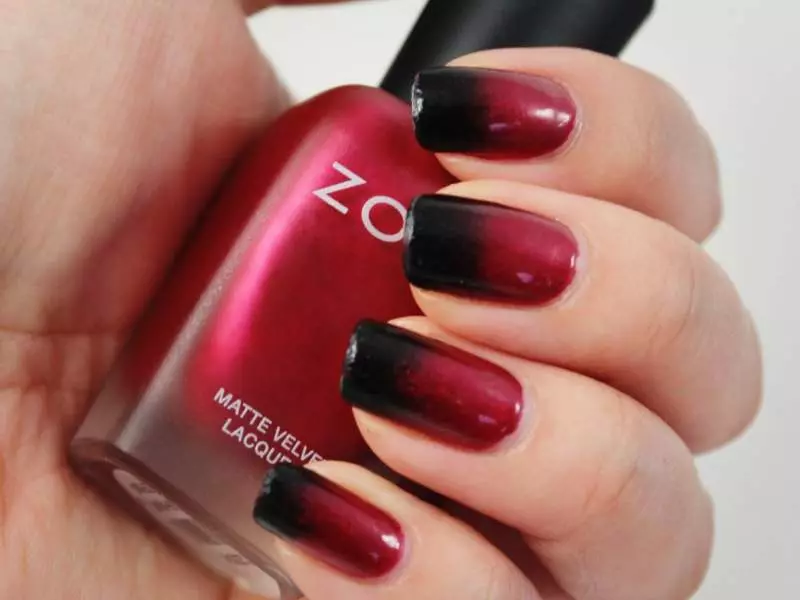
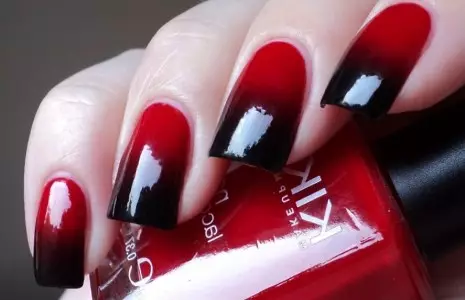
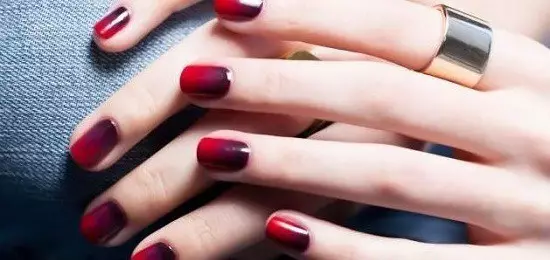
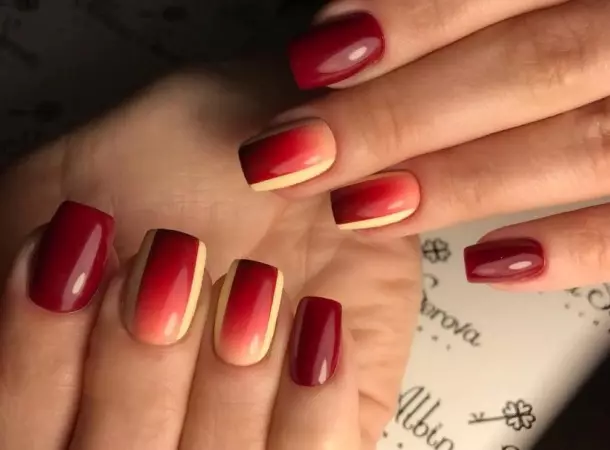
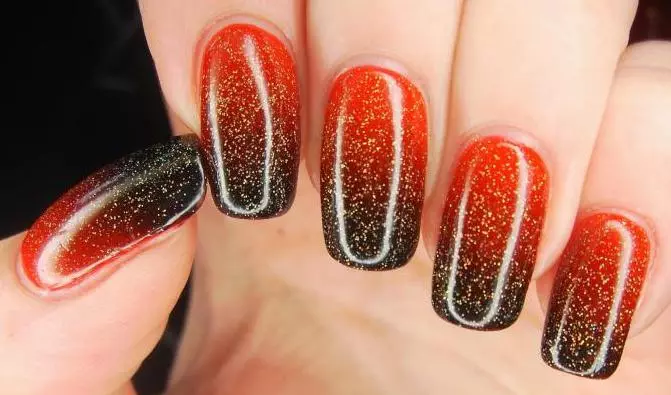
If the nail tips are slightly darkened or, on the contrary, brightened, then this technique is called Ombre. You can make a transition from one shade red to another or even use three, four tones. Just perfectly look at the combinations of different colors, for example, red with black and yellow.
Transition options
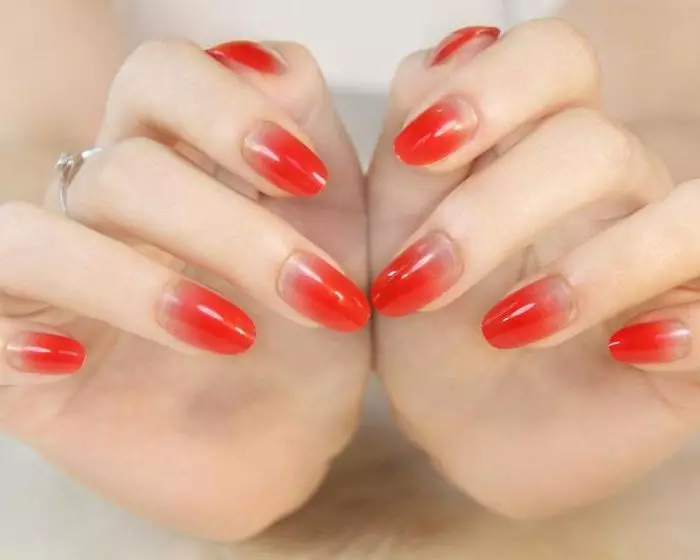
The easiest option that is worth trying when creating a manicure of the house independently is a transition from red to other shades. It will take five different tone of varnishes, which cover the nails from the thumb to the little finger.
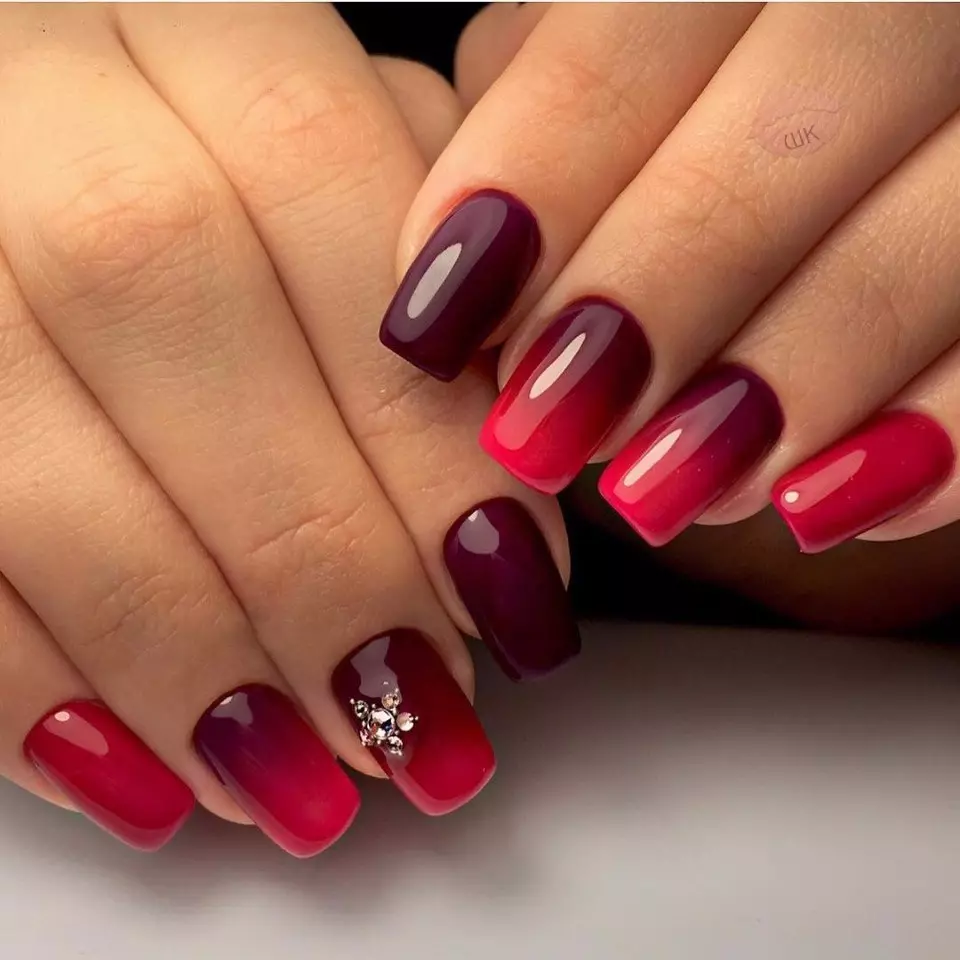
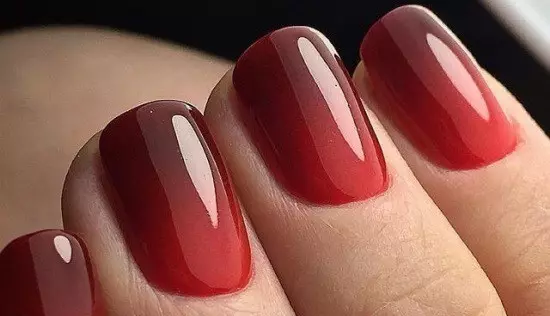
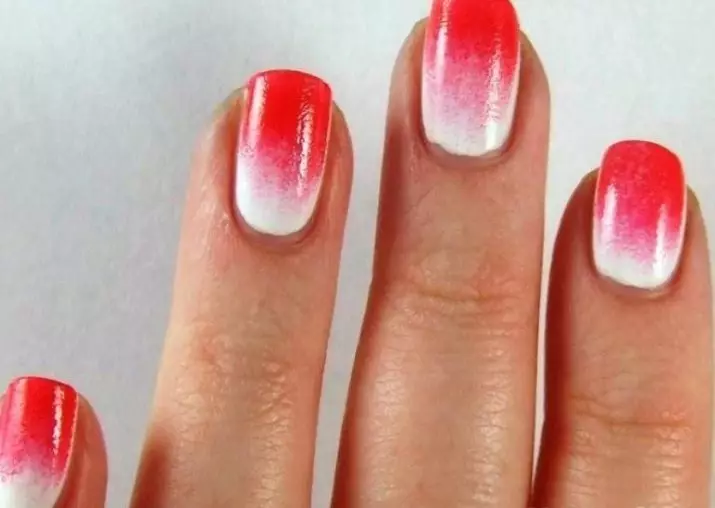
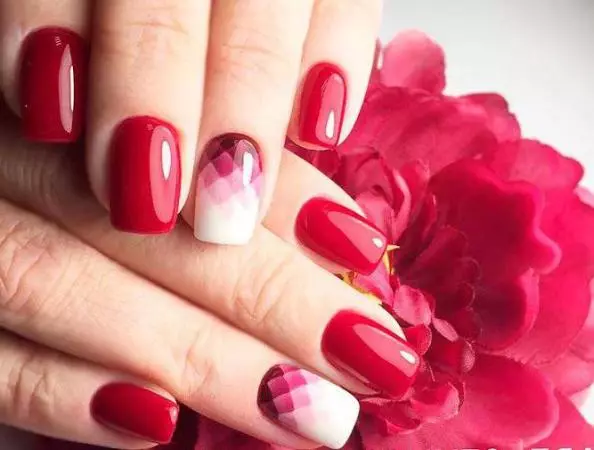
If there is no opportunity to buy so much, you can mix one with a different amount of white, but calculate so that there are enough two hands. The first finger is covered with burgundy, then each next - on the tone lighter. Already to the mother's tint should be gentle pink.
There are other options to use one technique, make your nails attractive. Red Manicure Ombre offers to familiarize himself with several ways to apply transition.
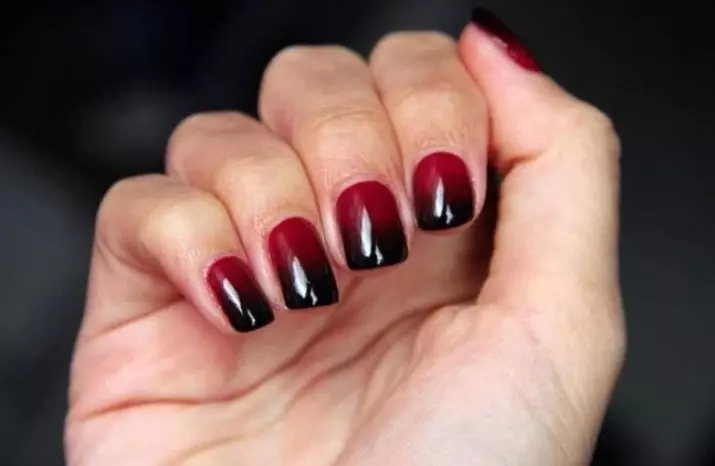
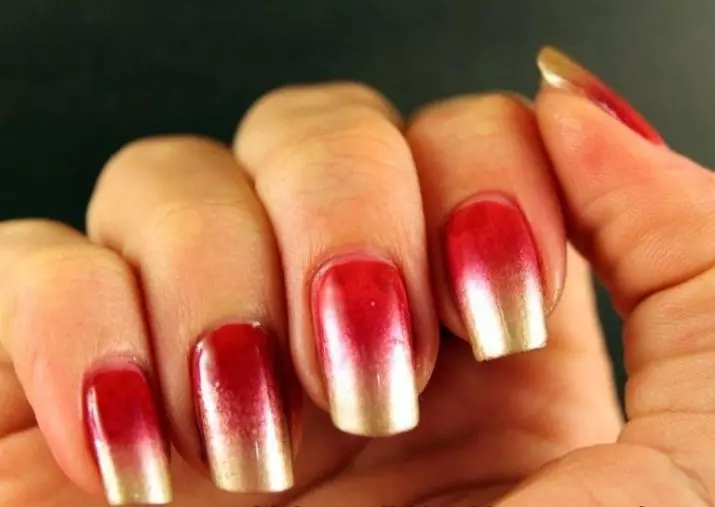
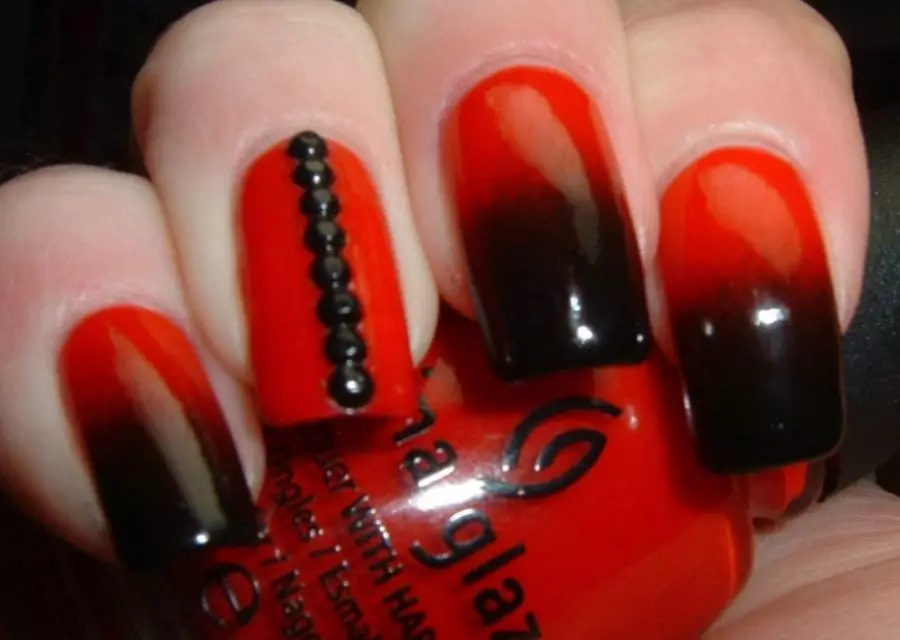
- Horizontal It is more difficult to perform, as the sponge hits most of the skin around the nail. The line is carried out from the cuticle to the end of the plate. In order for the transition to be smooth, you need to gain patience. When the transition is contrasting, for example, from red to black or white, the design attracts attention and acts as the main accent in the image, so it is not necessary to further overload with additional details. Such sharp combinations are extravagant, it looks great in this color with gold or pink.
It is easier to work when the strips of different shades are applied to the sponge, only then to the nail, and not vice versa. The masters perform the transition using a thin brush.
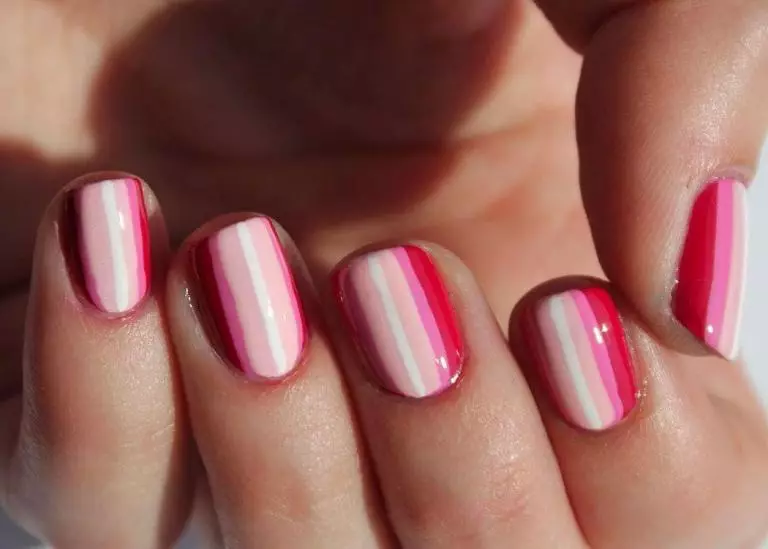
- Vertical Ombre make on one side to another. Most often, it is used to five different shades, it is especially impressive with each other contrasting, bright tones, which seem to be combined with each other.
- For creating Geometric gradient We will need special stencils in which cells are provided. Each is filled with its color. You can fantate for a long time on how the gradient looks like, if you use more colors.
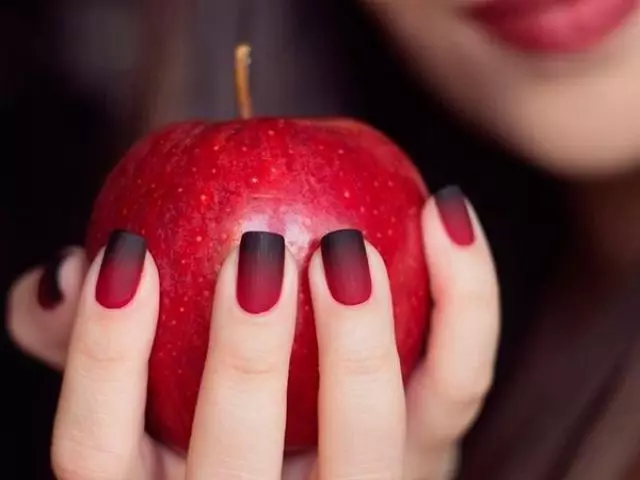
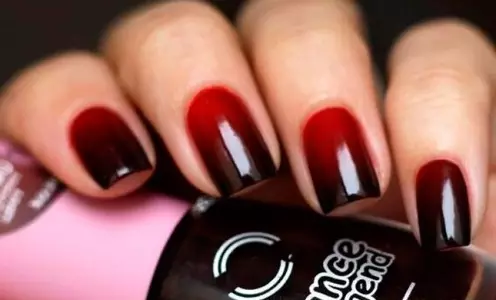
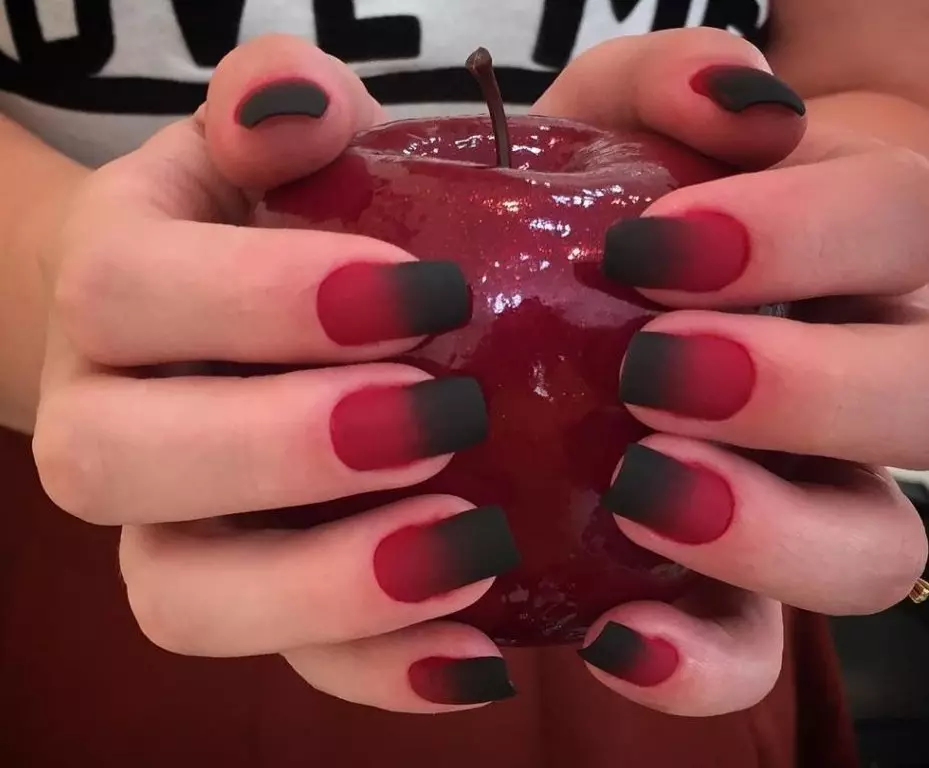
Important! Especially popular recently red and black manicure. To create it, the nail is covered with two colors of pressure, the border is lubricated with toothpick, and then pass a small sponge. A particularly spectacular combination looks in the matte version.
Popular ideas
Girls are not accustomed to stop at what. In fact, this technique allows you to experiment, create something new. Today it became popular to make a gradient from the center of the nail plate, which looks unusually and stylish. Depending on whether the shade lightens or darkens to the edges, the visual perception changes.
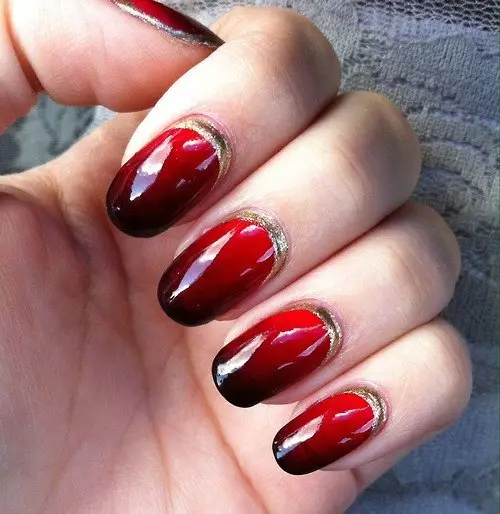
Unusually, but very exquisitely obtained when using two contrast tones and Franch. For example, from the cuticle of the nail plate is covered with black, then the transition to red is created, but the composition of the dark-color crescent is completed. Such a French manicure language does not turn to call discreet, in combination, two techniques allowed to create something incredible.
It became very popular to use chrome details in manicure, it concerns the gradient. It looks like a mirror chrome from the base of the nail with a smooth transition to bright red.
About the easy way to create a gradient on the nails is described in the video below.