
To look stylish and attractive to the woman, it is not necessary to spend strength, time and money to visit the beauty salons. You can create at home a unique fashionable image. In this article we will tell you how to make pretty light pictures with gel varnish and what will be required for this.


Required tools and materials
To embody a high-quality manicure, you should be in advance all the necessary tools.
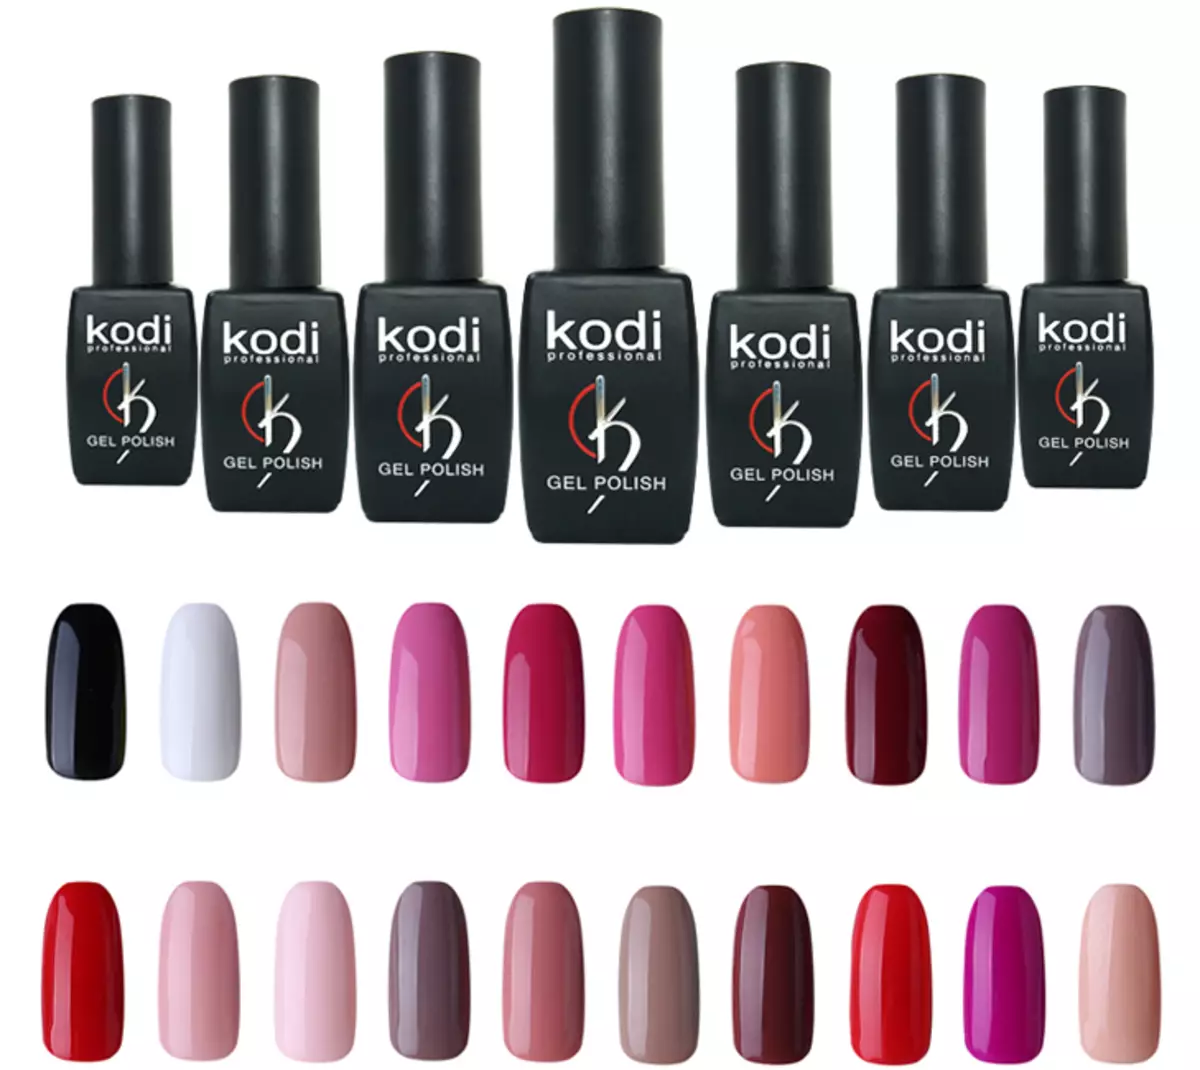
- Colored varnish or acrylic paint. These options are needed in order to give the surface of the nail the desired shade and to embody a creative pattern. Acrylic paint has more rich pigments. It is designed for artistic painting. If you want to draw pictures with multi-colored gel varnish, remember that its shades should differ from the main coating at least a couple of tones. Then the composition will be pretentiated consistently and beautiful.

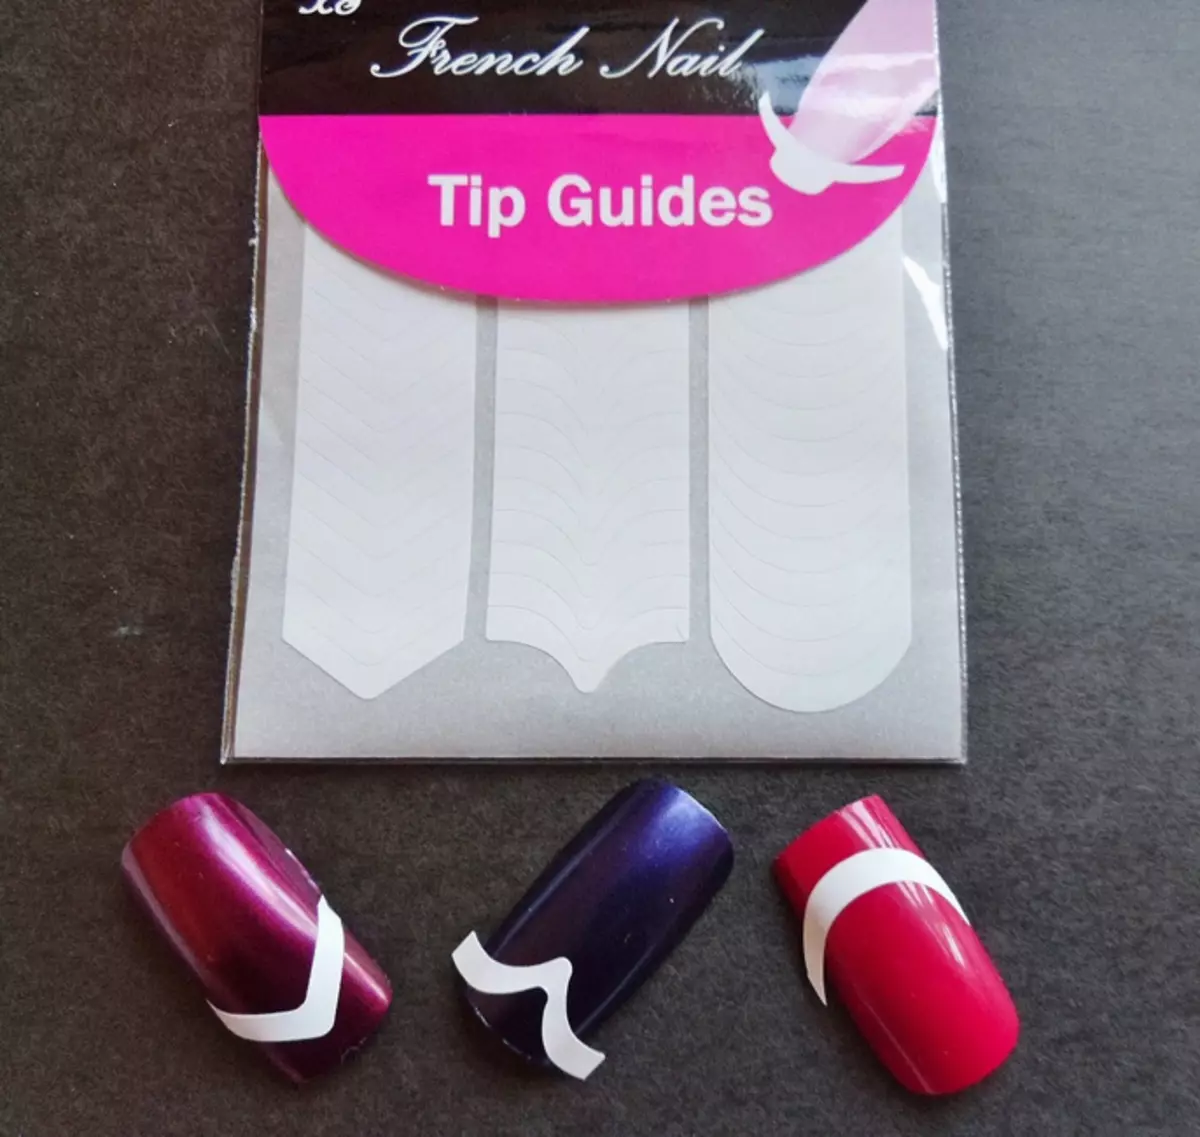
- Necessary elements for the embodiment of a particular design. These may include stencils, stickers, scotch and many other items. Everything will depend on the drawing you are going to embody.

- Brushes. They can be thin, thick, short, long. They will help clearly draw the necessary items. You can also stockpen with a needle or pin for smaller parts or toothpick.

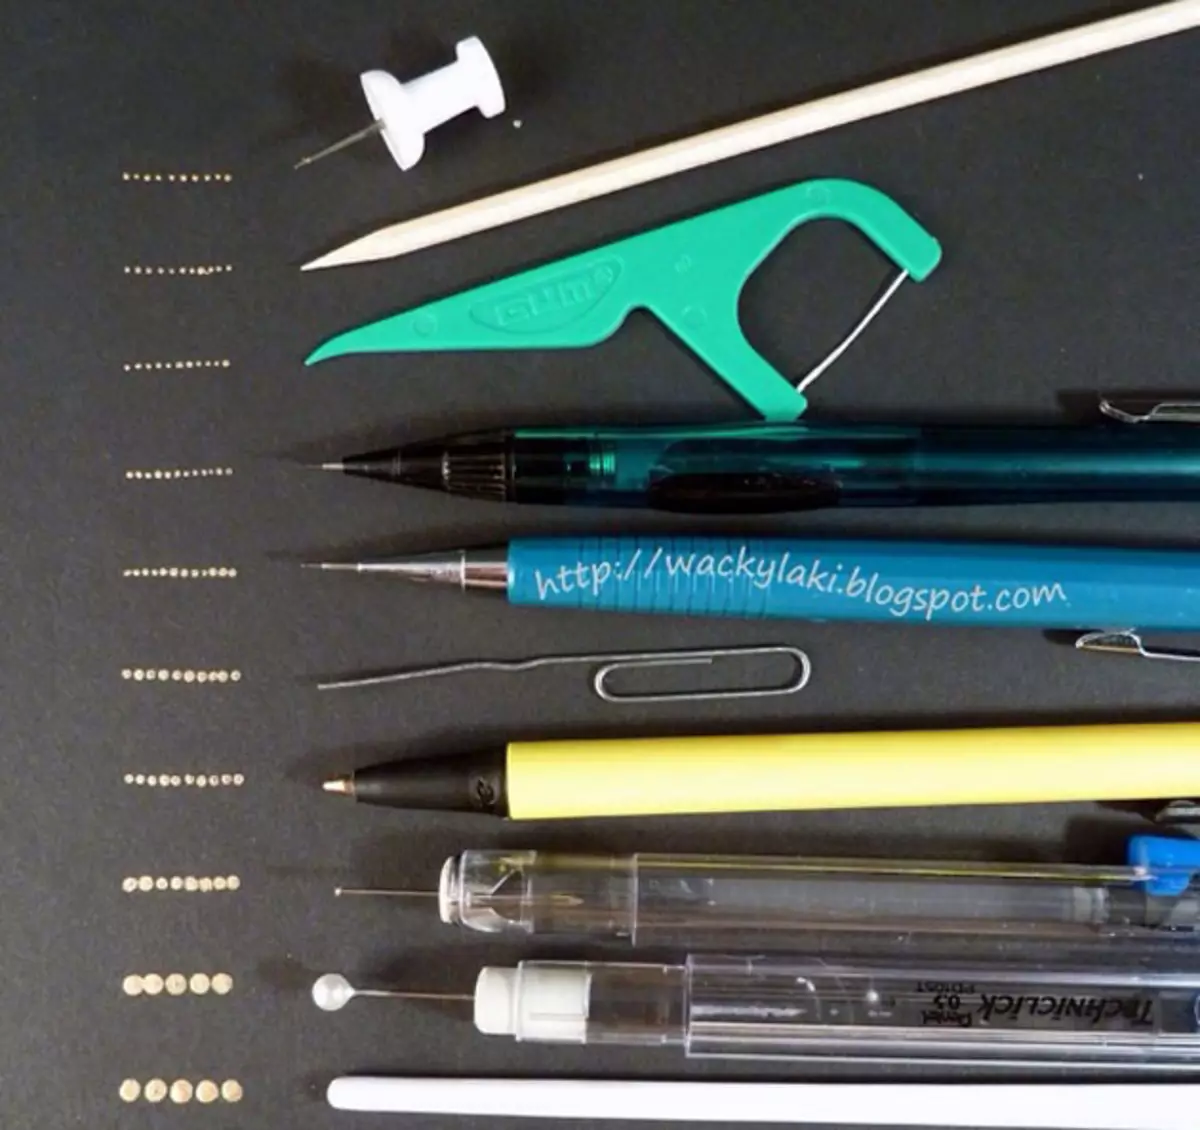
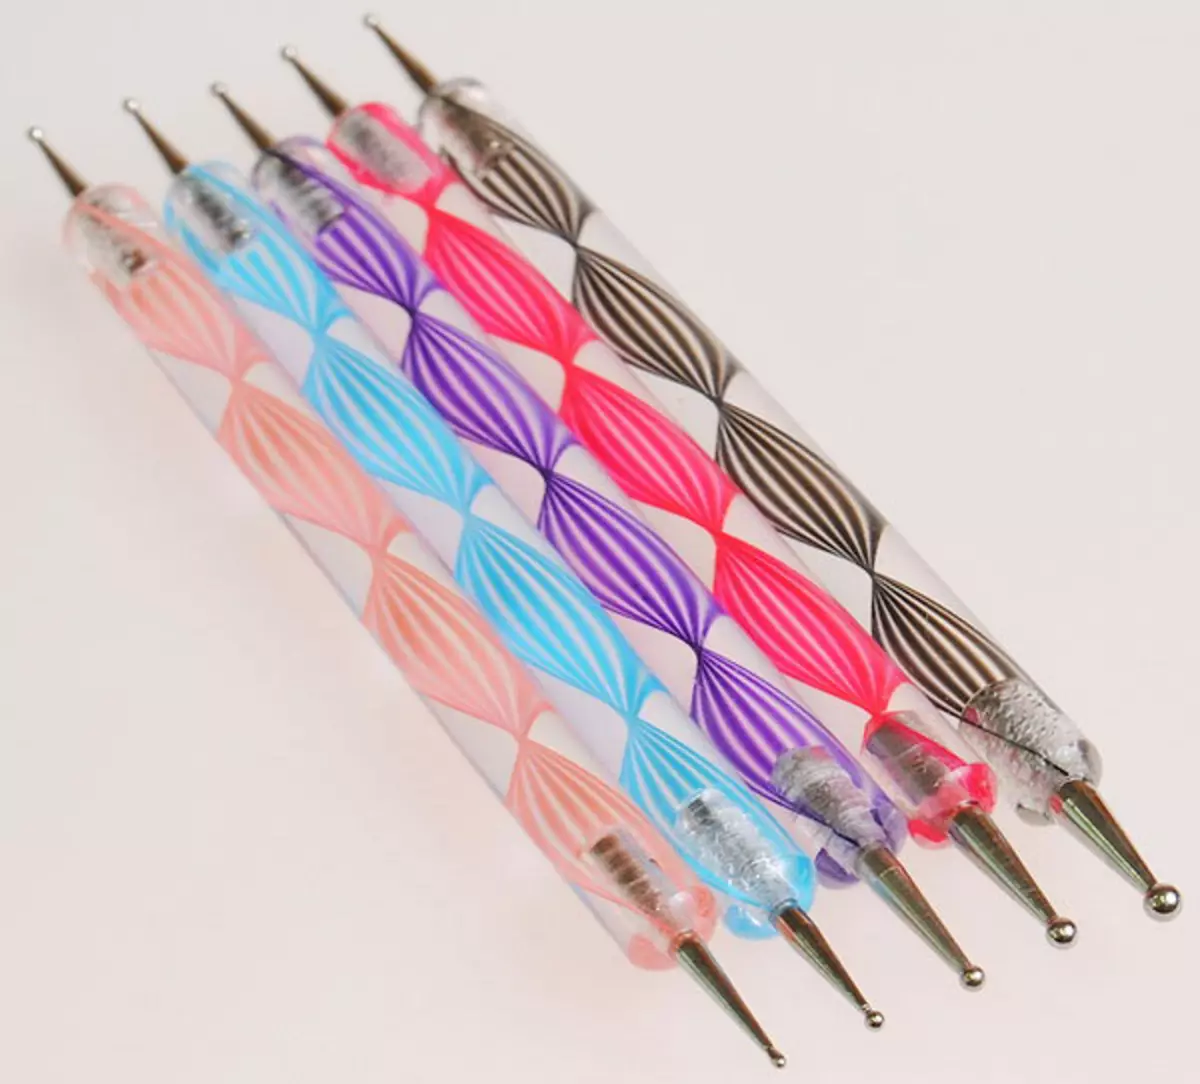
- Dots. An integral attribute of the novice is this subject. It has rounded tips. With the help of Dottsa, you can easily and simply put round drops on the surface of the nail plate. This will allow a person who does not have artistic experience, create a real masterpiece on the nails.

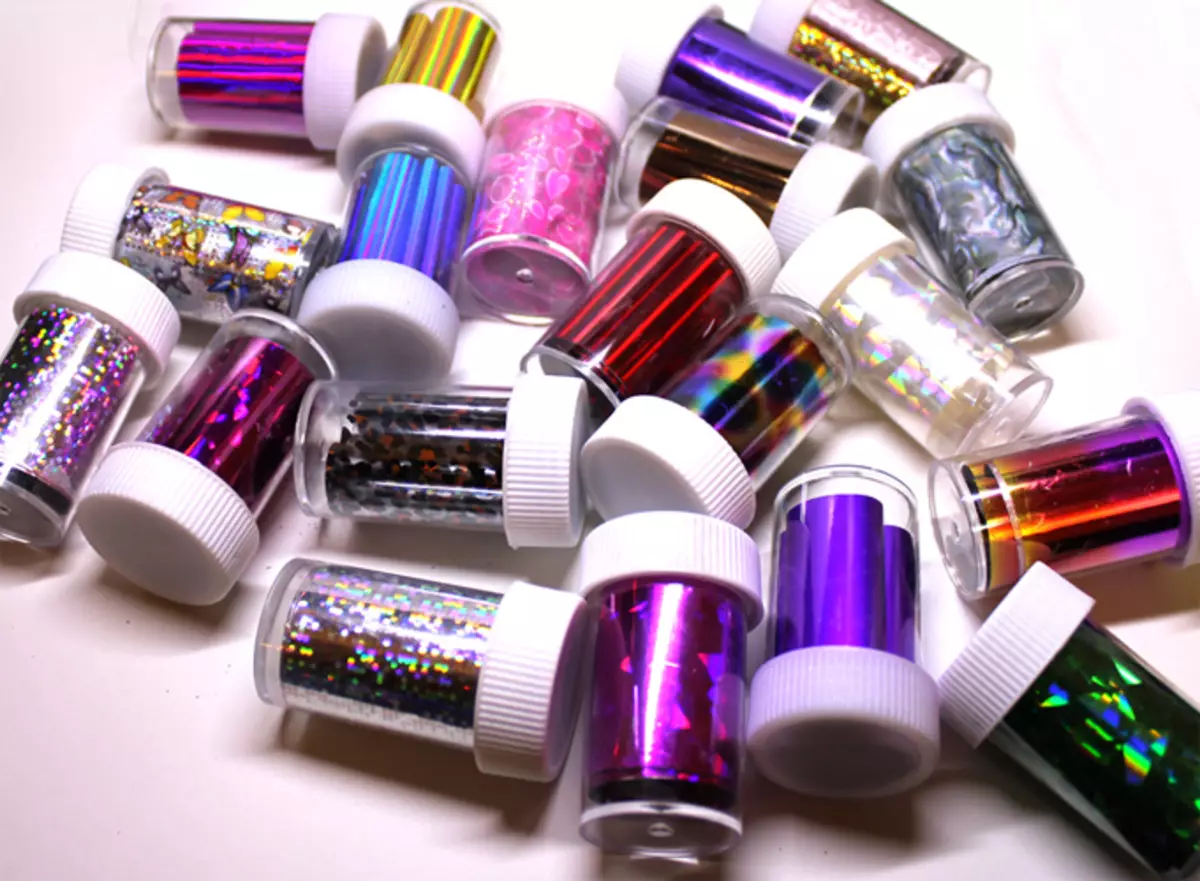
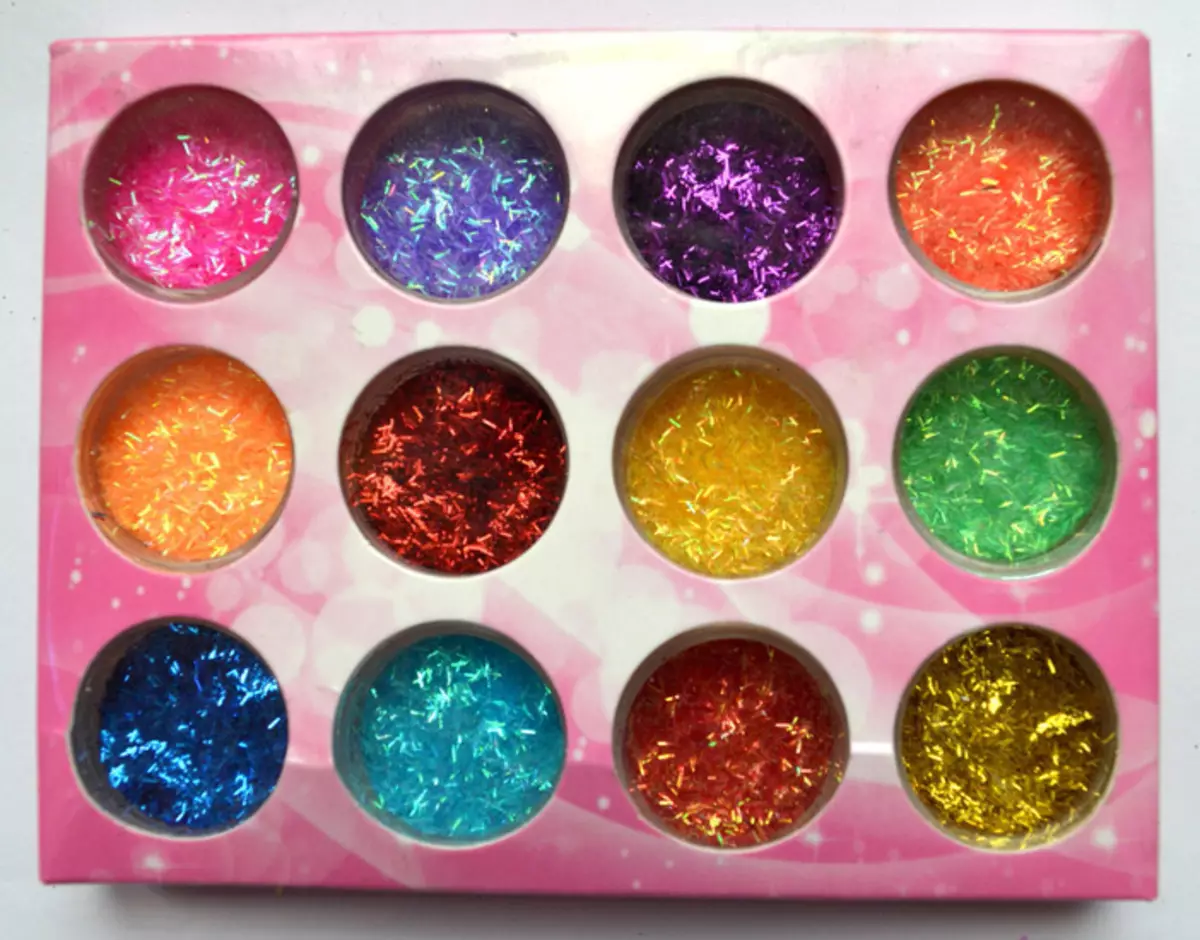
- Decorative elements. They can include foil, rhinestones, sequins, glitter. First, you should choose the appropriate design, and then you begin to embody it.

At home, you can find different branded materials, which will also be assistants in creating creative Neil Art.
For example, DOTS can be replaced by invisible or sewing pins with different tips.
Before starting to draw pictures, you should take care of the fingers and about the surface of the nail plate. Neil-art will be perfect when the hands are perfectly processed. This will also require certain quality tools.
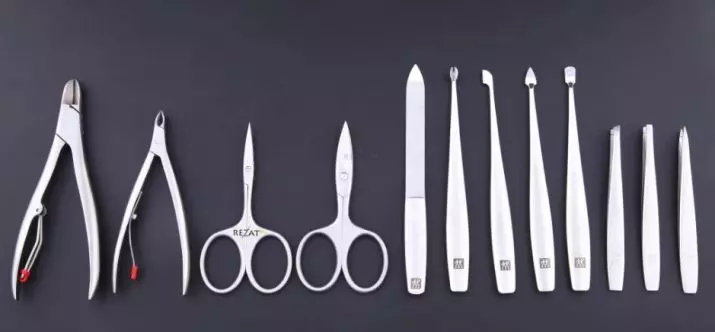
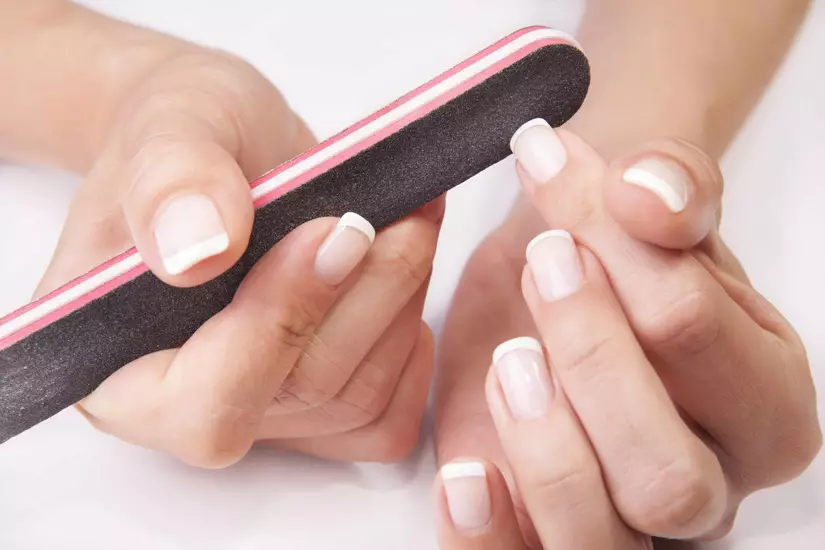
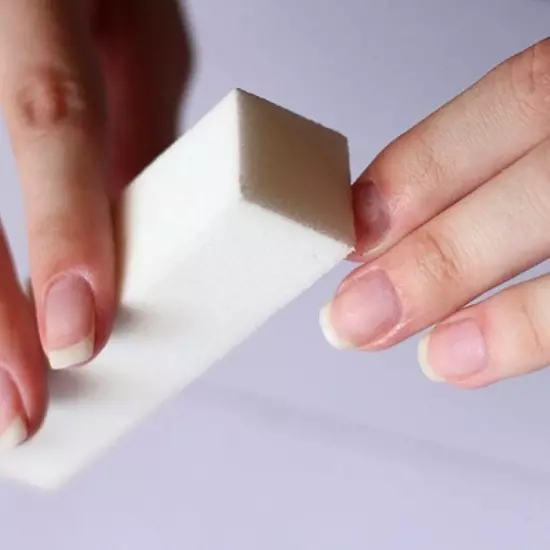
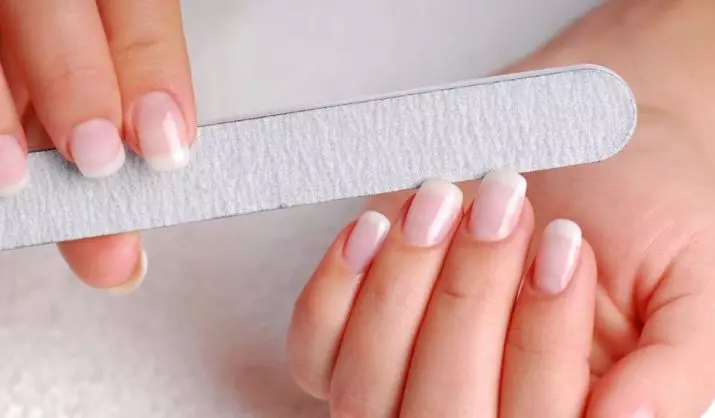
First of all, it is a small container with warm water, where you will swallow your hands, preparing them for processing. Then an orange wand. With its help, you can carefully move the cuticle, without damaging the nail plate. Plugs are removed excess skin. With the help of a nail file, the desired form is given. And the bug polls their surface.


It is not necessary to irresponsible to the preparatory stage of processing and switch to the design faster. After all, because of how well the nails are worked out, the resistance and neatness of the manicure will depend on. Therefore, spend your precious time at this stage, then not to regret the efforts done.

Lighter ideas
Today you can find the most creative at the same time uncomplicated ideas of manicure gel-varnish. Below is step by step, how can one or another design can be done which elements and fixtures will be required.Abstraction
Simple drawings on the nails can be embodied using this technique. He will cope with this even a novice master. You do not need certain skills and a large amount of time. A similar design may look cute, stylish, brilliantly - it all depends on your preferences.

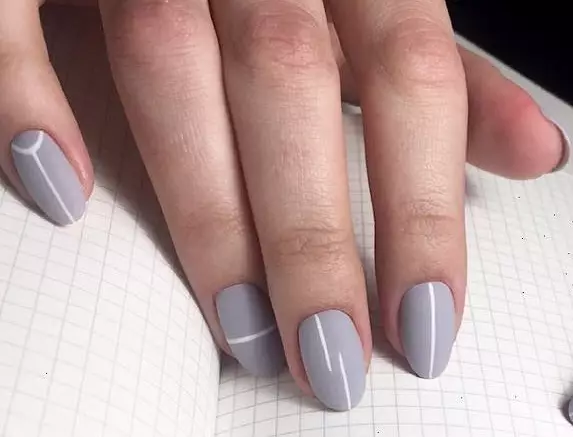

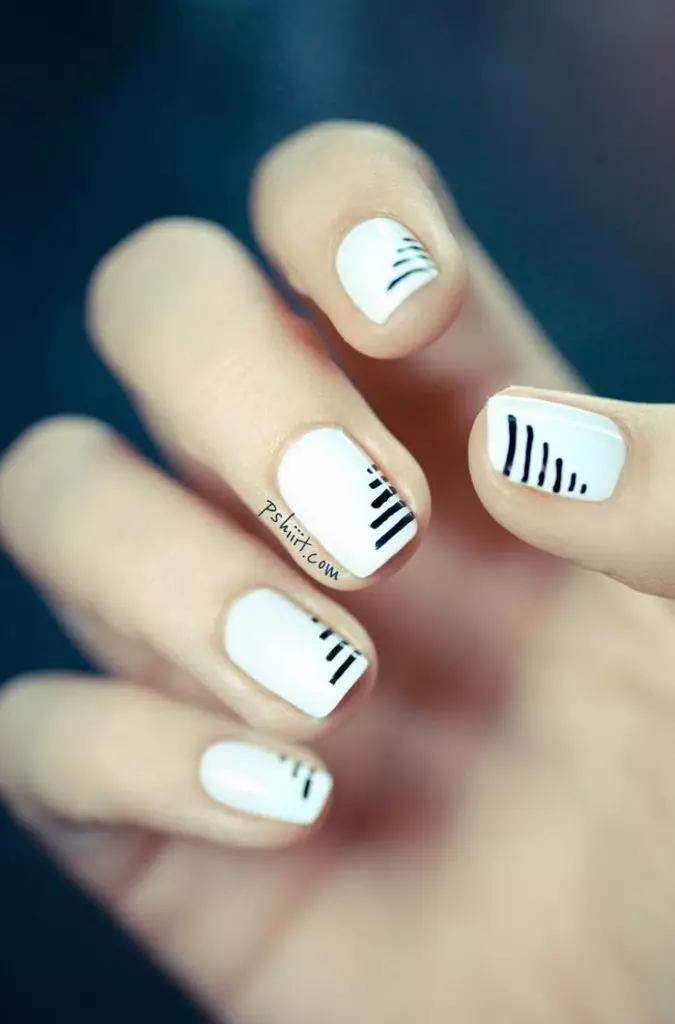
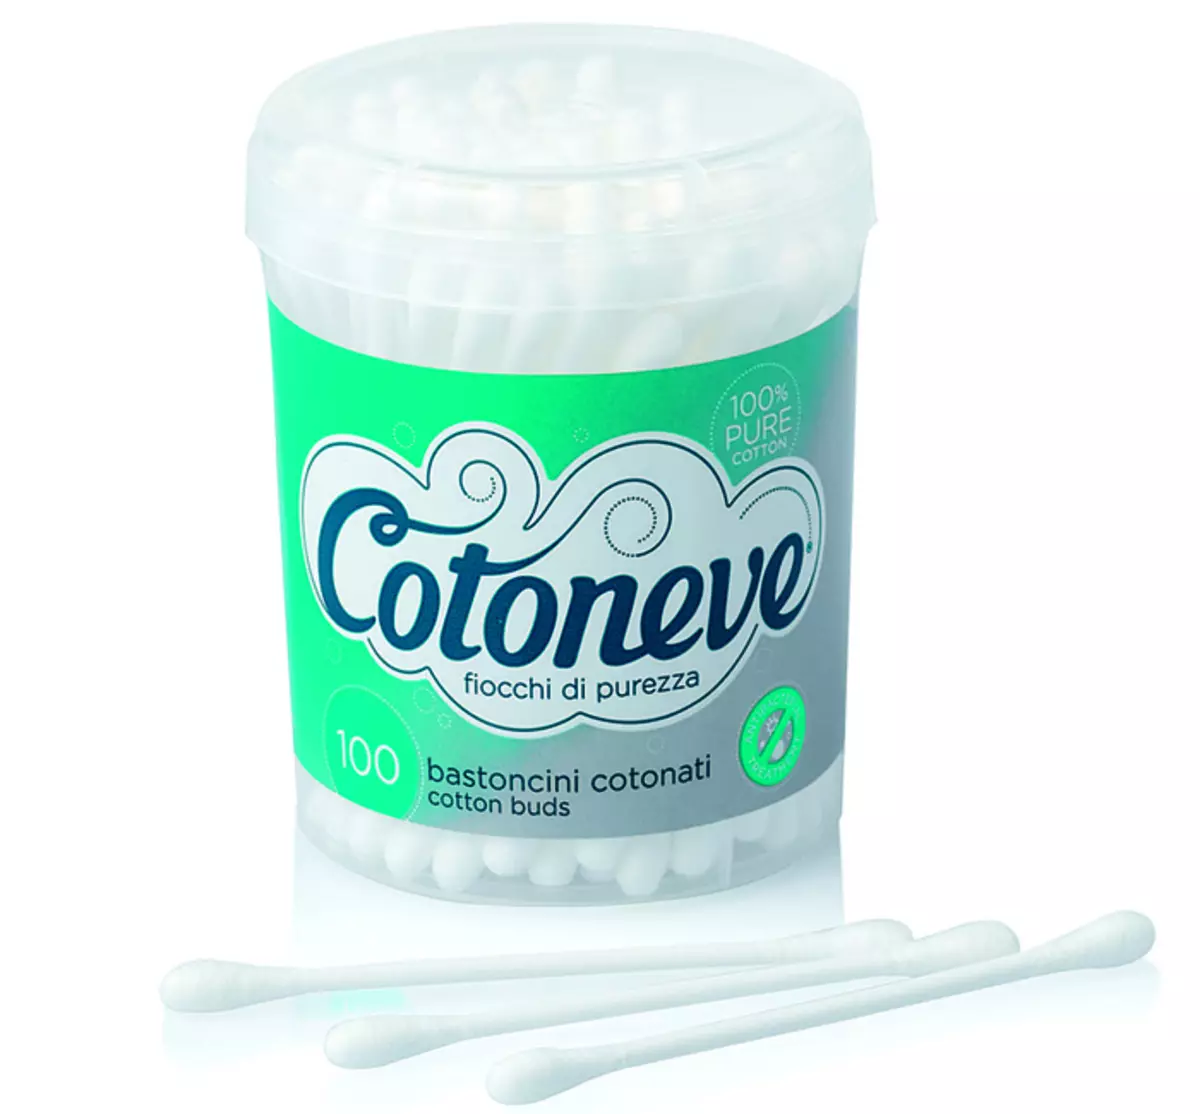
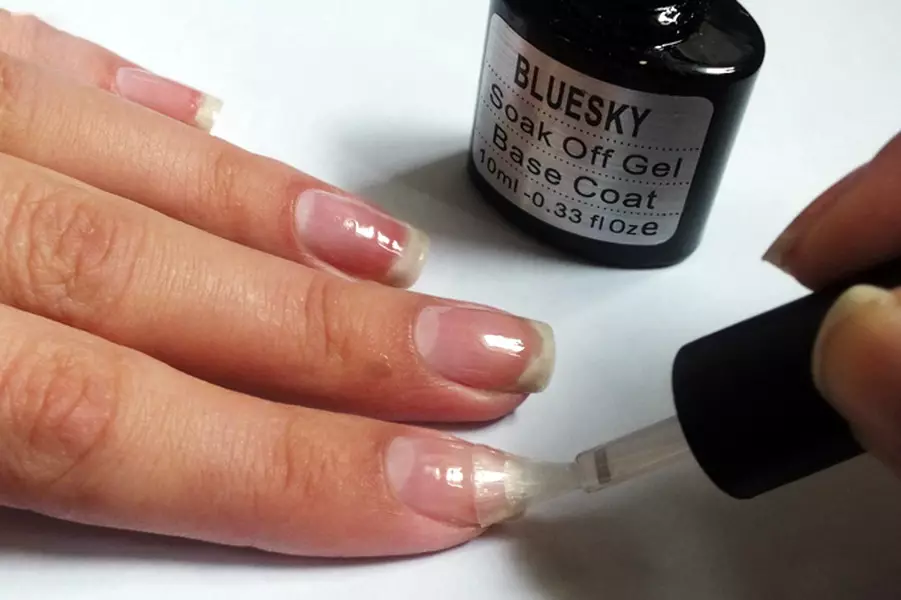
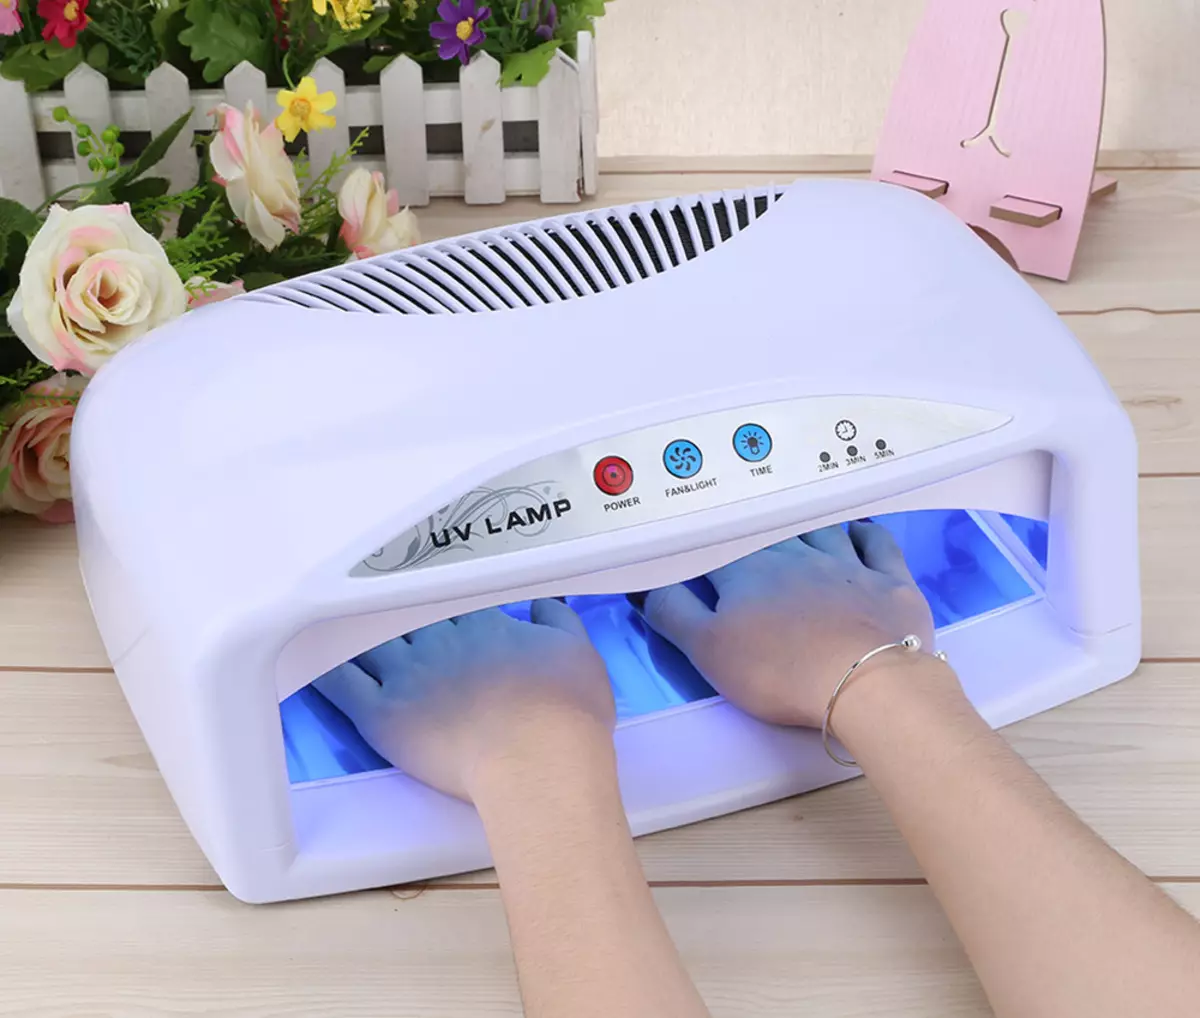
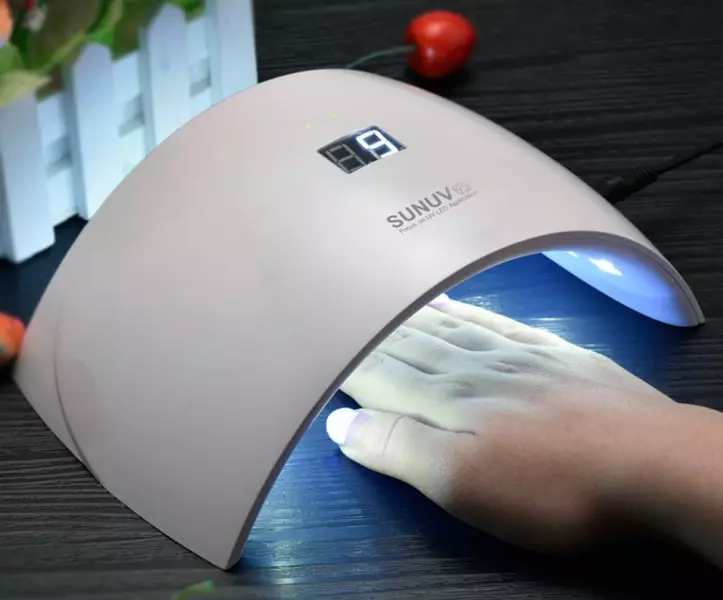
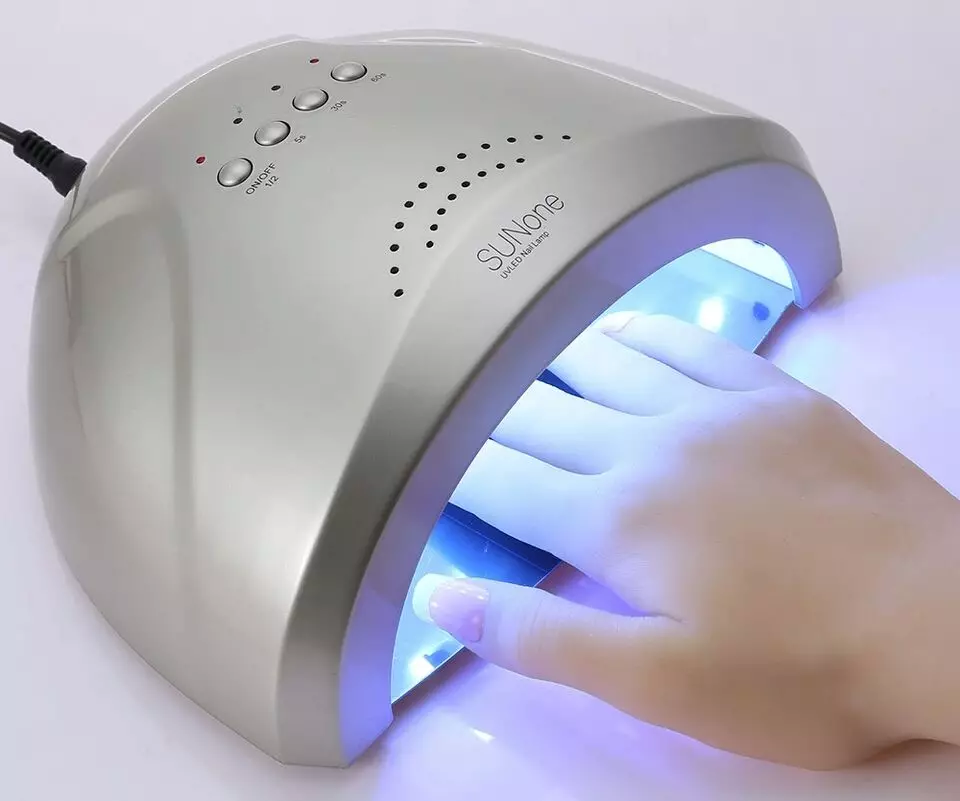
To embody a stylish design, you will need the basis, gel varnishes of a specific shade, a needle or toothpick, cotton wand and a lamp for drying the layers. If you want to create beauty on the nails yourself, it is worth starting with simpler drawings. Gradually, it will be possible to draw complex elements.
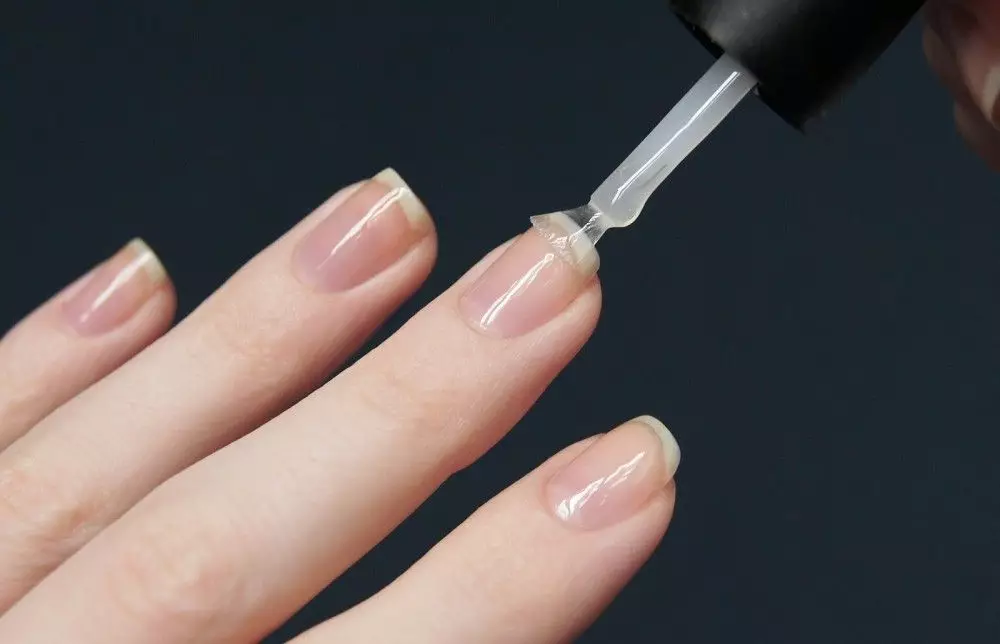
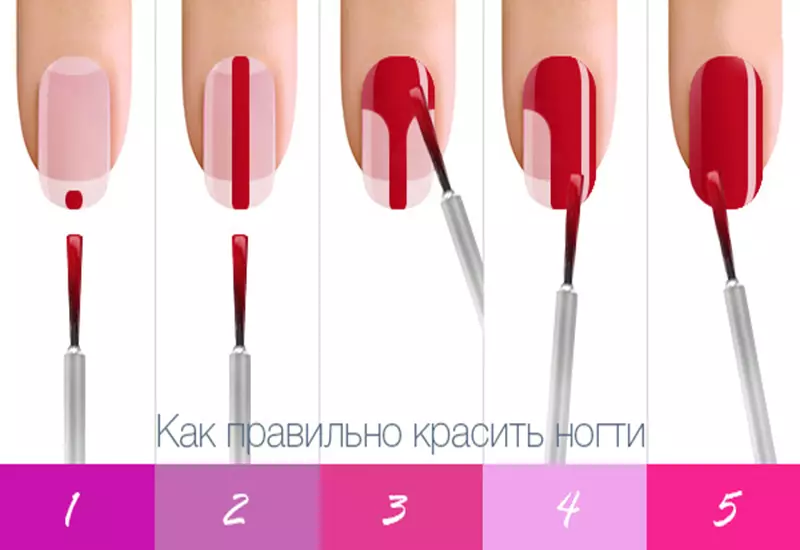
You should cover the nail plate the base and dried in the lamp. Then apply your preferred shade of gel varnish. Without giving him to dry, put three or four points in the center. Their location depends on the length of the nail. Take the needle and gently connect these points in a single direction. You can make a line from the edge to the hole and vice versa.
The finished drawing is first dried carefully under the lamp, and then fixed with the top coating.


There is another option. Mentally swipe the vertical line that will divide the nail plate in half. Each half should be painted with a certain color of varnish, and two fingers (for example, nameless and medium) paint different colors (for example, black and red). On the black half the red dots are affixed, and on red - black. With the help of a needle, horizontal lines from the heart point to the center of the nail plate are held. In this case, the line should be slightly underestimated. So you need to go through all the points.
Well, the easiest way is to put point in the line and connect them with the help of toothpicks on this technology. So that such an abstract drawing looks stylish and gently, the nails should be of the same length.


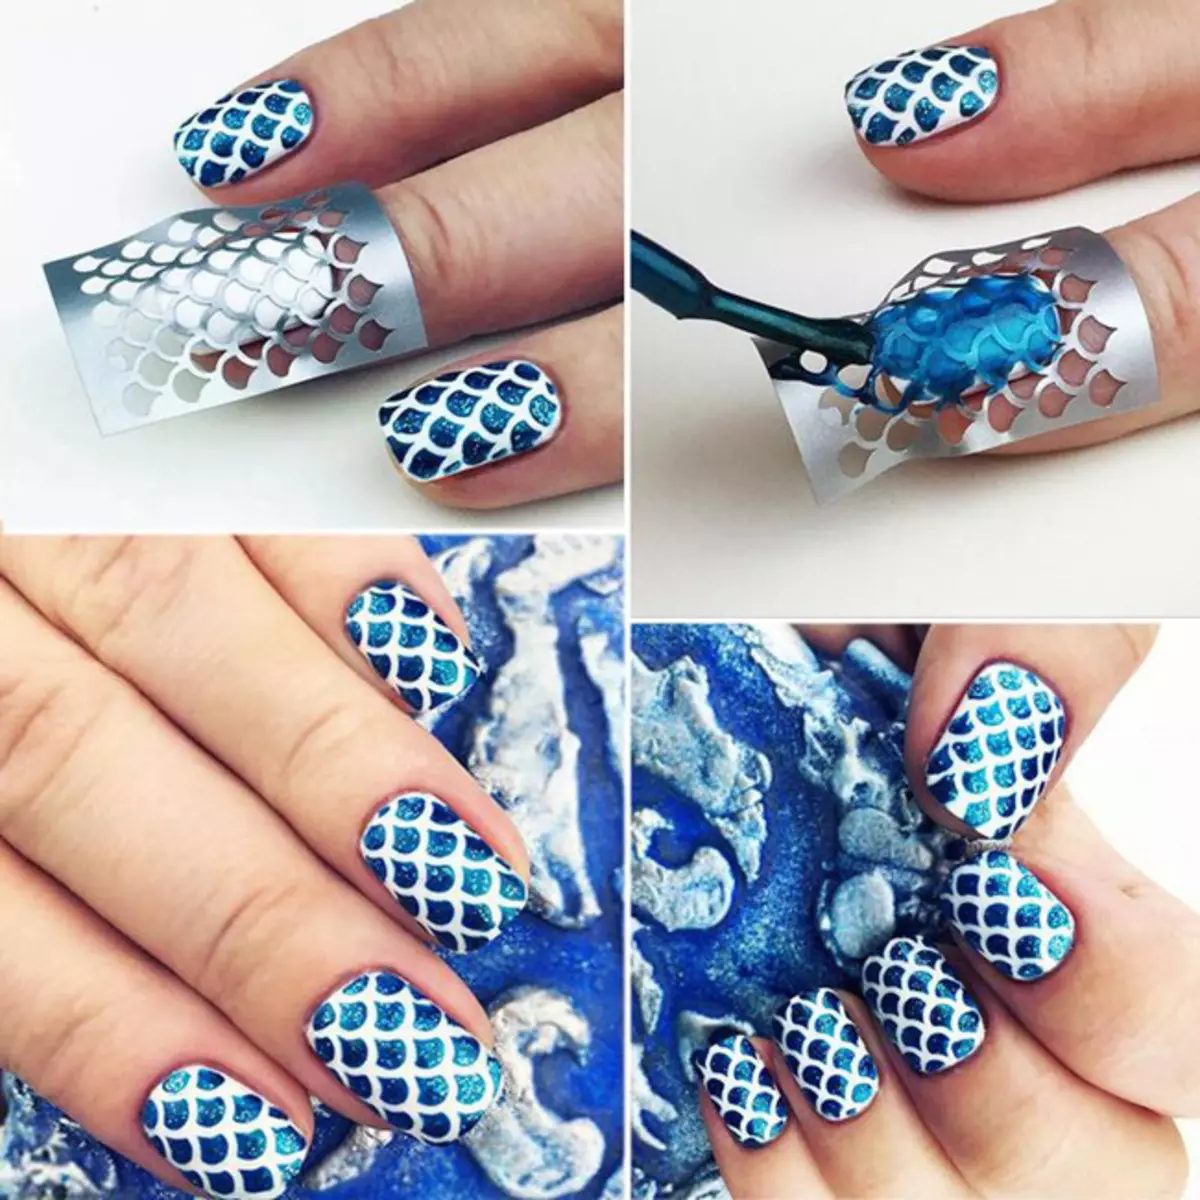
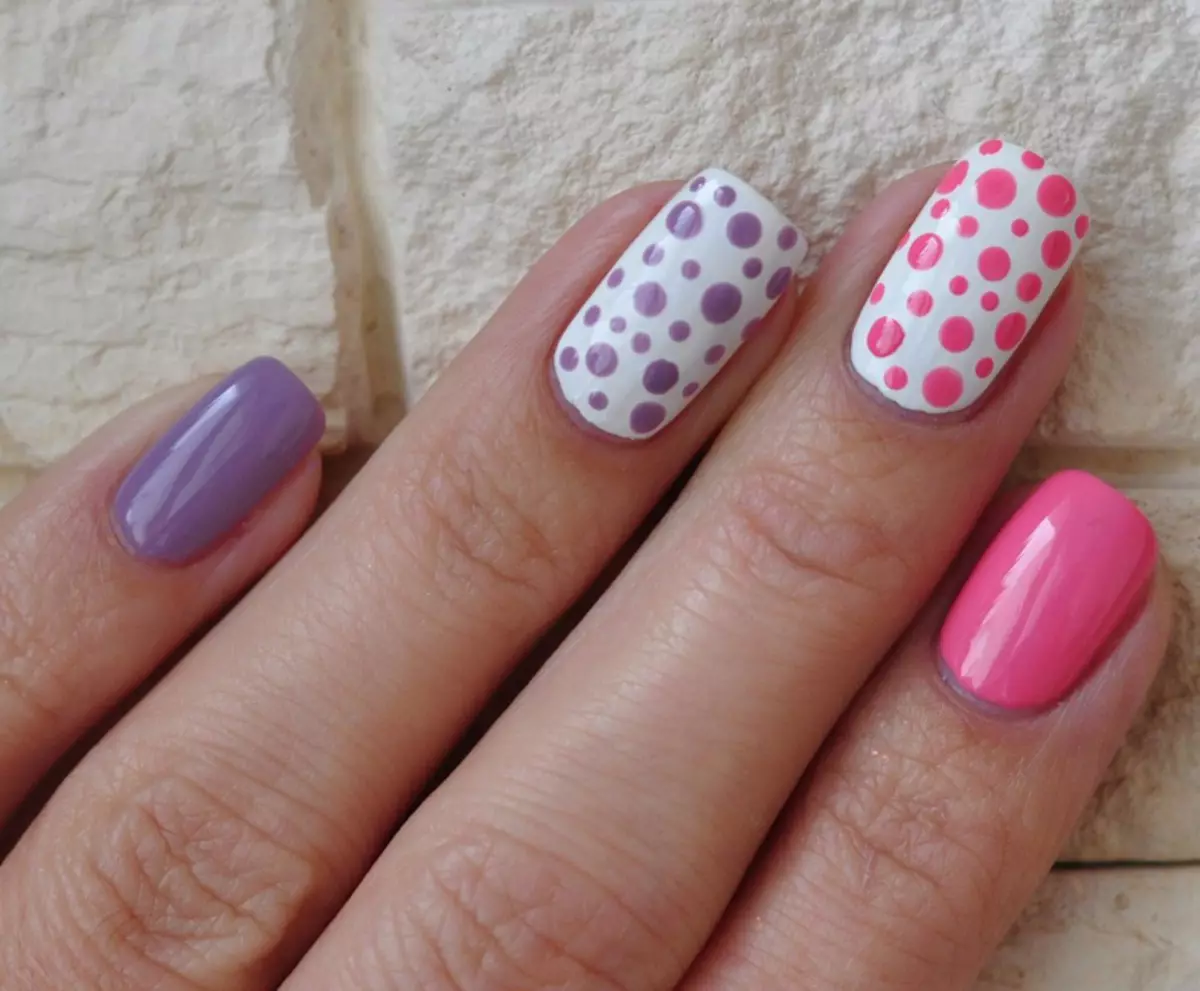
Spot technique
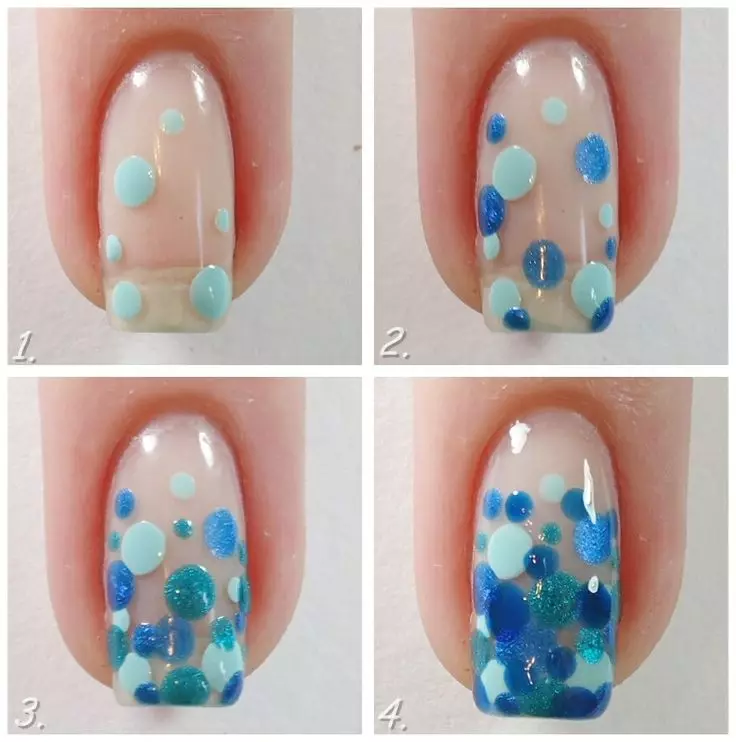
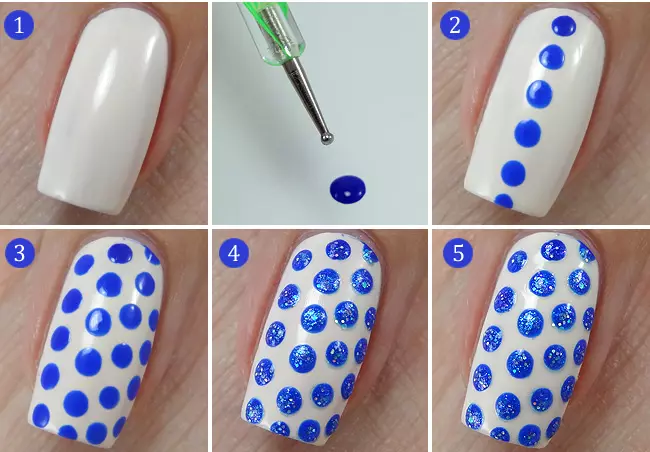
Before it is embodied, it will be desirable to practice several times, as well as pick up a suitable tool. You will need the foundation, gel varnishes of various shades, dots, foil, top covering. You can, instead of Dotts, choose a hairpin, pencil, handle. They will also help embody the conceived.

First, the basis is applied to the nails and fixes in the lamp. Then the nail surface is covered by the selected color. Conveniently apply white, blue, beige tonality. Also everyone carefully dry. We take a piece of foil and put the droplets of a red gel lacquer on him. Take Dots and with it put on the surface of the nail red dots, repeating the shape of the well.
After that, we wipe the tool with a napkin and repeat the procedure, but with another tint of gel varnish. And so to the end of the nail plate. Points can be different in volume. After the design is completed, everything succumbs in the lamp and is fixed with the top coating.

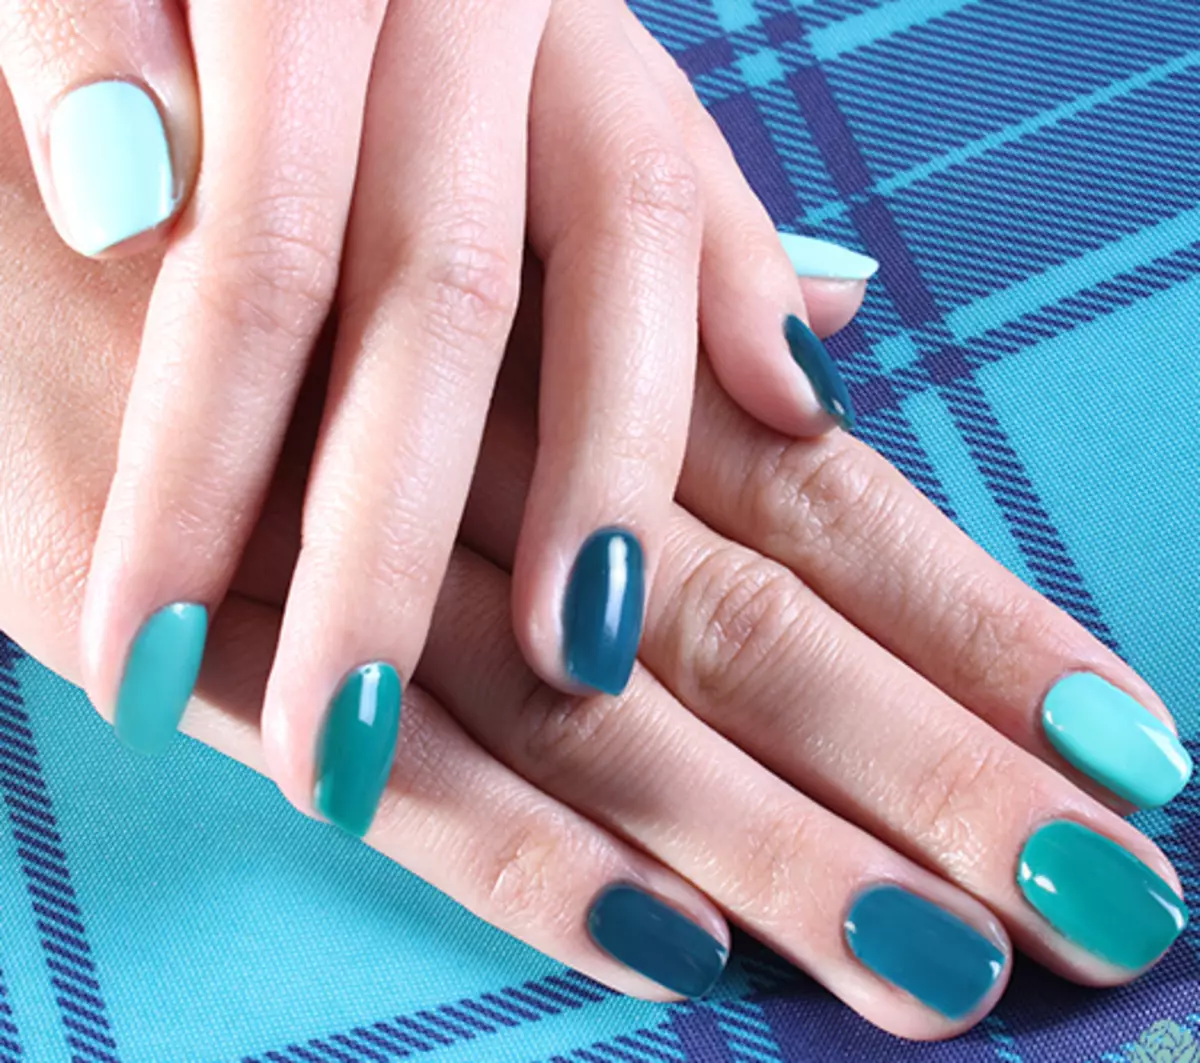
Gradient
Such an option is also easy to execute. You need colored gel varnishes, base, top, piece of foam rubber or sponge, foil, lacquer removal fluid, cotton wands, toothpick. Initially, apply the database and dry well in the lamp. Next, cover the nail plate with a gel varnish of the selected shade. He will be the main in our design. Let it be brighter gamma.
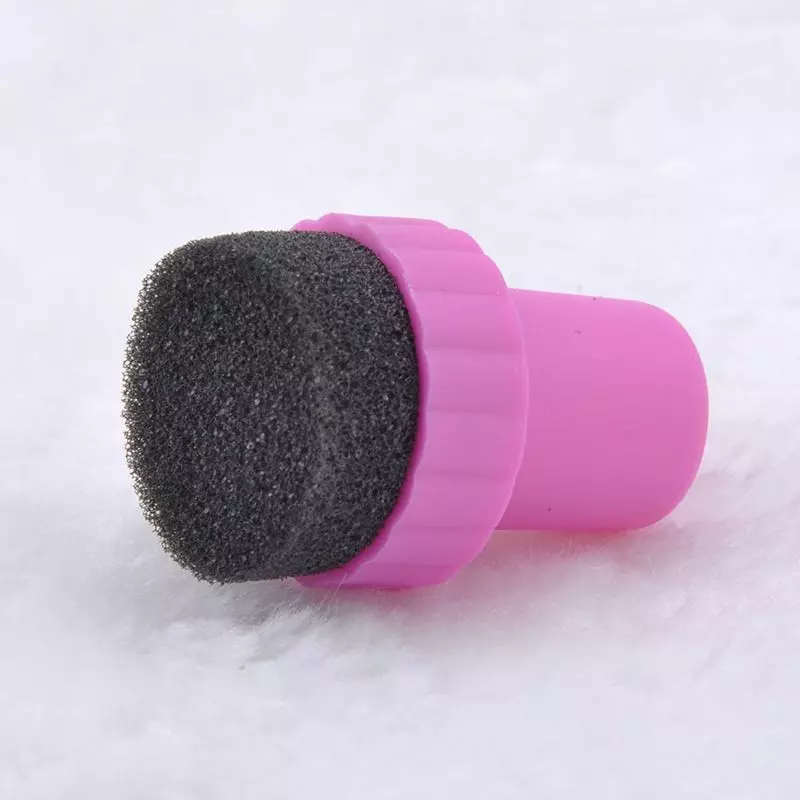

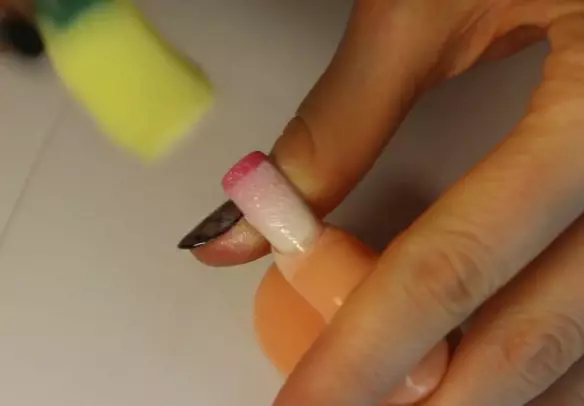
Then the foil is taken. Caps there with gel varnish darker or saturated than the base. Now plunge the sponge into the lacquer and apply it to the surface of the nail, pressed, but not much. If you want to use not two, but immediately a few shades, then the next color should be applied.
Take a cotton wand, moisten it in a special solution and remove the excess varnish on the cuticle and on the side rollers.
When the design is fully ready, it is fixed with the top coating and dries in the lamp.


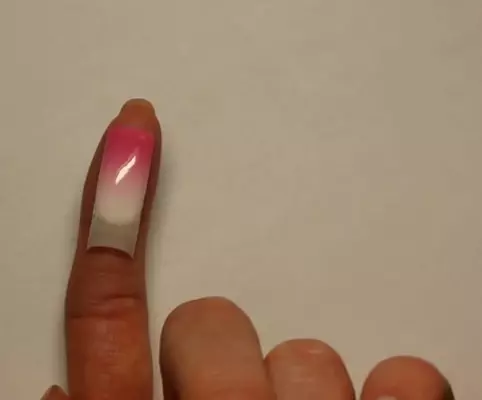
You can make a flow from one tone to another and a little different way - to a piece of foil immediately apply the desired colors. With the toothpicks, achieve a mixture of one shade to another on the border. After that, plunge the sponge into the gel varnish and move the color to the surface of the nail with rapid and clear movements. The remains of the varnish are also removed, the top is applied and the composition is dry in the lamp.

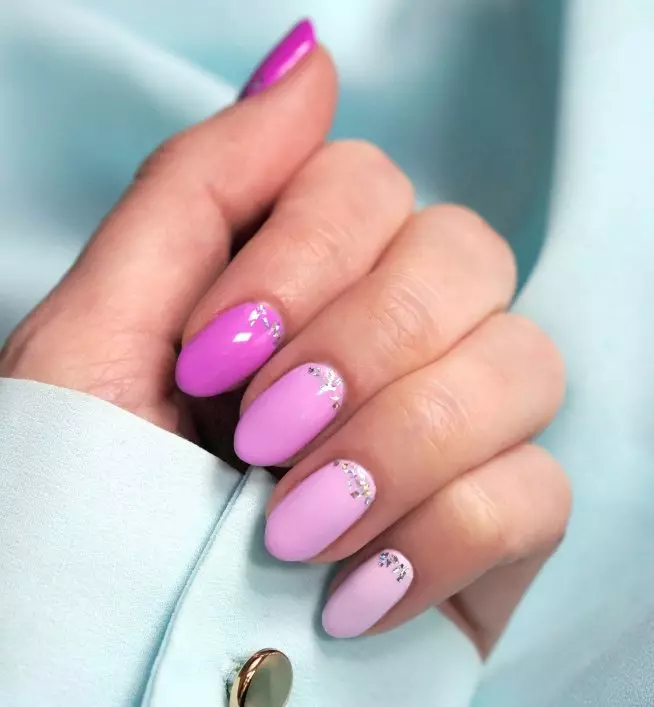
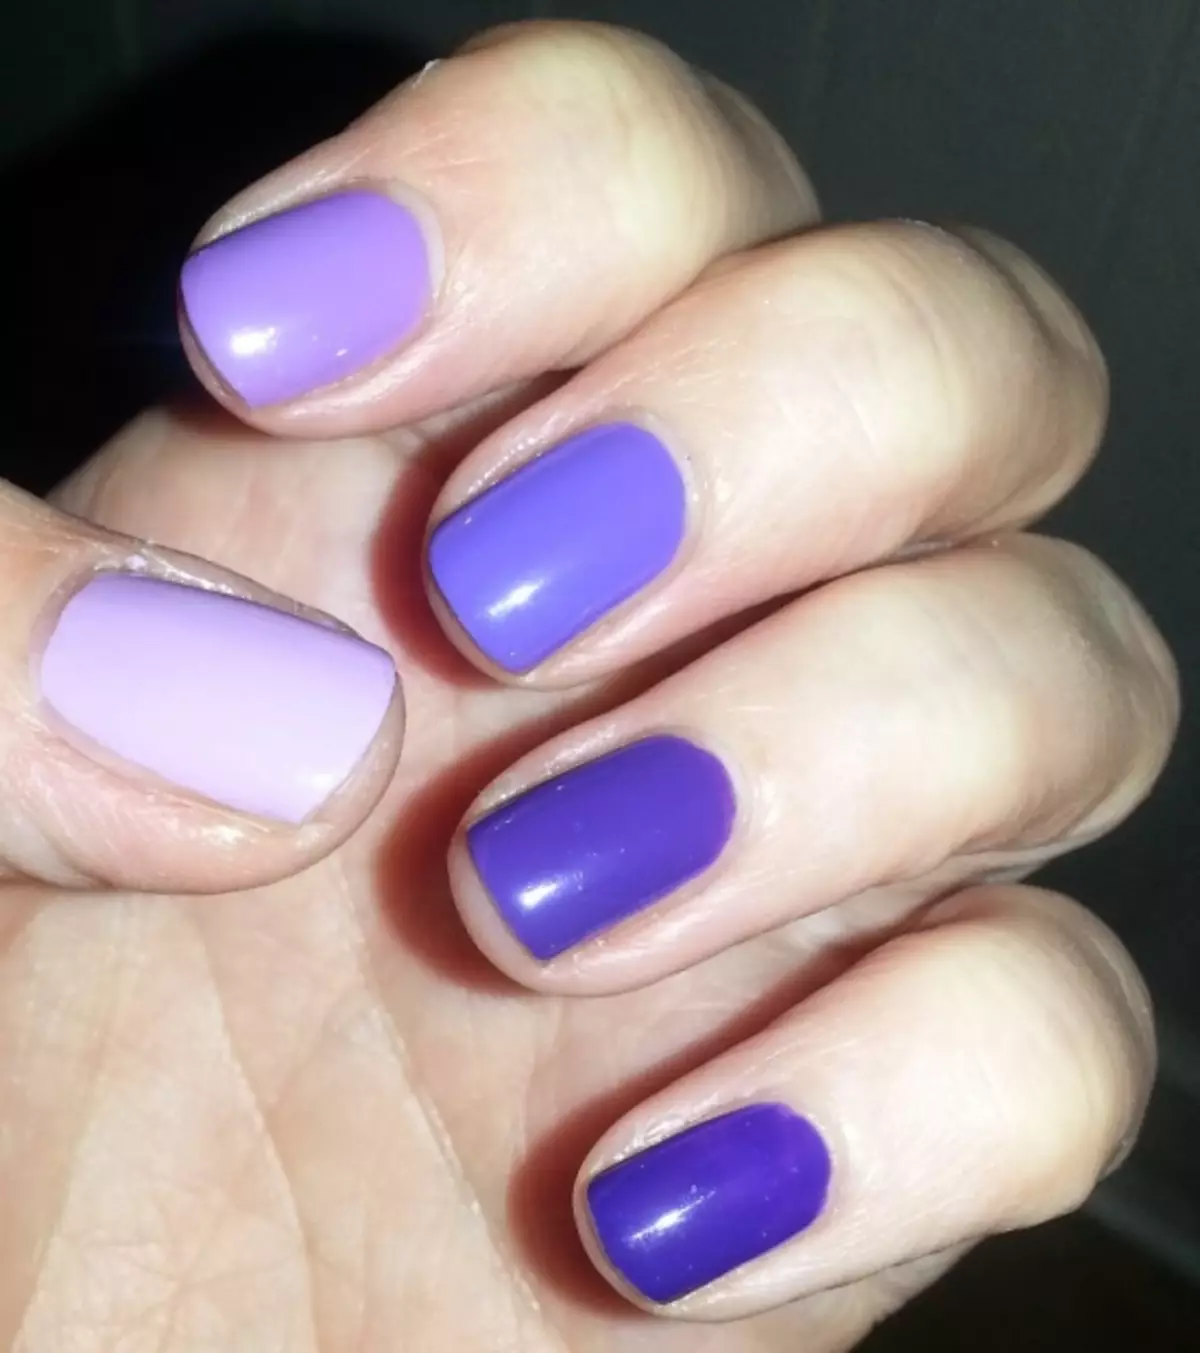
You can make a gradient immediately on all your fingers. To do this, you need a darker color to cover a thumb or a little finger. The rest of the nail plates will have a slightly lighter of this primary color. To do this, we mix the white gel lacquer to the base shade. All this is done on the foil. The colors are mixed well, and then applied to your fingers. So even one-photon coatings will look fashionable and attractive.
With tulle
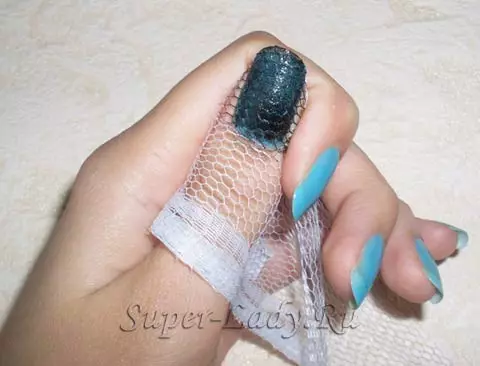
An interesting and creative moment for inexperienced neil masters will be to use a piece of ordinary tulle or lace. So you can create an attractive marigold decor, make them stylish and gentle. Bursted with gel varnishes: base and finishes. Also be poisoned by beautiful lace with the pattern. Cut the same strips with similar images to not spoil the entire composition.
First, the base is applied, fixed in the lamp. Apply the lacquer of the selected shade on the nails, which will be the basis. Now you can go to the design. Take an elongated piece of fabric, hold it with your fingers and press the lace to the surface of the nail. Over it, apply varnish and quickly remove the material so that the lacquer does not have time to grab, otherwise the whole picture is lubricated. After the composition dryness, apply a fixer.


Drawing Master Classes
You can draw at home at home easy and simple. The main thing is to be patient and good devices. First, it is necessary to use simple options for the embodiment of a personal Neil Art. Gradually, you will expand the boundaries of your skill and move to more vectors. You can find a variety of lessons and master classes for detailed drawing items. Follow them clearly and you will get a positive result.
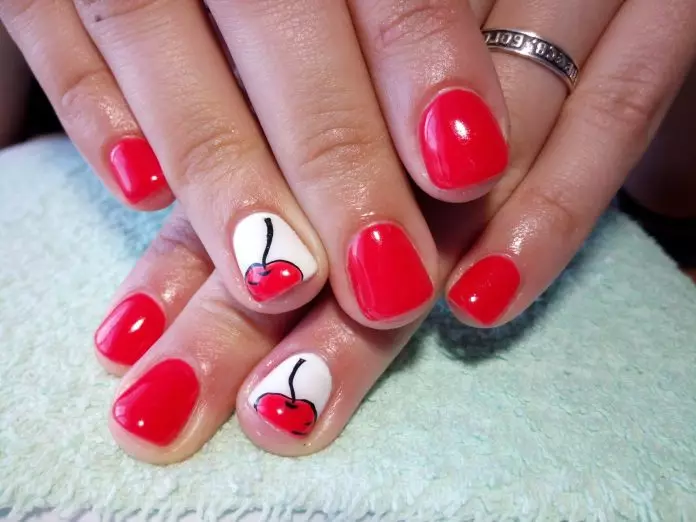
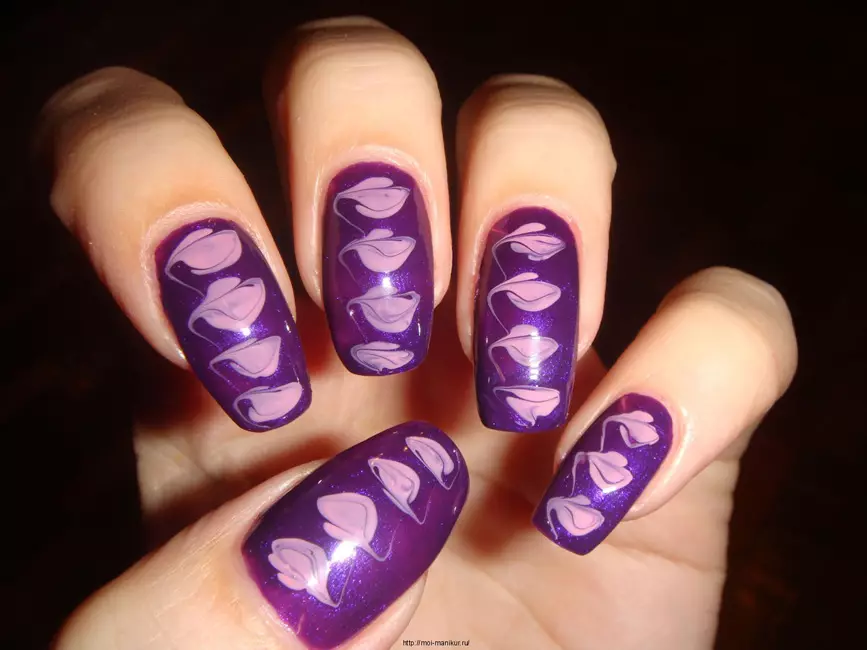
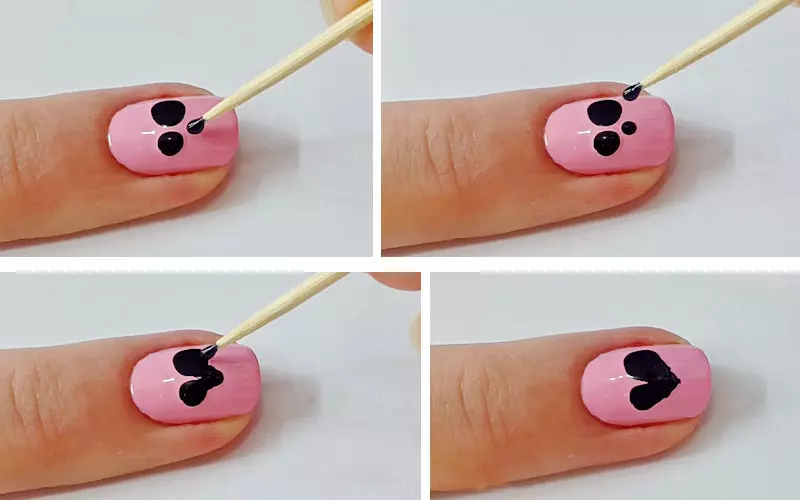
- Hearts. Created by toothpicks. In this design, the main thing is exact movements and good light. Initially, the base is applied to the fingers, which is polymerized in the lamp. Then the nails are covered with a suitable tint. We take foil and put the droplets of the selected gel varnish, which will be created by hearts. The toothpick is affixed on the nail point next to each other. From each marked down, pull the strip under the tilt so that they are connected. So you can get a beautiful heart.
Upon completion of the design, the nail plates are covered with the top and dried in the lamp.

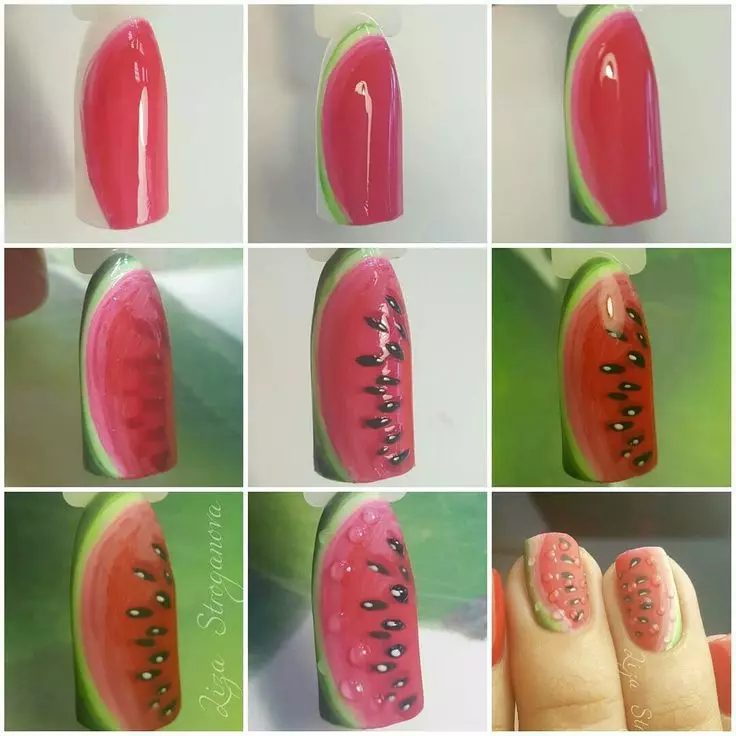
- Watermelon. To create such a drawing, you will need suitable gel varnishes and brush. Cover the nail pink tint. The edge of the plate is framed by a green strip. A thin strip of a white shade is drawn over it, and then black dots are arranged over the entire nail plate, which symbolize watermelon seeds.

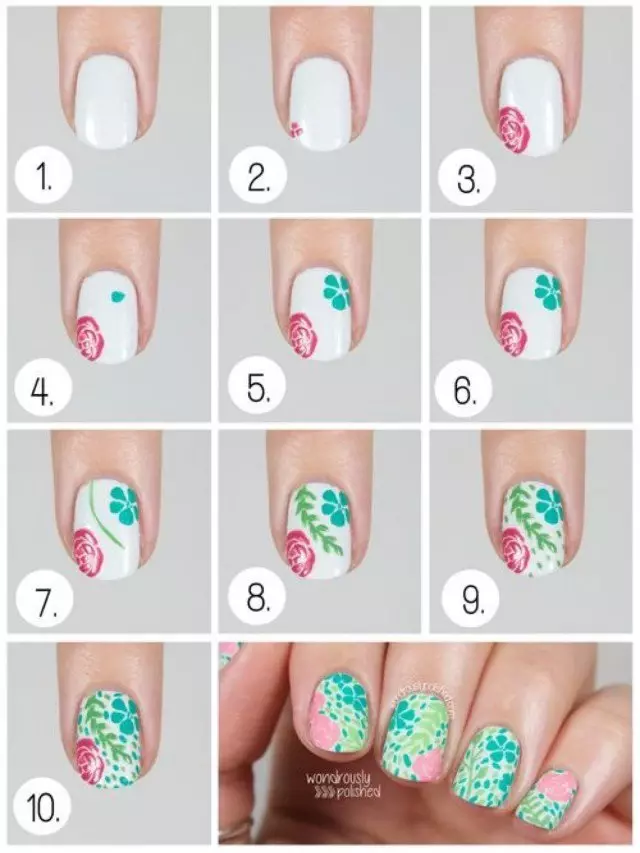
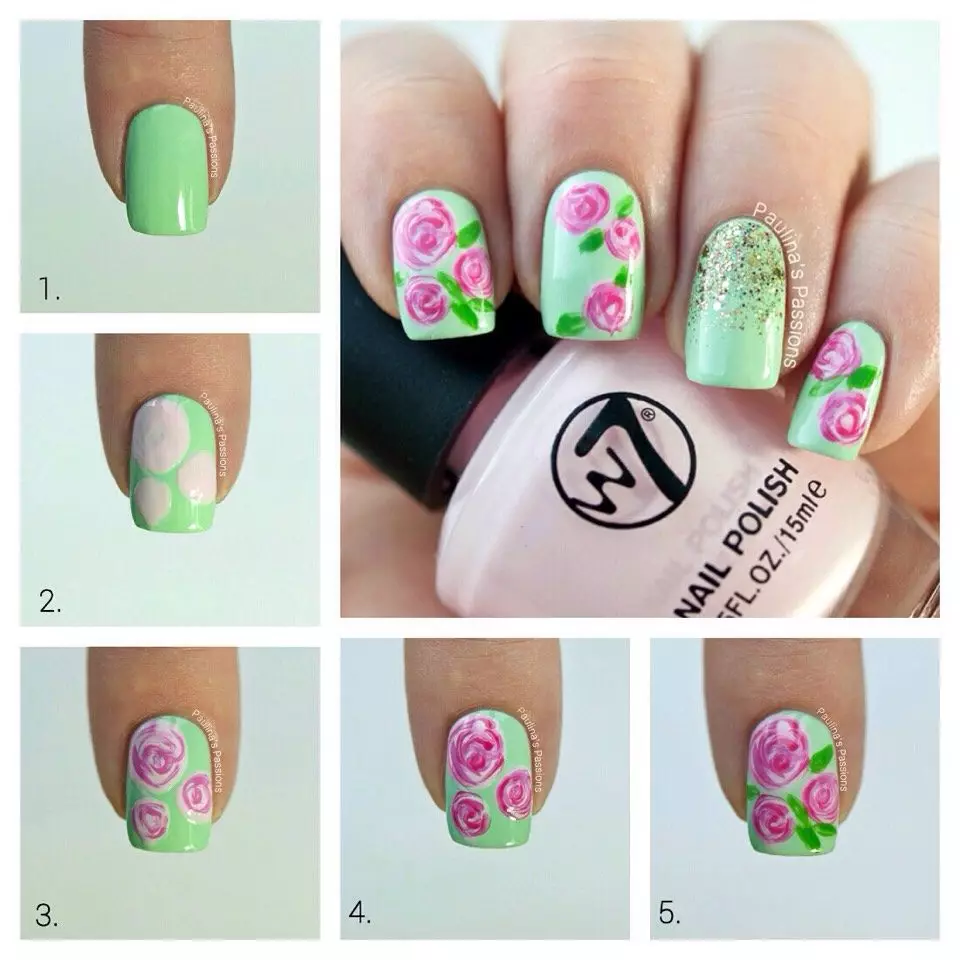
- Floral patterns. Draw flowers is also quite simple. At the same time, such compositions look spectacularly and attractive, suitable for any dress and any event. You should be patient and preferably for the first time. Initially, the nails are covered by the base, which is well dried in the lamp. Then you should cover the nail plate with a light shade with a gel varnish. With a toothpick or needles, put the point on the marigold. It will symbolize the middle of the flower. Remove the remnants of varnish from the tool. After that, around you need to place points, imitating petals. With the toothpicks, swipe from the petals to the center. So you can make the required number of floral elements. After the design is completed, everything succumbs in the lamp and covered with the top.


Secrets and tricks
Do not be discouraged if you immediately could not carefully embody the selected Neil-design. It will be necessary to take off a couple of times to feel confidence and gain creative nails. Making the entire procedure should not be hurrying and carefully. If you are a novice specialist, then only the preparation of your hands can take a long time. Do not hurry. The speed itself comes with experience. Better initially do everything slower, but better.

Do not neglect the preparatory procedures. Nails and fingers must be perfectly processed before they are applied creative design. Non-accurate nail plates look not only unmodest, but also vulgar, even if they are the most stylish drawings. Be sure to organize your workspace. This also depends on the quality of the procedure. The table should be spacious, where all the necessary accessories for manicure are seen. It must be light, otherwise you will simply not notice small nuances of the design.

No one and nothing should disturb you.
Put the nail plate follows only in one direction. This will avoid cracks and fragility. At first, perhaps, it will be unusual, because we are all accustomed to sawing your nails in both directions. But it is worth reading, and you will quickly get such actions. A positive result will not make himself wait.
You should not take the gel varnish before applying. So bubbles may appear that will create obstacles to create a smooth coating. Apply the coating with a thin layer. It will be better to make several thin layers and dry each in the lamp than one thick, which will spread and cause an inaccurate manicure.

Experts strongly recommend capturing the edges of the marigolds when painting. So you can avoid chips, and the stylish manicure will delight for a long time. Be sure to use the fixer. It gives the coating not only glossy shine, but also guarantees durability and durability (of course, if all the rules of manicure are observed).

All layers are good to dry in the lamp. From this will depend on the clarity of the pattern and the resistance of the entire composition. To remove excess gel lacquer, you need to use a special tassel for Neil Art. It will help carefully clean the skin and retain an attractive view of the hands.

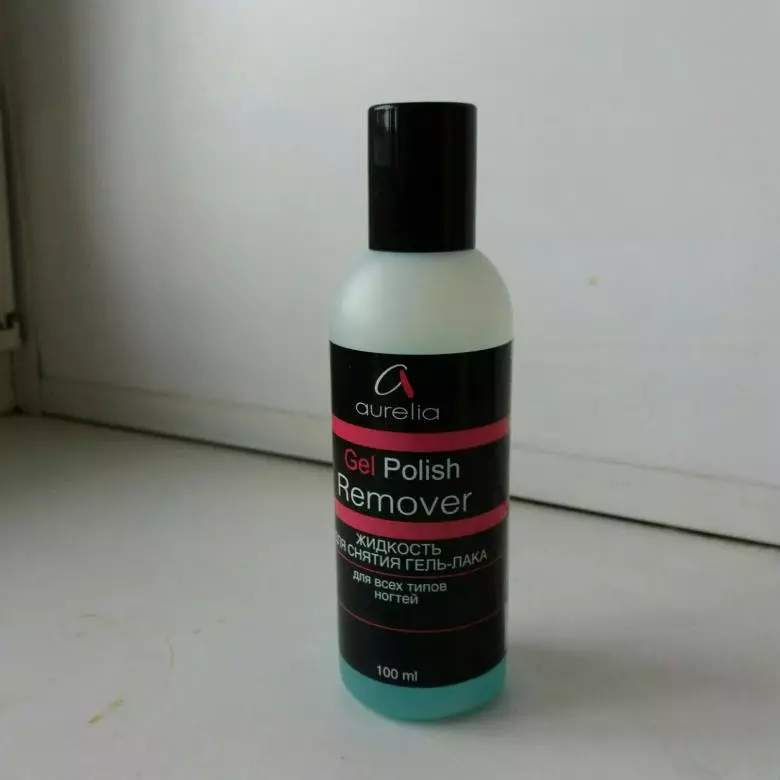
It is better to shoot gel varnish with professional agents. Do not use the Filka. In inept hands (and often in skillful!) It is capable of injury to the nail coating. It is better to protect yourself to avoid negative consequences.

If you wish to create a unique decor, but do not have due experience, it is standing with simple drawings. You can also use undergraduate tools: stencils, stembling, decor elements. They will help create a creative manicure.

An important point is also high-quality materials and tools. Do not take overdue gel varnish. It will not lead to due results. Qualitative means are more persistent. When drawing decor, pay attention to the nail surface. Do not plan multiple drawings to nail plates. It will look ridiculous.
It is better to emphasize several fingers.


Beautiful examples for inspiration
Creating your creative manicure, do not be afraid to experiment, revealing individuality. You can supplement those examples that you have seen, your workshops, use the remedies for creating a creative decor. Here are some examples.
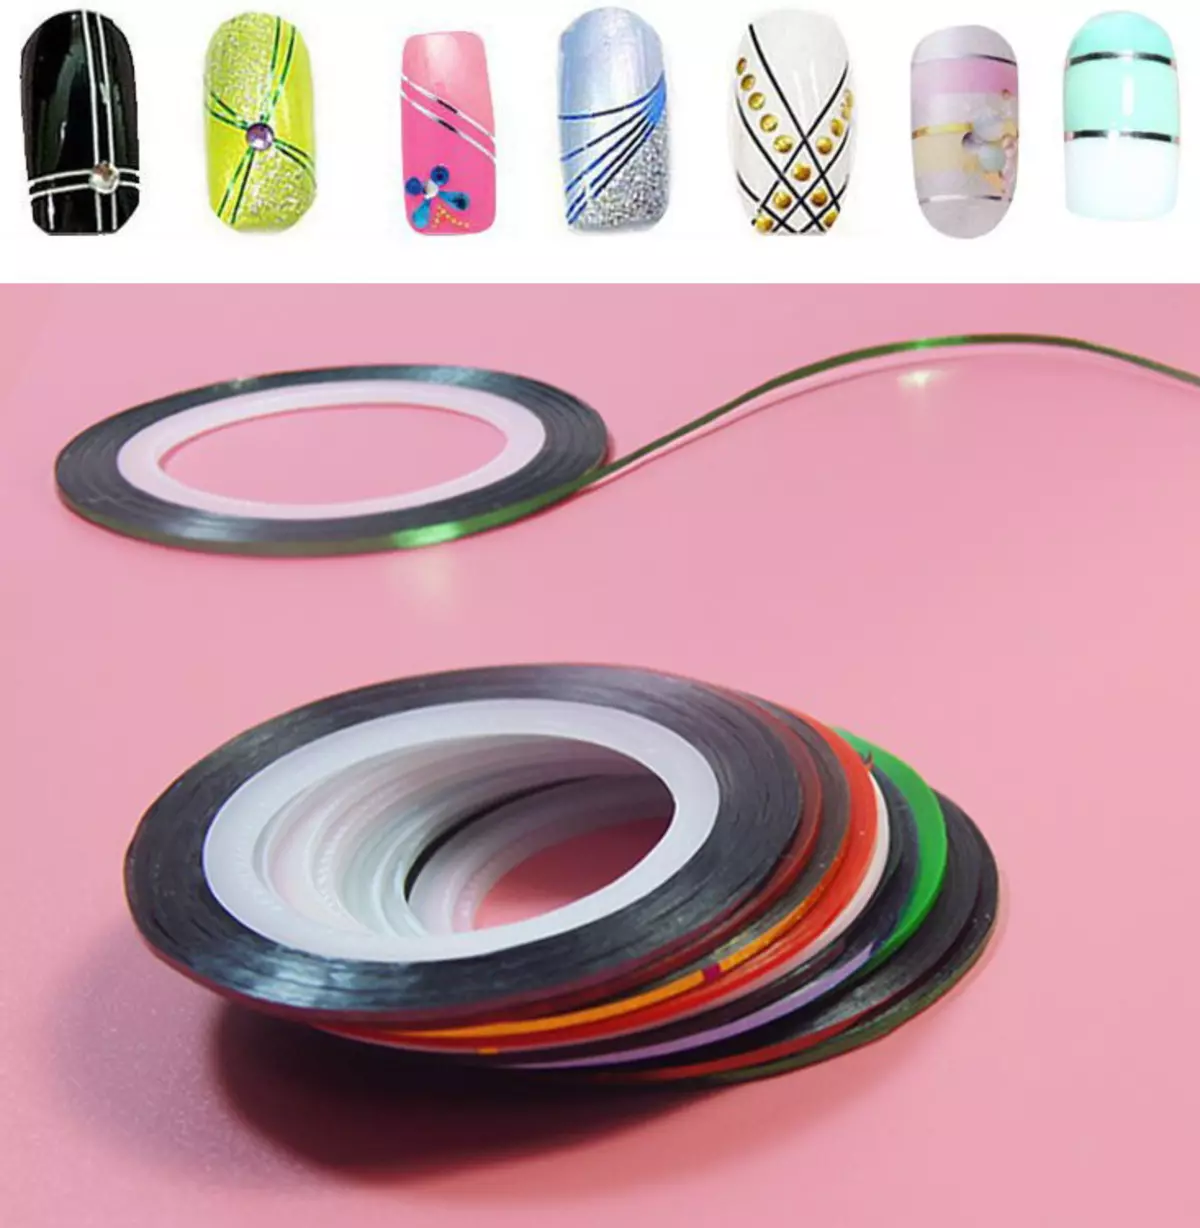
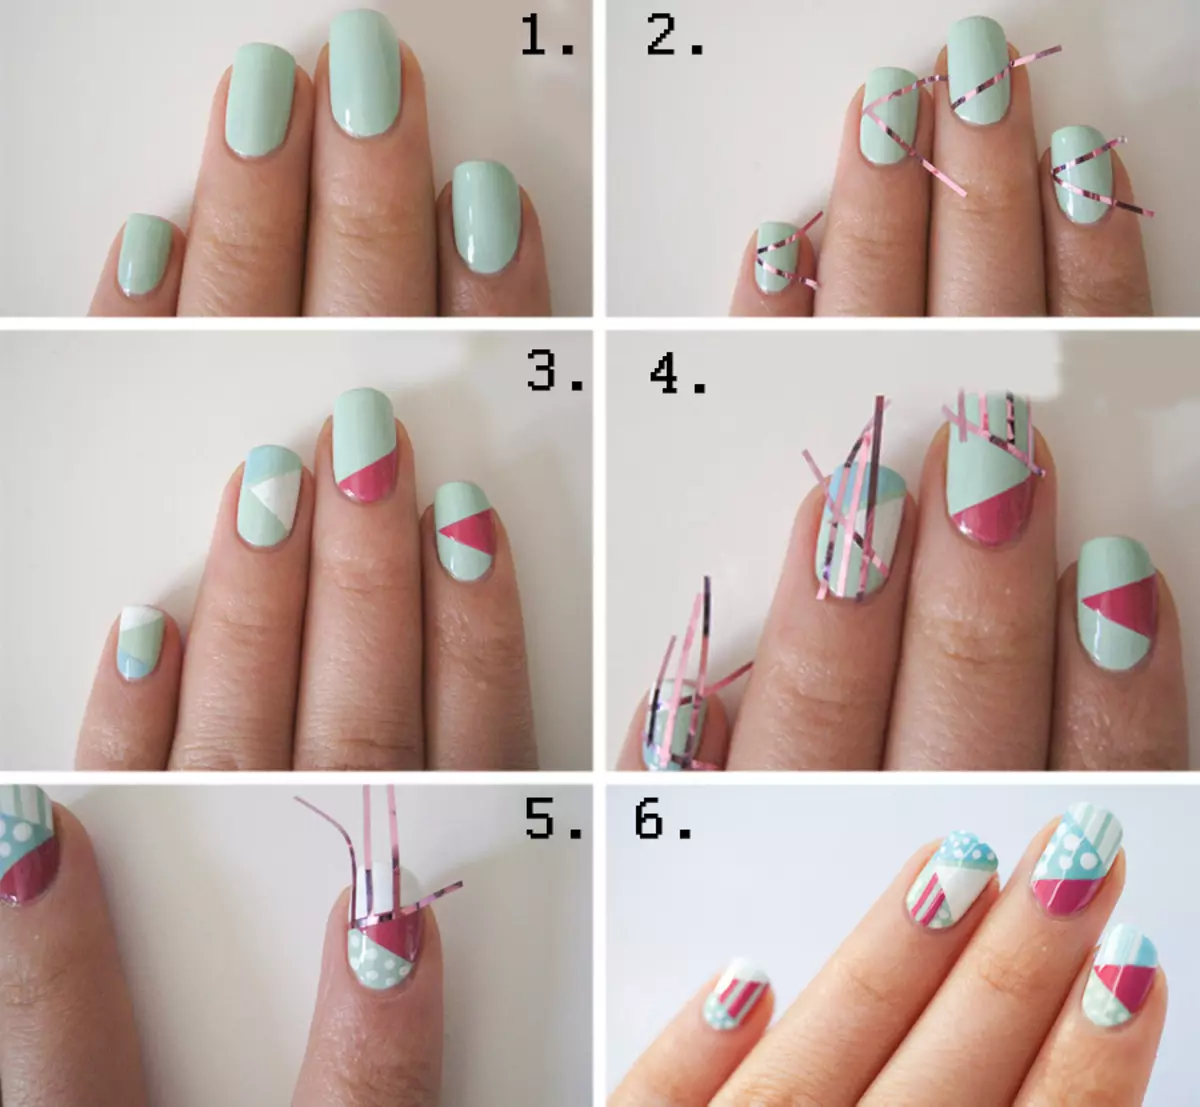
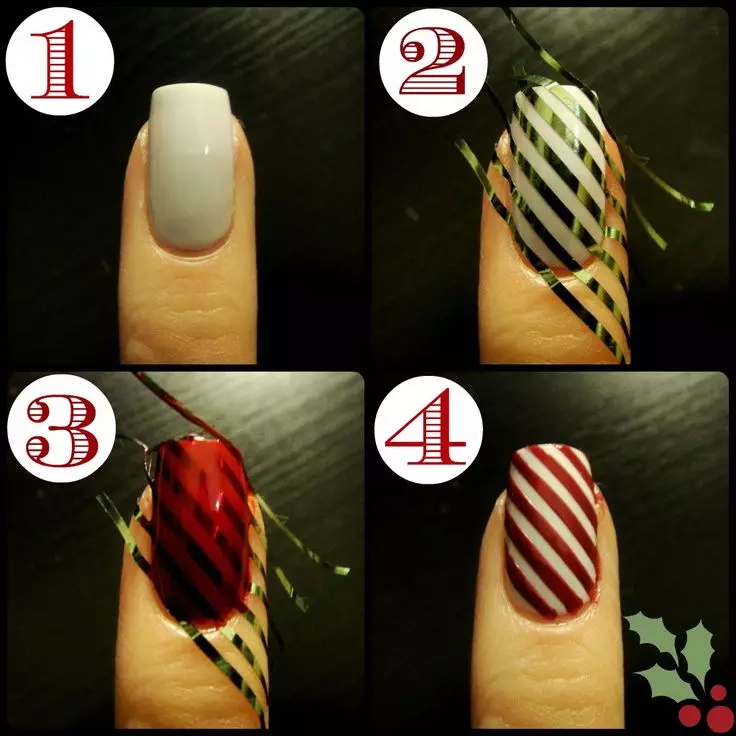
- Geometry. For this design you can use the usual tape. It is better to start with the simplest geometric figures. Initially, it is necessary to apply the database and dry it in the lamp. After that, the shapes of the desired form are cut out of the tape with sharp scissors. Use tweezers to stick them on the nail plate. From above, cover all with different color. After the lacquer dries, you can remove the tape and all cover the finish layer.

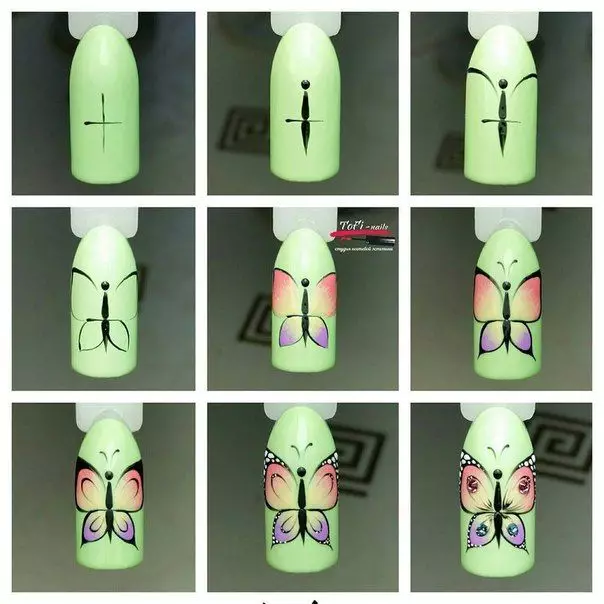
- Butterflies. Beautiful and unusually watch multicolored butterflies on the nails. They can be decorate all fingers or focus on one. Nails are covered with a base layer and are thoroughly polymerized. After that, cover them with the main selected color of the gel varnish. On the nail plate we apply five points with white. The biggest is put in the center. Now with the help of the brush, draw wings, torso and mustol. So quickly you can create an attractive butterfly without much effort.


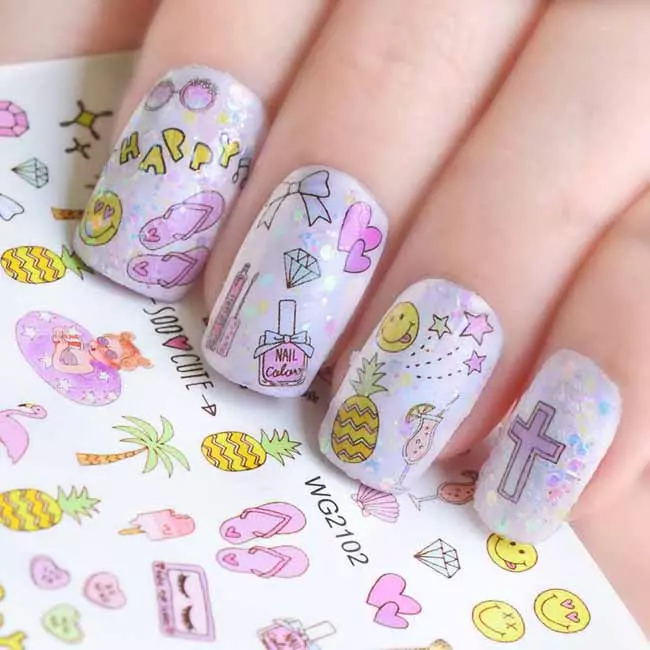
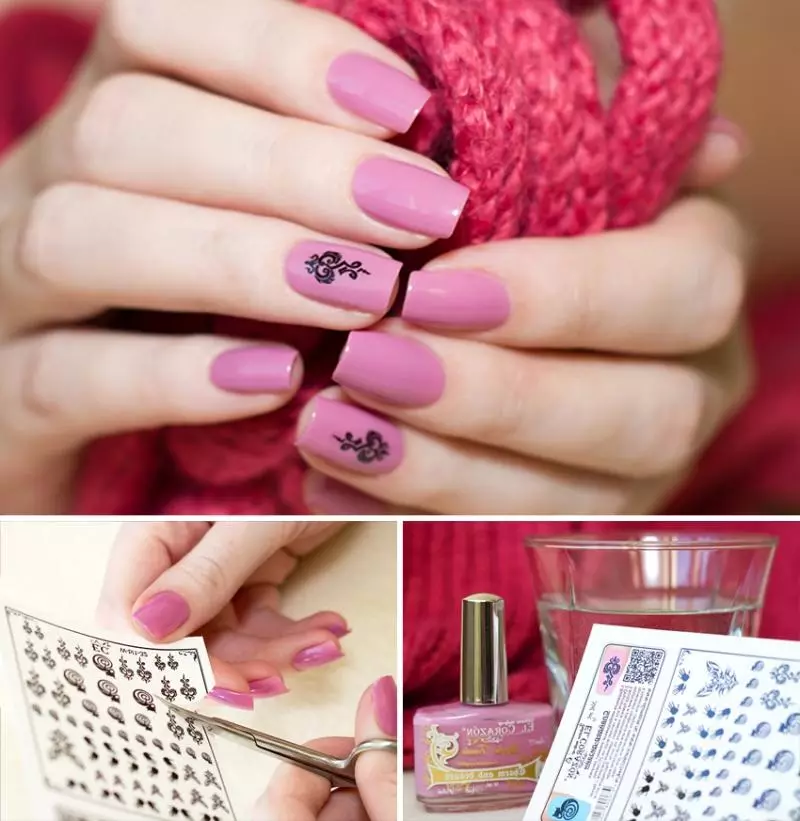
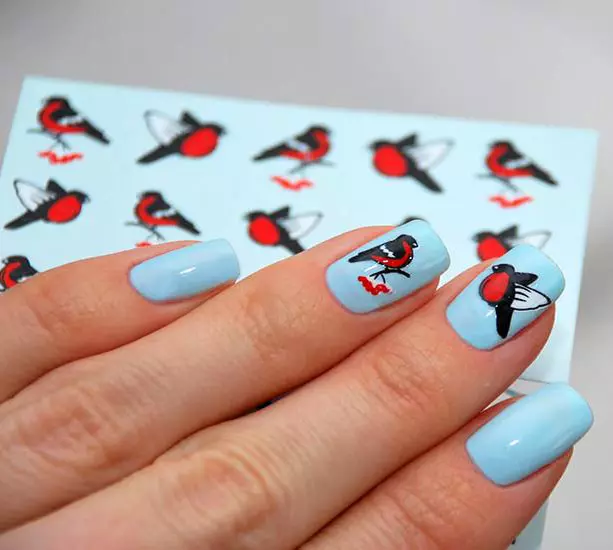
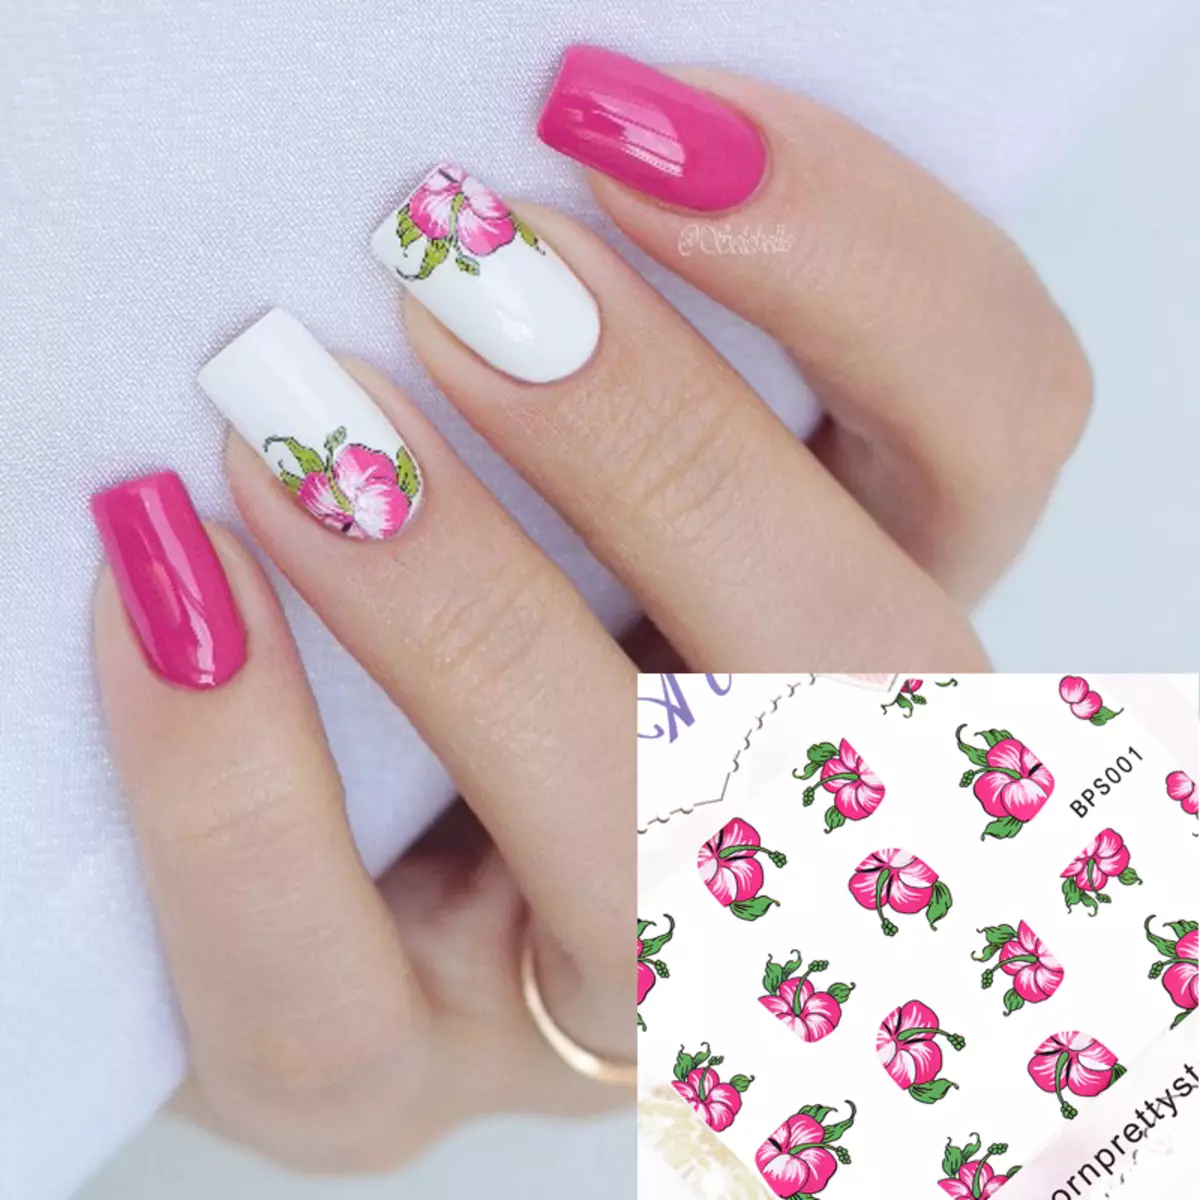
- Pictures with stickers. Interesting, spectacular and simple option for beginners. You can buy a wide variety of stickers on a transparent basis and hoisting them on your fingers. It can be sliders, thermofilm, translated-and there is a lot. After that, everything is covered with a top layer and dried in the lamp. Such simple options can decorate any image.
In this article, we looked at how to create simple drawings with gel varnish to beginner specialists. Follow the step-by-step selected instructions and you can get the desired result. Do not forget about the quality of materials and tools. Your manicure will also depend on them. Do not be afraid to create and experiment, gain experience and embody the most creative ideas!


On how to make simple drawings on the nails, see the next video.