
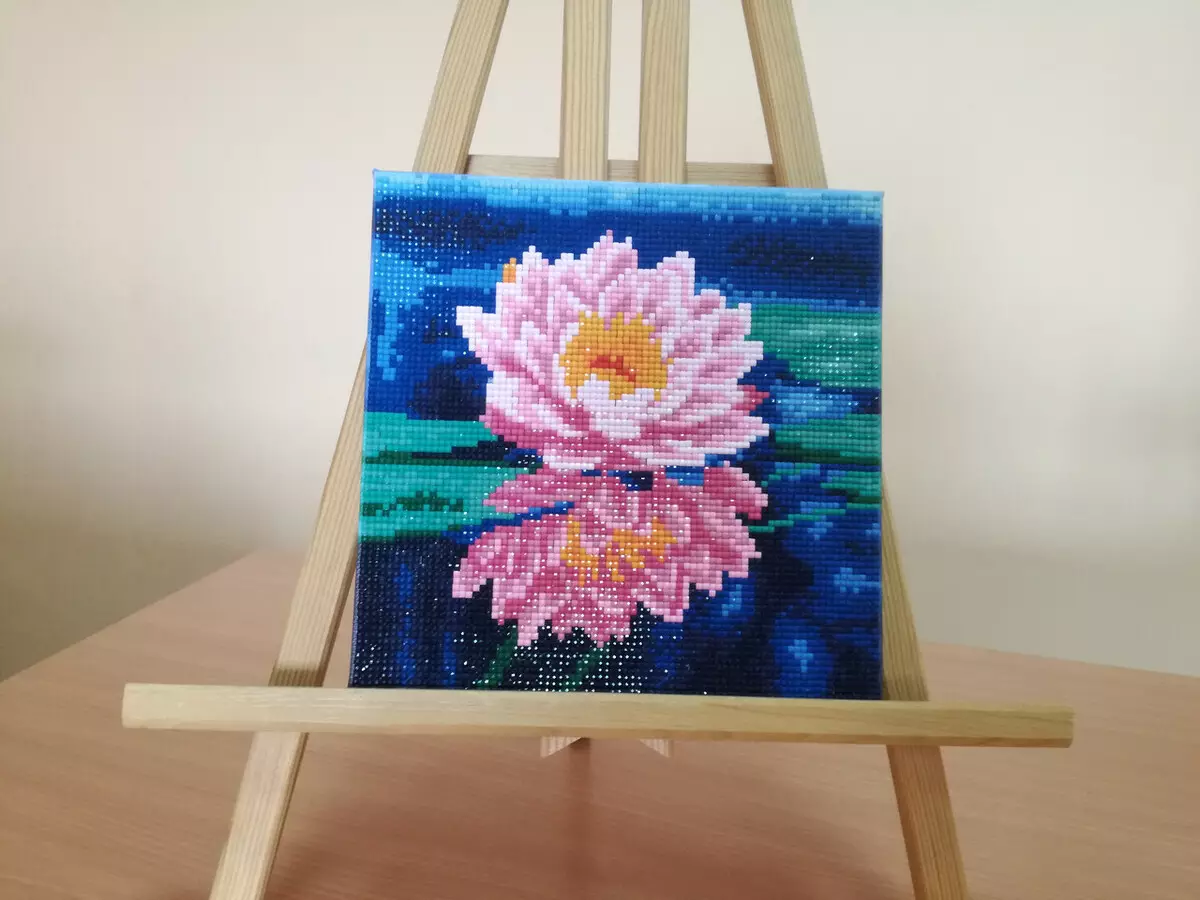
Diamond embroidery is a popular view of a needlework, a relatively new, so many only look at it. Many the process of making paintings by rhinestones seems difficult: suddenly it will not work, not enough patience. This material will help to understand the intricacies of technology and will allow you to prepare for the fascinating process of drawing up a mosaic pattern.
What is necessary?
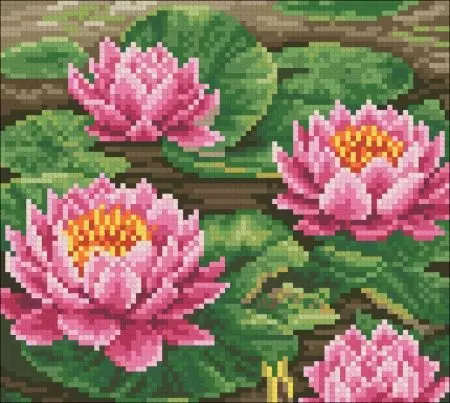
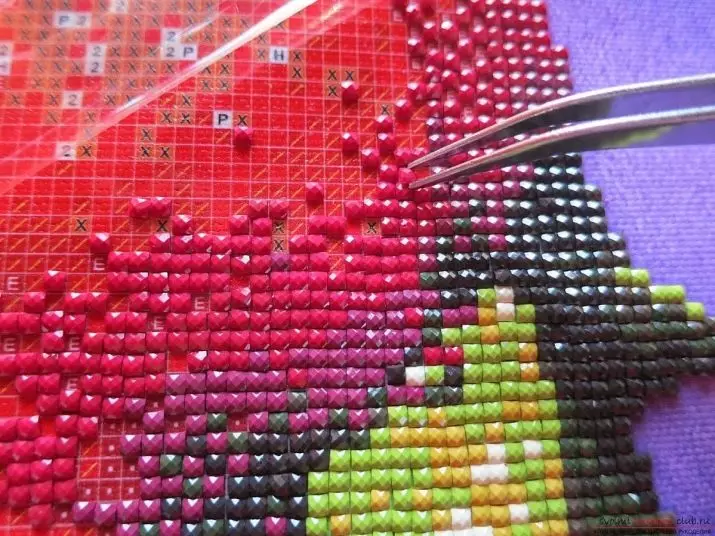
The diamond embroidery itself is a technique, the main element of which are acrylic rhinestones. Round and square crystals are glued on the scheme, covered by a special adhesive basis. The canvas itself is divided into cells, each cell is numbered. The task of the embroidery is to decompose rhinestones from sachets with numbering on the corresponding cells on the canvas.
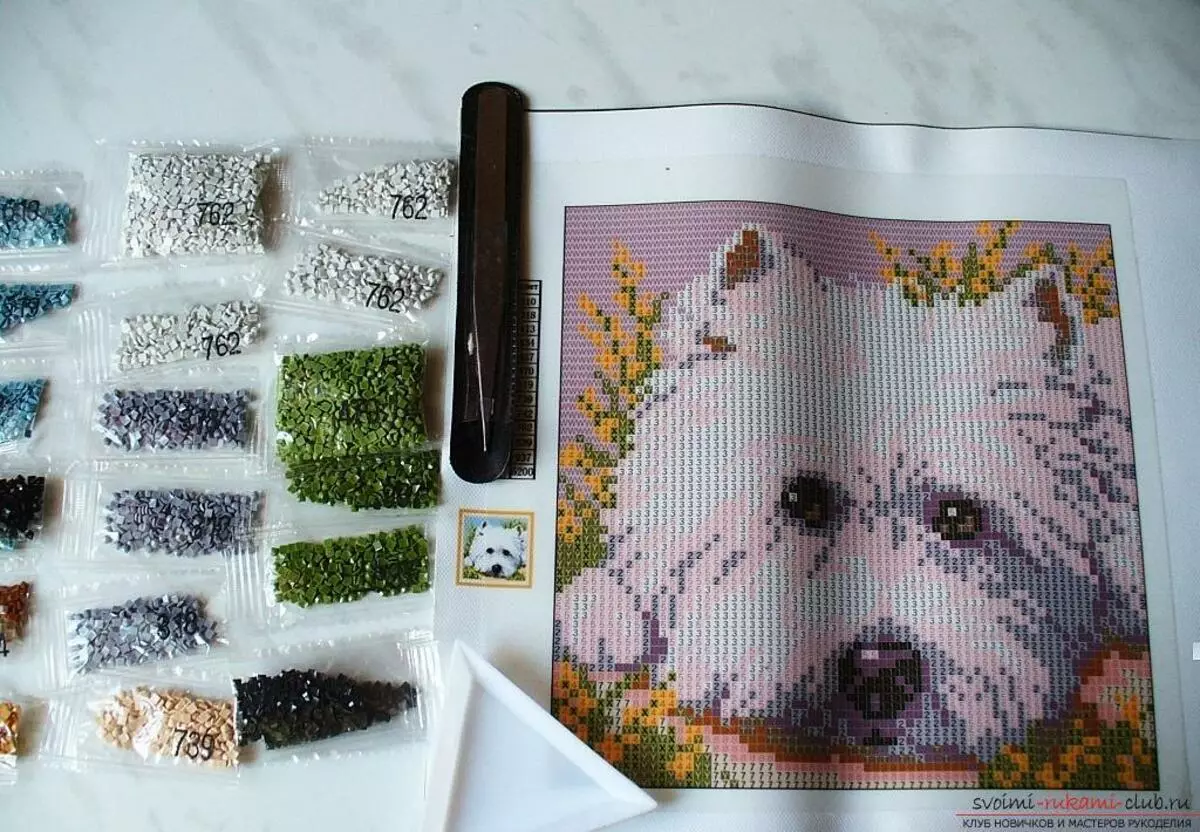
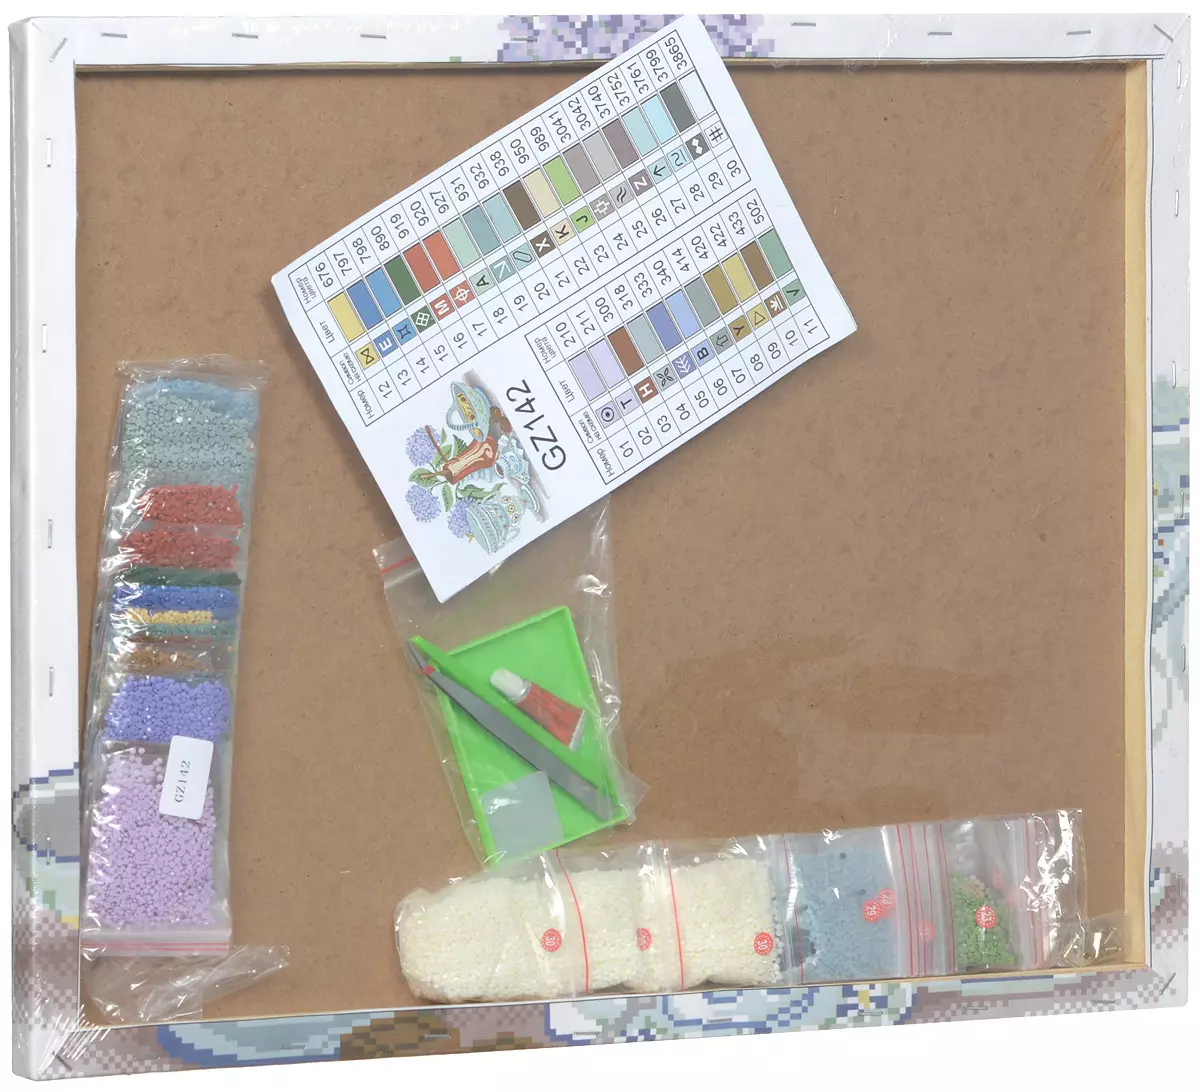
What provides a standard set.
- Canvas with a special rubberized cloth. It has already caused an image by which pebbles will be laid. In most sets, the canvas stretches on a wooden subframe. On the image on the canvas - adhesive base. Due to this layer, rhinestones are attached to the surface.
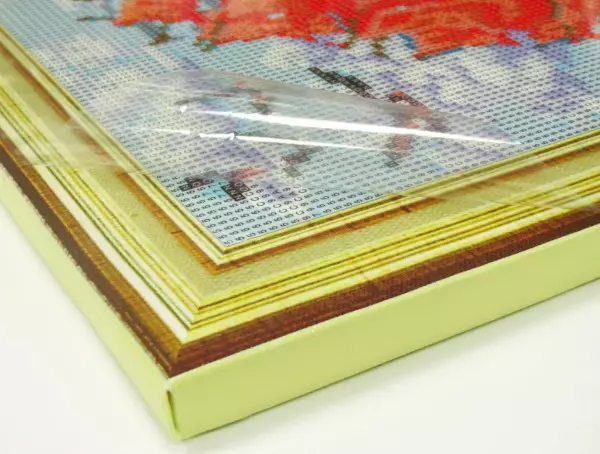
- Film from above adhesive base. It must be fixed on the canvas, otherwise the basis will lose the stickiness.
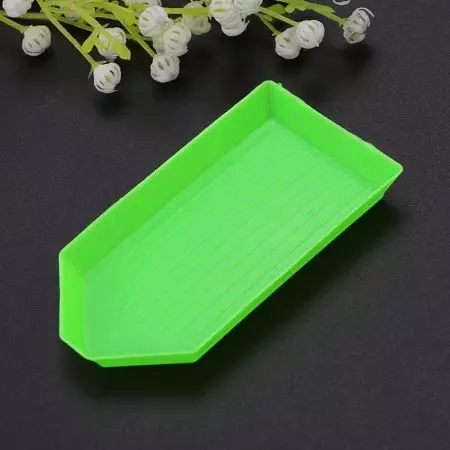
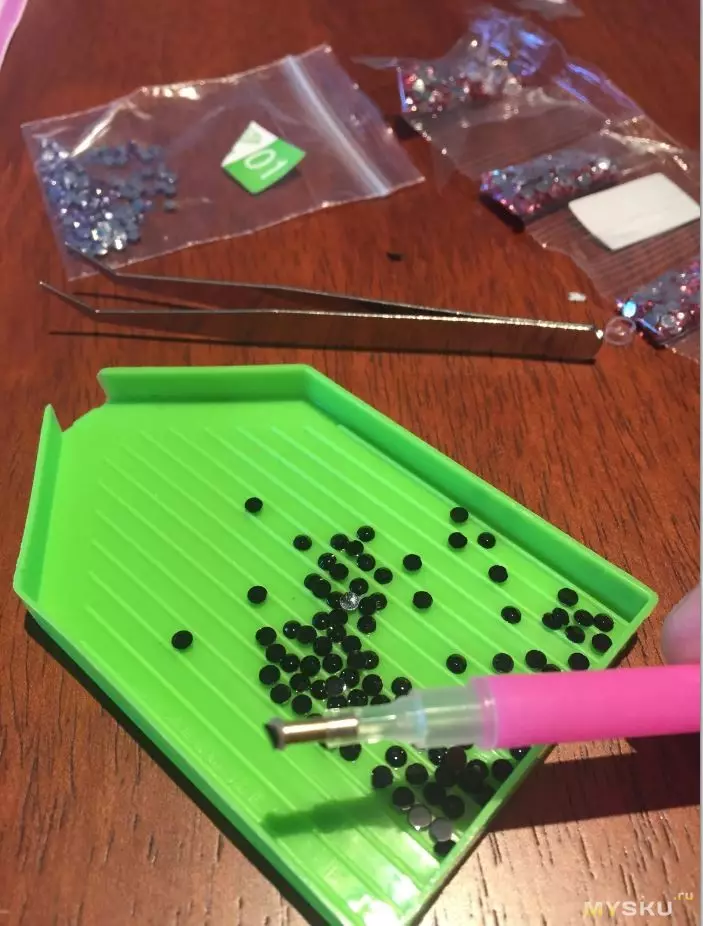
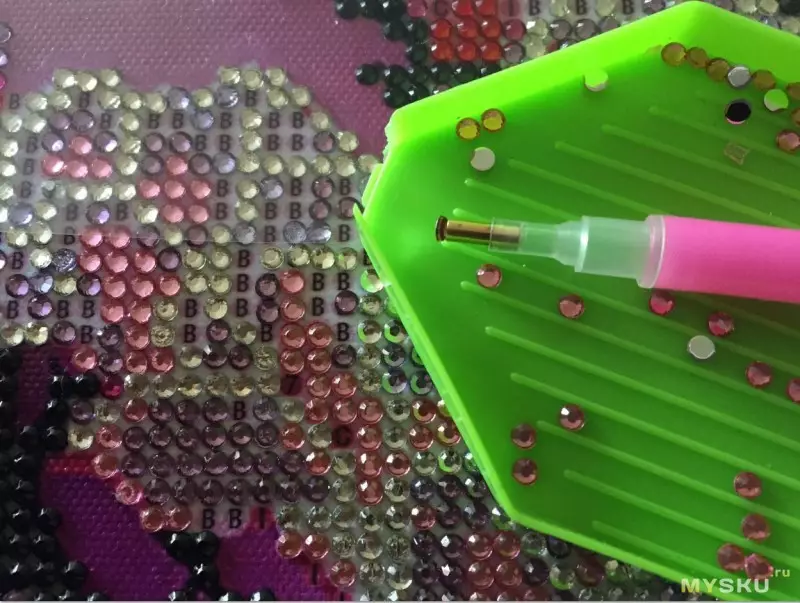
- Tray for pebbles, more often - with a ribbed bottom. These ribs are needed that when shaking the rhinestone tray themselves, they flew themselves to the desired side and lined up with rows.
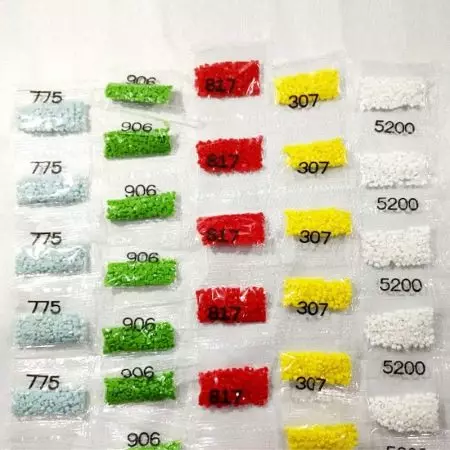
- Packages with rhinestones. All colors are distributed over sachets, each - numbered. It is necessary to work with flowers alternately, pouring the right batch in the tray. One side pebble is flat, it will be attached to a sticky basis.
- Stylus with hollow end. This is the main tool to work with embroidery, for laying out items. The stylus of crystalline moves to the scheme. The tool is first plunged into a special silicone fragment (always goes in the set) so that its tip is better enclosed with rhinestone. There are in the set of stylus, capable of picking up several rhinestones at once, which allows you to lay one-color stitch sections much faster.
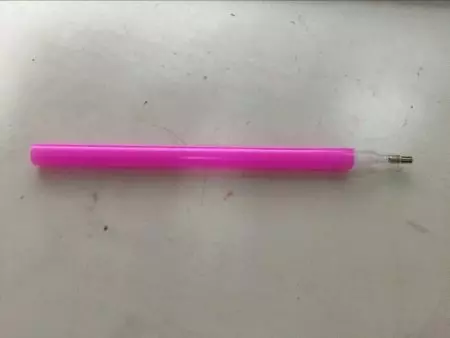
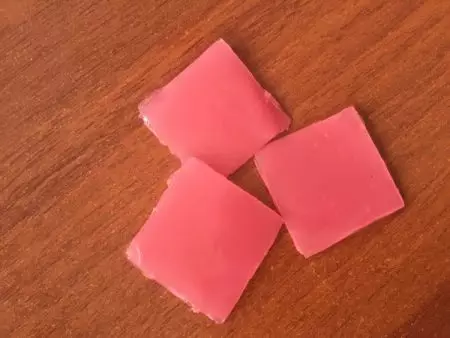
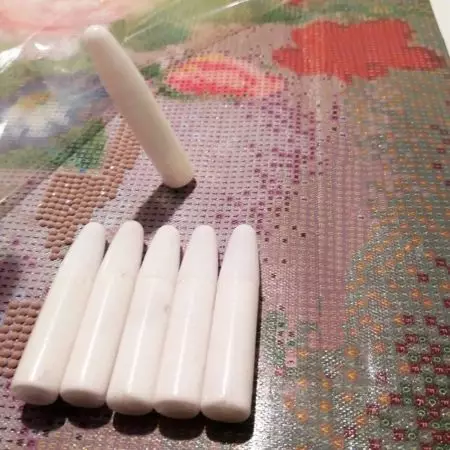
- Silicone fragment (adhesive pad). It should be packed in cellophane. Her task is to clutch the pebbles and the tip of the stylus. The hollow part of the tool should be pressed on the ground, it will go to his cavity and will remain there.
When the mass inside the stylus stops being a sticky, it can be pulled out from there with a toothpick or needle, and tool to immerse in silicone.
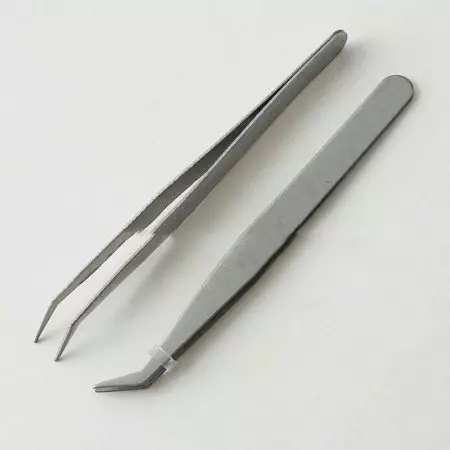
- Tweezers. This tool is convenient to capture rhinestone square shape.
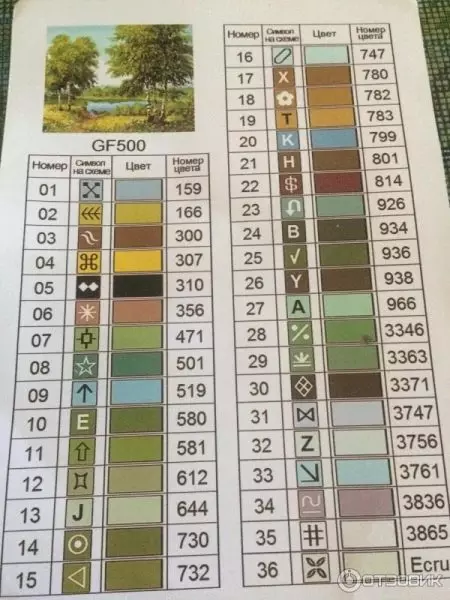
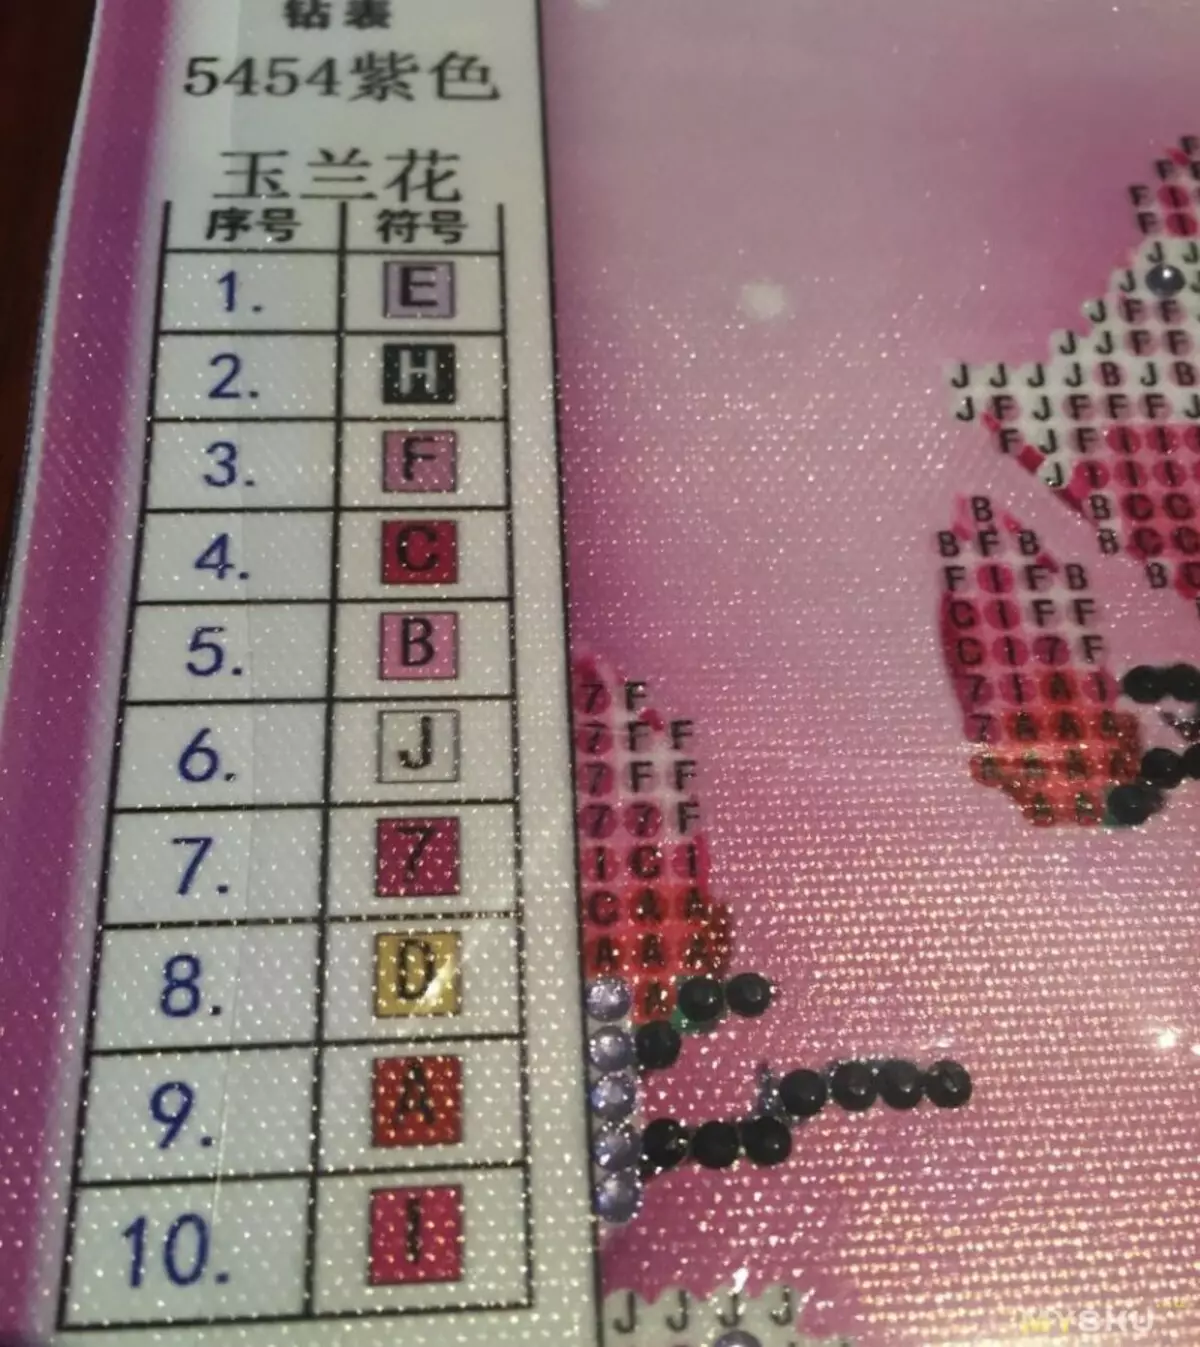
- Deciphering the scheme. It helps to match colors, gives a clearer image by which you can cheer with the sample.
- Glue. Not in any set there is, but maybe. If the foundation has lost stickiness, it will help her to recover. This happens when the embroidery began, then not engaged in it for a long time, and after the interruption noted the lack of adhesiveness of the web.
Perfect if the set is all thoughtful and practical. For example, bags with a zip-lock is much more convenient than sealed bags. Pulling the Master of Pebble in the tray and closes the tagging valve again, that is, it does not give stones to crumble.
Preparation
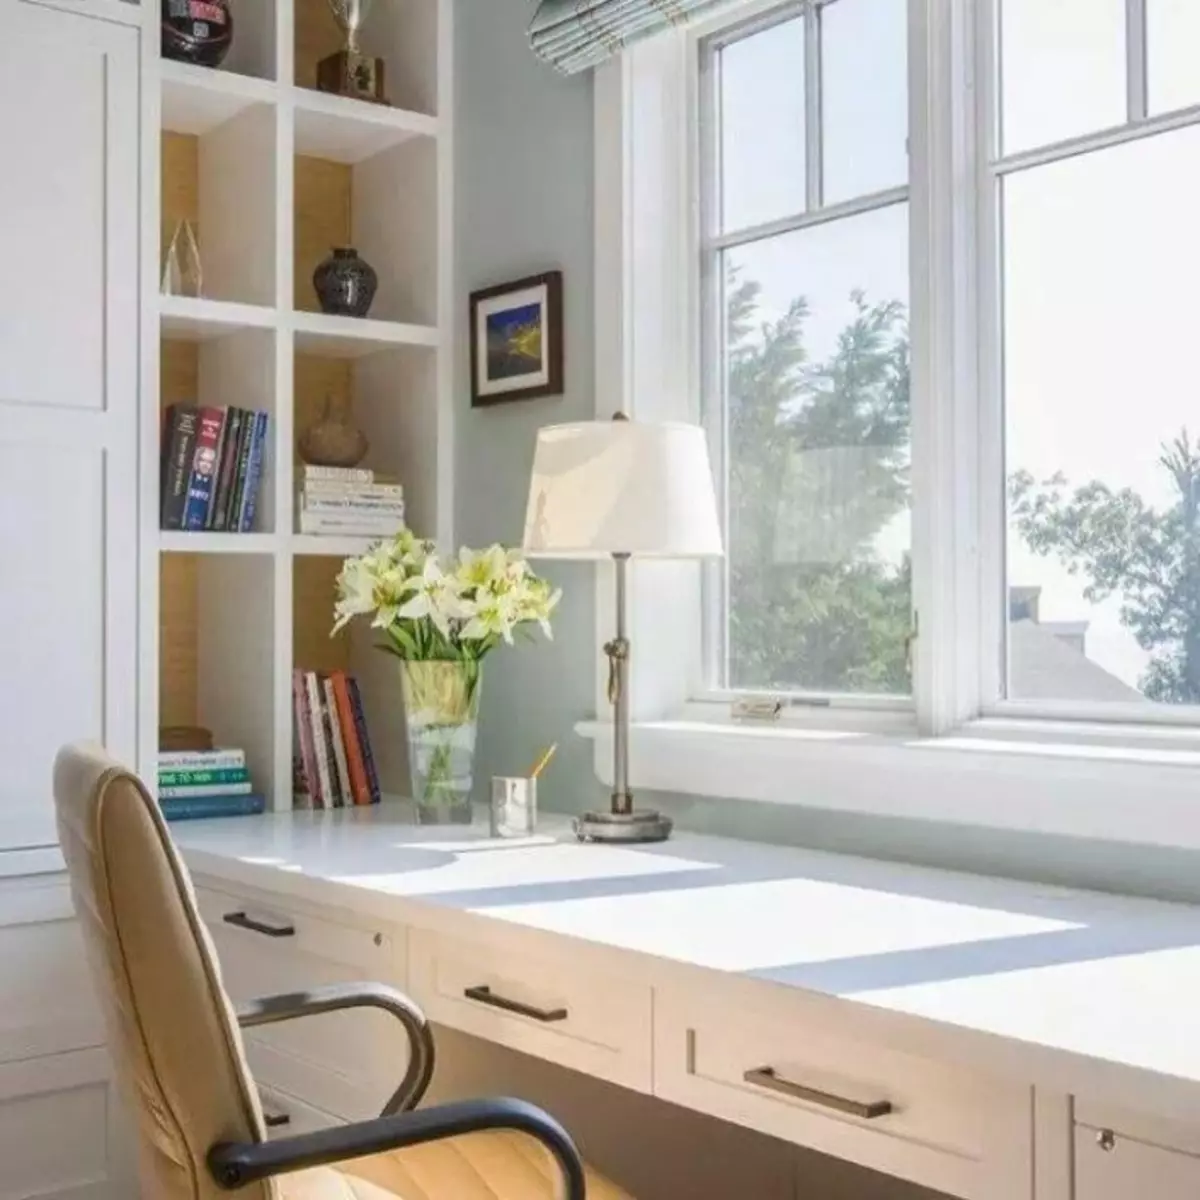
It is more convenient for the spacious table. Good lighting is a mandatory preparation. Better, if it is a daytime, and the window at the window fits well into the concept of a comfortable and safe place for creativity.

It is necessary to disclose the set carefully so as not to damage sachets with rhinestones. There are sets not only with a tray, but also with a whole organizer, that is, a multilateral system. It is assumed that all rhinestones are distributed through cells, each species in their cell. But still actual pebbles (that is, those with which it is now) is poured into a ribbed tray.
Immediately need to be thought out where to remove all the material when the work is interrupted. If there are small children or pets in the house, save everything safe and saving to the next needlework session will be difficult.
Instructions for calculation
There are several options for exactly how you can lay out pebbles. There is a "convenient-uncomfortable" principle, there are no universal councils.
Consider how the diamond mosaic lay out.
- In colors or in a checkerboard. The sequence of gluing will be a clear, shifting the image will not be able - these are undeniable advantages of such a method of calculation.
- Rows. All would be good, but the drawing can shift. If the set has a stylus that can capture the 3 element at once, you can work faster.
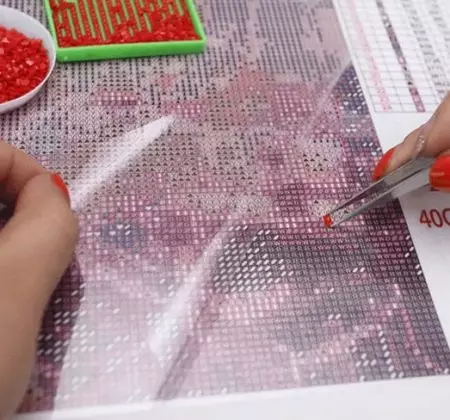
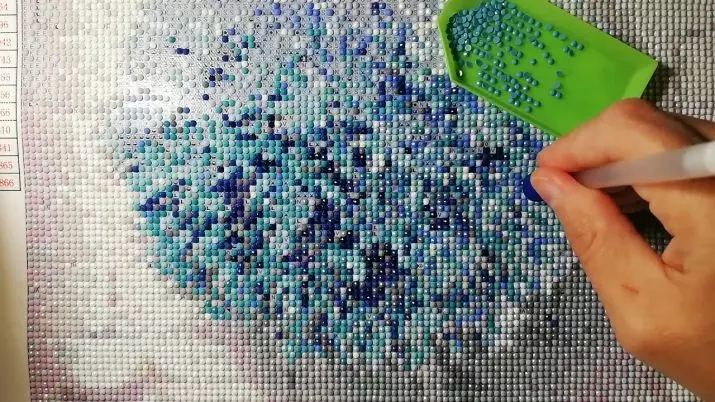
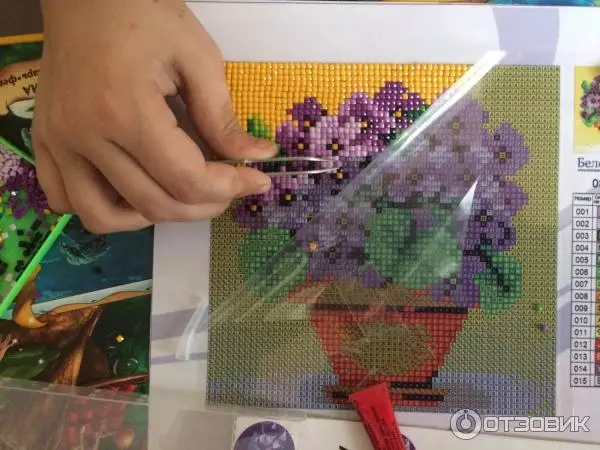
- Sectors, stripes. We freed the protective film by 6 cm, laid out the liberated fragment, etc. Most of the masters prefer to use this way.
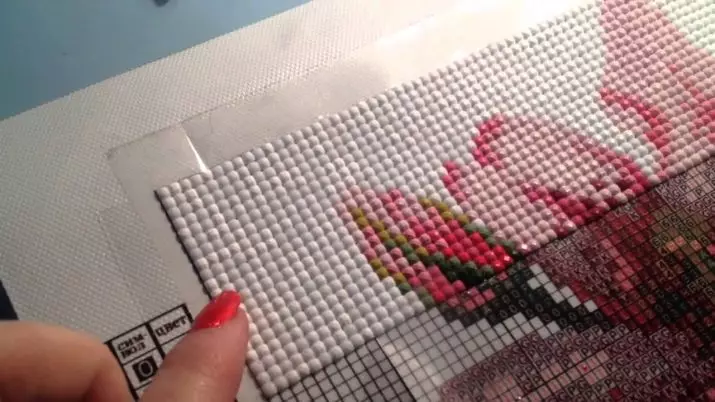
The protective film should be said more. It is impossible to shoot it at once. As soon as one plot is filled out, the second is released. And so on, as the canvase is moving. If you remove the film immediately, it will be all cling to the adhesive basis: the pebbles will not "fly" to their place, dust and hair are also instantly on adhesive basis. If the problem is already there, and the basis dried, you need glue from the kit. If this is not provided, you will have to use the adhesive gun or its analogue.
The master class on displaying a diamond embroidery will help in work.
- Describe the picture on the table. Check the numbering of pebbles, whether the colors coincide (compare printing with the contents of the bags).
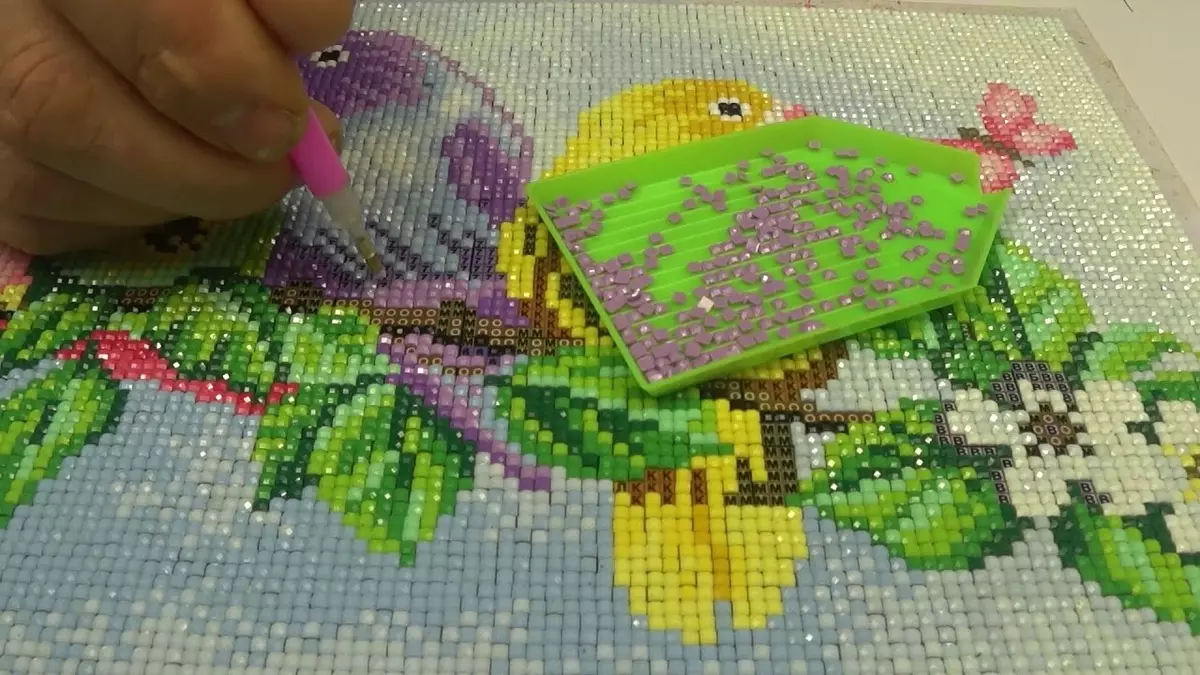
- Choose from which fragment to get started. Rhinestones of the desired color pour into the tray with grooves.
- Tweezers or stylus (special wand) Pebble is sent to a cell that is marked with its color. It is necessary to press a little to the element so that it is exactly glued. If there are deformed rhinestones or a little lost, not scary. Usually in sachets they fall asleep with a 20 percent reserve.
- When crystalline is stacked in several rows You can put an ordinary line on them and recreate the items to the base again. Also Lineochka can be posed a row up, if the pebbles went over the line.
- From the plot to the site - and work will be completed. First, one color is completely laid out and only then the pebbles of the other should be glued. This is not a strict rule, but the most comfortable for the masters.
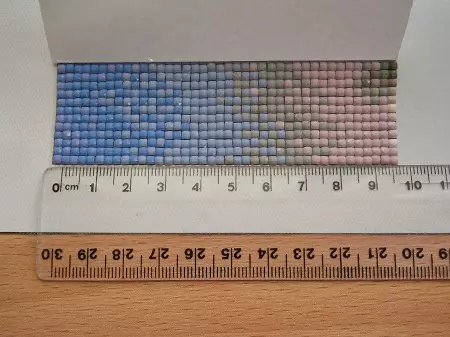

It is not difficult to collect embroidery, but not at all quickly. Even a small picture is unlikely to gather for the evening. To embroider a diamond picture, let's say, a size of 30 to 20 cm, takes several evenings, about 3-5. When the work is interrupted, the protective film, which goes from above, must close the fragments already made. She is at least a bit, but will stop the lathes with falling and offset.
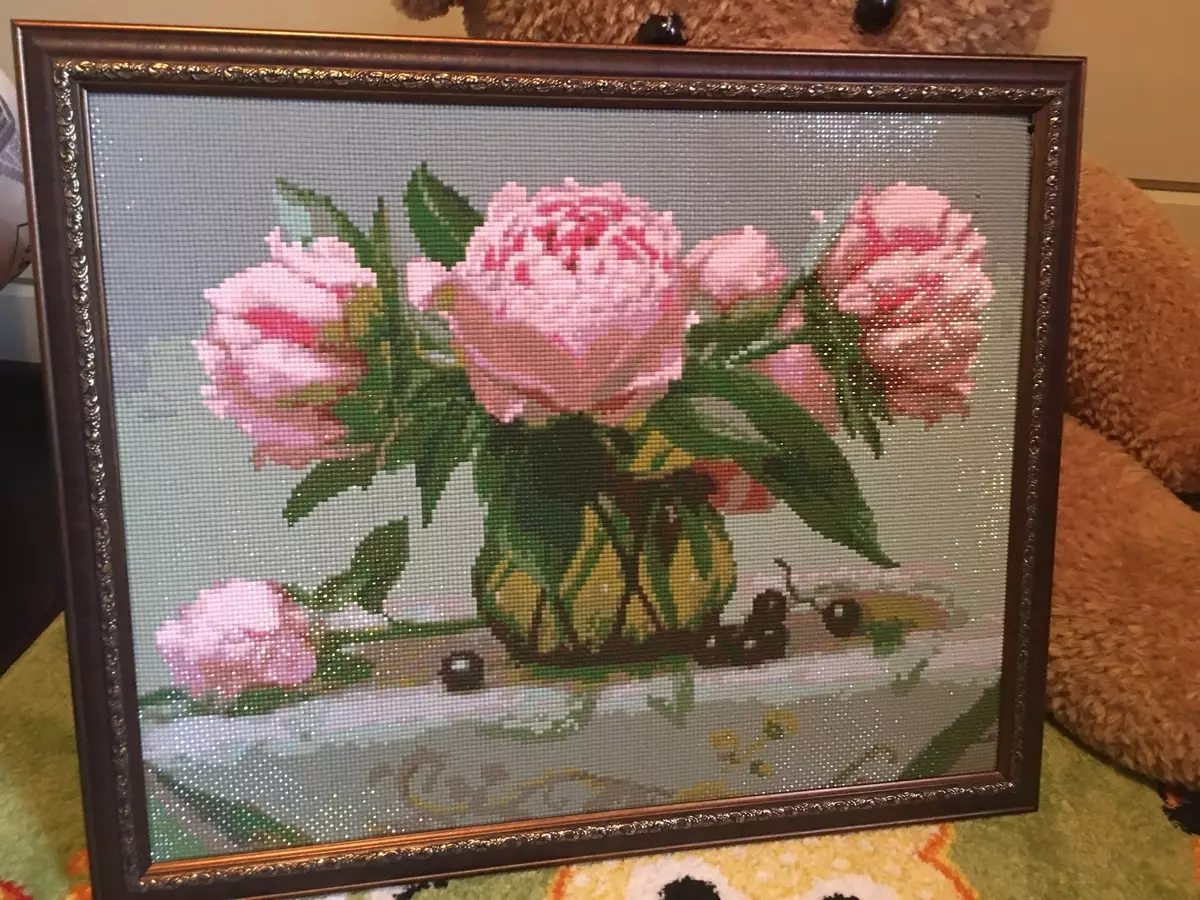
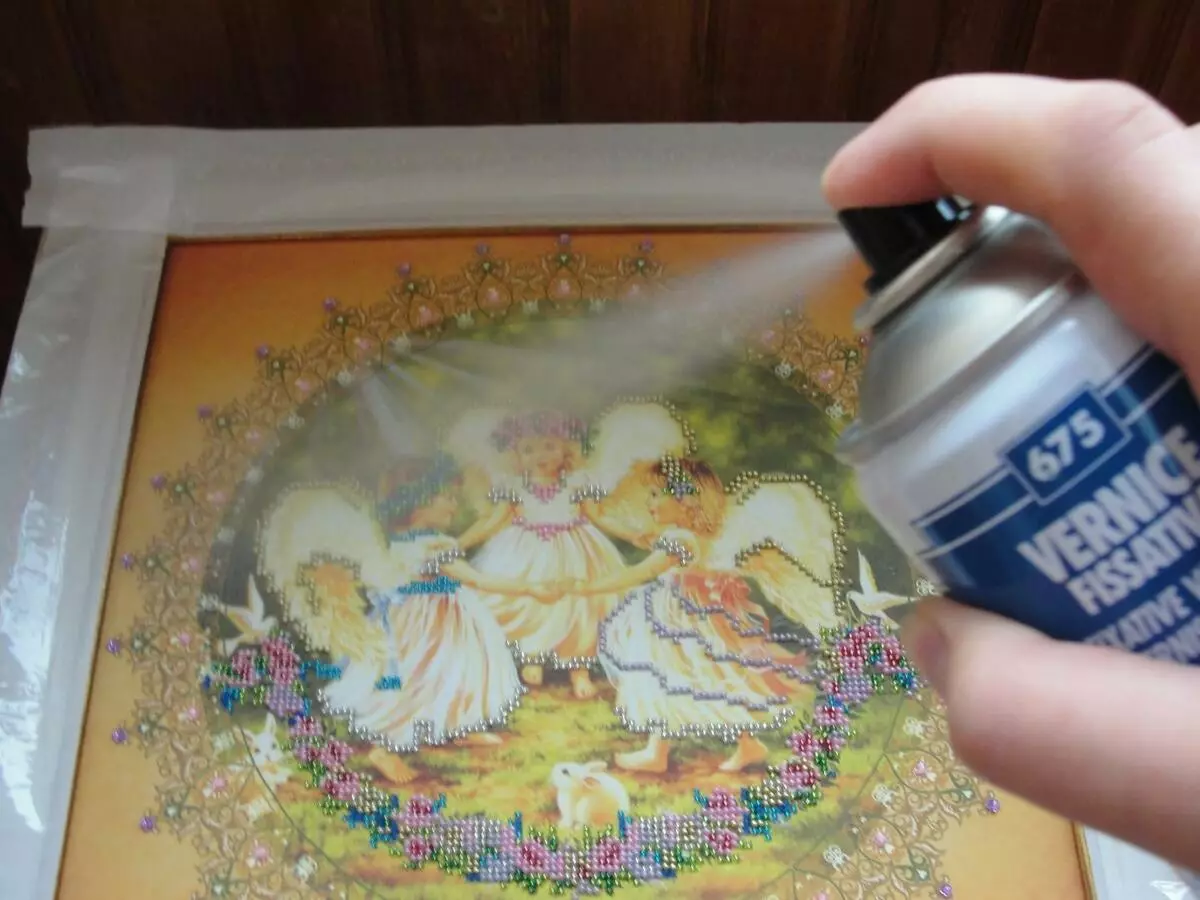
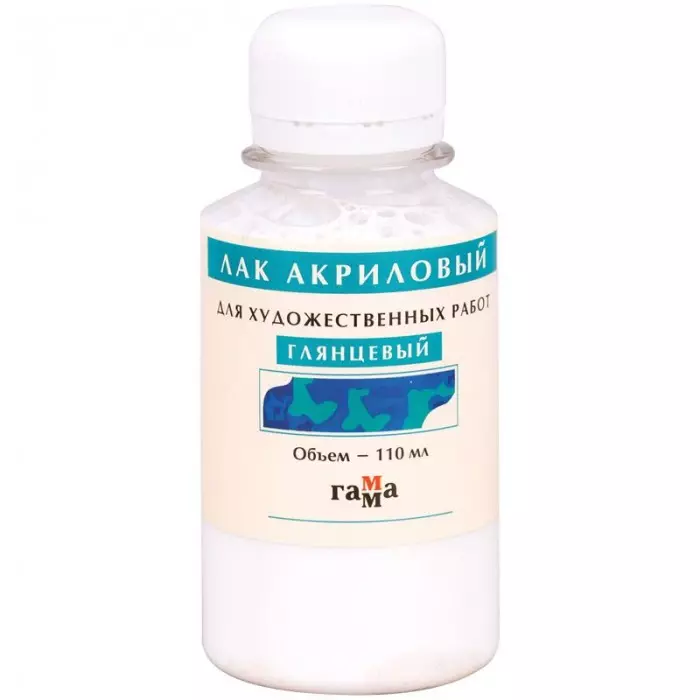
In principle, after the readiness of all rows, you can search for a picture in the house. But it is better to make the control fixation of pebbles with varnish. Used both glossy and matte varnish. A pair of layers - and the details of the painting are well bonded with each other, they will not fall out. Yes, and the shine can only decorate the picture. You can use both varnish in the canisters and liquid jams, which is applied with a brush.
If it is placed in two layers, the second is applied only after complete grazing of the first.
By the way, interrupted work (or ready, but still unformed, without a subframe) can be twisted into the tube. If you fold in half, the races will remain and fix it is almost impossible.
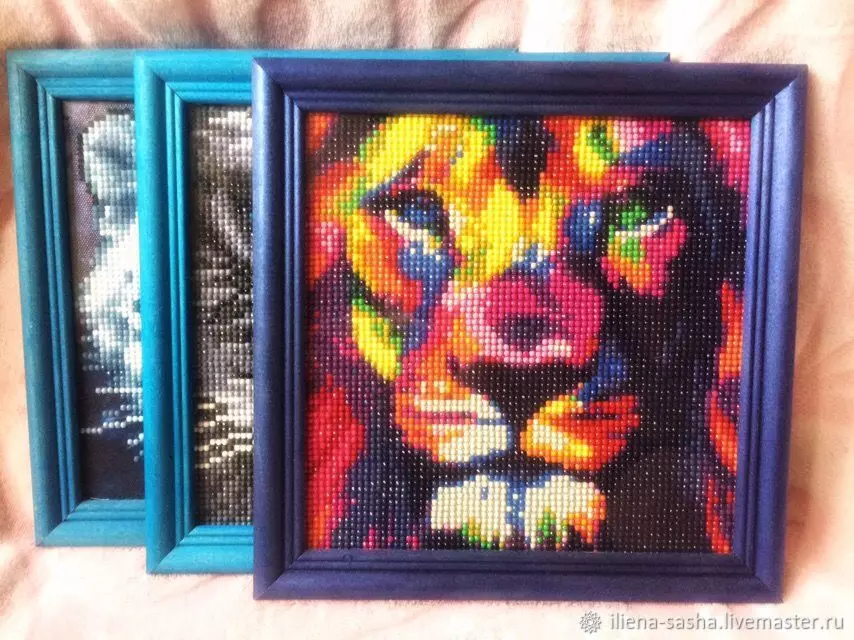
Registration
The subframe for the diamond painting can be made with their own hands. Someone is embroidery in a barn workshop so that the design is professional. But under the glass, the diamond picture is rarely sent: rhinestones do not need this design. But if she will hang in place, which is peculiar or excessive humidity, you can make work in the glass.
Make the framing with your own hands.
- It is necessary to choose plywood (or from dense cardboard) the basis for the size of the frame, then insert the work there.
- The picture is gently glued to the base. You can use for this or transparent glue, or double-sided tape.
- The canvas stroke the wallpaper roller to eliminate the formation of wrinkles.
- The picture is placed in the frame.
If the canvas is immediately tightened to the subframe, the picture does not need the frame at all. Included to the set can be fastened, which will help to fix the finished embroidery on the wall. Very often the frame is really superfluous, it is not necessary to do it.
Useful advice
In the process of work on embroidery, the wizard may have questions that are rarely prescribed in the instructions. But there are answers on them.
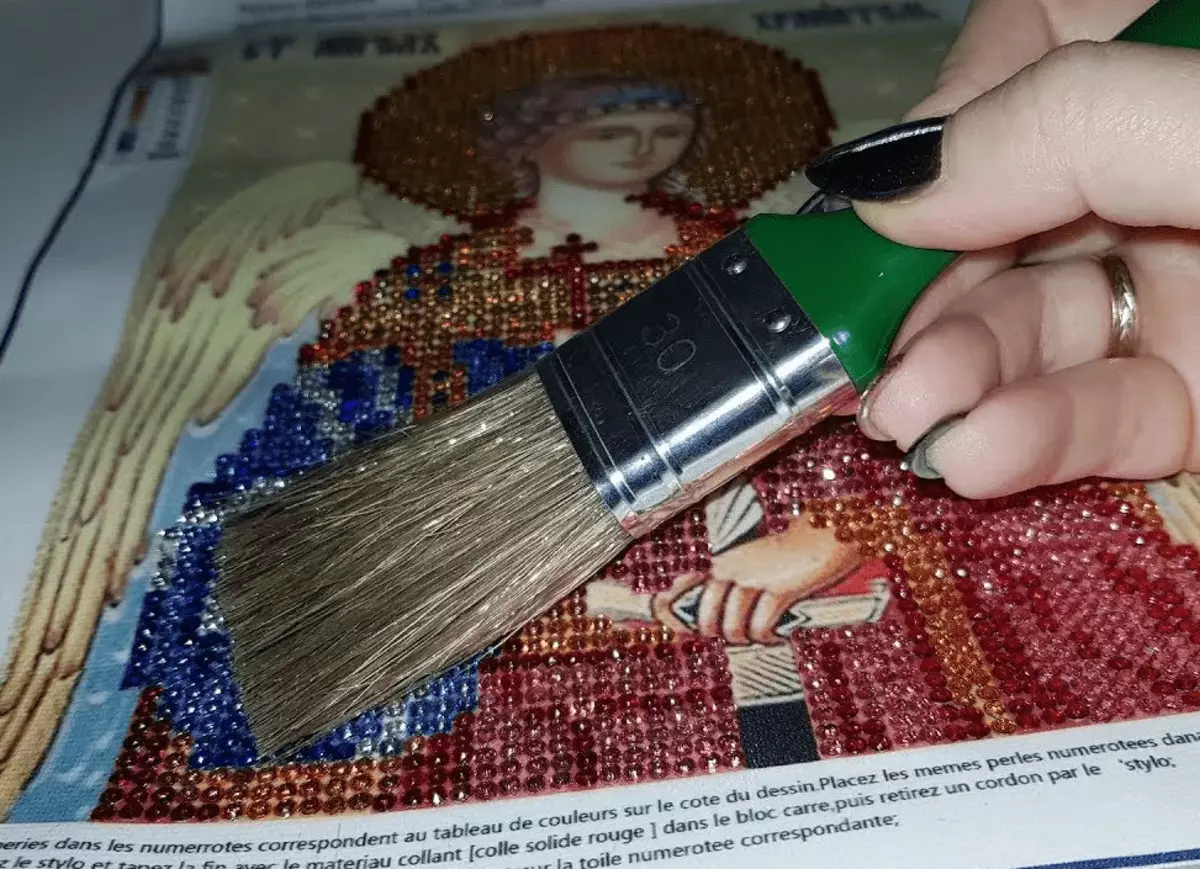
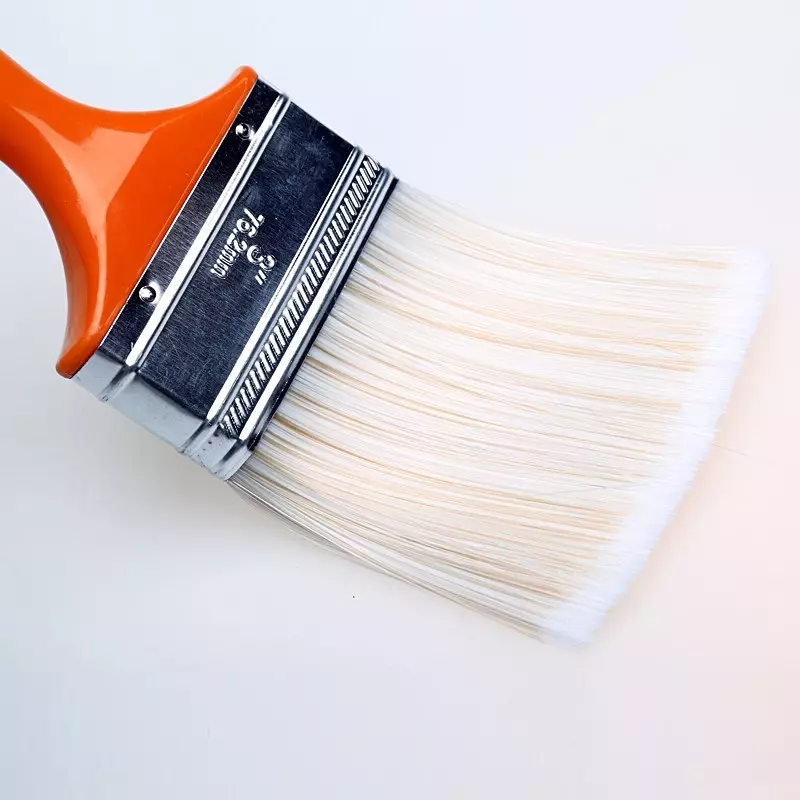
- If a small garbage was formed on the working surface (for example, vile from clothes), it is necessary to remove it. It is easier to make it a clean painting brush with synthetic bristles.
- Of all the varnishes, the most convenient, as practice shows, acrylic on a water basis. A sufficiently thin smooth layer for fixing the stones on the surface.
- Failing out the adhesive basis can be made by itself, using, for example, double-sided adhesion. The tape is neatly glued to the desired section of the circuit, then the diagram itself is laid out. The protective layer is filmed gradually.
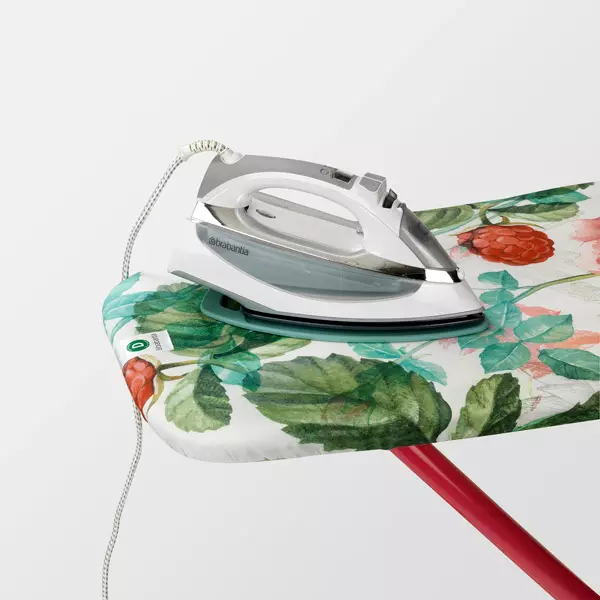
- If the canvas himself was deformed, he no longer looks smoothly, feces were formed on it, you can try it. A low temperature is exhibited on the iron, it is necessary to iron from the inside.
- If rhinestones are running out, You can take pebbles of close shades.
- For the first folder it is more convenient to work with drawing contact products. And the labor intensity is not so large, and the result will be faster. The first successful experience will add confidence and it will be possible to encroach on other volumes.
- Easy to get out of a row of pebbles is easily corrected by the opposite side of the stylus. And yet it is useful will be a line several times for the whole process to line all rows.
- When you have to work with a very volumetric product, you will not be kept open all the time. Part of the web should remain rolled - it is important for the painting (in order not to deform), and for the convenience of the master.
- In the process of drying the already smoked picture, you need to follow the garbage to it, the same veins. We'll have to think through safe drying for the picture.
The lacquered picture can be completely wiped with a damp cloth. The calculation on the fact that it will stay in the interior for the years, or even for decades, quite a way, if you do everything right.
Pleasant creativity!
About how to collect a diamond mosaic, tells the next master class for beginners.