
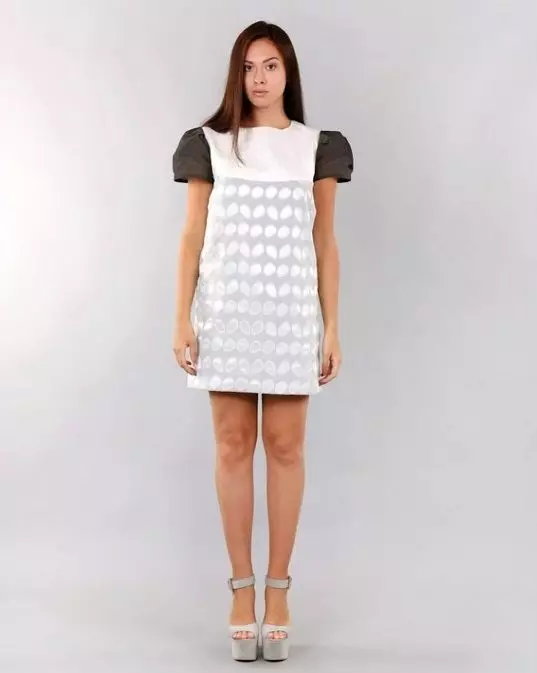
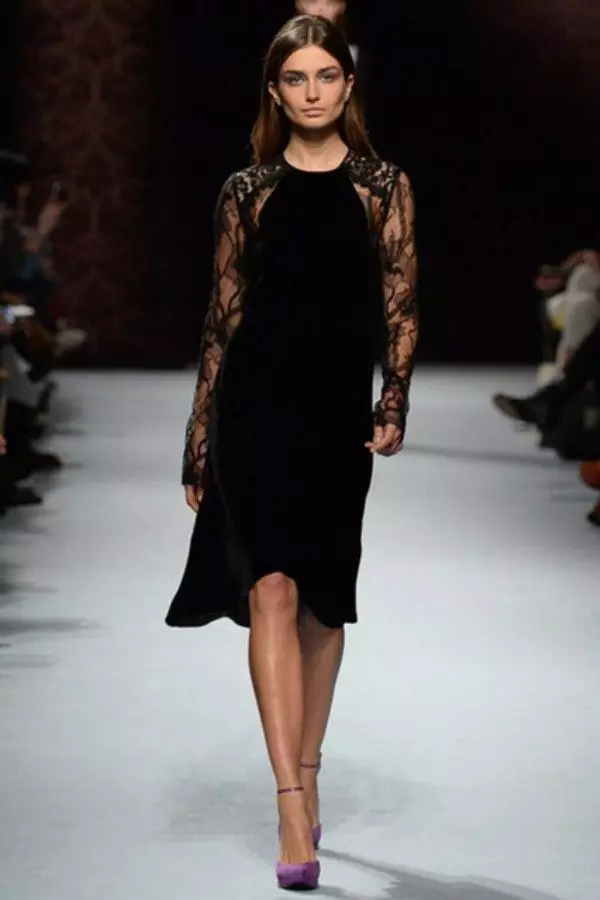
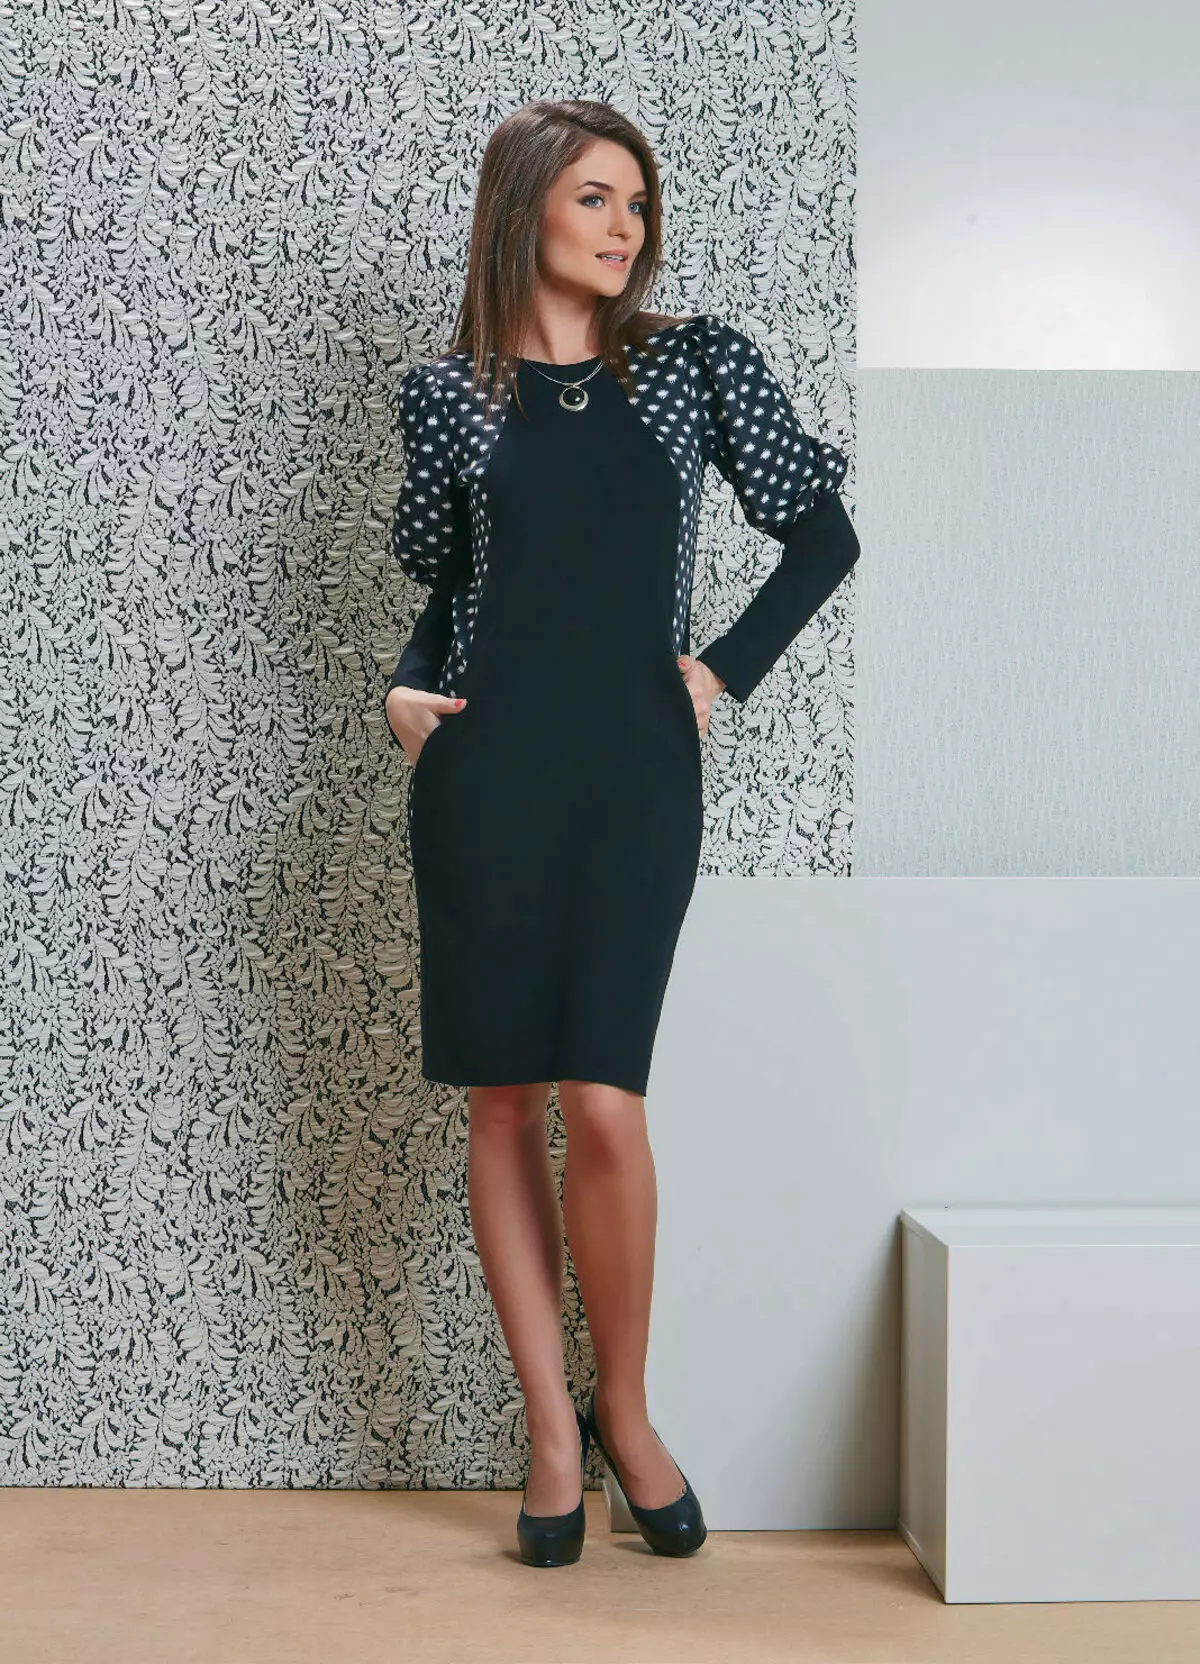
Not often, but the situation occurs when you want to give a new life in the closet of a dress without sleeves, sewing a fashionable lace or leather sleeve. Perhaps you liked the same dress as yours, only with the original sleeve. Or maybe you need to hide skin defects on the shoulder, and the bolero and the palatine cannot solve this problem. Questions immediately appear: what should the sleeve should be, how to carve out the sleeve and how to swam in the finished dress. Let's deal with.


Consider the nuances
- If you are lost in the variety of sleeves and did not solve which it is best for your dress, decorate with its purpose: hand correction, decorative element, etc.
- Decide for yourself, what image you want to create: classic, romantic, extravagant. Note that no one forbids experimenting with sleeves and combination of fabrics.
- Choosing a fabric for future sleeves, take into account the color gamut and the features of the materials, their quality, how easy it is to work with them. It will be hurt if the fabric is frowning or gives shrinkage. In this case, before opening, be sure to decite.


Options for creating sleeves
When we take any pattern of a dress with a one-short sleeve from the magazine, then in it the ratio of the length and depths of the armor and the fodder sleeves are adjusted to a millimeter. After all, the quality of sewing depends on the important condition - the shaft sleeve is sewn without a chance, if it does not require charges, the sleeve must be perfectly for the armor.

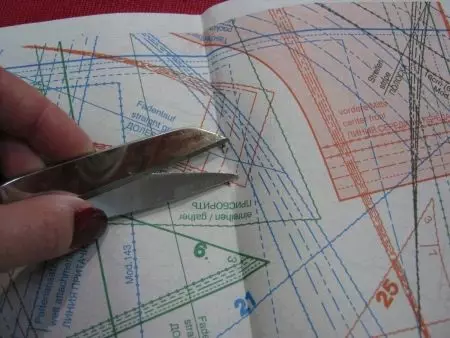
In our case, you can look for patterns of similar models of dresses in tailoring magazines and, applying a shelf, choose the most suitable premium size. Further carve out the sleeve from the draft tissue, notify in the armor, adjust the shortcomings and only then carve out the correct sleeve from the selected fabric.
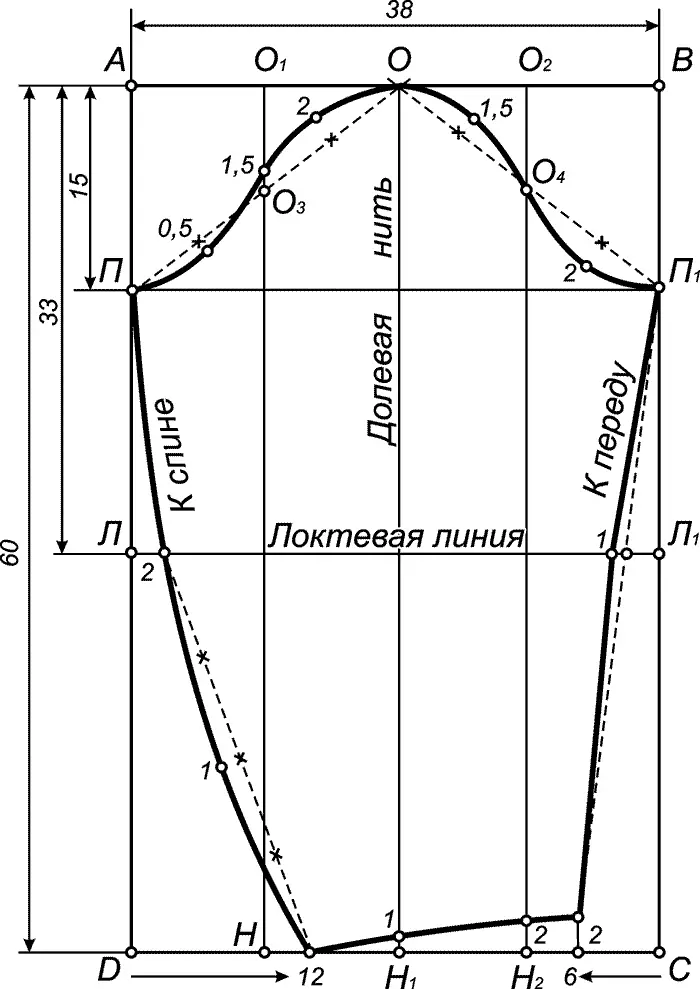
You can build a pattern of the selected sleeve yourself, if there is nowhere to take it, and make changes, substituting your measurements, for example, the shoulder girth, semi-cuddle of the chest and wrist, the length of the sleeves and the premiums along the taching line.
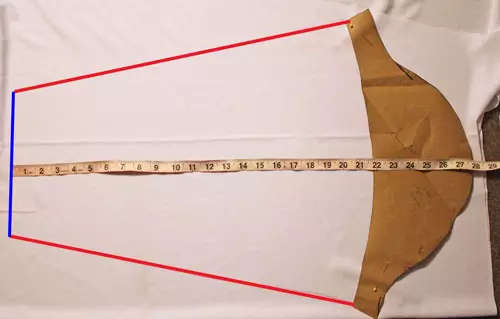
In order for several centimeters to expand the existing pattern, circle its contours on the one hand, then move the pattern and circle the second side. Be sure to add allowances on the seams along the stroke line.
The moleno is built on a new drawing, if it is increased to more than 4 cm.

If your wardrobe has a blouse or a T-shirt with the same pasture, then the OKAT sleeves can be obliged, and then simulate the desired shape and length.
Will be required in this way:
- Put exactly a t-shirt on paper, along the slices of the sleeves, smear the pins;
- Footprints on paper circle a pencil, just do not forget about the allowances for the seams.

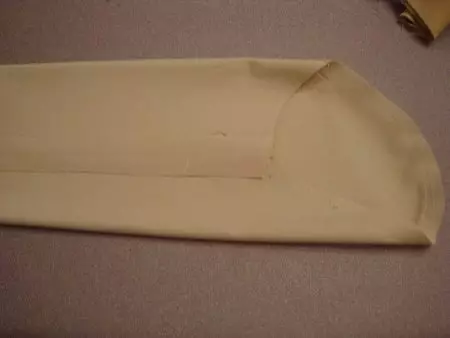
Whatever you choose the way, do not rush to cut out the part of the main fabric, train on the draft.
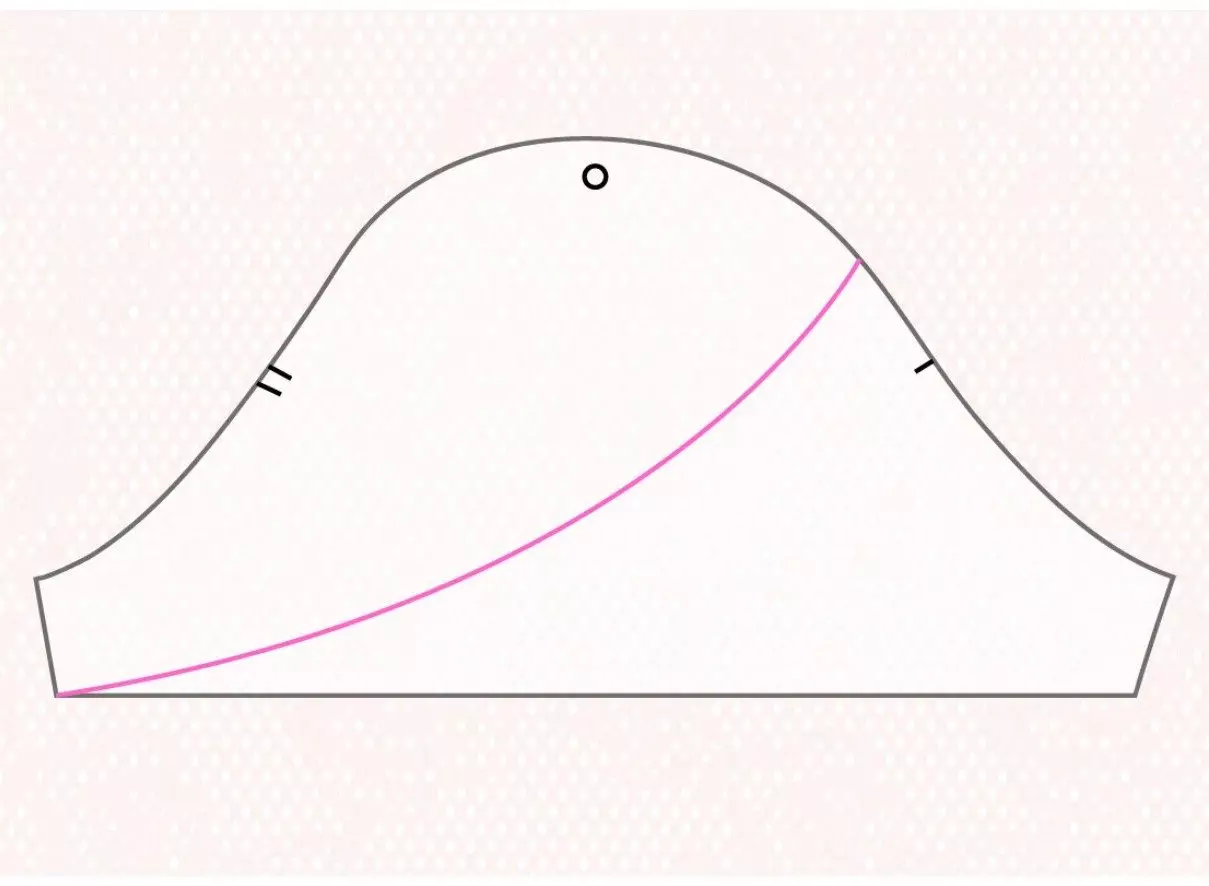
Modeling
Having the lap of the sleeve, you can simulate any sleeve.Sleeve flashlight


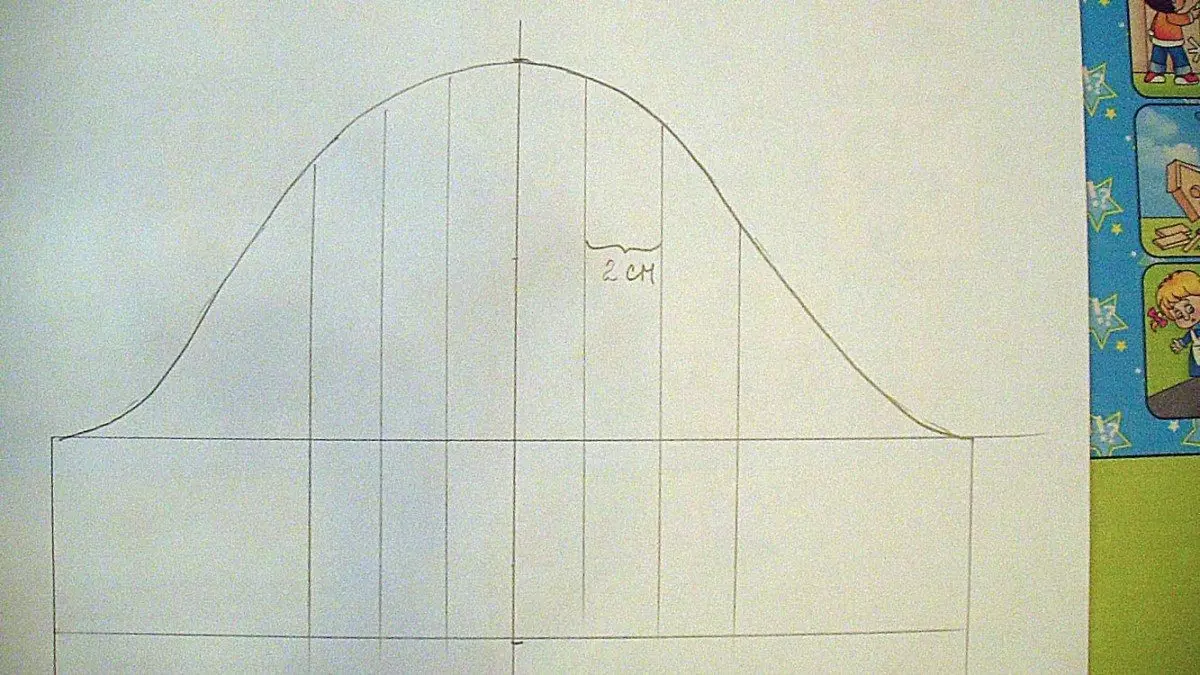
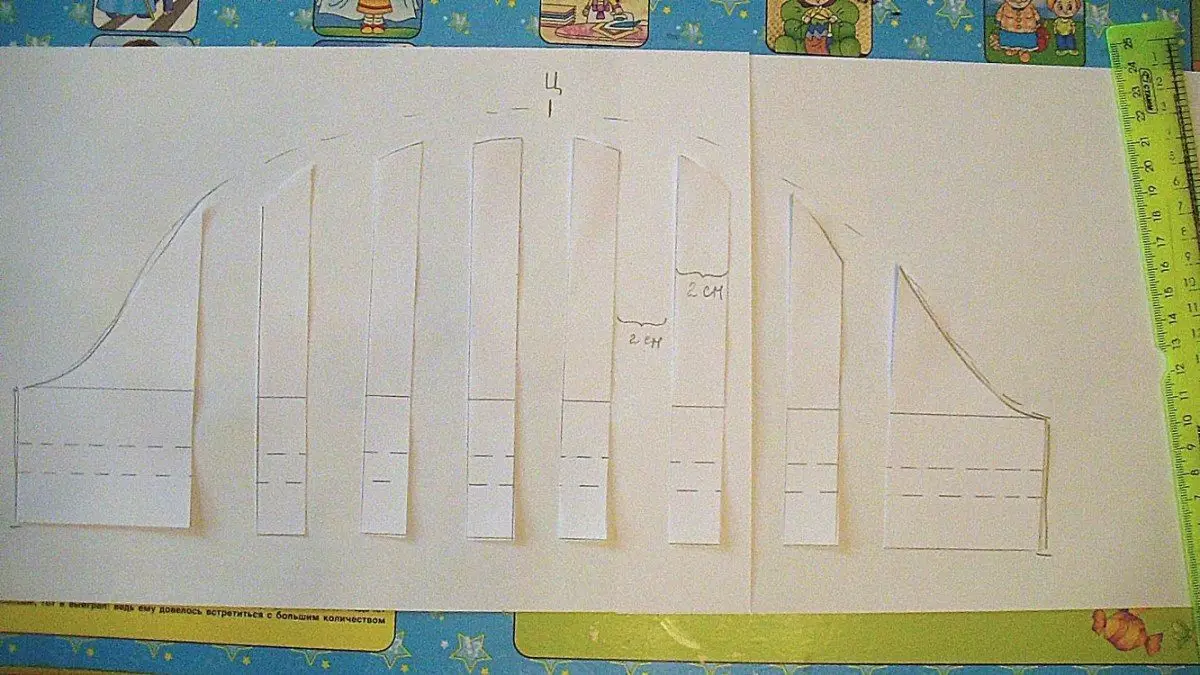
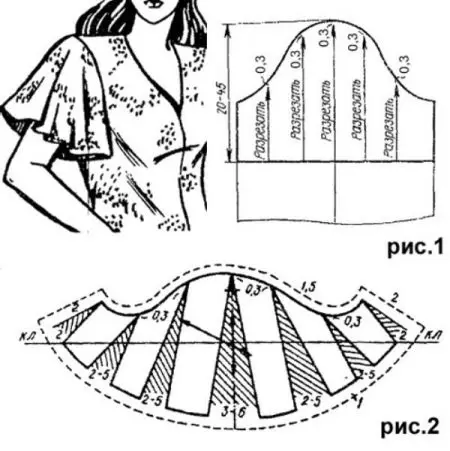
The simulation of the lantern sleeve is to draw the base pattern with parallel lines.
In order for the assembly to be uniform, the divorce line is uniformly, if you dilute the central part of the sleeve, then it will be lush only on the outside. The top is not necessarily suggesting, you can lay fold.

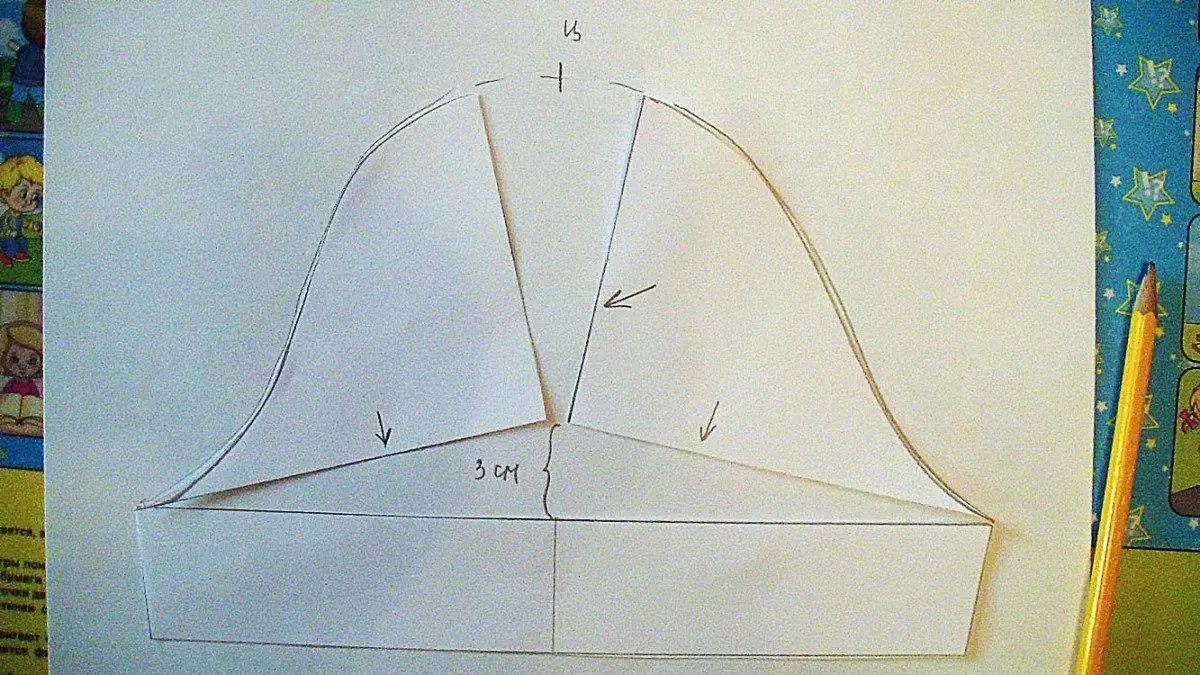
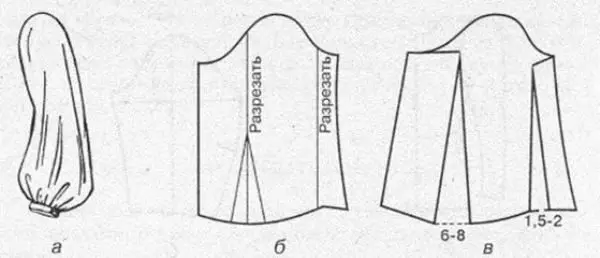
Sleeve with raised top

Simulated this sleeve simply - cut the pattern in the center, unlock it and swipe the new line.

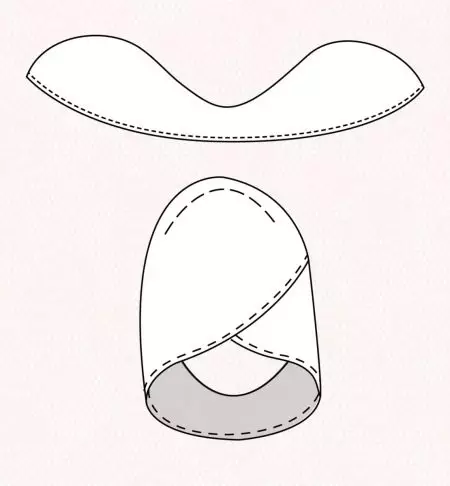
Sleeve tulip.
Here you need to crooked the nose line of the sleeves, cut the part, then draw the same in the mirror form.

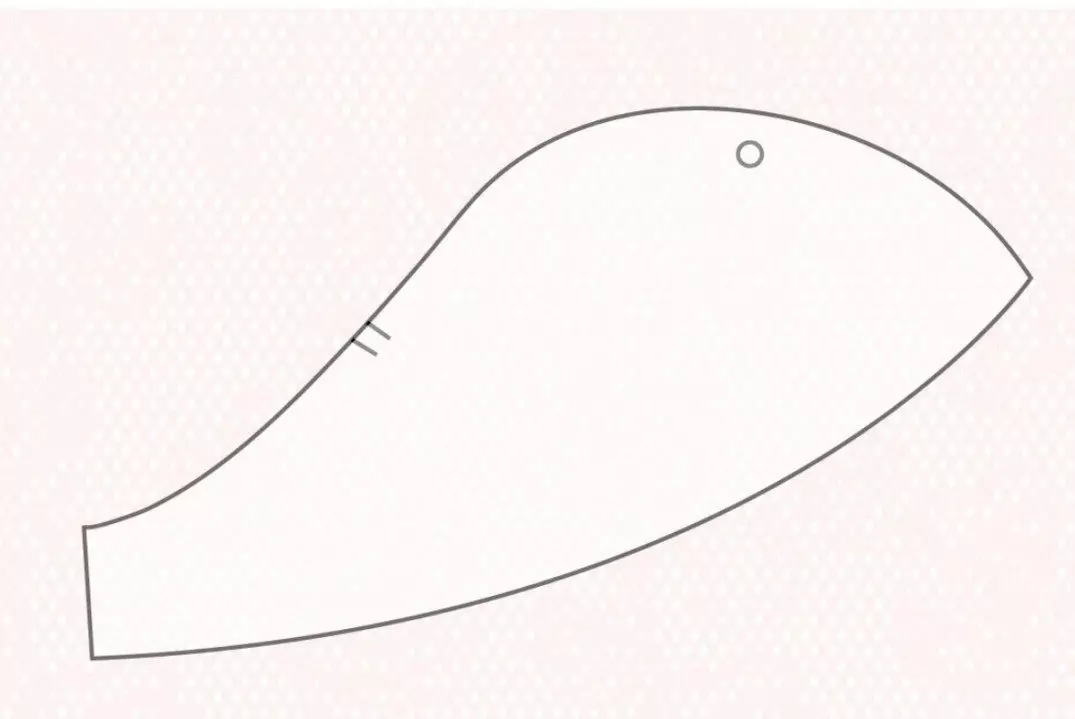
Both halves glue.

Treat cuts and sweep up.
Sleeve Volan
- Spend the horizontal line at the bottom of the sleeve if it is above the elbow. If the sleeve is below, do you draw the curve line.
- Divide the part to the desired number of parts.
- Cut the pattern by drawn lines, leaving 0.3 cm inexpensive.
- Uniformly split parts by 3-6cm.
And a few more options for modeling sleeves.

How to seet
In addition to the shape, the sleeves are distinguished by sweeping methods. Some require landing, because the boat length is made by 3 - 7 cm more than the armor. Others do not require landing, and the third are simulated with assemblies or folds.


With the sleeve without landing, there is practically no difficulties in the pumping, but errors are accomplished with the sleeve. Often the landing is distributed incorrectly or the sleeves are connected to the armor.
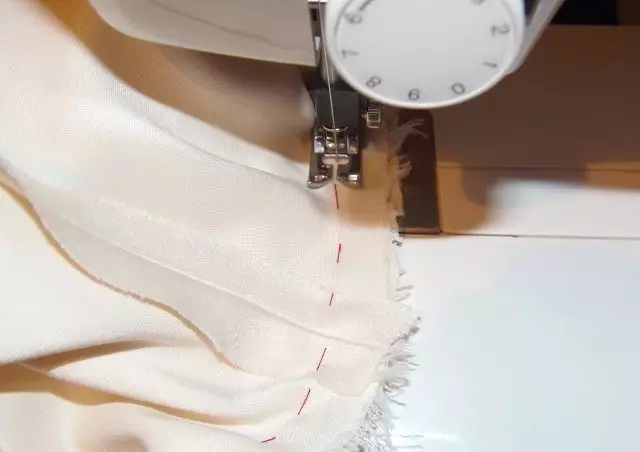
- You can distribute the landing by aligning the seam on the shoulder with the center of Oakat and distributing the landing.
- Then the hint of a hint.
- If it suits the result, laid another line, closing the shortcomings of the first, so when the landing is not shifted.
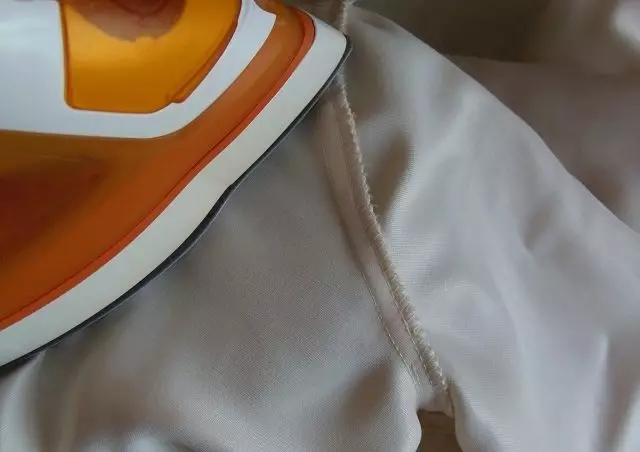
- Bottizing the sleeve, launch the line, only retreat from hints of hints by 1-2 mm. Sooch should be a little stretch so that it does not crack during the dress socks.
When the boat length turned out to be greater than necessary, the armor should be deepen a little. For this, the segment of the lower OKET is mixed slightly below the transmission of the armor.
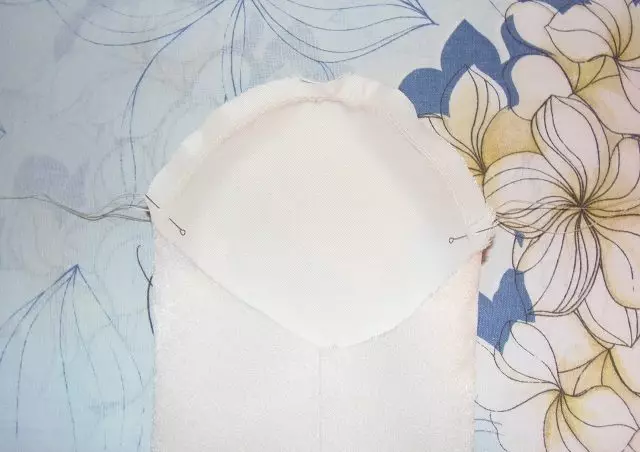
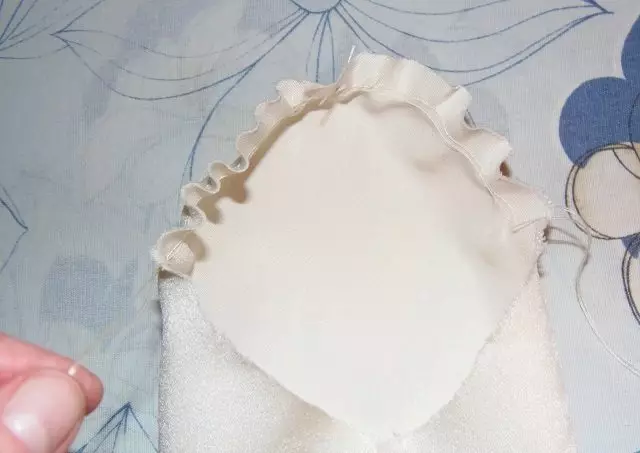
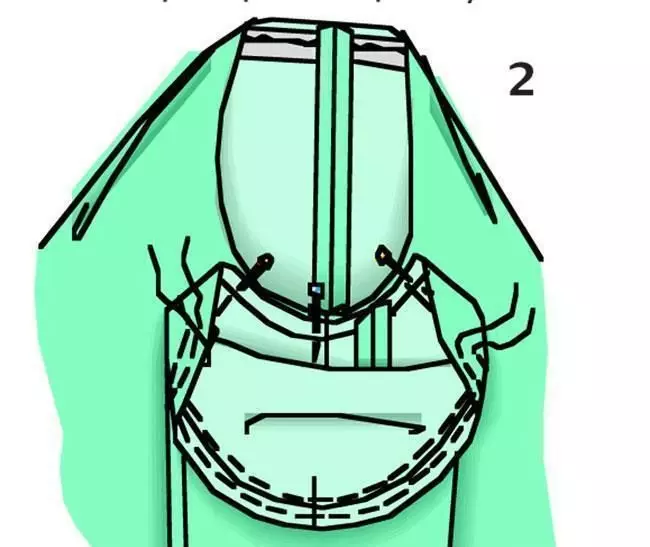
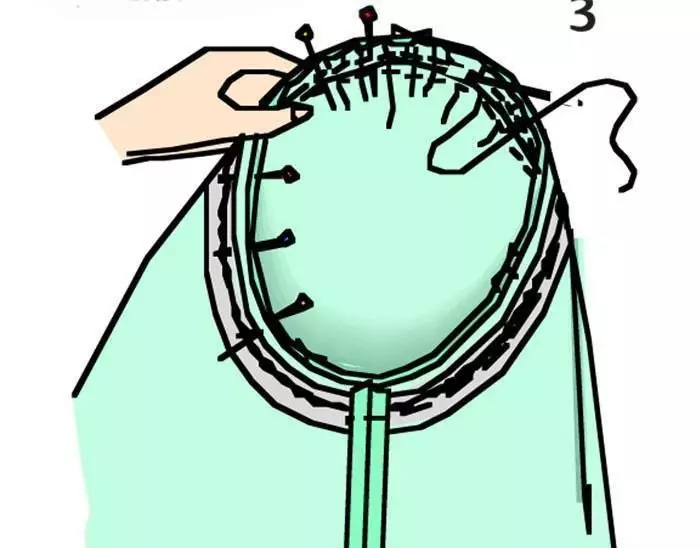
The simplest option is a circular assembly:
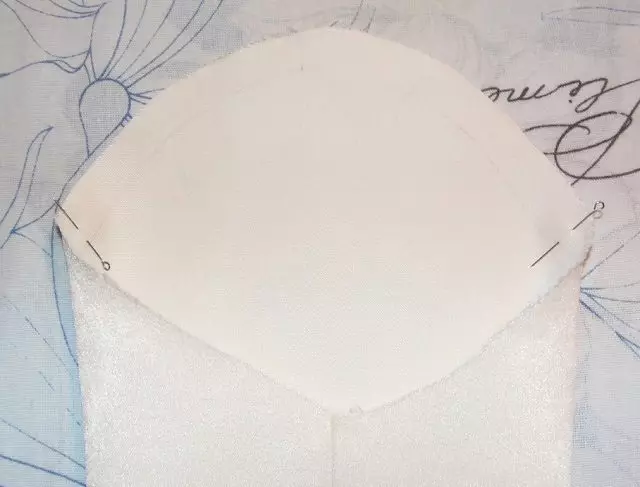
- Decuting the item so that the line of the middle of the sleeve was exactly in the middle, mark on the opener of the top of the opening point of the intersection with the impression of the lower OKAT.
- Overall to launch two hints.
- Top torn, conjugate folds, while the sleeve does not calm down.
- Condet the sleeve starting from the center in a circle.
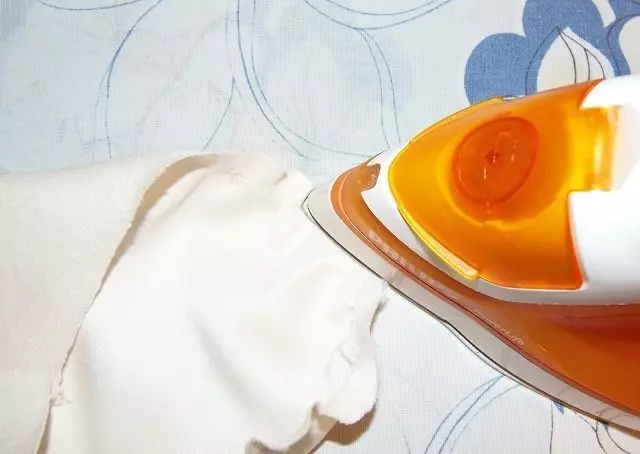
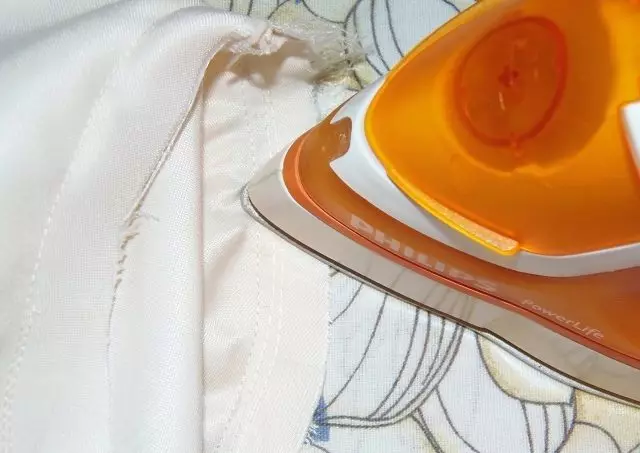
At the last stage, fitting is done. Error corrected and the sleeve is applied to the dress. Seams are sustained.
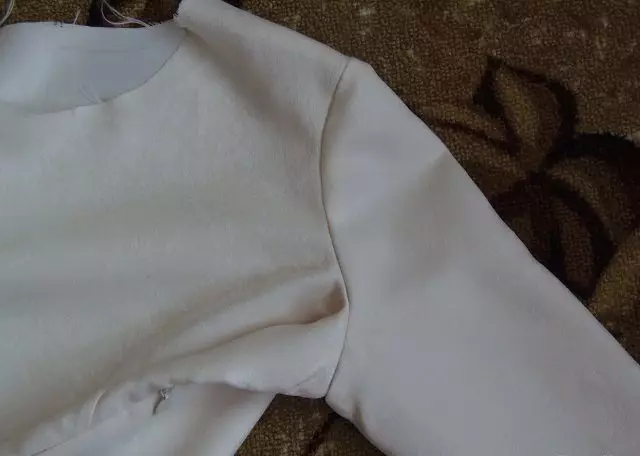
There is also a third option in which the tighting of the lower line occurs after the insertion of the sleeve in the armor, combining the seams and fixing in the lower sections of the armhole. When Oakat accurately entered the armor, excess width is evenly distributed.

Be sure to make fittings during the winding sleeves, the posture feature sometimes requires adjusting the most accurate patterns.